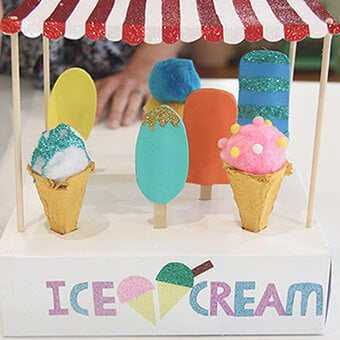
How to Create Lettering on Glass or Acrylic
It's never been easier to create professional-looking hand lettering. All you need is a few craft essentials and a practice sheet to download!
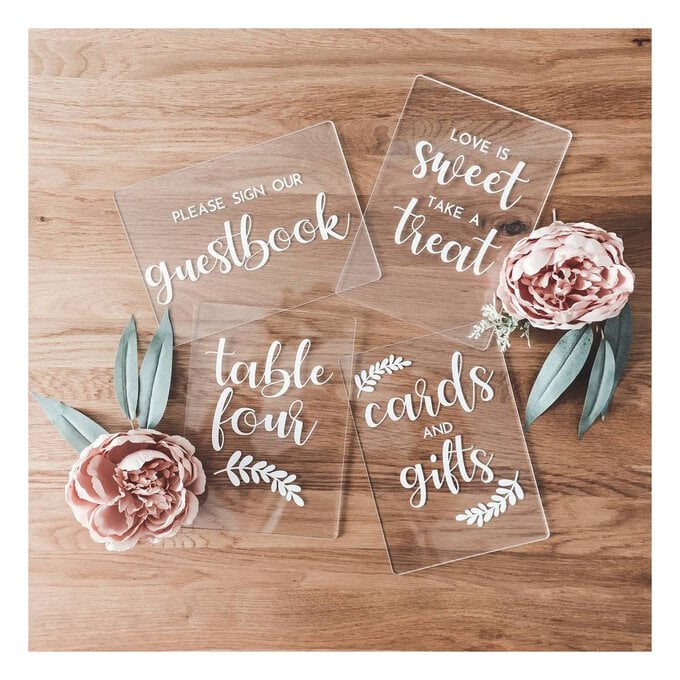
Whether you're creating the perfect garden party for your friends or customising signs for your wedding, this tutorial will help you master creative lettering in no time!
Project and instructions by Becki Clark
You will need
Subtotal
Is $ 21.00
Subtotal
Is $ 6.49
How to make
You will also need:
*A ruler
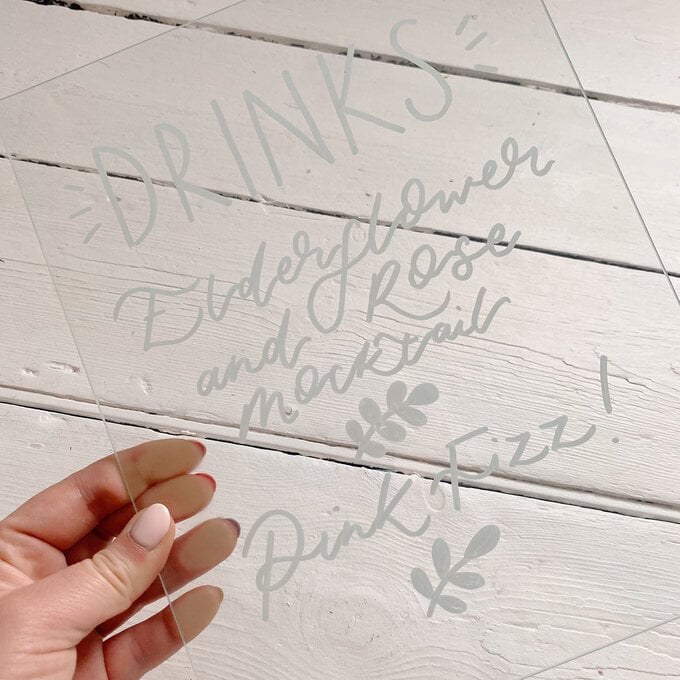
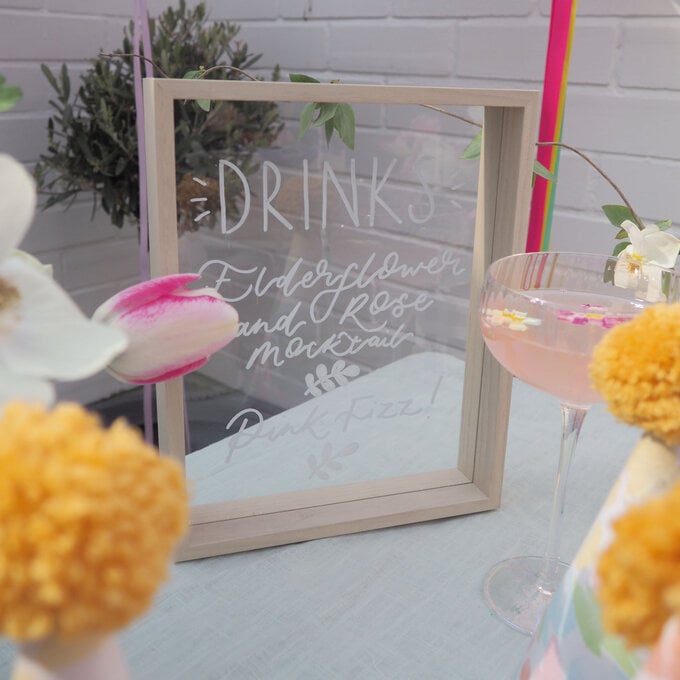
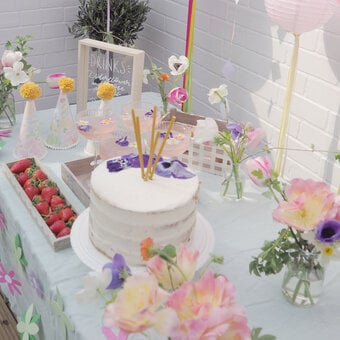
To make a professional looking hand lettering glass or acrylic frame the key thing to remember is spacing, You want your lettering to be sat directly in the middle with equal space between each line of lettering.
For the Drinks title find the middle of the your glass frame in the top quarter of the glass and add a small dot half way across the glass.
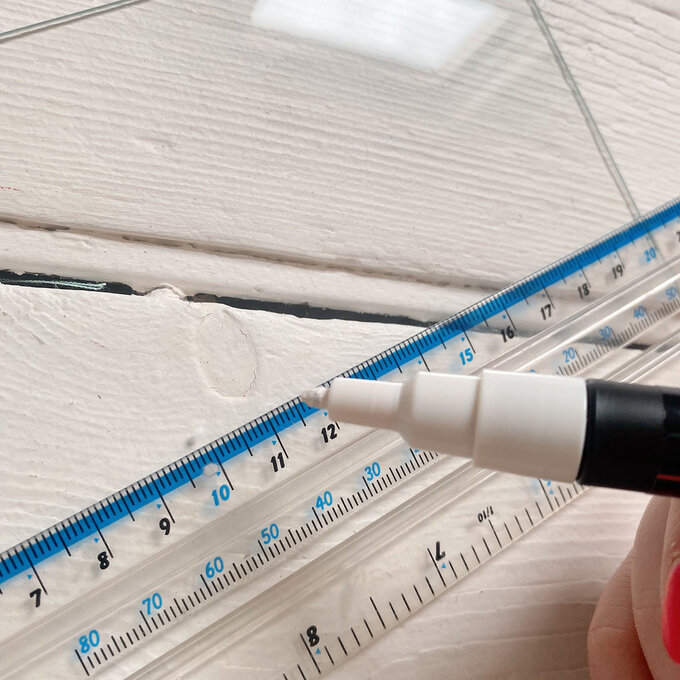
You can then make sure the middle of the word Drinks hits that line to ensure that the lettering is sat in the middle. If you find it easier use washi tape to attach your ruler to the glass so that you can use the ruler as a guide whilst lettering.
The Drinks title has been lettering in a elongated Capital style that you can find on the downloadable templates and practice before you start of your surface. Mark out 2cm in from the right and left sides to give you your starting point for your next line of lettering
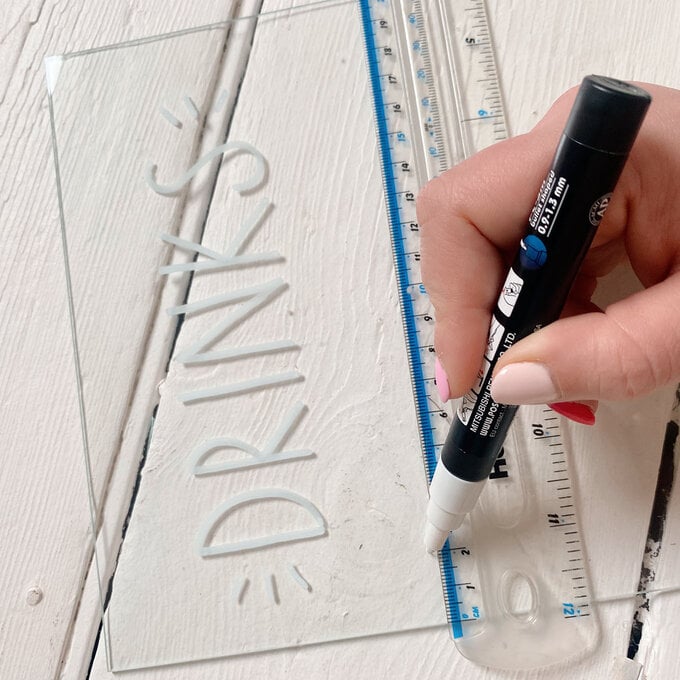
With the calligraphy style of lettering you can also the dots to know where to start and finish to create a professional and well designed look. Again download the guide sheets and have a practice so you feel confident with the lettering style.
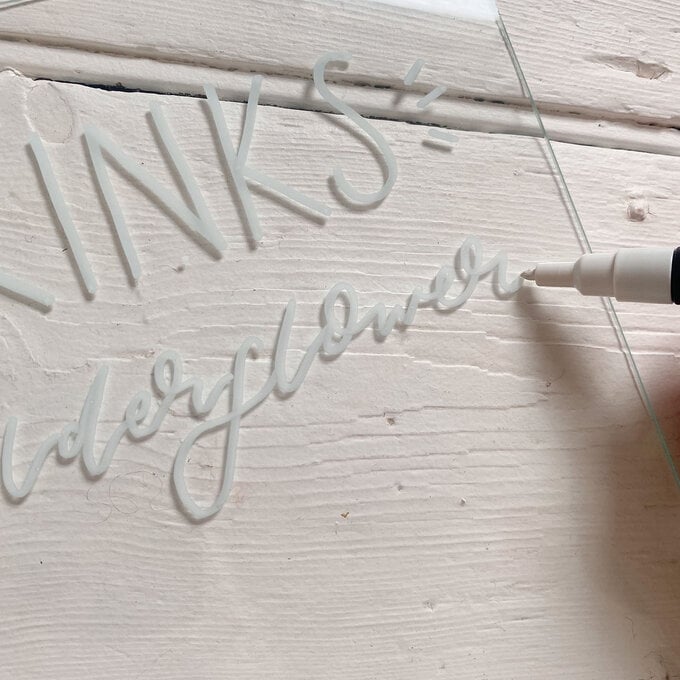
Add small foliage motifs between the lettering to break up the design and give your lettering space. A foliage shape can be made by drawing a curved line and then adding small teardrop shapes along the line.
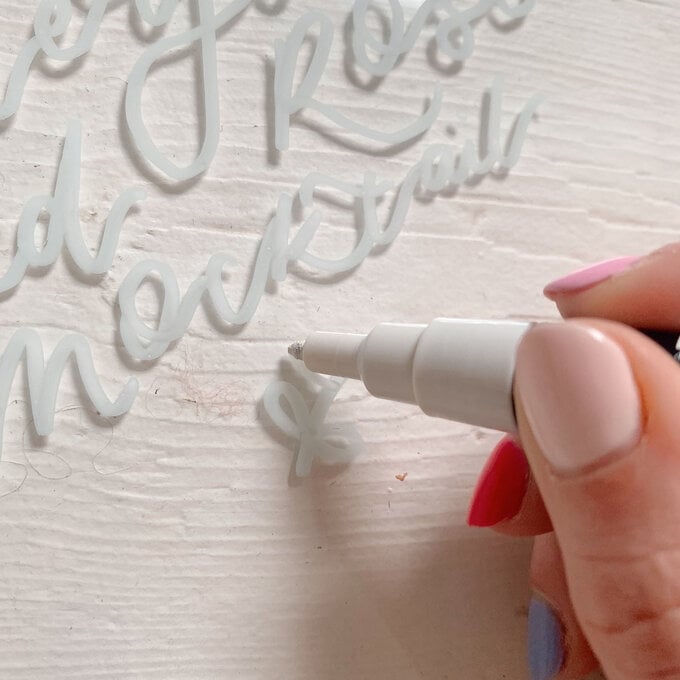
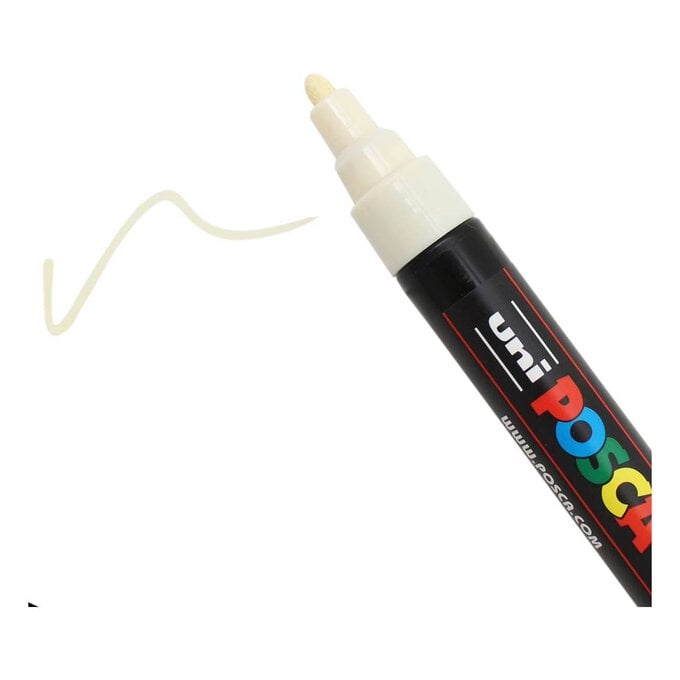
The great thing about the paint pens is if you're not happy with your design you can wipe off and start again. Once you are happy pop the glass or acrylic back in its frame or stand!
