How to Make Beeswax Wraps
Beeswax wraps are the ultimate reusable, zero waste alternative to cling film and tin foil. Drastically reduce your kitchen waste by creating a set of wraps using fat quarters of your choosing. Beeswax wraps also make excellent gifts for your fellow eco-conscious friends and family.
To use a beeswax wrap, use the warmth of your hands to shape around the item, forming a seal. Clean with cold-warm soapy water – do not use hot water as this will melt the wraps!
***IMPORTANT PLEASE READ***
Whilst your wax in the oven, ensure you keep a close eye on it as leaving it in there for too long could cause the risk of a fire. Take care when removing your wax as it can get extremely hot, we don't want any accidents!
You will need
Subtotal
Is $ 10.00
Subtotal
Is $ 5.49
Subtotal
Is $ 37.00
Out of stock
Subtotal
Is $ 18.00
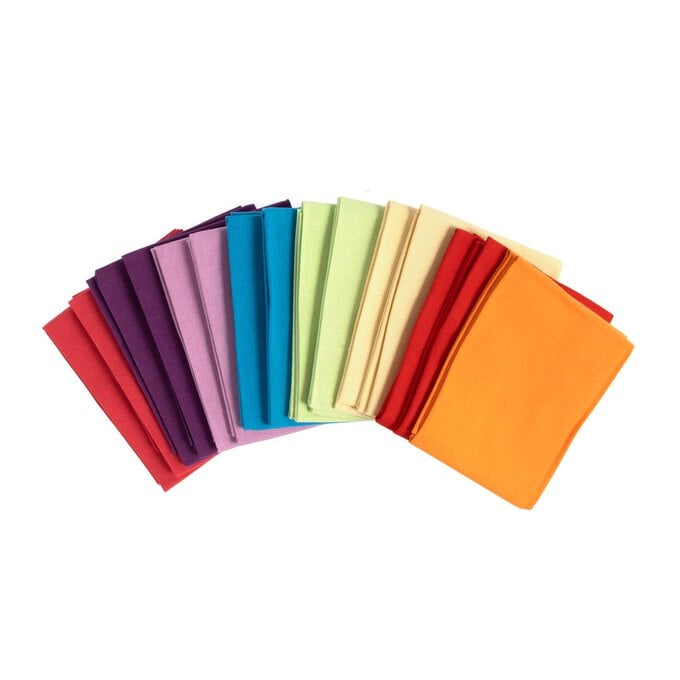
* Fat Quarters
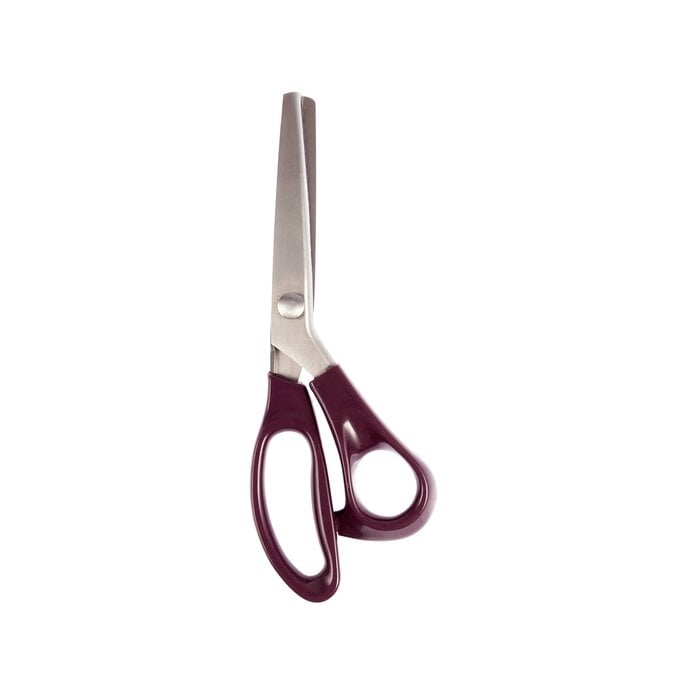
* Pinking Sheers
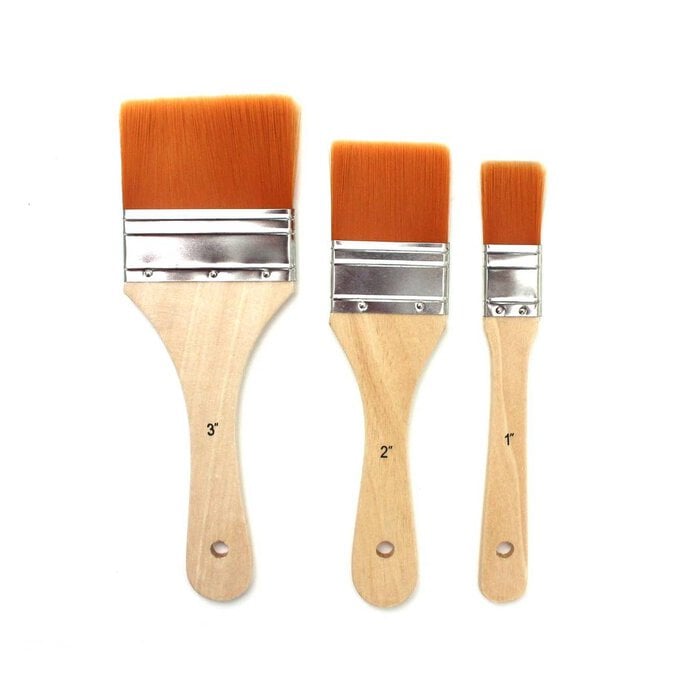
* Large Brush
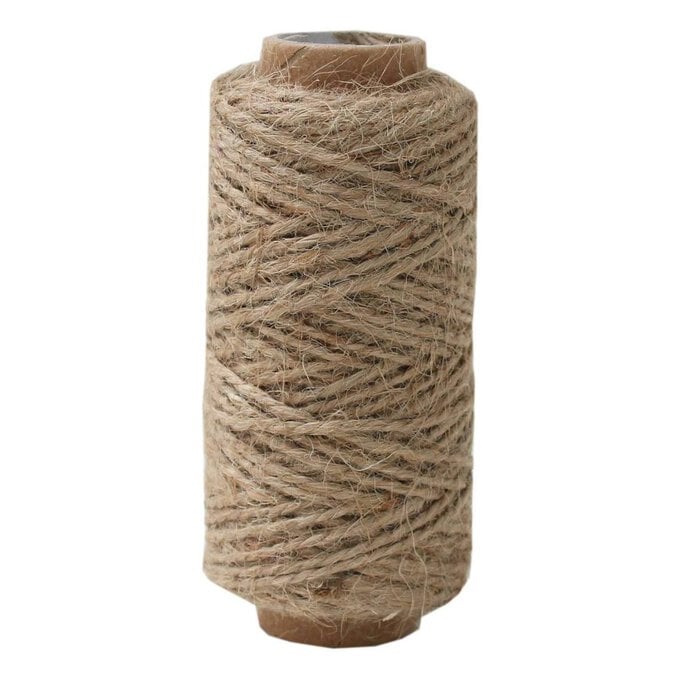
* Twine
* Wooden Pegs
* Deep Oven Tray
* Newspaper
* Saucepan (or Double Boiler)
* Pyrex Bowl
* Pestle and Mortar (or Rolling Pin)
* Wooden Spoon
* Baking Tray
* Silicone Mould (optional)
* 100g Beeswax Pellets
* 70g Pine Resin
* 10ml Jojoba Oil
Beeswax, Pine Resin, and Jojoba Oil can be purchased from Baldwins.co.uk.

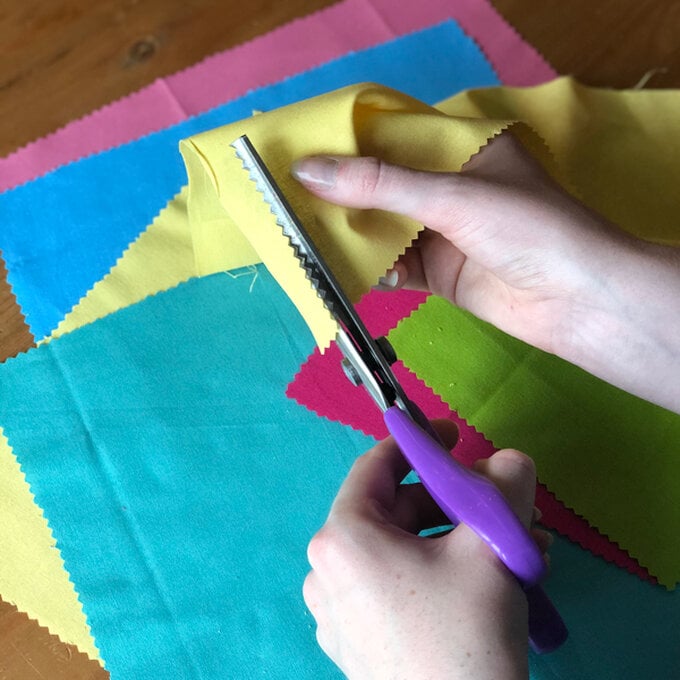
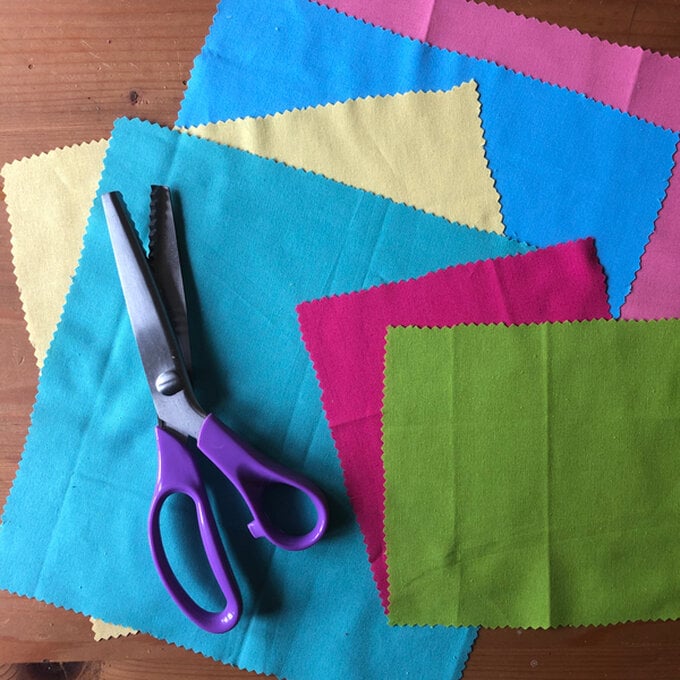
Pre-wash, dry, and iron your fabric. Cut to desired size using pinking shears to prevent fraying. As a guide, this recipe will make roughly 20 wraps.
Pine resin has antimicrobial and antibacterial properties, hardens when exposed to air and melts when exposed to heat and has a tacky quality. This makes it the perfect addition to your recipe, and will make your beeswax wraps more effective and last longer. To prepare the pine resin, use a pestle and mortar or rolling pin to crush the resin into a fine powder.
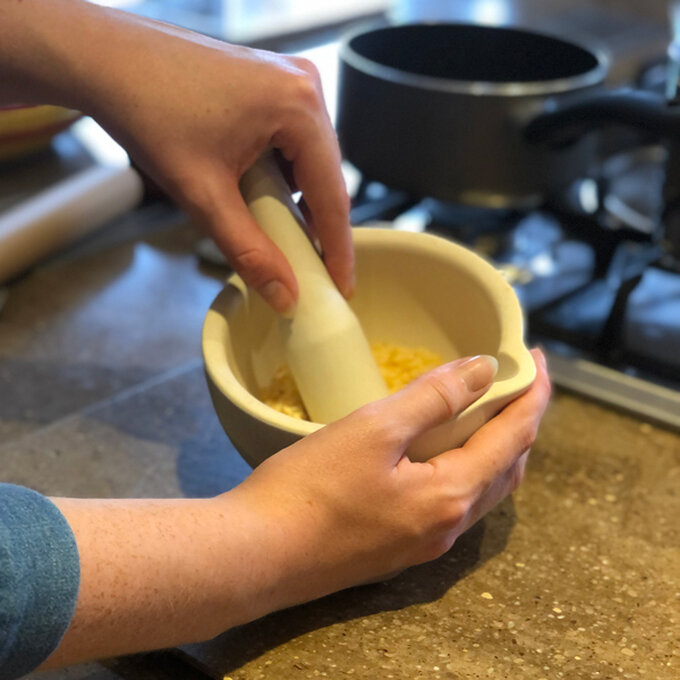
To melt, create a bain-marie with a Pyrex bowl and saucepan and pour in 70g of powdered pine resin. Melt on a low heat – this can take up to 20 minutes.
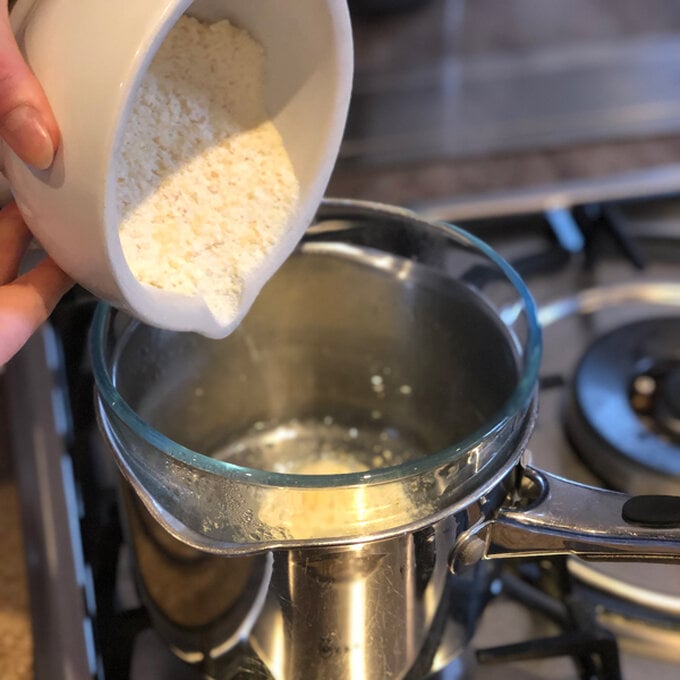
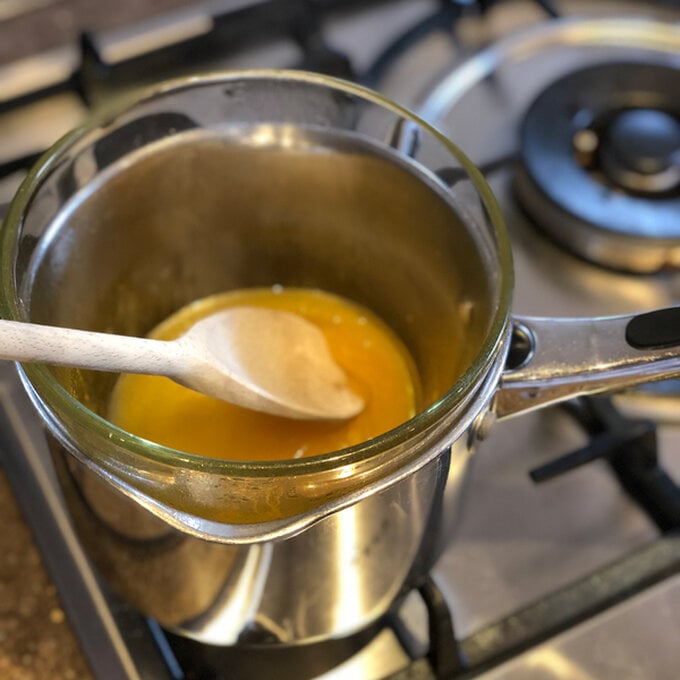
Pour in 100g of beeswax pellets
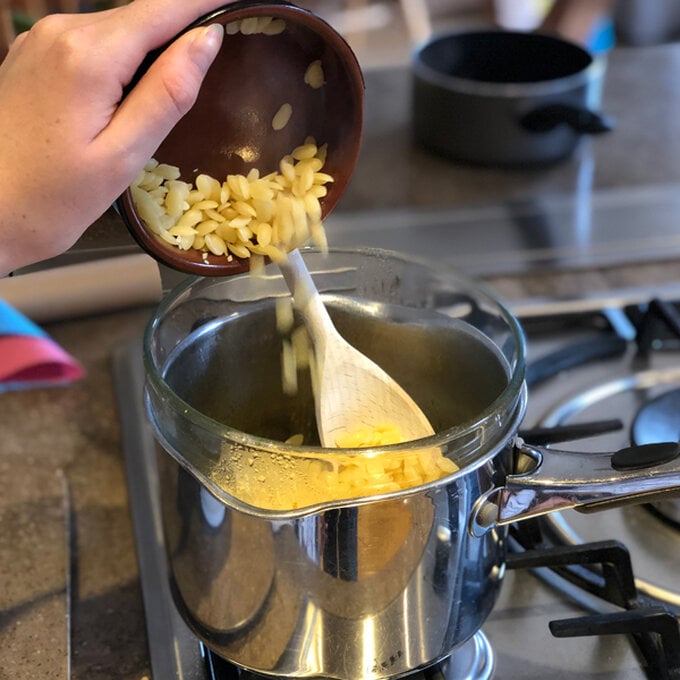
Add in 1tsp of jojoba oil, which will make the wraps more pliable. Gently mix the beeswax pellets and jojoba oil into the melted pine resin, keeping the bain-marie topped up with water and on a low heat. This should take around 10 minutes.
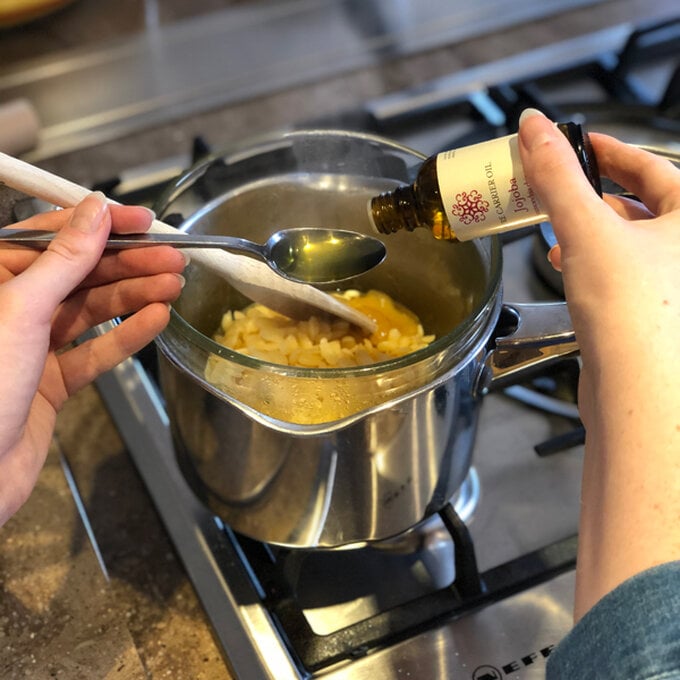
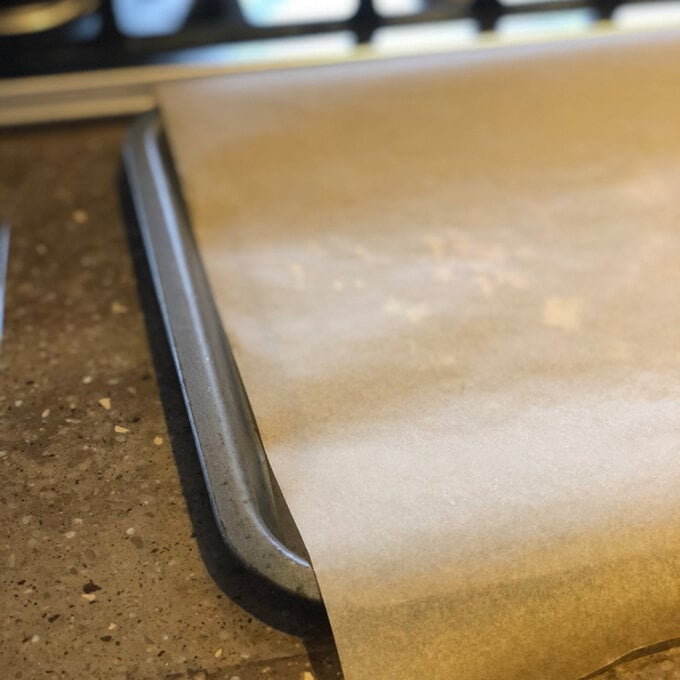
Whilst you're waiting for the mixture to melt together, heat your oven to 140°C and line an old baking tray with non-stick baking paper. Once the mixture is ready, place a fabric square on the baking tray and heat in the oven for two minutes. This will help the mixture spread freely.
Keep the mixture on the bain-marie to ensure it stays melted. Use the large paintbrush to brush the mixture onto your heated wrap. You do not need a thick coat of wax, just enough to permeate the fabric.
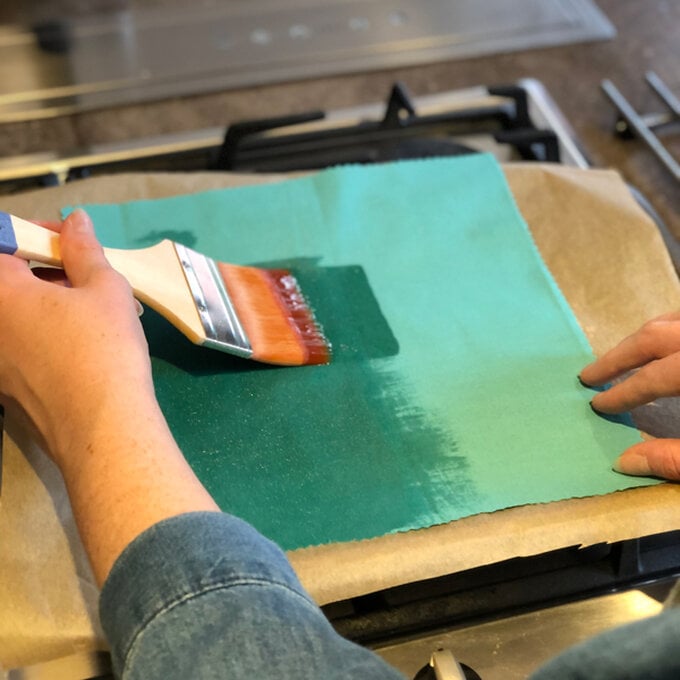
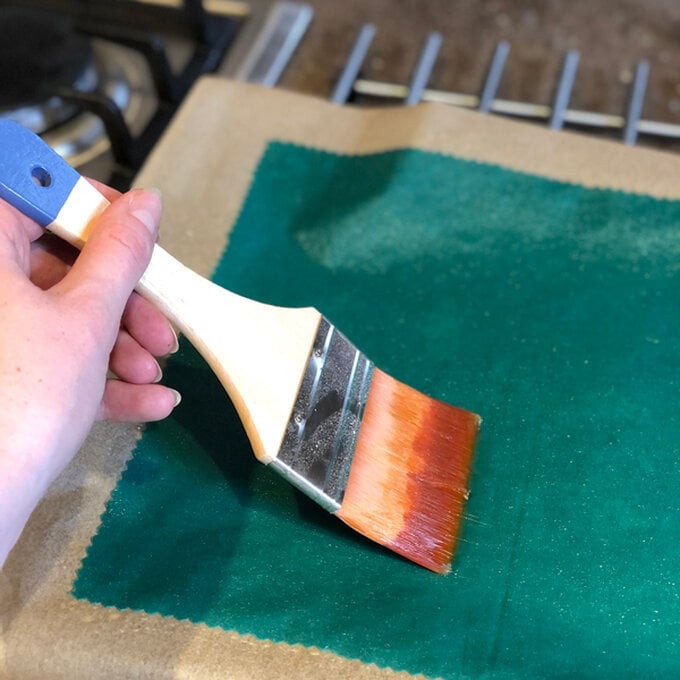
Place back in the oven for one minute to melt the mixture and brush again to ensure that the wrap is evenly covered.
Top Tip: Take care when removing your wax from the oven as it will be scalding hot!
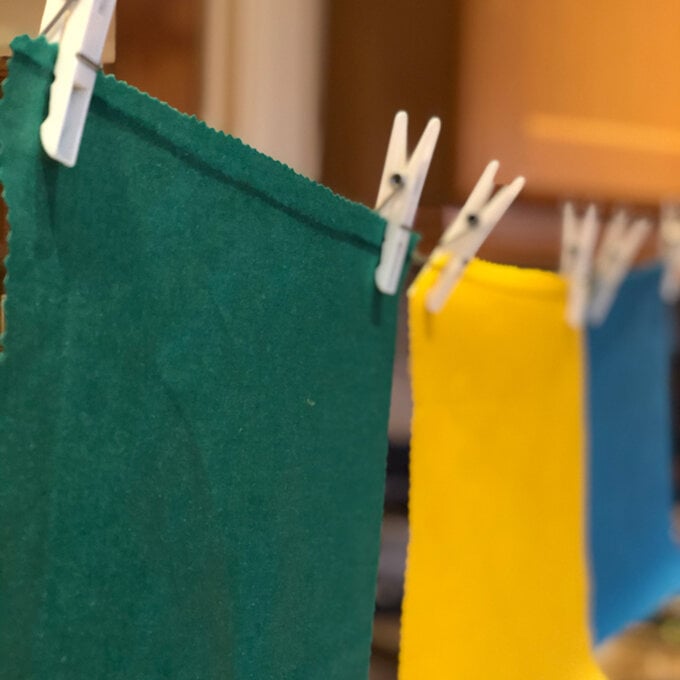
Hang your drying wraps on a piece of string with pegs – be aware that the drying mixture will transfer onto the string and pegs. Put some newspaper underneath to catch any drips. The wraps should dry completely within 2-3 minutes!
