How to Make a Toy Ice Cream Stand
Kids will love making and playing with this mini toy ice cream stand over the summer - and you won't be left with melted ice cream and sticky faces!
Raid the recycling for a cereal box for the stand, and an egg carton for the cones before you start this make.
You will need
Subtotal
Is $ 1.49
Subtotal
Is $ 4.49
Subtotal
Is $ 11.00
Subtotal
Is $ 1.49
How to make
* Assorted Fab Foam 21cm x 15cm 25 Pack
* Teal Biodegradable Glitter Shaker 20g
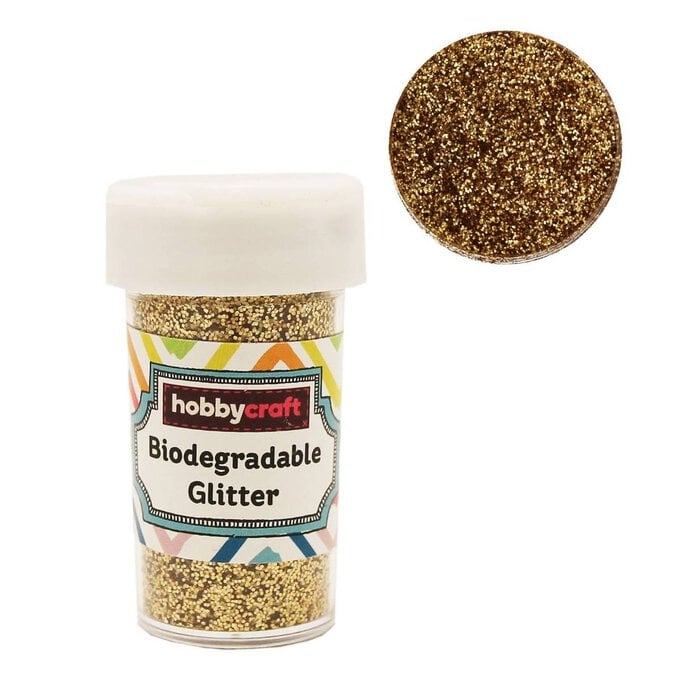
* Gold Biodegradable Glitter Shaker 20g
* Red Glitter Effect Card A4 16 Sheets
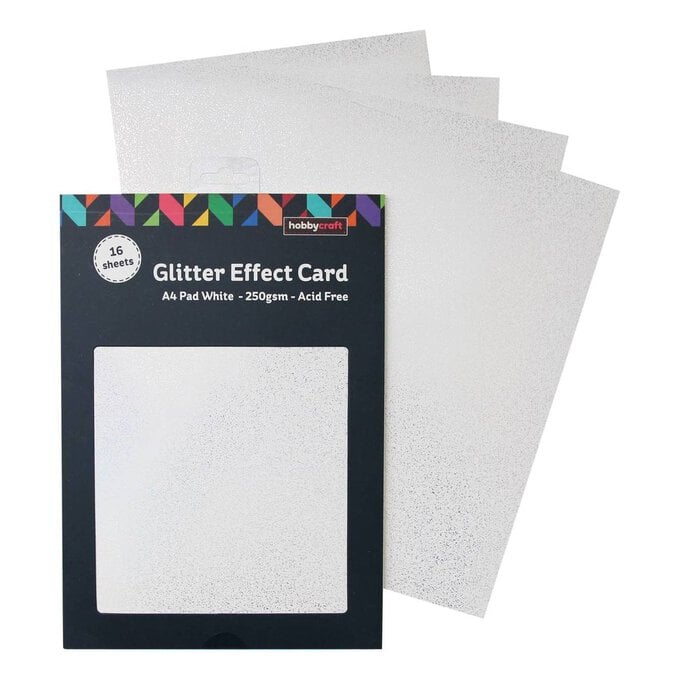
* White Glitter Effect Card A4 16 Sheets
* Assorted Pom Poms 7mm 100 Pack
* Pink Pom Poms 5cm 6 Pack
* Titanium White Art Acrylic Paint 75ml
* Bostik Original Blu Tack 90g
* Kids Paint Brush Set 3 Pack
* Natural Wooden Craft Sticks 50 Pack

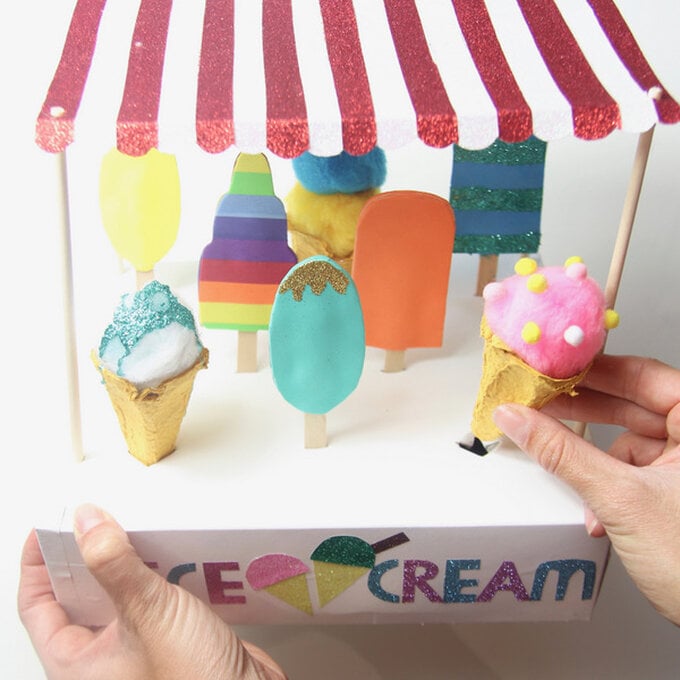
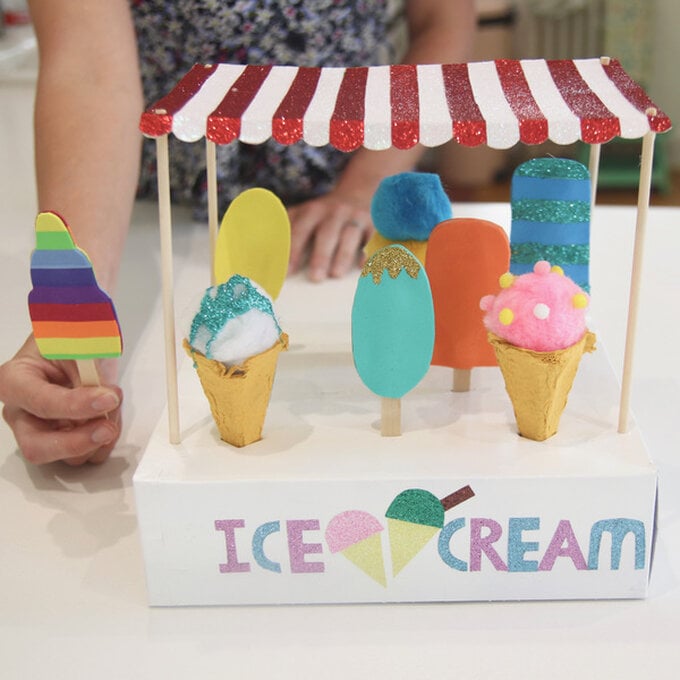
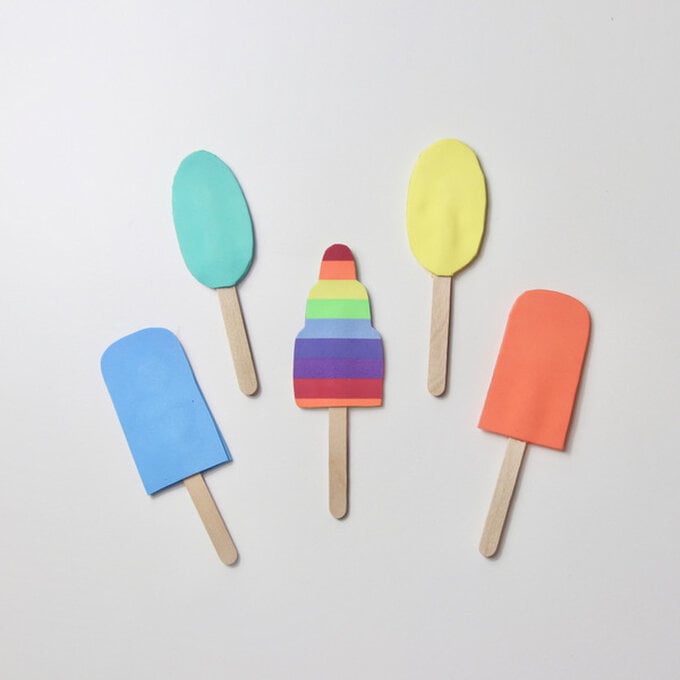
Draw and cut some basic lolly shapes from a scrap of paper for a template. Use these to draw and cut two matching shapes from craft foam. Glue the shapes together with a lollipop stick in the middle.
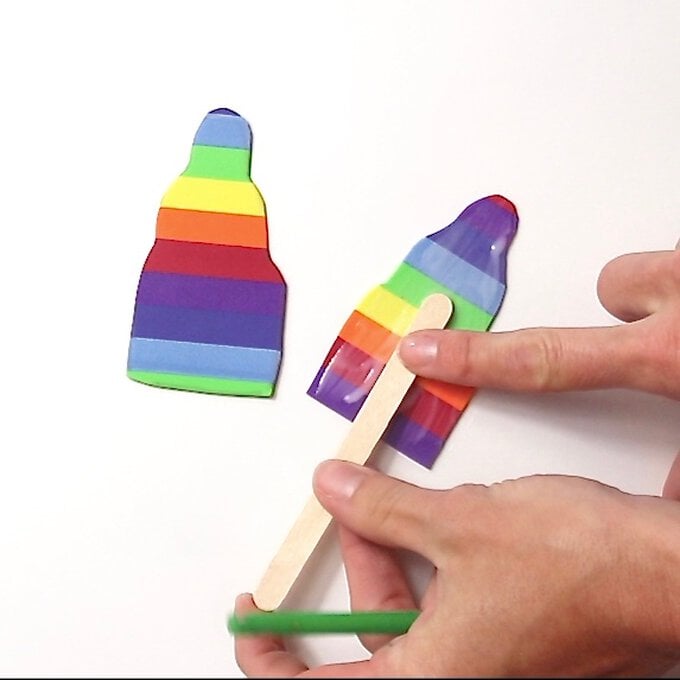
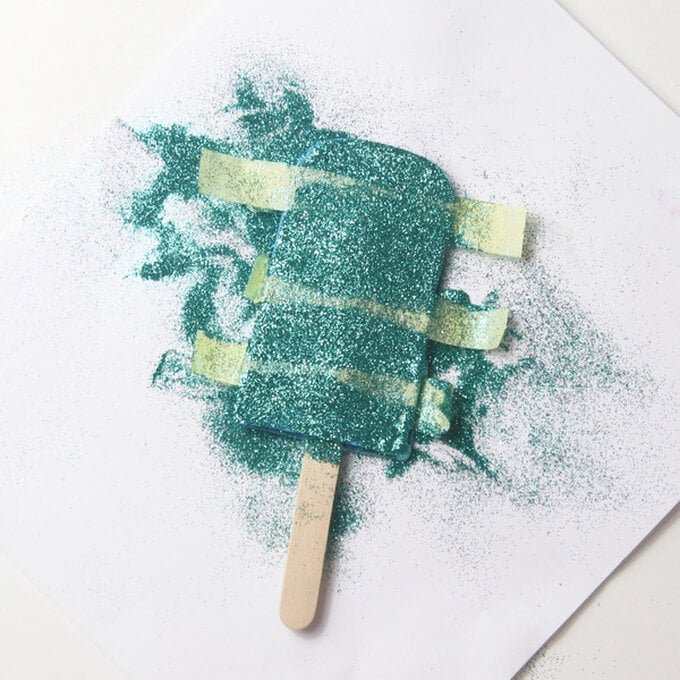
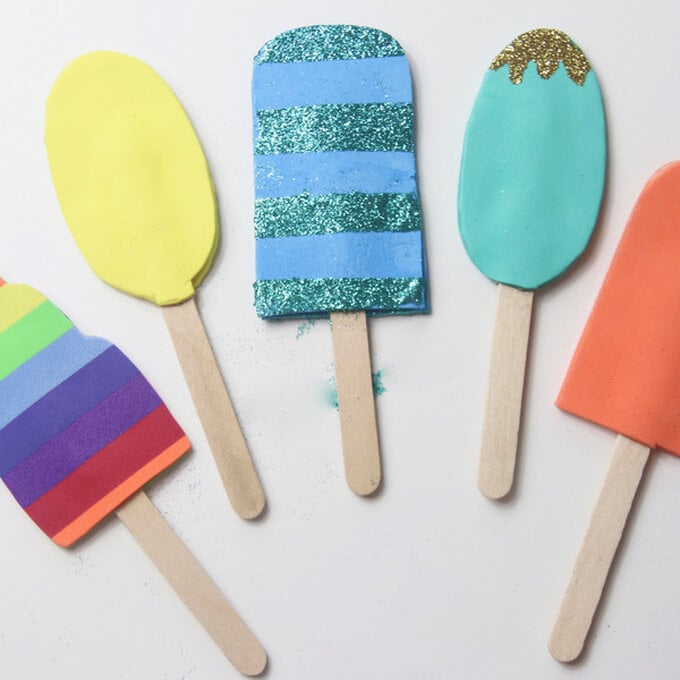
If you like, add a bit of glue to the top of the lollies and sprinkle glitter on, or add masking tape in strips then glue and add glitter. Once the glue has dried, peel off the tape.
To make the ice cream cones, cut out the middle cones from an egg carton and neaten the top with scissors. Glue one or two large pom poms into the cone. If you want sprinkles, glue mini pom poms on top.

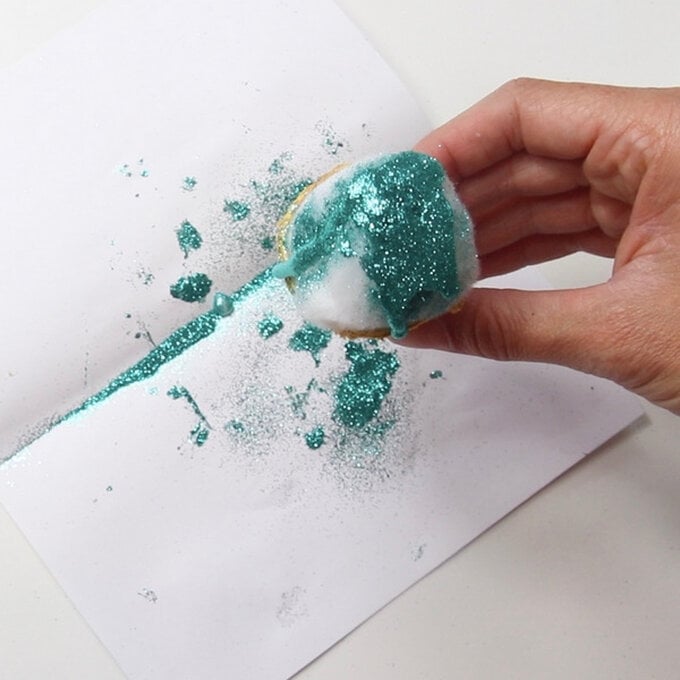
Add a sauce topping by drizzling a little PVA glue onto the ice cream, then sprinkling glitter on top. Keep upright and leave to dry.
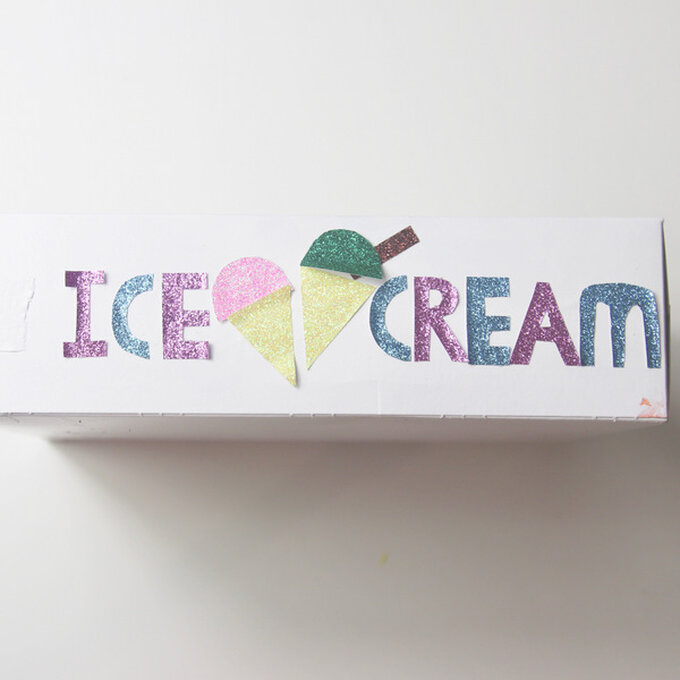
To make the stand, tape up the end of the cereal box and paint white. Make a sign for the front by cutting letters and ice cream shapes from sparkly paper. You could personalise it with your name, initials or a shop name if you like. Glue to the long side of the box.
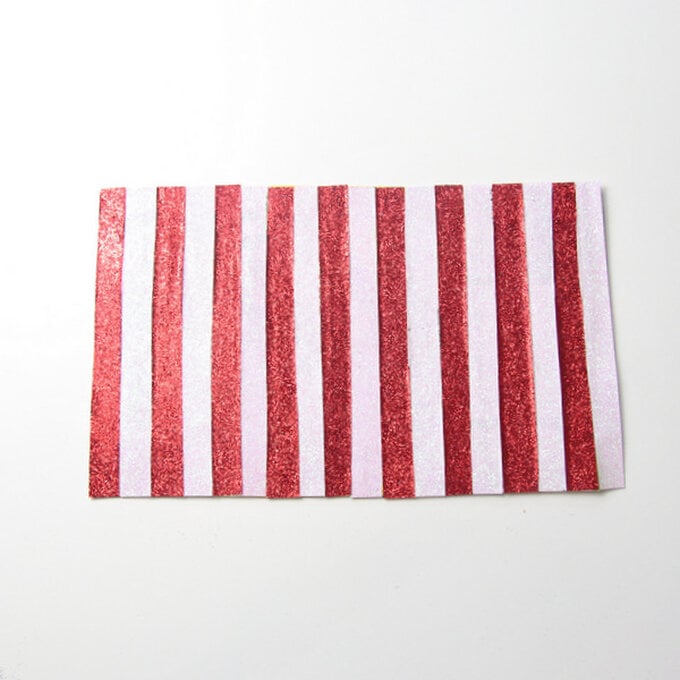
To make the canopy, cut some card to the same length as the stand and a little shorter in width. Cut strips of red and white sparkly paper and glue across the width of the card in alternating colours.
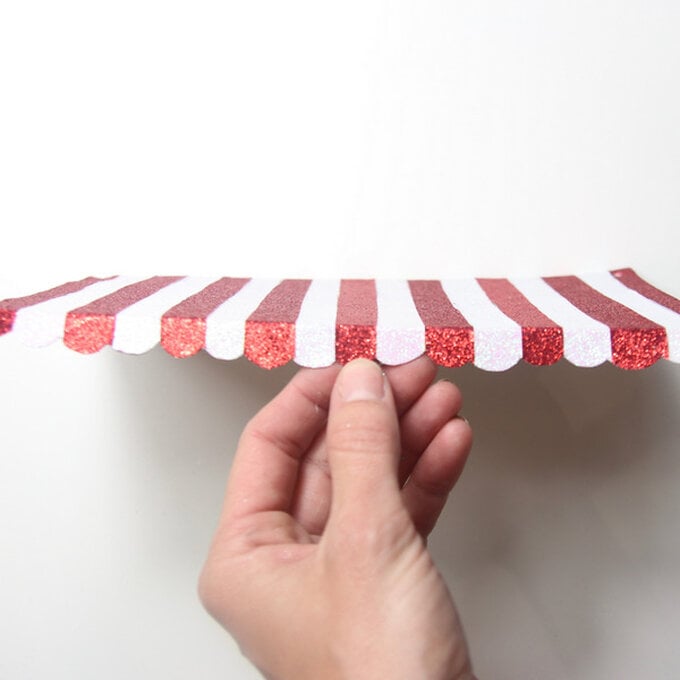
Cut one long side of the roof to form a scalloped edge, like an awning. Score a line approximately 1cm from the scalloped edge and fold down.
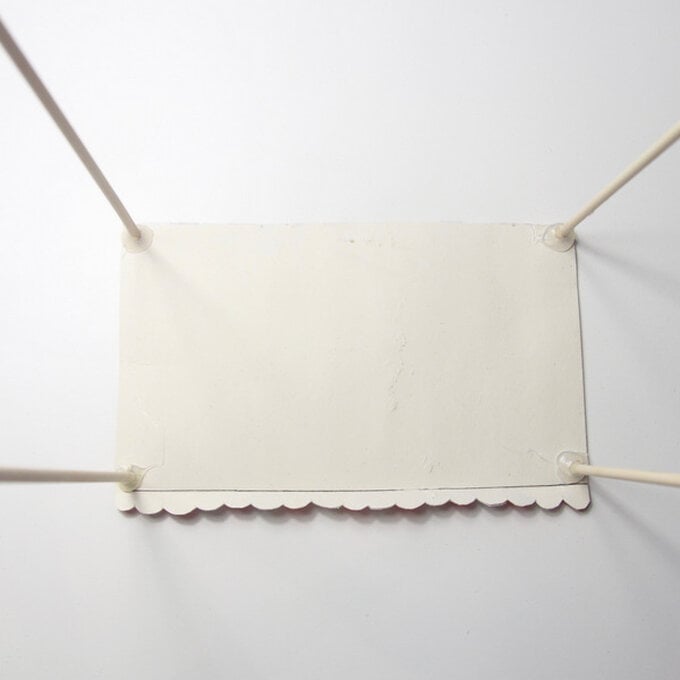
Make a hole in each corner of the canopy for the dowel, using a wooden skewer and blu tak. Insert the dowel so that only a few millimetres are poking out the top of the canopy. Secure in place with plenty of glue and leave to dry.
Mark and cut slits for the ice lollies and crosses for the ice creams. These should be just big enough to hold your goodies upright on your stall.
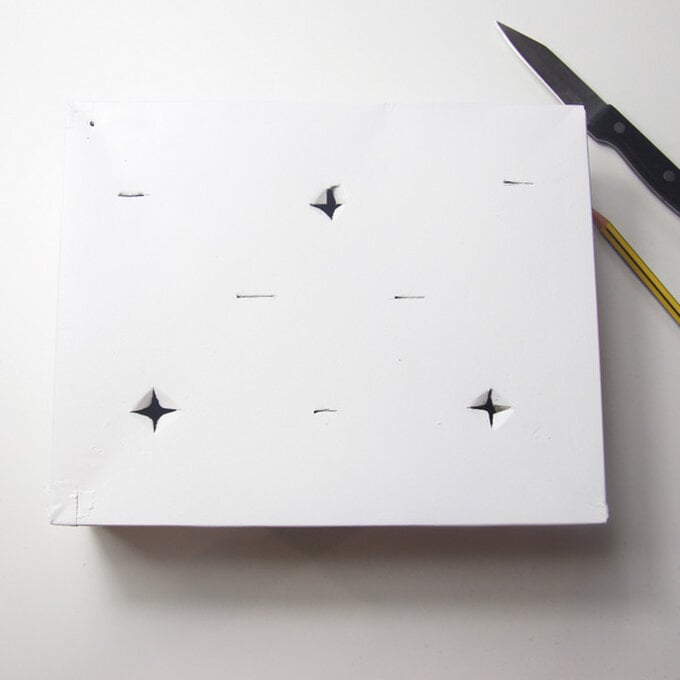
Mark the position of the bottoms of the dowel on the stand and poke a hole through with scissors. Slide the canopy into the stand. You can glue in place if you like, or keep like this so that you can dismantle and store the stand more easily.
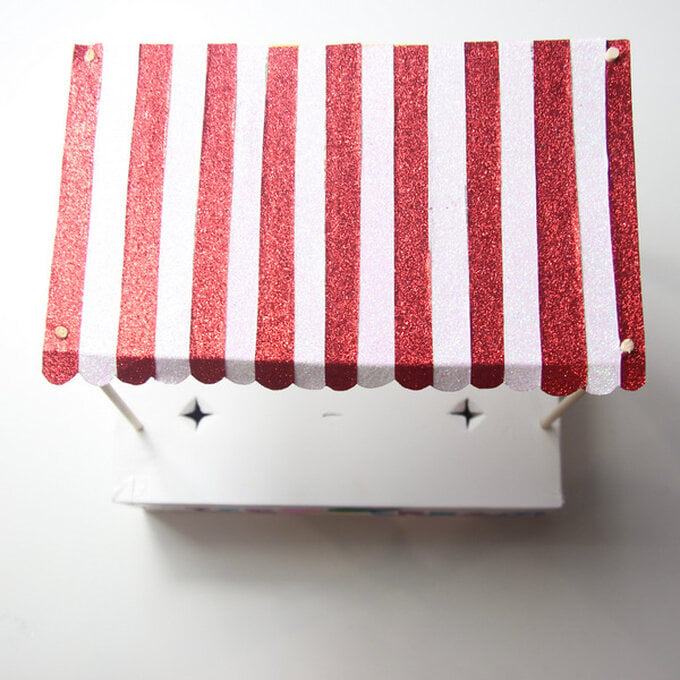
Fill up your ice cream stand with lollies and ice creams and you are ready for business!
