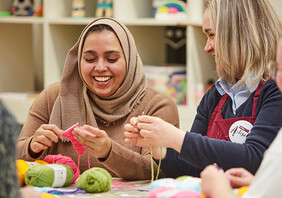
Get Started In Clay Modelling
When working with clay, your next great idea is at your fingertips!
From unique jewellery to home decor, discover how you can transform polymer and air drying clay into stunning designs in a few simple steps.
We'll take you from the materials you need through to the last decorative detail, showing you how easy it is to craft with clay.
You will need
Subtotal
Is $ 6.49 , was $ 7.49
Subtotal
Is $ 9.49 , was $ 12.00
Subtotal
Is $ 7.49
Subtotal
Is $ 18.00
Get Started In Clay Modelling
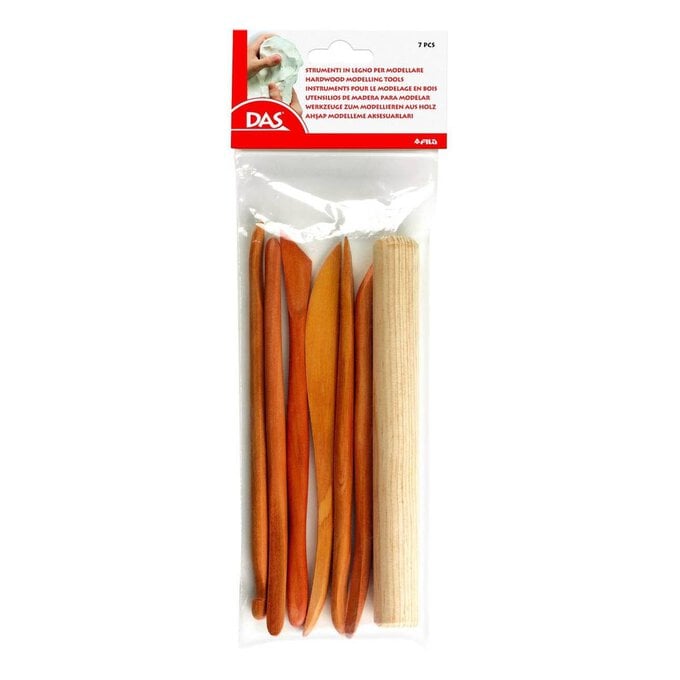
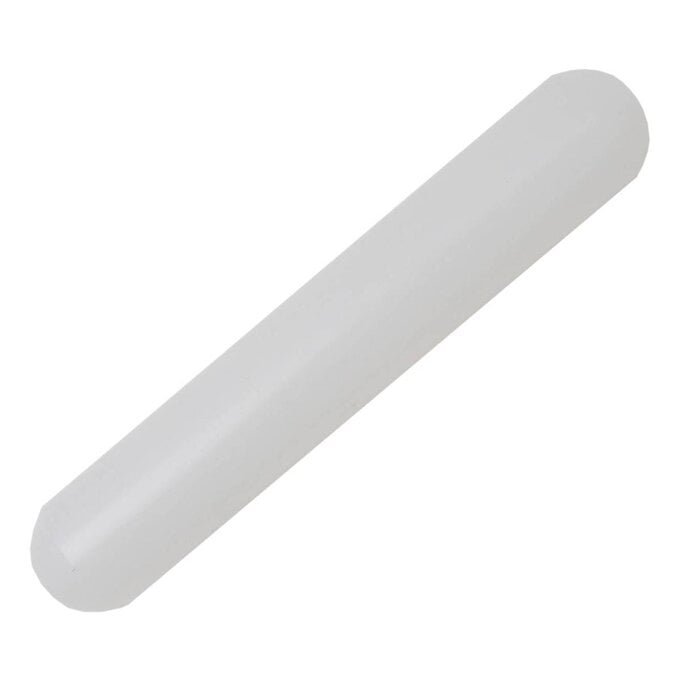
With the right set of tools, you'll be all set to shape your clay with ease. The rolling pin will help you smooth out your clay, while the rest of the tools allow you to shape, mark and manipulate your material to create a personalised design.
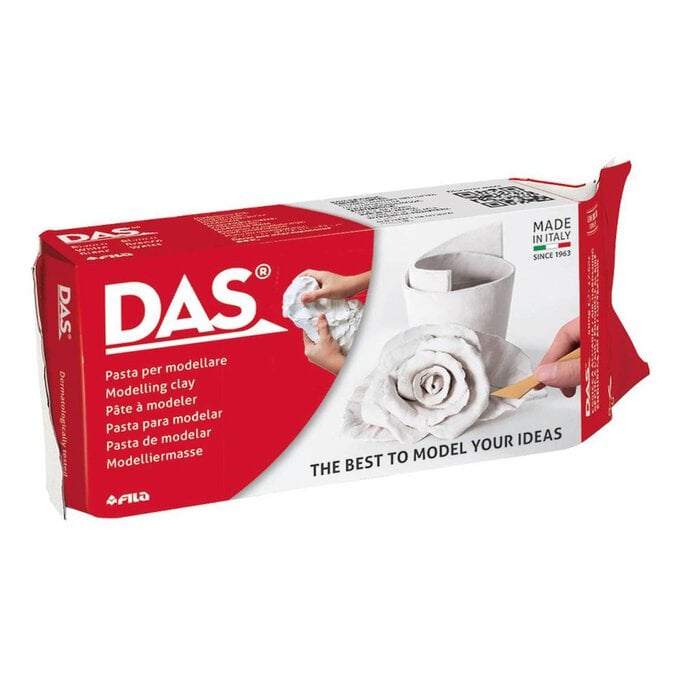
Air Drying Clay: Create a huge range of clay model designs easily without the need for an oven or kiln. An easy modelling material to work with, this clay moulds easily and dries to a firm and strong finish.
Polymer Clay: Polymer clay, or oven-bake clay, is a versatile clay that’s great for achieving a high-quality finish that will harden once baked at home.
Wooden Tools: The hardwood quality of these shapers, rollers and spatulas allows you to create clean and efficient markings and shapes. They’re great for use with air drying and polymer clays.


In a few simple steps, use air drying clay in a coil to build up a sturdy pot. It's a great way to get to grips with clay and you can paint and personalise the finished item to make a lovely storage pot, plant pot or decorative feature.
Step 1: Roll out your clay with a rolling pin until the clay is around 1.5cm thick. Make sure you are working on a non-stick surface.
Step 2: Use a knife to cut out a circular base and set to one side.
Step 3: Use the remaining clay to roll out long sausages.
Step 4: Mark along one side of the sausages with cross-hatch, and also around the top edge of the circle.
Step 5: Wet the cross-hatched clay slightly to help with adhesion. Place on top of the base, cutting off any excess and joining the two ends.
Step 6: Use your hands or a blunt tool to smooth down the joins on the outside and inside of the pot to secure.
Step 7: Continue to build up the layers in the same way until the pot is the desired height. Once finished, leave for 24 hours to dry, and decorate to your taste.


Create statement jewellery that's personalised to suit your style. It'll be easy to combine your favourite colours of polymer clay to transform into unique beads, ready to become your favourite new accessory or the perfect gift.
Step 1: Preheat your oven to 110°C. Take off some clay from the block and warm up in your hands, then roll into a long sausage.
Step 2: Repeat with two other colours and then twist together.
Step 3: Roll the colours together and roll out into a longer sausage.
Step 4: Fold over the sausage and twist together again.
Step 5: Roll together once more until the sausage is at the desired width that you’d like the beads to be. Cut up the beads using a knife.
Step 6: Place the beads onto a lined baking tray and bake for 30 minutes at 110°C.


Browse top craft projects with step-by-step guides showing you how to bring every idea to life.
How to Make Vibrant Clay Animals
Create some colourful clay animals inspired by the vibrant, decorative folk arts of Mexico.
How to Make a FIMO Clay Flower Frame
Display that special memory or moment in the most fantastic way by creating a personalised photo frame with FIMO Moulding Clay!
How to Make a Family of Clay Bear Planters
These cute mini bear planters are a great addition to any room or make the perfect gift!
How to Make a Terrazzo Plant Pot with FIMO
Creating a beautiful terrazzo pot for your plants has never been easier! Create your pot any size and colour you like using FIMO Modelling Clay.


Discover seven easy ways to create beautiful items for your home using air drying clay, perfect for beginners to clay modelling.