How to Create a Fashion Illustration
If you love fashion illustration or have always wanted to give it a try, then this step-by-step guide will help you to do just that! The tutorial below and free downloadable templates will help guide you.
Don't worry about it being perfect, just have fun and you'll soon find your style and what works for you!
Project and instructions by Eleni Sofroniou
You will need
Subtotal
Is $ 9.49
Subtotal
Is $ 4.49
Subtotal
Is $ 11.00
How to make
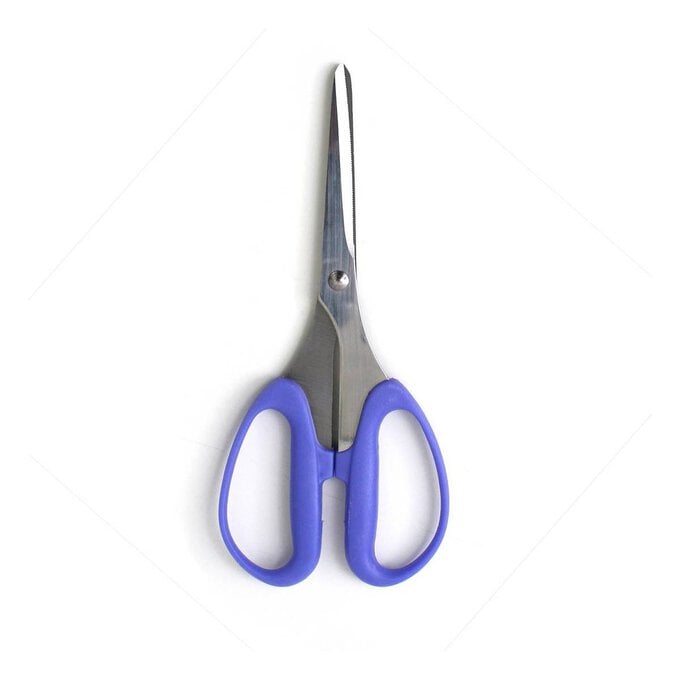
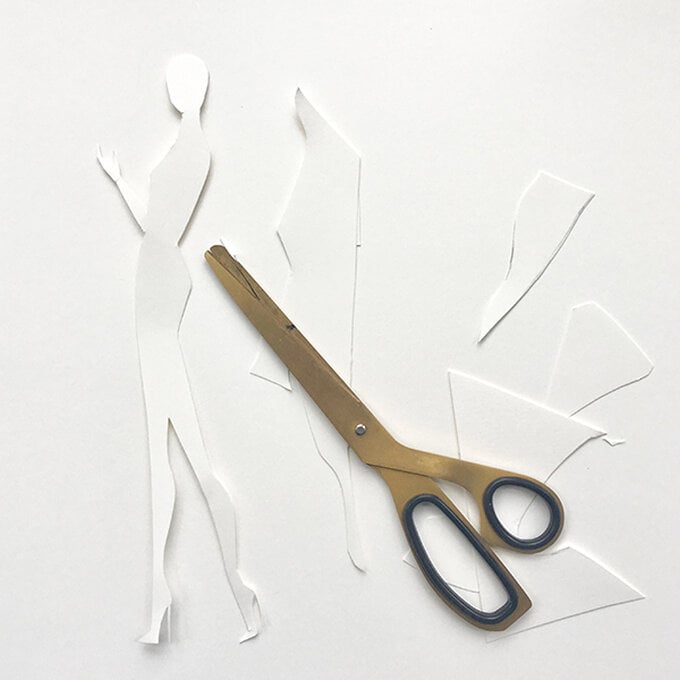
Cut out one of the fashion templates (unless you want to draw the body outline yourself!)
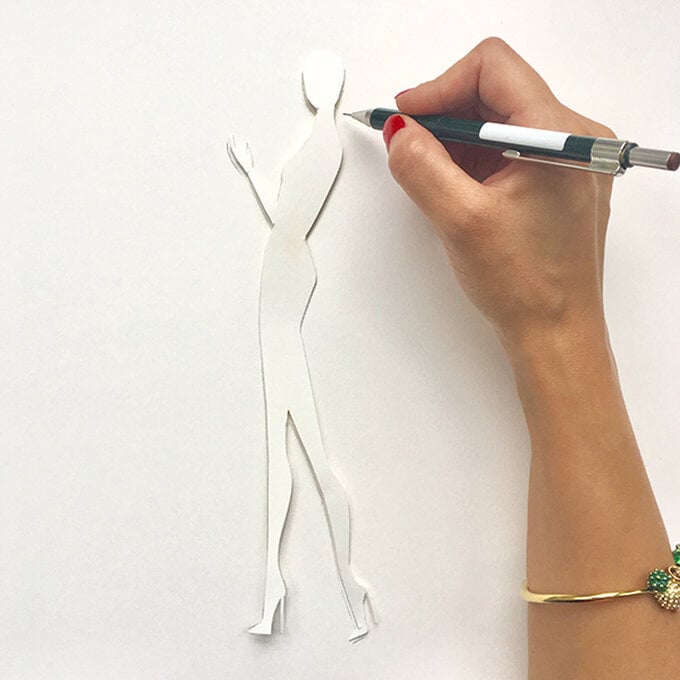
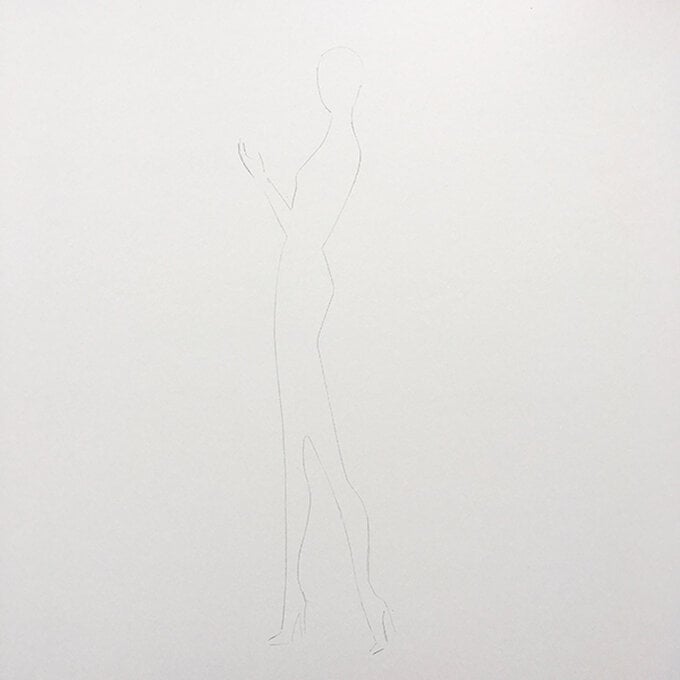
Outline the template onto the bleed proof paper lightly.
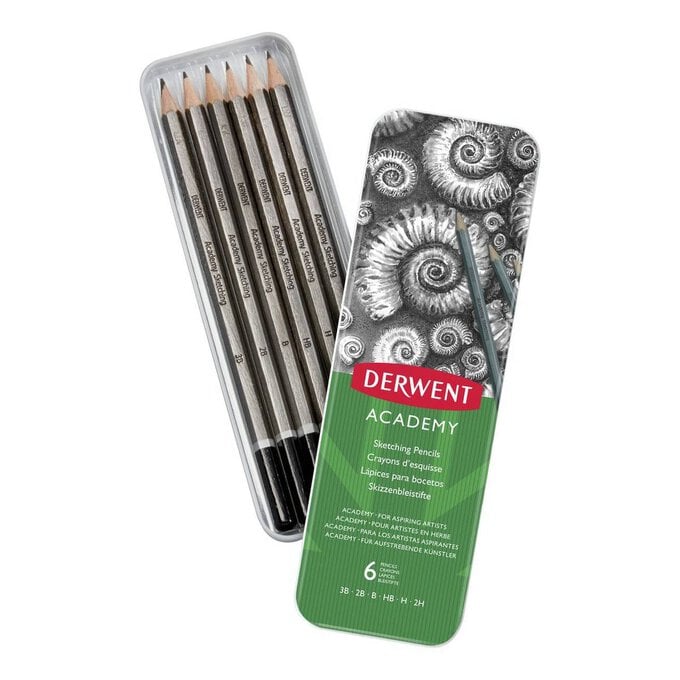
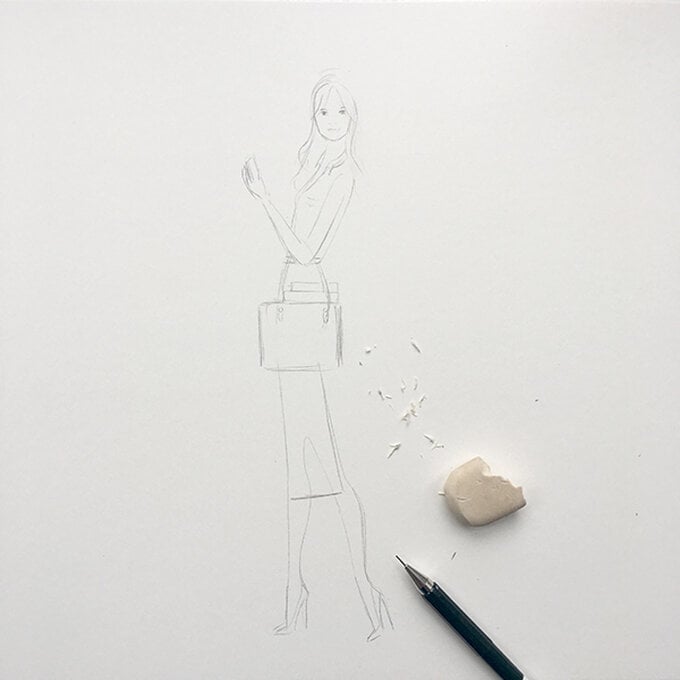
Start bringing your illustration to life by drawing the facial features, hair, clothes, accessories and shoes etc.
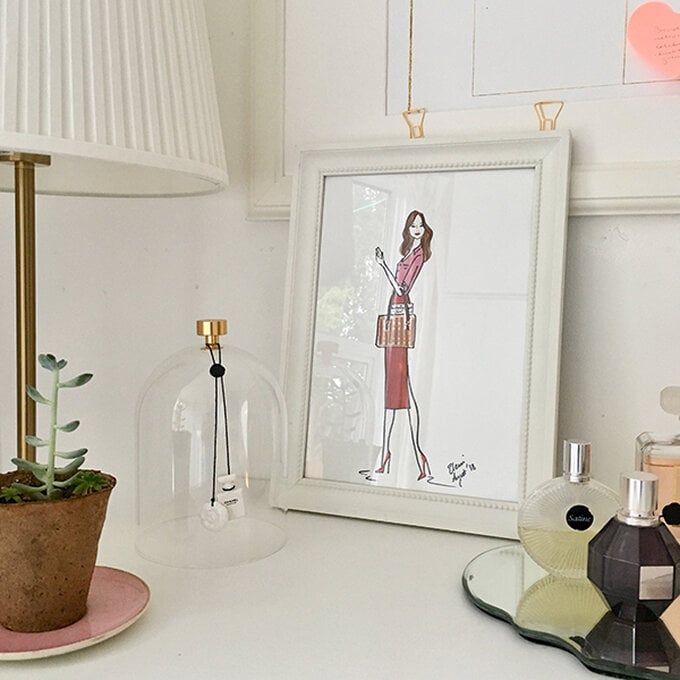
I love creating seasonal illustrations, so my illustration has soft Autumn tones and clothes that reflects the transition into Autumn.
Use the bullet nib of the Promarker over all the pencil lines including the facial features and hair.
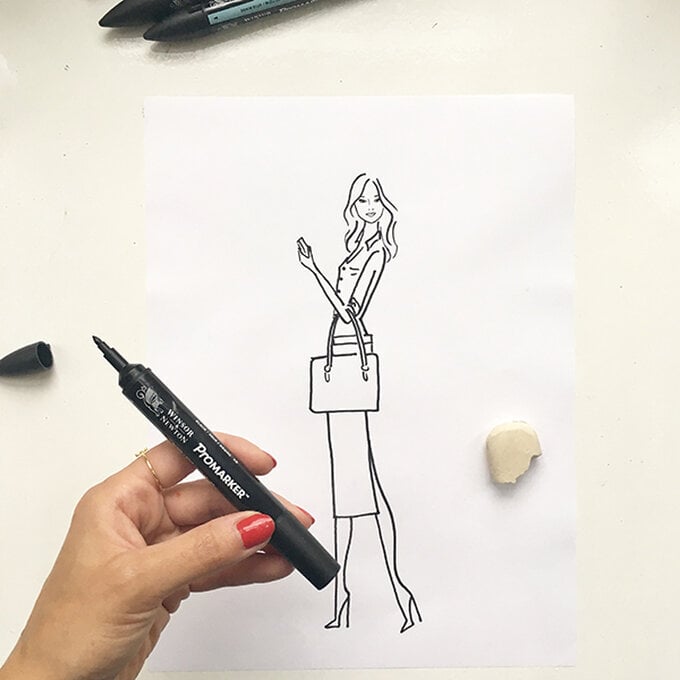
This is the fun part! Begin applying colour using the Brushmarker and Promarker pens.
The two pens can be used together as the Promarker is great for applying a base colour with the chisel tip and finer details with the bullet tip.
The Brushmarker chisel tip is also great for this. It's brush tip is perfect for creating swash lines of various weights depending on how you hold it and the pressure applied.
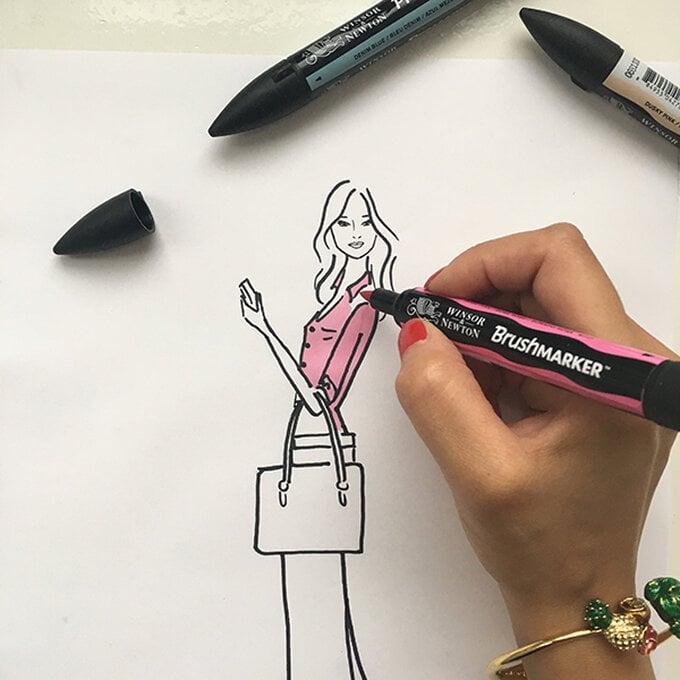
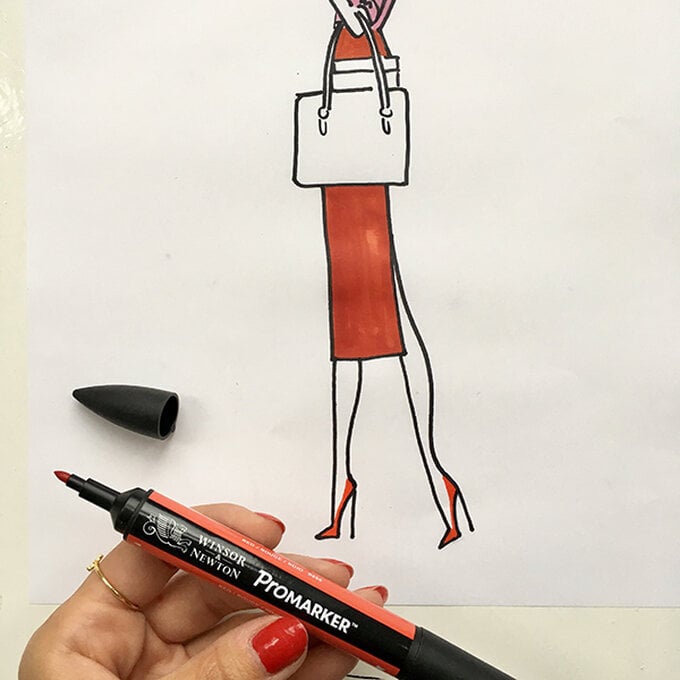
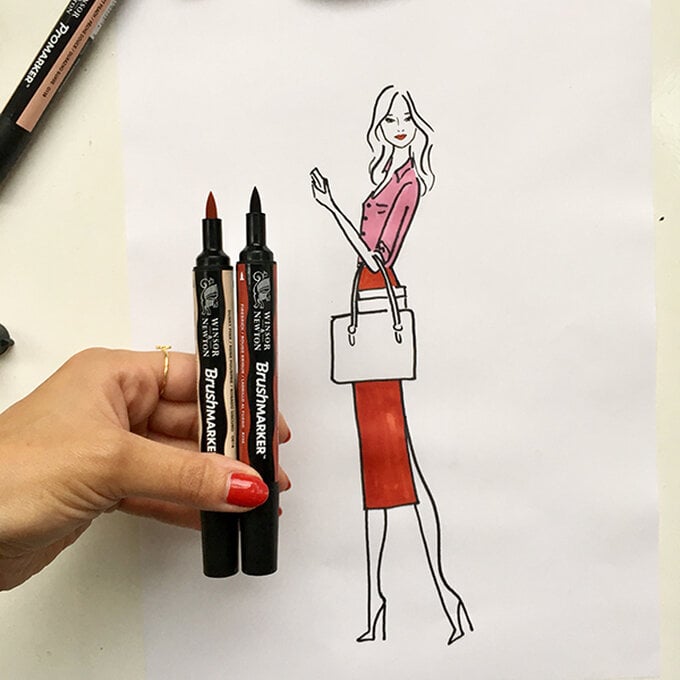
To get pretty tones and textures, you can blend colours together by layering them and blending or if you want a smooth blend of colour, use a plastic mixing palette to blend and then apply the colour onto the illustration (just like you would if you were using paints and brushes!).
The ink is translucent, so it's ideal for building up colours and gradual tones, so keep that in mind and try starting off light.
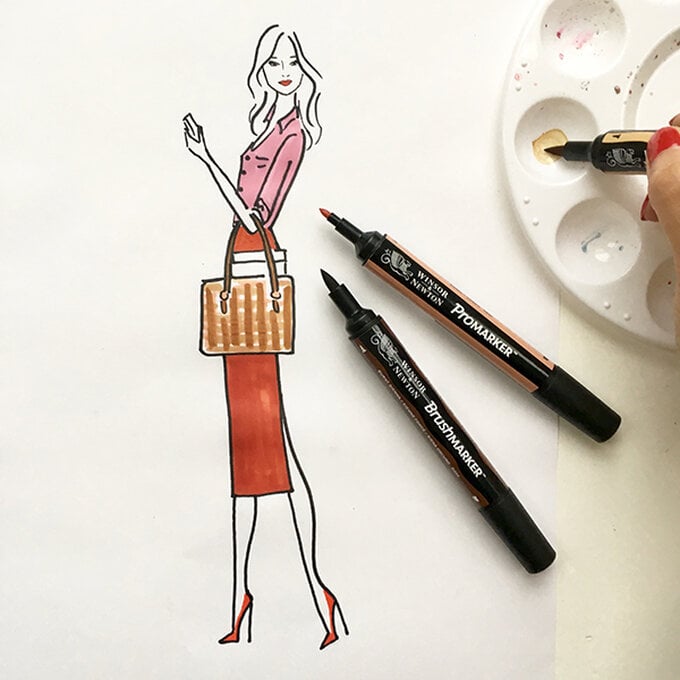
And here she is, she looks so fashionable, doesn't she!
