How to Create a Fresh Foraged Autumnal Wreath
Wreaths are no longer just for Christmas and making a foraged autumnal inspired wreath is the perfect way to slow down and celebrate the season. If you're lucky enough to live close to a forest or woodlands then you can go out and forage materials to make your own foraged autumnal wreath. But if you don't live close by to the forest why not try it with leaves fallen from trees, or alternatively you could pop to your florist and see what they have in stock. There's also a huge range of convincing artificial wreaths, sprays, and florals available online and in store at Hobbycraft!
You will need
Subtotal
Is $ 9.49
Subtotal
Is $ 15.00
Subtotal
Is $ 18.00
How to make
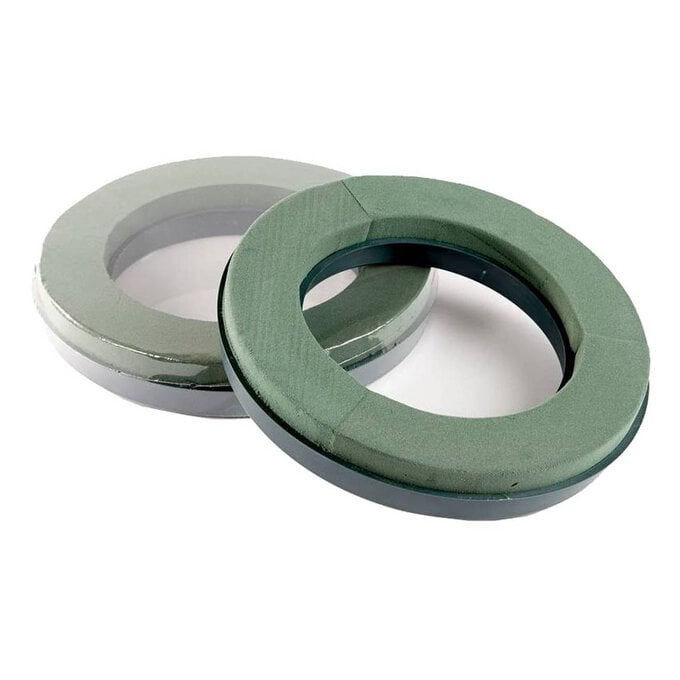
If you are planning on using flowers in your arrangement then soak your oasis by placing it in a bucket or sink of water, don't push it under and just let the foam sit and absorb, this can take 60 seconds to 2 minutes. Soaking your oasis will provide hydration for any growing stems. Now looking at your foraged materials, Decide on a colour you'd like to use as your base colour, I have used dark green and began pushing stems into the oasis diagonally so that they are working their way around in a circular shape.
I added in a few other green leaves here so that the wreath didn't look too perfect and had some texture on the base. (step1b pic)
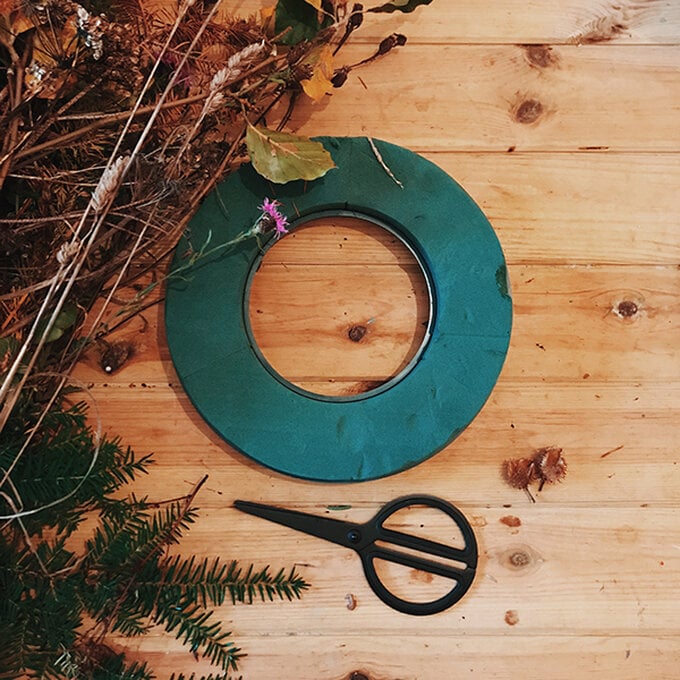


Add your next colour of leaves, foliage. I have used these brown leaves as they work as a lovely contrast to the dark green.
The dark green has leaves that are close together and look thick and full where as the brown branches are a lot more sparse making them work well together. Still work your branches and leaves around the wreath all pointing in the same direction to create a wheel of leaves.


Use longer branches to work into the outside edges of the oasis, to begin with these might look a bit wild but keep working them in to the outside and adjust to your preference.

Use smaller sprigs and dried flower heads and push them in directly head on to the foam. Foliage and flowers with circular heads work well for this and you can fill any remaining foam that can still be seen.

Use heathers to give the wreath hints of colour.
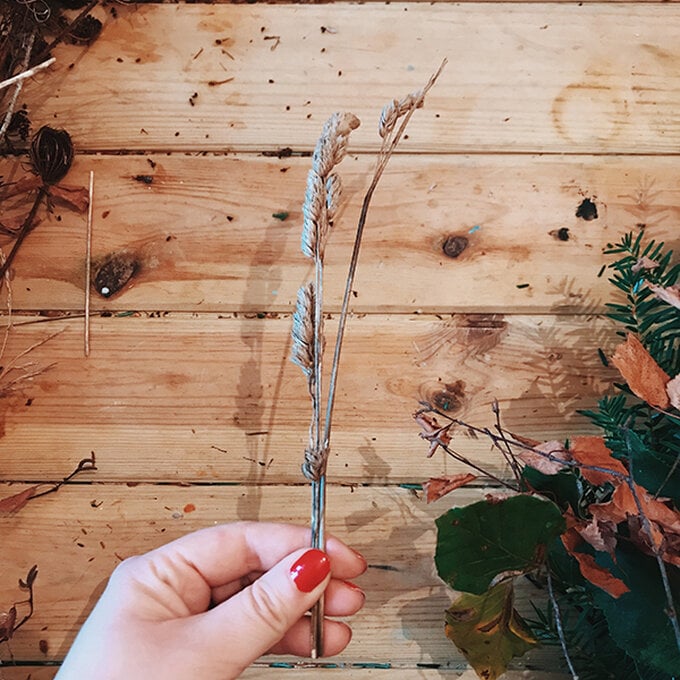
Long grasses work well to weave into your leaves and pop into the outside of the oasis.

Use your final colour (mine were pinks and I used flowers from my garden) to work a few stems into the wreath. You don't want to use as much as you did for the base but work these as accents colours around the circle. Also when picking the flowers I made sure I cut the stem long enough that it could take its natural shape once stuck into the wreath so the cosmos looks lovely and windy as though it is still growing.


Use leaves especially beautiful autumnal coloured ones to even any spaces up that look empty or uneven.


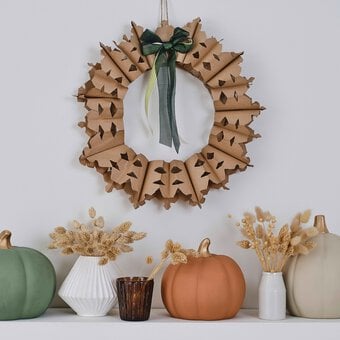
Use twine or ribbon and hang! It is the perfect decoration for an autumnal display in your house or to adorn your door!
