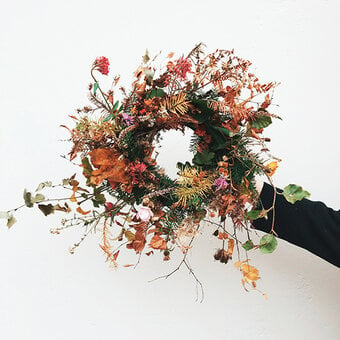
How to Make a Foraged Christmas Wreath
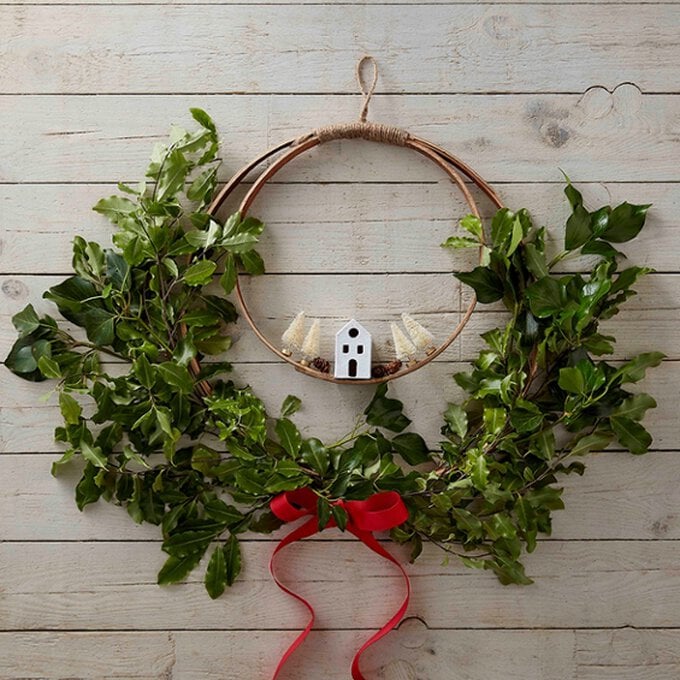
Get ready for the festive season by creating this stunning foraged Christmas wreath. Perfect for beginners, as well as for those with a little more wreath making experience, this wreath design is certain to make a beautiful addition to your Christmas display.
Experiment with different foliage and embellishments that you find in your garden, on a walk or from your local florist to allow your wreath to thrive amongst your collection of handmade Christmas creations.
Project and instructions by Becki Clark
You will need
Subtotal
Is $ 3.49
Subtotal
Is $ 5.49
Subtotal
Is $ 11.00
You will also need:
*Scissors
*Hot glue gun
*Paintbrushes
Gather your materials and foliage, you can either head out foraging for beautiful leafy foliage or use faux foliage for a masterpiece that will last years.
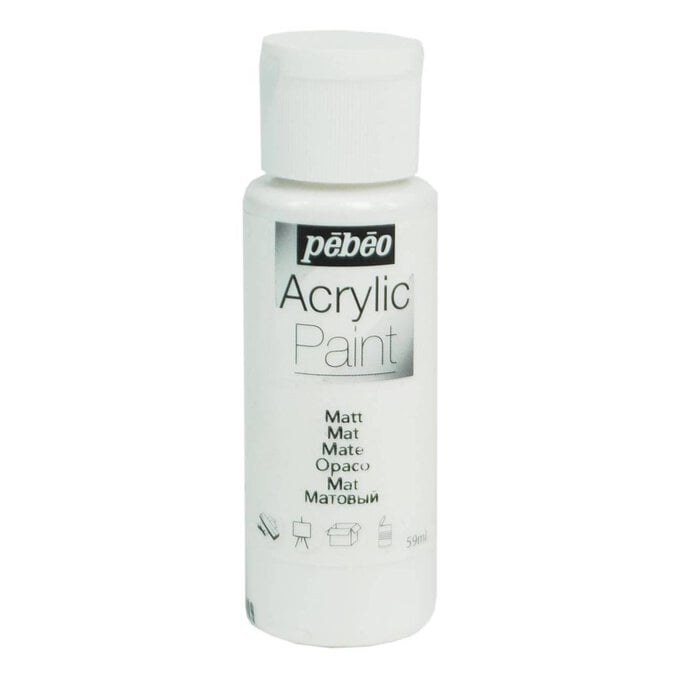
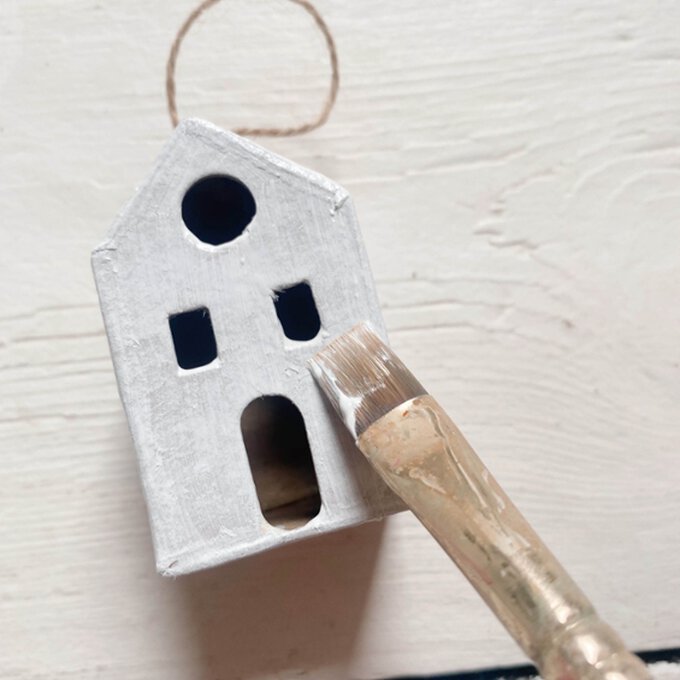
Begin firstly with painting your cardboard house (or houses depending on how many you’d like on your wreath) with white acrylic paint and leave to dry, two coats should create a nice even coverage.
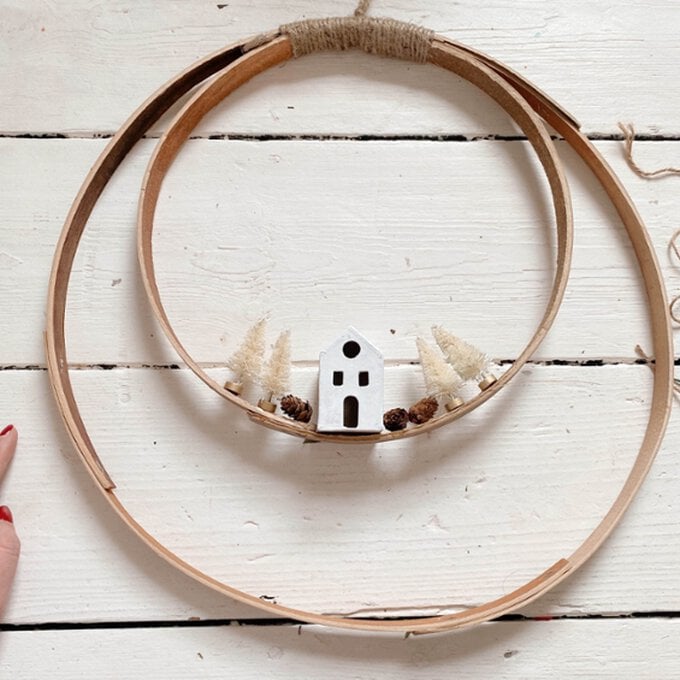
Using the glue gun begin securing your houses, pinecones, and bottle brush trees to the inner circle of the wreath.
This is totally up to you how many items you want to arrange.
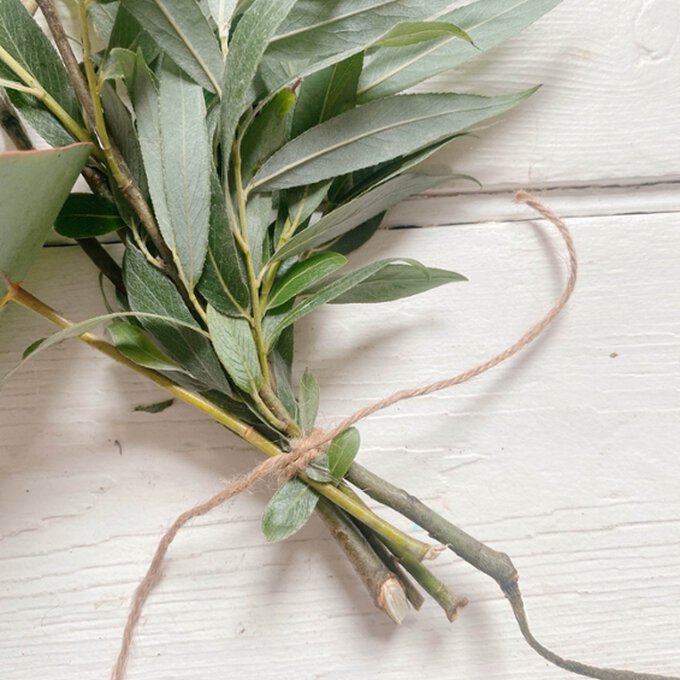
Begin grouping together foliage in small posies tying with twine to secure.
I like to create a few small posies like this to create full looking foliage around the wreath base.
Begin attaching them to the base using either twine or wire to secure in place, you can lay them on top of the wreath base first to get an idea of how it will look.
I’m securing the bunches heading in the same direction working out from the bottom of the wreath.
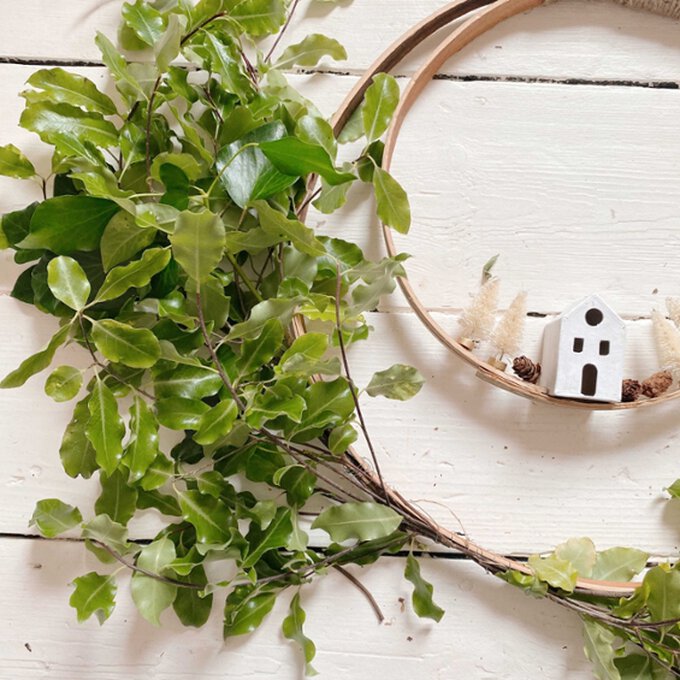
Use extra foliage to wrap around where you have attached the posies and cover any showing twine or wire.
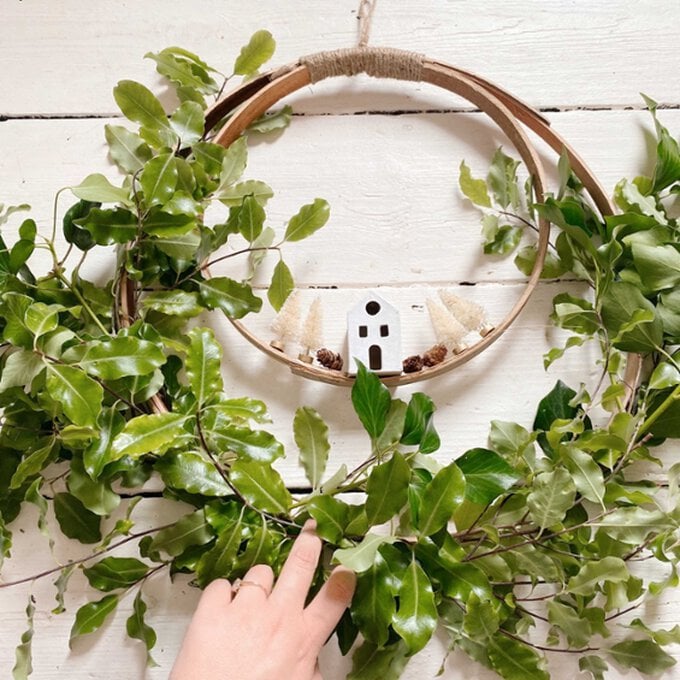
Attach a ribbon at the bottom of the wreath to add a festive pop of colour.
Tie in a bow or for a more relaxed feel let it run loose from the tie.
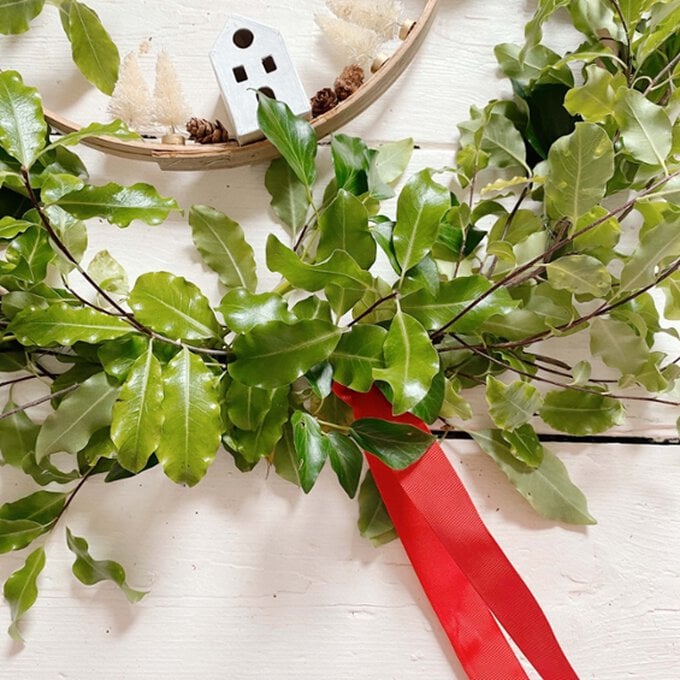
The wreath is then ready to be hung in pride of place on your door.
Tip: Use a water sprayer to sprtiz the leaves once a week to help them maintain their green colour.
