How to Crochet a Halloween Countdown Calendar
Can't wait for the spookiest day of the year? Why not whip up this fantastic Halloween countdown calendar and fill it with tiny treats to enjoy every day of October!
Follow the step-by-step instructions below to find out how to make this creepy calendar!
Pattern and instructions by Made.by.Hem.
You will need
Subtotal
Is $ 4.49
Subtotal
Is $ 6.49
Subtotal
Is $ 6.49
Subtotal
Is $ 6.49
Out of stock
Subtotal
Is $ 6.49
Out of stock
You Will Need
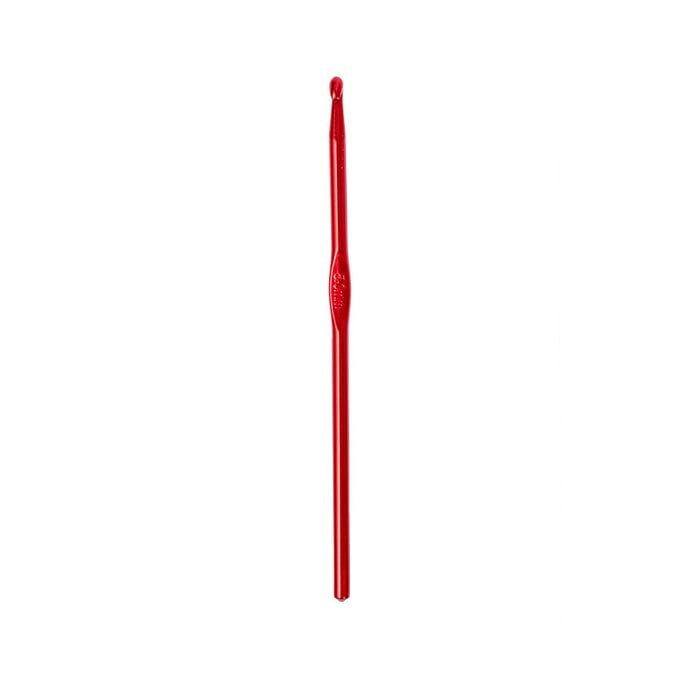
* 5mm Crochet Hook (or hook size required to meet stated gauge/tension)
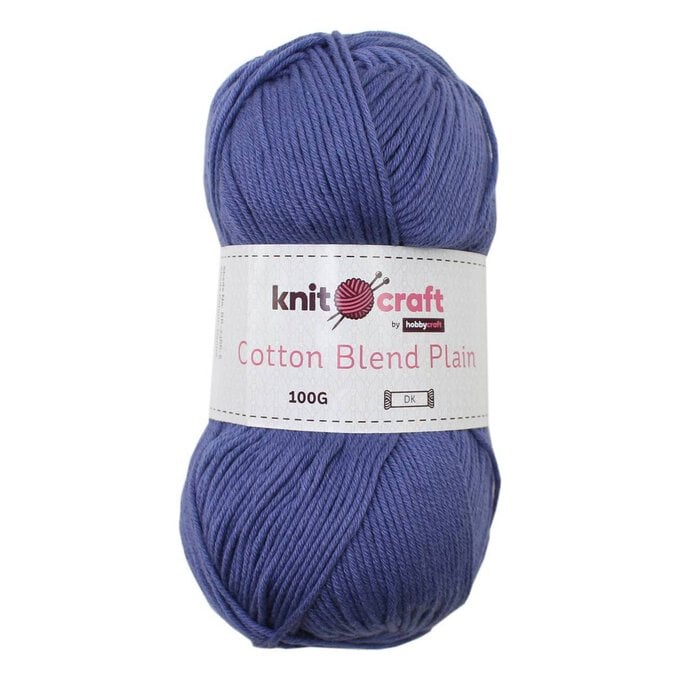
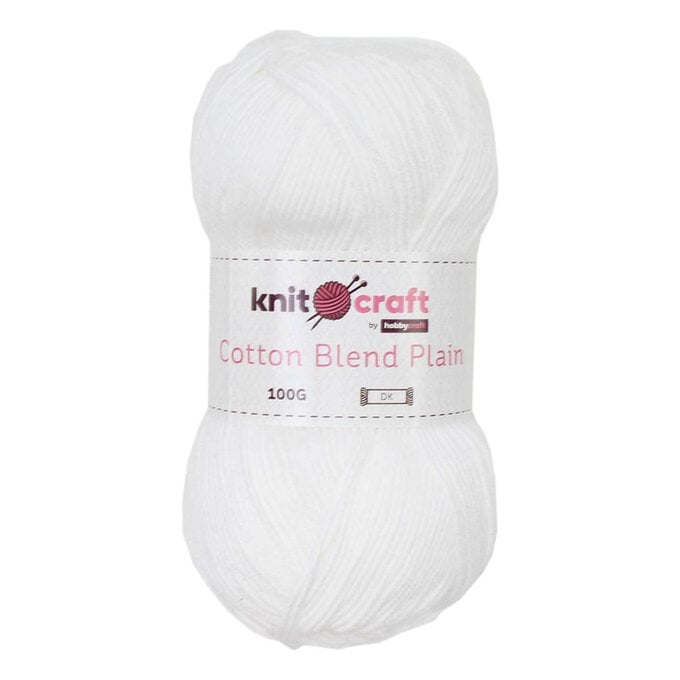
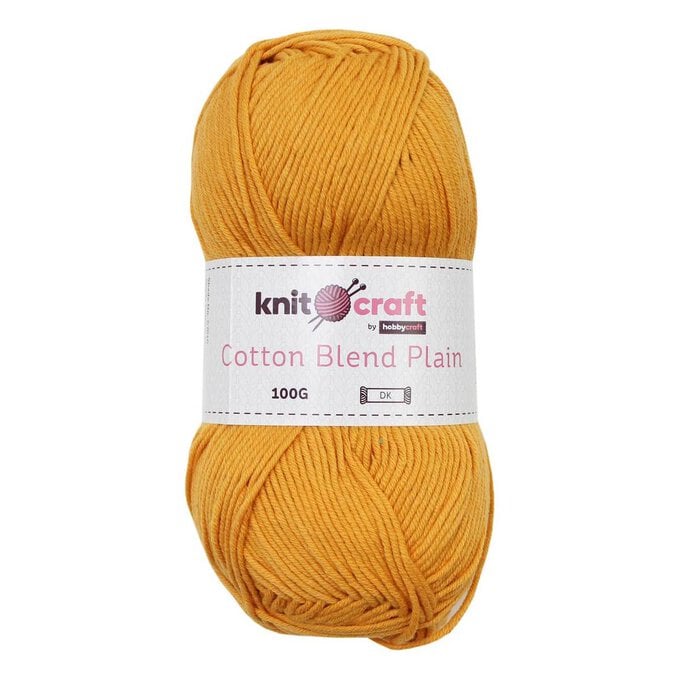
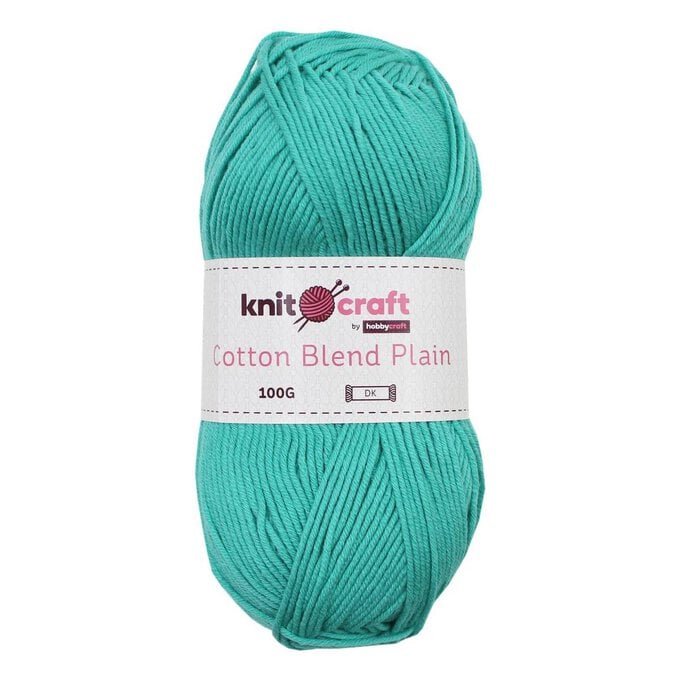
* Knitcraft Cotton Blend Plain DK Yarn 100g - 4x Black, 1x White, Denim, Teal, Purple, Mustard
* Hardwood Dowel 7/8 x 36 inches
* Scissors
* Stitch Markers
Gauge/Tension
14 htr by 12 rows worked in htr to measure 10cm using 5mm crochet hook, or hook required to meet stated tension.
17 dc by 17 rows worked in dc to measure 10cm using 5mm crochet hook, or hook required to meet stated tension.
Measurements
65x58cm/25.5x23” after construction
10x8cm/4x3” each standard pocket
Pattern Notes
Make the 'Calendar Back' first. Then make all the pockets and block them before attaching them to the 'Calendar Back'.
Each of the first 30 pockets measures 10x8cm, with border, after blocking. The final pocket measures 40x8cm. Make 31 pockets in total.
Wooden dowel is added on completion of the crochet work (see 'Finishing').
Some pockets are made by creating the 'Standard Pocket' in the required colour and then adding extra appliques or surface crochet on top, as described in the specific instructions for the pocket.
Other pockets are worked using tapestry and intarsia crochet techniques, in multiple colours, see 'Tapestry Crochet Pockets' for details.
Abbreviations
ch(s) - chain(s)
dc - double crochet
htr - half treble crochet
lp(s) - loops
rep - repeat
RS - right side
st(s) - stitch(es)
WS - wrong side
yo - yarn over
Special stitches
Surface crochet - Hold yarn at WS of work, insert hook from the RS through to the WS, yo and pull up a lp, pull through lp on hook, insert hook into next st and rep, continue to end. Fasten off and weave in all ends once complete.
Calendar Back
Using 'Black' and 5mm hook, ch92.
Row 1 (RS): 1htr in second ch from hook, htr across, turn. (92htr)
Row 2 (WS): 1ch, htr across, turn. (92htr)
Rows 3-71: Rep Row 2. (92htr)
Fasten off and weave in ends.
Calendar Back Border
With RS facing, attach 'Purple' with a slst to first st at top right corner of 'Calendar Back'.
Rnd 1: Slst across, ch1, turn to work down left side, slst in each row end, ch1, turn to work along bottom, slst in each ch across, ch1, turn to work up right side, slst in each row end, ch1, slst to first st to join. (326slst)
Fasten off and weave in ends.

Standard Pocket (make when instructed in the pattern below)
Using colour stated in pattern below, ch18.
Row 1 (RS): Dc in second ch from hook, dc across, turn. (17dc)
Row 2 (WS): ch1 (does not count as a dc throughout), dc across, turn. (17dc)
Rows 3–14: Rep Row 2. (17dc)
Fasten off and weave in ends.
Standard Pocket Border
Use the images as a guide.
All pocket borders are worked in 'Purple'.
With RS facing, attach 'Purple' with slst to first st at top right corner of pocket.
Rnd 1: Slst across, ch1, turn to work down left side, slst in each row end, ch1, turn to work along bottom of pocket, slst in each ch across, ch1, turn to work up right side, slst in each row end, ch1, slst to first st to join.
Fasten off and weave in ends.
Block before attaching.


The following pockets are worked from the tapestry crochet charts: Poison Bottles, Broken Fence, Witch Hat, Monster, Ghost, Eek, Skull, Crescent Moon, Boo, Witch Boots, Tombstone, Pumpkin, Full Moon and Cat Eyes.
Before you start, download the free chart templates above.
Even number chart rows are worked right to left (RS) and odd number rows are worked left to right (WS). Colours listed on the charts relate to those listed in the pattern above.
To work all standard size tapestry crochet pockets ch18, to work the 'Cats Eyes' pocket ch67, with the colour indicated on chart used to work the first st.
Ch1 at the beginning of each row (does not count as a st throughout) and turn at the end of each row.
Once the last st in Row 14 is completed, fasten off and weave in ends.
Colour changes are made with the last yo of the previous st.
The yarn colour not being used to make the current st should be carried within the sts, as sts are worked over the top, until needed again. Gently pull the non-active yarn before changing colour to ensure that all yarns lay flat within the work.
It is not necessary to carry all yarn colours to the end of the row. Leave yarn colours on the RS of the work when the last st has been made with that specific colour in that row, ready to be picked up again when needed in the following row.
The first two rows of the Skull pocket have been written out for you below as a guide.
Using 'Black', ch18.
Row 1 (RS): Dc in second ch from hook, dc across, turn. (17dc)
Row 2 (WS): With Black, ch1, 6dc, with White, 5dc, with Black, 6dc, turn.
Continue to follow chart for Rows 3-14.
Some of the tapestry crochet pockets have extra details added on completion, as set out below. Once these details have been added, work the 'Standard Pocket Border' around all tapestry crochet pockets leaving approx. 60cm yarn tail. This yarn tail will be used to attach each pocket to the 'Calendar Back'.
Broken Fence
Using 'Mustard' and the photos as a guide, surface crochet the fence posts.
Step 1: Working from the pocket bottom upwards, and make four full fence posts, one half fence post and one leaning fence post.
Step 2: Working from right to left, work two horizonal bars connecting the posts.
Fasten off and weave in ends.
Full Moon
Using 'Black' and a tapestry needle, sew three birds in the white section of the tapestry crochet pocket.
Fasten off and weave in ends.
Poison Bottles
Using 'Mustard' and a tapestry needle, sew an X onto the centre of each poison bottle label on the tapestry crochet pocket.
Fasten off and weave in ends.
Skull
Using 'Denim', ch30, fasten off.
Thread the chain through the pocket at the corner of the skull and tie in bow on the front.


Using 'Mustard', make 'Standard Pocket'.
Spider Body
Using 'Black', make a MC.
Rnd 1: 6dc into MC, slst to first dc to join. (6dc)
Rnd 2: ch1, (does not count as a st throughout), 2dc in each st around, slst to join. (12dc)
Fasten off leaving a 30cm tail for sewing.
Using 'White', starting in the centre of the pocket, surface crochet to the top of the pocket.
Sew 'Spider Body' onto the 'Standard Pocket' ensuring the start of the surface crochet is covered as this is the spider’s silk.
With Black, use surface crochet to create 8 spider’s legs (4 on each side of the body), as positioned as shown in photo.
Weave in all ends.
Using 'Purple' work 'Standard Pocket Border' leaving approx. 60cm yarn tail.


Using 'White', make a MC.
Rnd 1: 6dc into MC, slst to first st to join. (6dc)
Rnd 2: ch1 (does not count as a st throughout), 2dc in each st around, attach 'Black', slst to first st. (12dc)
Fasten off 'White'.
Rnd 3: Using 'Black', ch4, 3dtr in same st, *ch4, slst in next st, ch4, 3dtr in next st* five times, ch4, slst in next st. (6 petals)
Fasten off 'Black' leaving approx. 40cm tail for sewing.
Weave in all other ends.
Using 'Denim', make 'Standard Pocket'.
Pin flower to the centre of pocket. Using 'Black' yarn tail, sew around the base of the petals to attach.
Weave in all ends.
With 'Purple', work 'Standard Pocket Border' leaving approx. 60cm yarn tail.

Using 'Black', make a MC.
Rnd 1: 6dc in MC, slst to first dc to join. (6dc)
Rnd 2: Ch1, [1dc with 'Mustard', 1dc with 'Black'] in same st, six times, slst to first dc. (12dc)
Rnd 3: Ch1, [1dc with 'Mustard', 2dc with 'Black' in next st] six times, slst to first dc. (18dc)
Fasten off.
Attach 'Mustard' with slts to the first of any white st pairs around edge.
Row 1: Ch1 (does not count as a st throughout), 1dc in same st, 1dc in next st, turn. (2dc)
Row 2: Ch1, 2dc in first st, 2dc in last st, turn. (4dc)
Row 3: Ch1, 2dc in first st, 2dc, 2dc in last st, turn. (6dc)
Row 4: Ch1, dc across, turn. (6dc)
Row 5: Ch1,*1tr, 1dc* three times. (3 tr, 3 dc)
Fasten off.
Skip 7 sts around sweet centre and rep Rows 1-5.
Fasten off and weave in all ends.
With 'Teal', make 'Standard Pocket'.
Pin sweet to the centre of pocket and sew to attach.
Weave in all ends.
With 'Purple' make 'Standard Pocket Border' leaving approx. 60cm yarn tail.


Eye Whites (Make 4)
Using 'White' make a MC.
Rnd 1: 6dc into MC, slst to first dc to join. (6dc)
Rnd 2: Ch1, *2dc in next st, 2htr in next two sts* twice, slst to first dc. (4dc, 8htr)
Rnd 3: Ch1, *1dc, 2dc in next st *1htr, 2htr in next st* twice* twice, slst to first dc. (6dc, 12htr)
Fasten off leaving approx. 40cm yarn tail.
Black Pupils (Make 4)
Using 'Black', make a MC.
Rnd 1: 6dc into MC, slst to first dc to join. (6dc)
Fasten off leaving approx. 20cm yarn tail.
Using photos as a guide, with 'Black' yarn tail, sew one black pupil to each white oval making two pairs of eyes.
Make one 'Standard Pocket' with 'Denim' and one with 'Mustard'.
Using the photos as a guide sew ovals towards the bottom of the 'Standard Pocket' (one pair on each pocket), leaving space for eyebrows above. With 'Black', use surface crochet to work the eyebrows.
Weave in all ends.
With 'Purple', work 'Standard Pocket Border' around both pockets leaving approx. 60cm yarn tail.


Using 'Black', make a MC.
Rnd 1: 6dc in MC, turn. (6dc)
Rnd 2: Using 'White', ch3 (counts as first tr), 1tr in same st as starting ch3, 2htr in next st, *2dc in next st* twice, 2htr in next st, 2tr in last st.
Fasten off leaving approx. 40cm yarn tail.
With 'Teal', make 'Standard Pocket'. Use 'White' yarn tail to sew eyes into position.
With 'Black', use surface crochet to work eyebrows.
Weave in all ends.
With 'Purple', work 'Standard Pocket Border' around both pockets leaving approx. 60cm yarn tails.

Cat Face
Using 'Black', ch7.
Row 1: dc in second ch from hook and in each st across, turn. (6dc)
Rows 2-3: Ch1, 2dc in first st, dc across to last st, 2dc in last st, turn. (8dc)
Rows 4-6: Ch1, dc across, turn. (10dc)
Rows 7-9: Ch1, dc2tog, dc across until 2 sts remain, dc2tog. (8dc)
Fasten off leaving approx. 40cm yarn tail.
Right Ear
Attach 'Black' with slst at beginning of Row 7.
Row 1: 1dc in same st as starting slst, 1dc in next two row ends (Rows 8 and 9), 1dc in last st of Row 9, turn. (4dc)
Row 2: Ch1, dc across, turn. (4dc)
Row 3: Ch1, *dc2tog* twice, turn. (2dc)
Row 4: Ch1, dc2tog. (1dc)
Fasten off and weave in ends.
Left Ear
Attach 'Black' with slst in last st of Row 9.
Row 1: 1dc in same st as slst, turn to work in row ends, 1dc in next three row ends, turn. (4dc)
Row 2: Ch1, dc across, turn. (4dc)
Row 3: Ch1, *dc2tog* twice, turn. (2dc)
Row 4: Ch1, dc2tog. (1dc)
Fasten off and weave in ends.
Using 'Mustard', make 'Standard Pocket'.
Pin cat face to the centre of pocket. Using 'Black' yarn tail, sew around to attach.
Using photo as a guide, with 'Black', sew a set of 3 whiskers on either side of the face.
Weave in all ends.
With 'Purple', work 'Standard Pocket Border' leaving approx. 60cm yarn tail.

Make one 'Standard Pocket' in 'Denim' and one in 'Teal'.
Using the image as a guide, make the spiders web:
Step 1: Using 'Black', starting in top left corner, work 5 long sts in a fan shape returning to the corner each time.
Step 2: Make a series of small stitches to join the sts made in Step 1 creating the web pattern.
Weave in all ends.
With 'Purple', work 'Standard Pocket Border' leaving approx. 60cm yarn tail.


Make one 'Standard Pocket' with 'Teal' and one with 'Denim'.
Step 1: Wrap 'Mustard' yarn 10 times about 2 fingers. Cut approx. 80cm length of 'Black', fold in half and tie a larks head knot through 'Mustard' yarn loops to secure. 'Black' yarn tails will be used to work the broom handles.
Step 2: Cut' Mustard' loops open at bottom. Wrap 'Black' yarn around all 20 strands (as they are now folded in half), tie to secure. Use these yarn tails to attach the brush heads into position on the pockets.
Step 3: Thread the yarn tails created in 'Step 1' through the WS of the work. Using back st, work diagonally across the patch to make the broom handle.
Repeat Steps 1-3 for all brooms.
Weave in all ends.
With 'Purple', work 'Standard Pocket Border' around each pocket.


Constructing the Calendar
Using the photos as a guide, arrange the pockets on the 'Calendar Back'.
Starting from the top, leave top three rows on the 'Calendar Back' clear. Pin a row of 6 pockets across the 'Calendar Back', leaving 4 sts clear at either end. Each 'Standard Pocket' will cover 14 htr sts on the 'Calendar Back' and 10 htr rows.
After each row of pockets leave one row on the 'Calendar Back' clear before pinning the next row.
The 6th and final row of pockets will feature the large 'Cat Eyes Pocket' positioned in the centre of the 'Calendar Back'.
Once all pockets are pinned in position leaving two rows clear at the bottom, use 'Purple' yarn tails to sew down left side, across the bottom, and up the right side of each pocket. Be sure to leave the top of each pocket open so that you can insert your goodies.
If necessary, a few sts can also be made around the border at the top of the 'Cat Eyes Pocket' to stabilise it.
Fasten off and weave in ends.
Holding the dowel across the top of the calendar, with Purple, sew through the first Black st of Row 71, loop over the dowel, skip 2 sts, sew through next Row 71 st, continue to work across this row sewing through every 3rd sts until 1 sts remains, sew through last st. Fasten off and secure both ends of yarn. Weave in ends.
With Purple, ch 200. Fasten off and tie to each end of the dowel to create a chain to hang your calendar.


