How to Decorate an Easter Crate
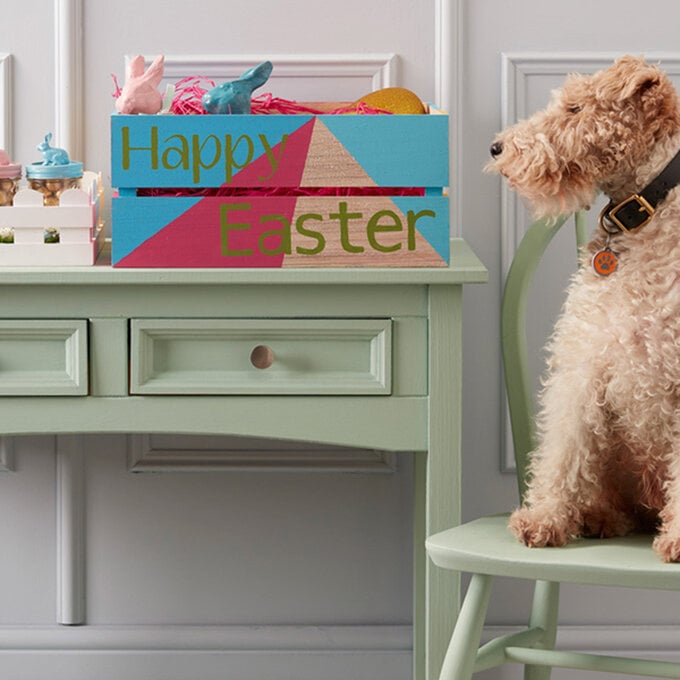
We're crazy for crates right now, and love the fact that you can use them to make up so many different and personalised hampers!
Fill this Easter crate with a selection of yummy goodies, or alternatives for those who don't like chocolate, and give as an awesome gift to a loved one or family!
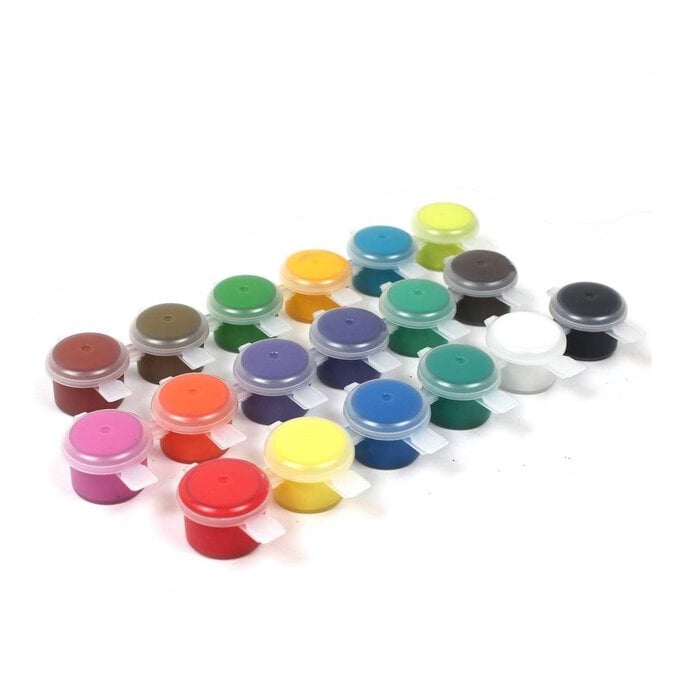
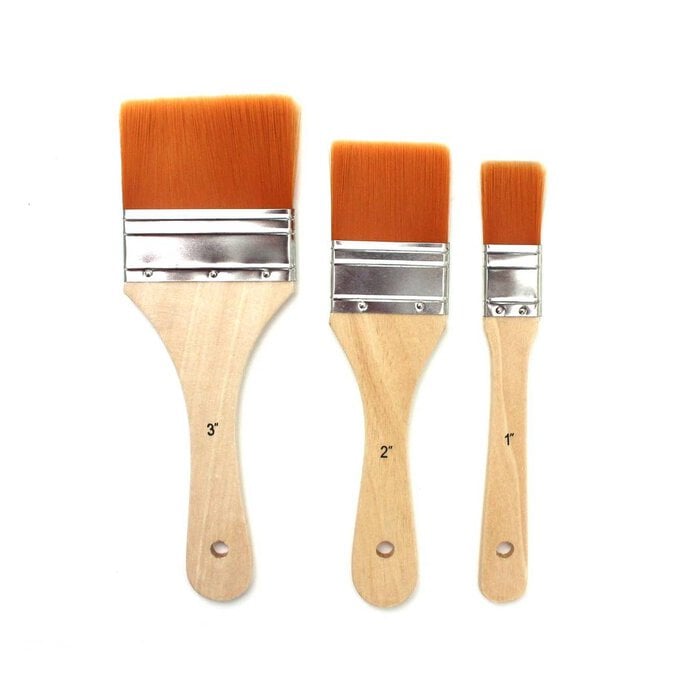
You will need
Subtotal
Is $ 5.49 , was $ 8.49
Subtotal
Is $ 10.00
Subtotal
Is $ 3.49
Subtotal
Is $ 19.00
How to make
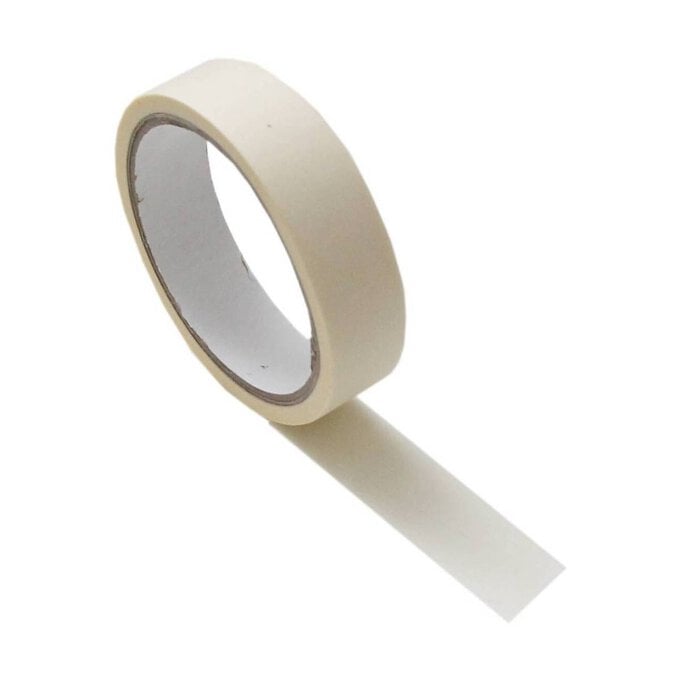
Using masking tape, mask off a right-angled triangle on the front of the crate and paint with your chosen colour of craft paint.
Leave to dry and then work your way around the entire crate masking off triangles one at a time, occasionally opting to leave the bare wood of the crate showing through to provide contrast.
Now it's time to add the 'Happy Easter' message! There are three ways in which this can be done.
The first is to free hand draw your greeting and go over it with a craft paint of your choice.
The second is to use your favourite font type on your computer, then print and cut out the design with a craft knife to create the stencil.
The final method, if you have one, is using your Cricut Explore Air.
