How to Get Started in Macramé
Fancy giving macramé a go but not sure how to start? The amazing Isabella Strambio has created the perfect guide for how to create the basic macramé knots so you can complete your first project.
Once you have mastered these knots then why not try Isabella's macramé Christmas tree project!?
Find more top tips and advice on getting started in macramé here >
You will need
Subtotal
Is $ 10.00
Subtotal
Is $ 13.00
Subtotal
Is $ 13.00
How to make
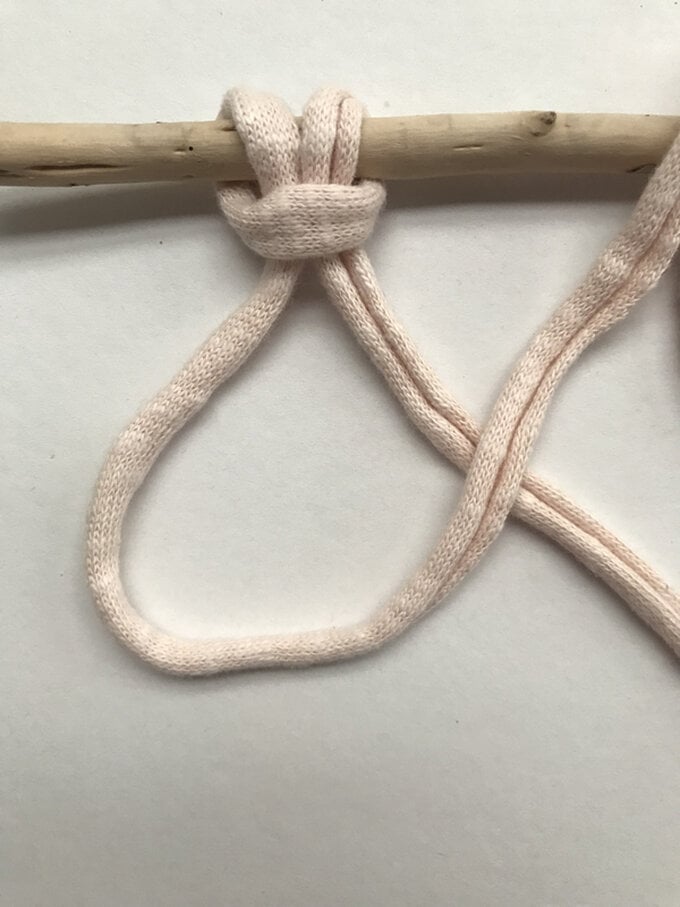
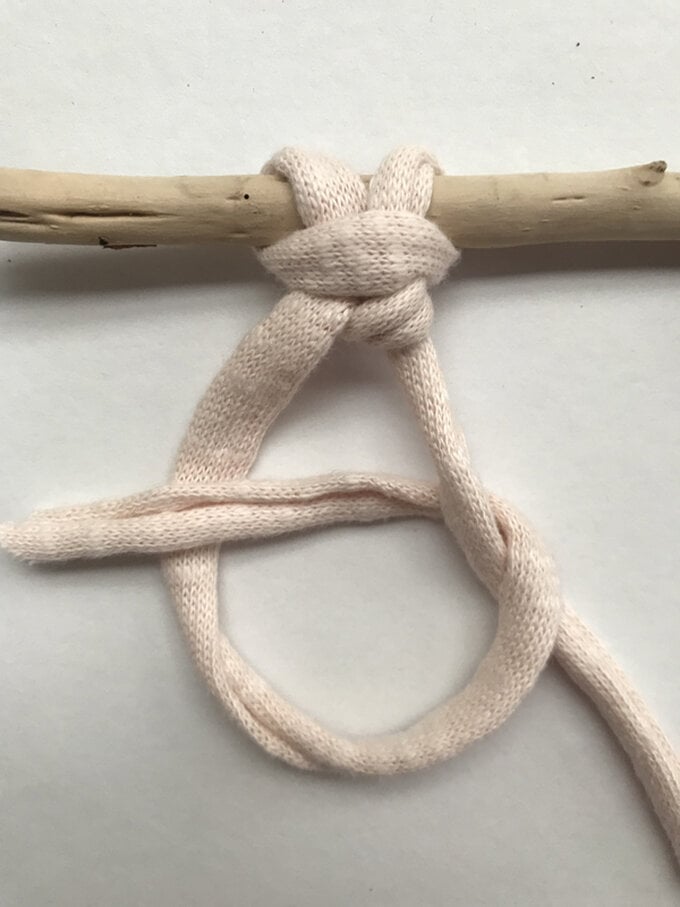
1. Fold the string half down the middle
2. Slip the folded string on top of the object (wooden stick/rope for example) where the knot will be tied
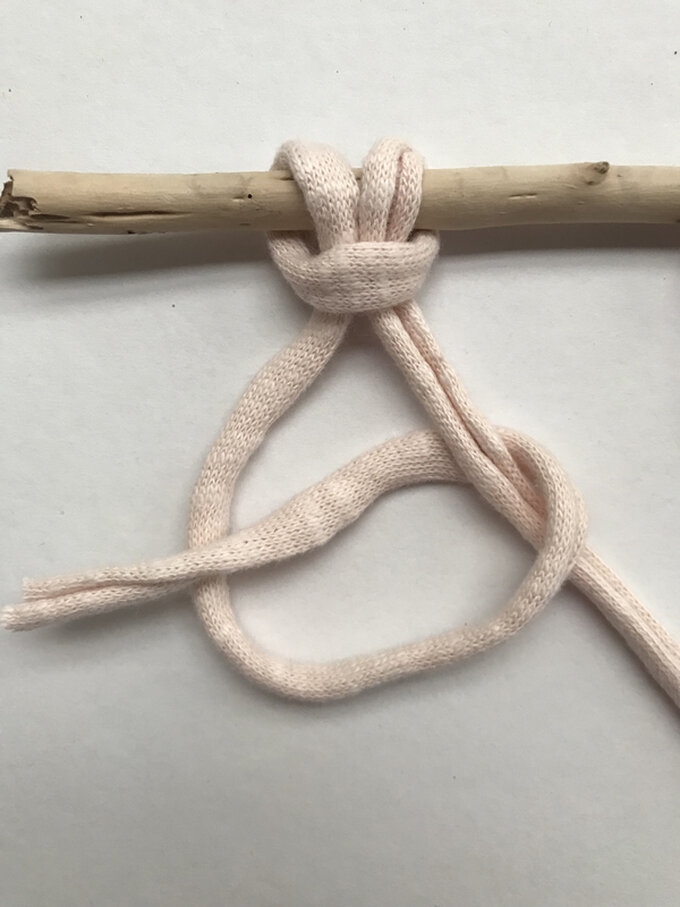
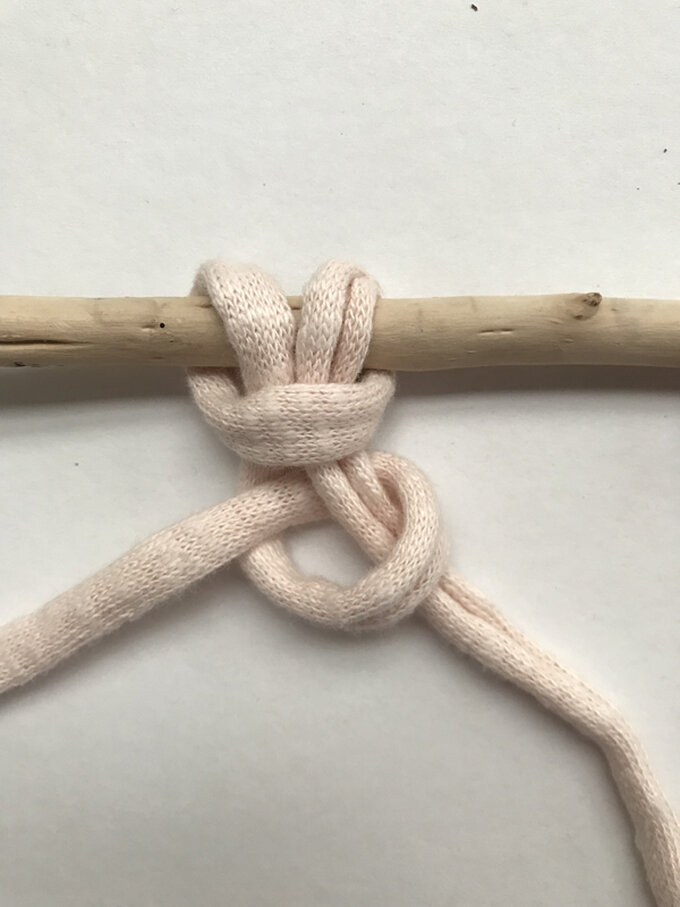
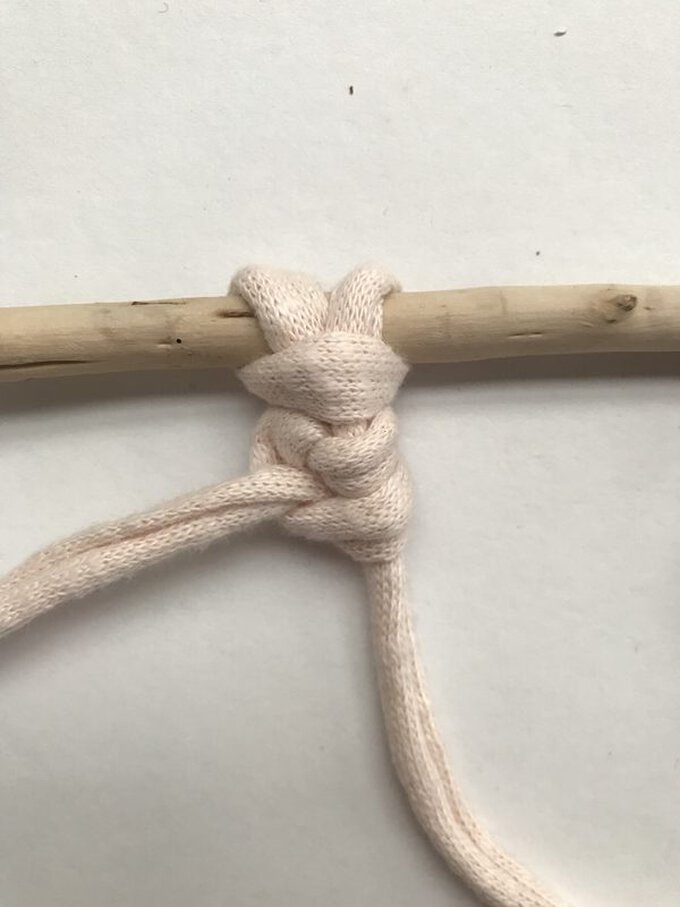
3. Pull the cord up around the object you are tying the knot over, without twisting the strings, then pull the other two strands through the loop.
4. To tighten the Lark's Head knot, hold the two cords in one hand and the object you tied around in the other and pull.

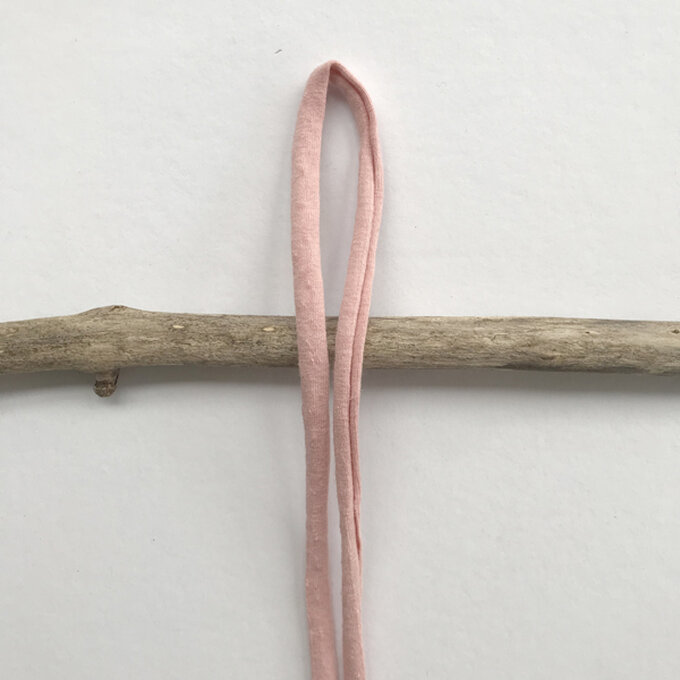
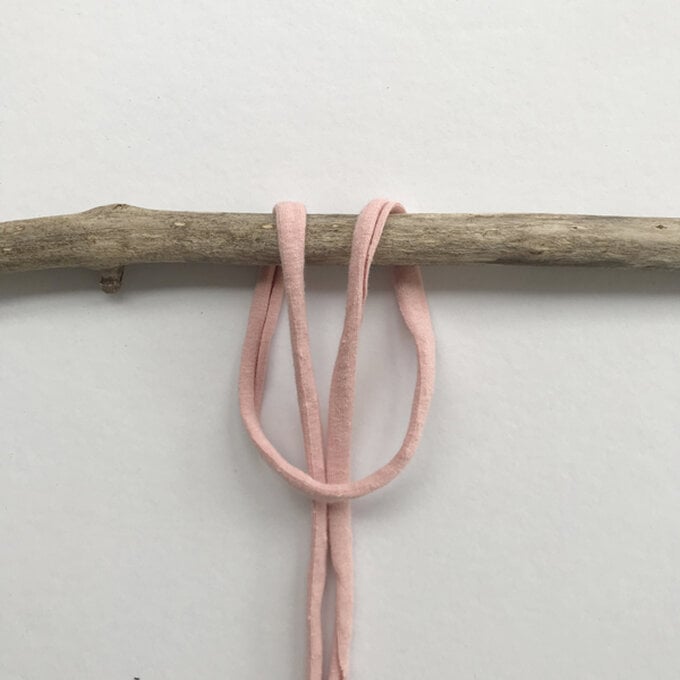
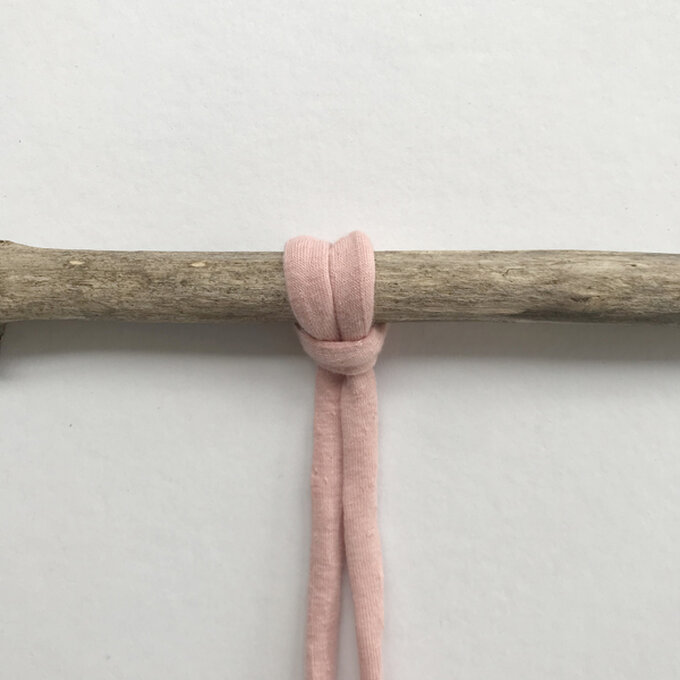
1. You need two folded cords secured with a lark's head knot, so you have four strings to work with.
2. Move working cord 1 over cords 2 and 3, heading right. Pass it under the working cord 4.
3. Move working cord 4 to the left, passing it under the two middle cords and over working cord 1. Pull on both working cords to tighten the knot, while holding the middle cords steady.
4. The two working cord have switched places. Move working cord 1 to the left, passing it over the middle cords and under working cord 4.
5. Move working cord 4 to the left, passing under the middle cords and over cord 1 on the right.
6. Tighten the square knot by pulling on the working cords, while holding the middle cords steady.
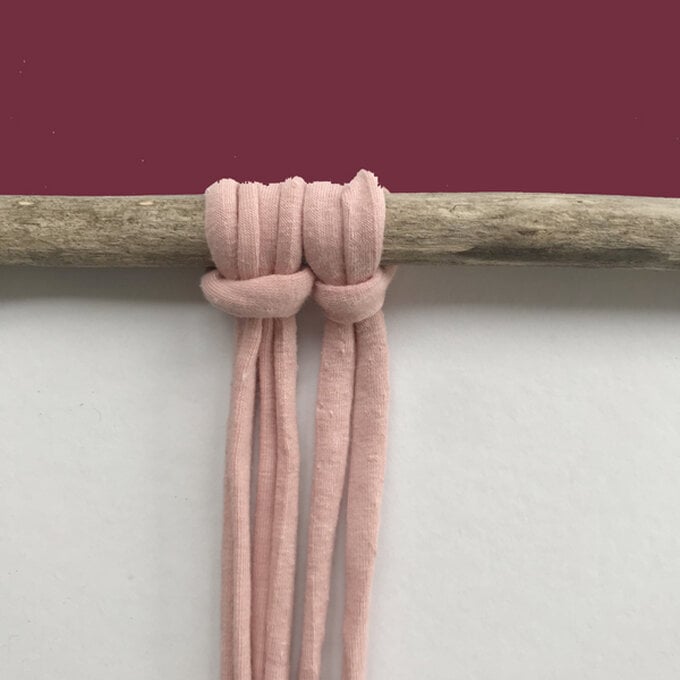
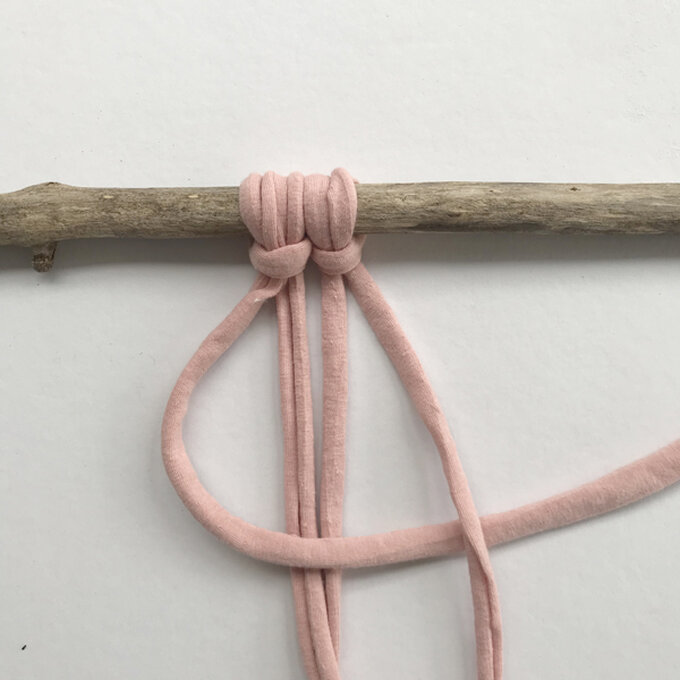
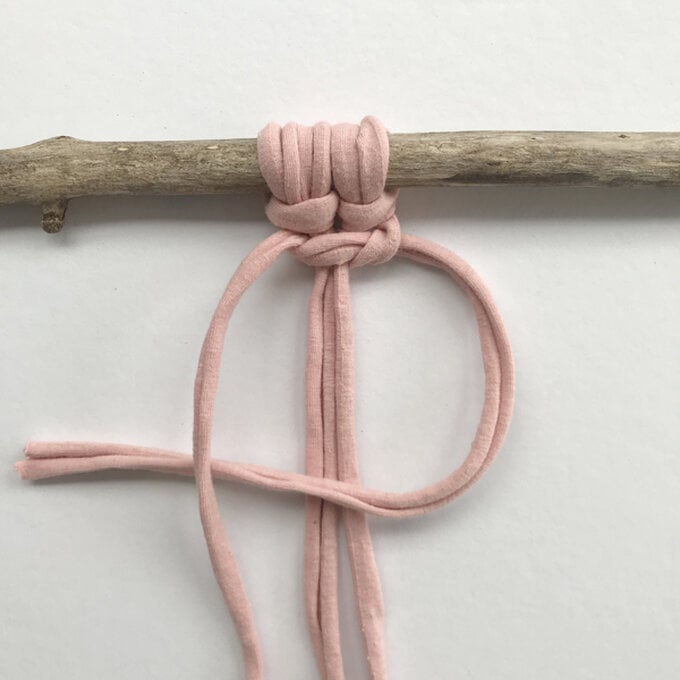
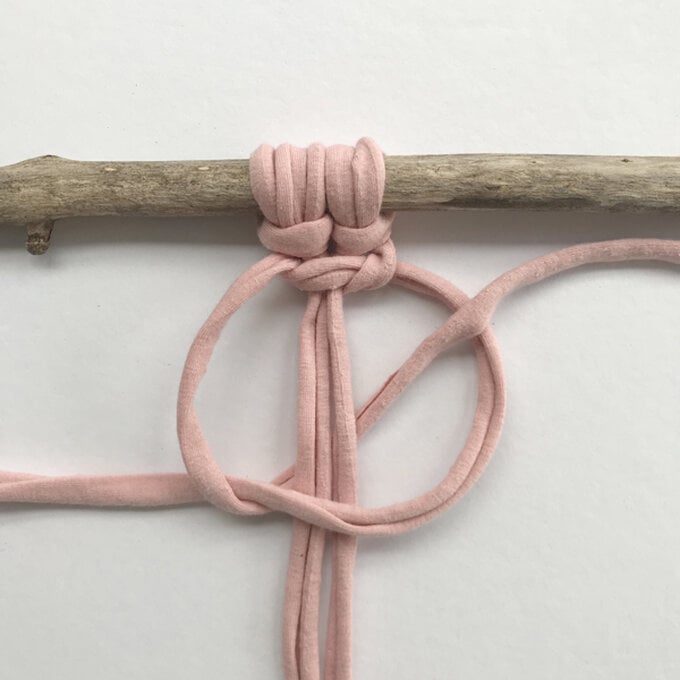
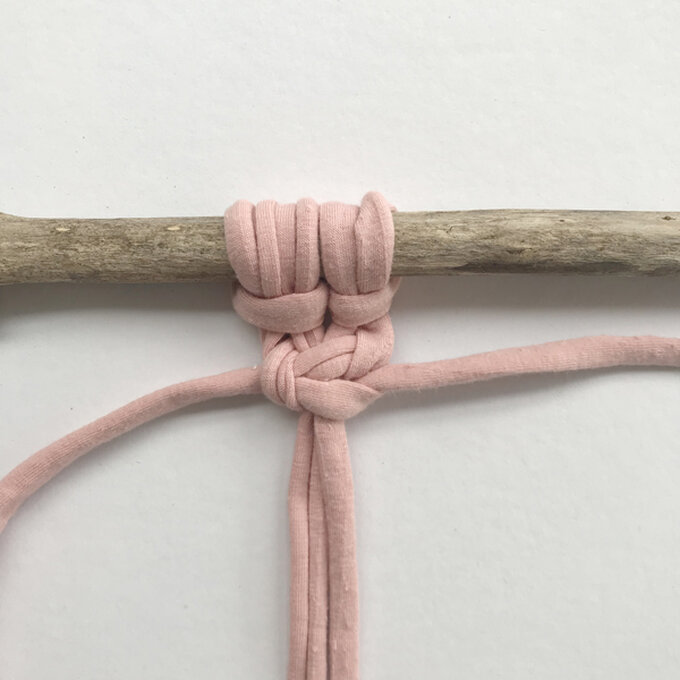
1. Pass cord 1 around your guide (pic 1)
2. Bring cord 1 over and around the guide (pic 2), then back through the loop that has formed (pic 3). This makes a half-hitch. Pull the knot snug and slide it up. (pic 4)
3. Continue taking cord 1 around the guide again to tie another half-hitch (pic 5).Pull the knot snug and slide it up. (pic 6)

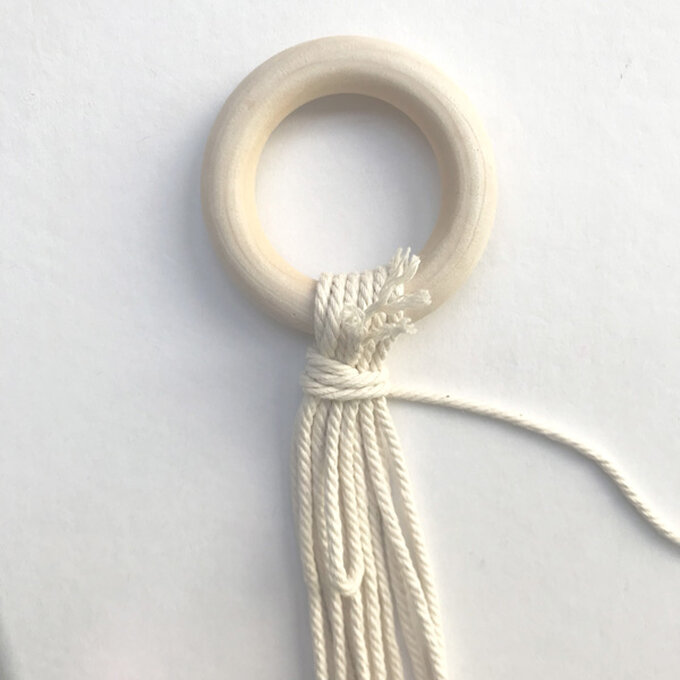
1. Fold the piece of string to measure about 5 to 8 cm (pic 1)
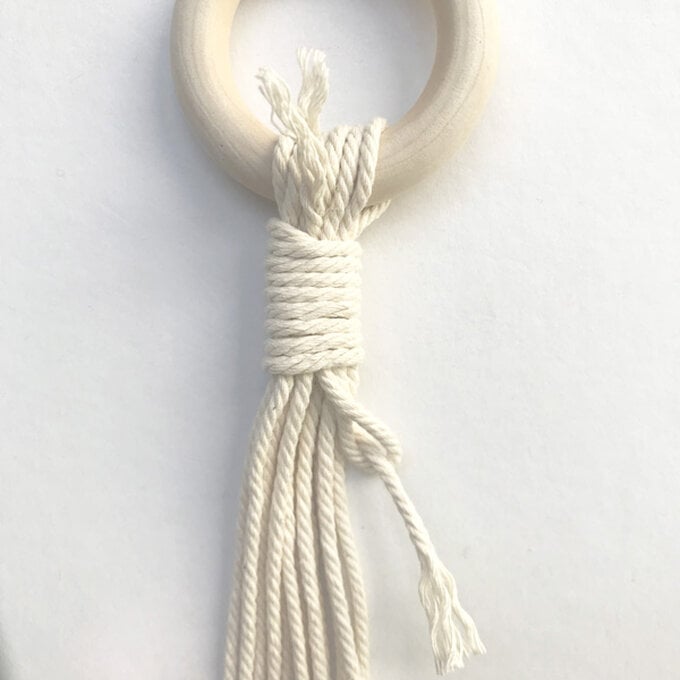
2. Take the long end and wrap it around all the strings (pic 2)
3. Keep wrapping the string around, arranging it below the previews wrap and continue until you are closed to the folded area
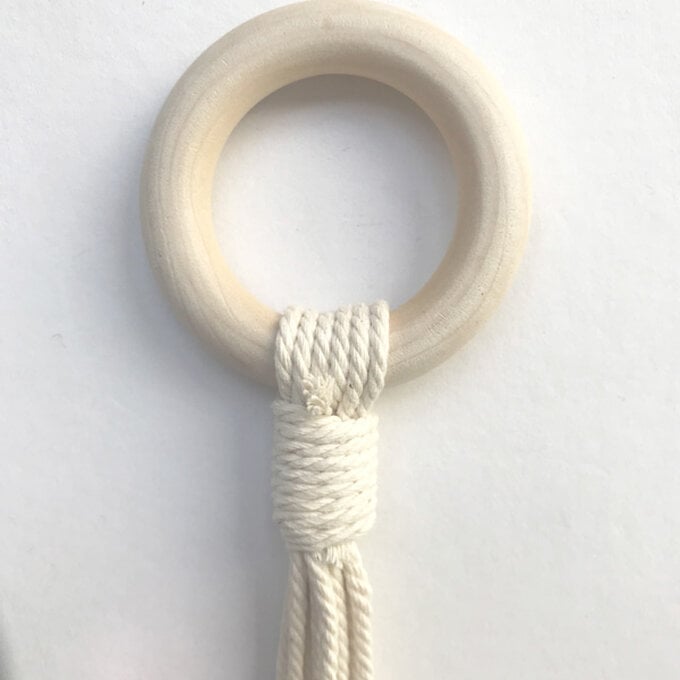
4. Take the end of the string and pass it through the loop (pic 3)
5. Pull the top string until it traps the bottom string underneath the knot
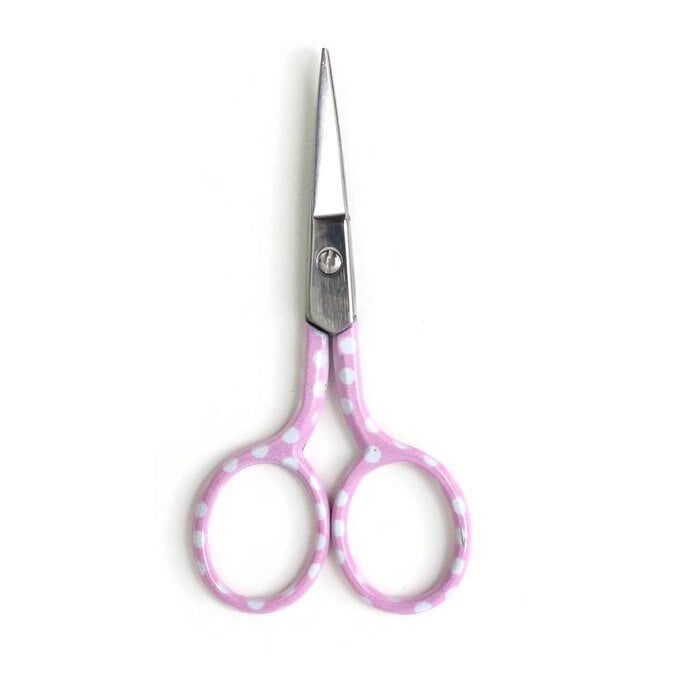
6. Cut the top and bottom string (pic 4)

