How to Make a Bee Papercut Shadow Box
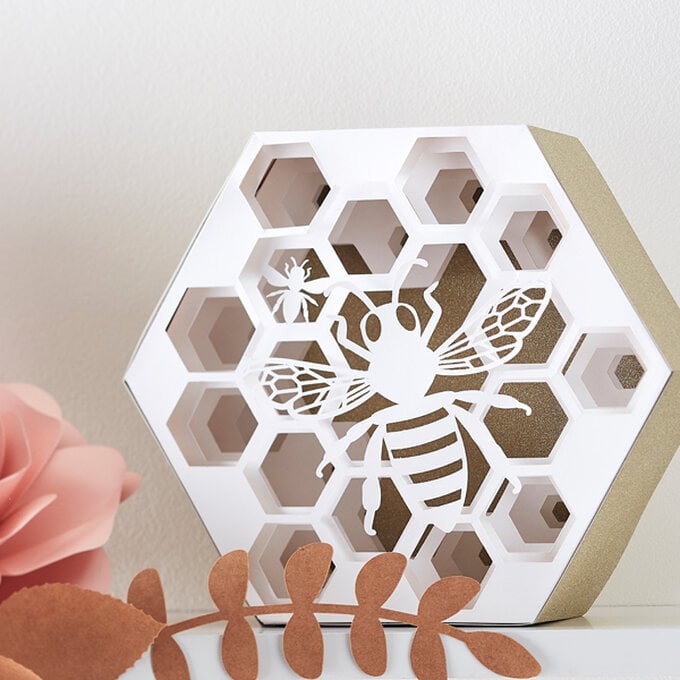
Try out a new papercraft technique with this super-simple papercut shadow box complete with glitter honeycomb and a queen bee centre stage!
Project and instructions by Samantha Sherring
You will need
Subtotal
Is $ 2.49 , was $ 4.49
Subtotal
Is $ 6.49
Subtotal
Is $ 15.00 , was $ 20.00
How to make
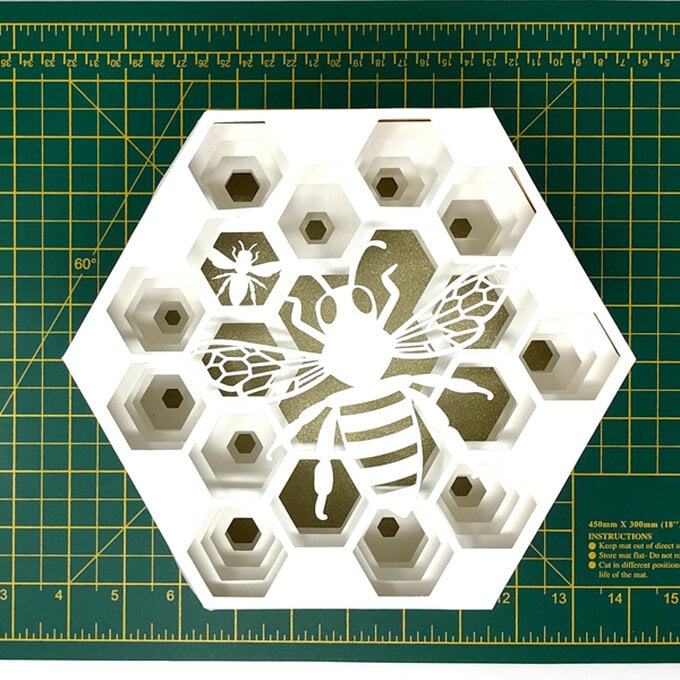
Download and print the templates on the white card stock. Cut away the grey on each layer as well as around the solid boarder lines
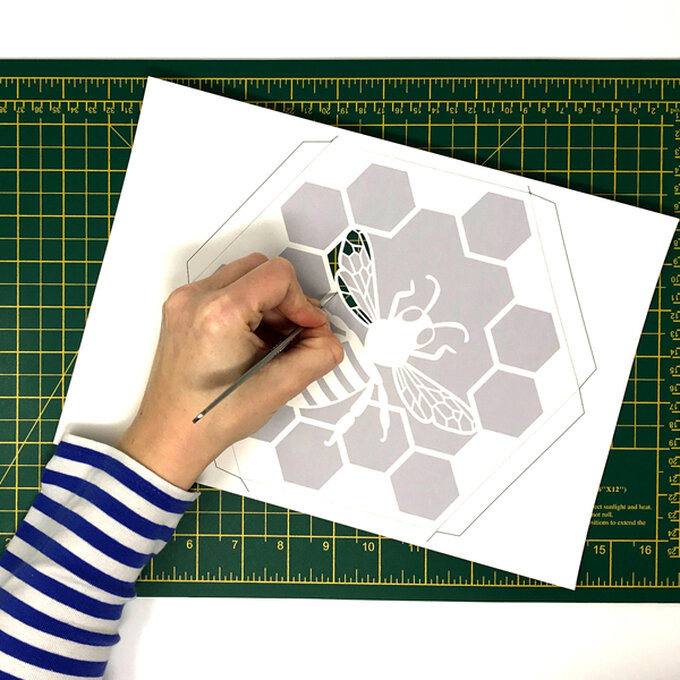
Lightly score along the dotted lines to create tabs for each layer, and put to one side.
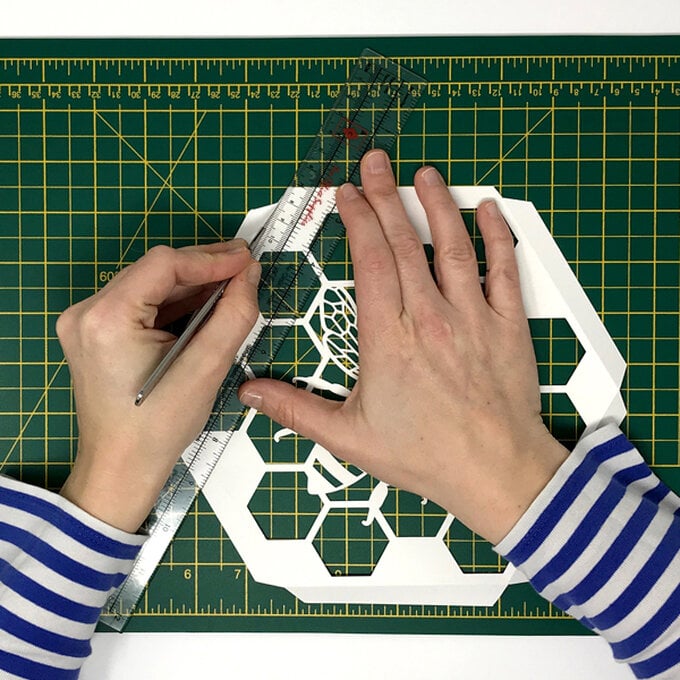
Taking your hexagonal box, place on top of the glitter card and draw round the base of the box. Cut the hexagon shape out, but approximately 2mm smaller so it fits snuggly inside the mache box.
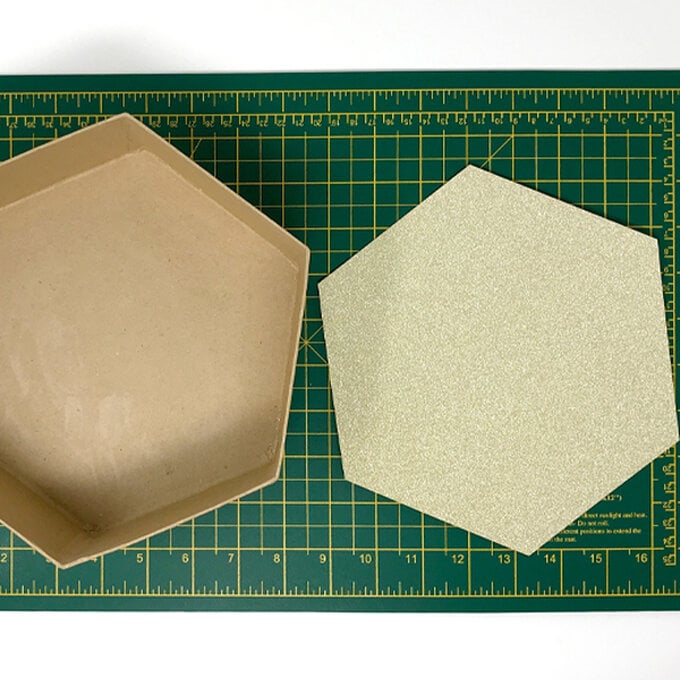
Affix the glitter card to the inside of the box with the double sided sticky tape.
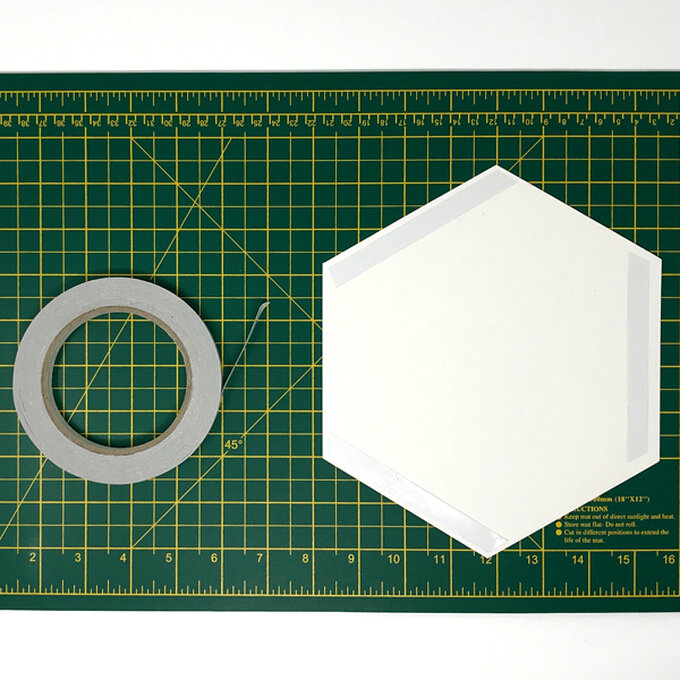
Using the glue pen add glue to each of the tabs of the papercut layers.
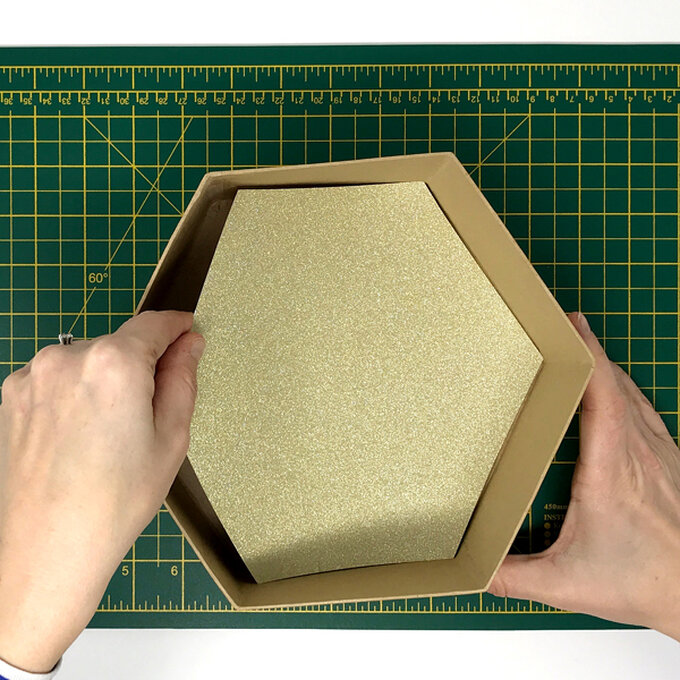
Glue layers 2-5 on the inside of the mache box in sequence and evenly spaced out.
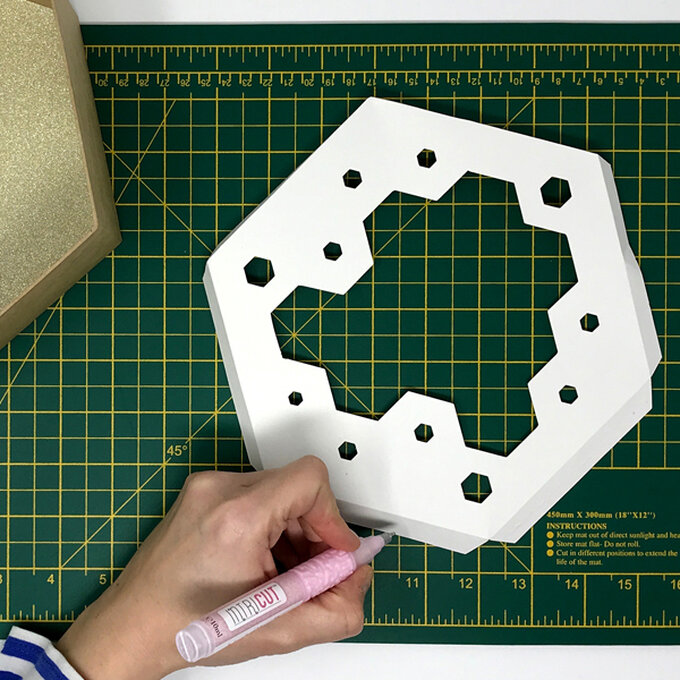
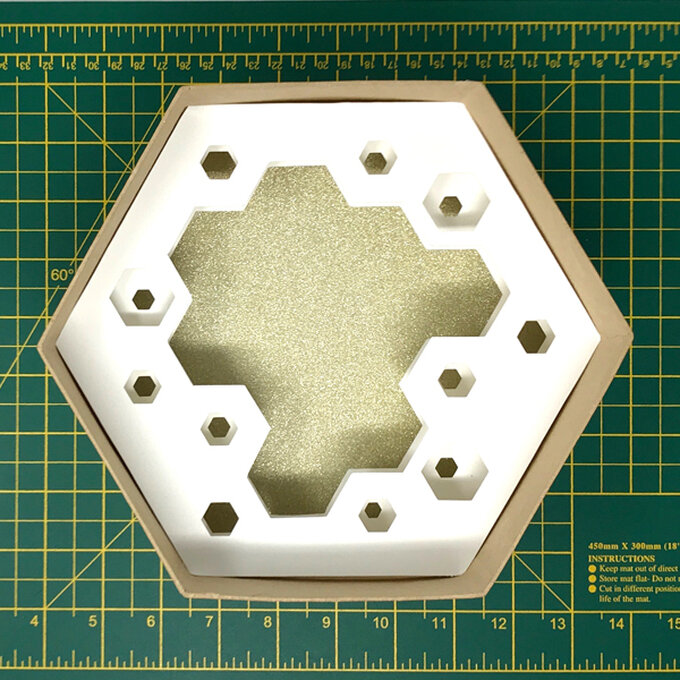
Apply the glue on the back of the tabs for the top layer and affix to the outside of the mache box.
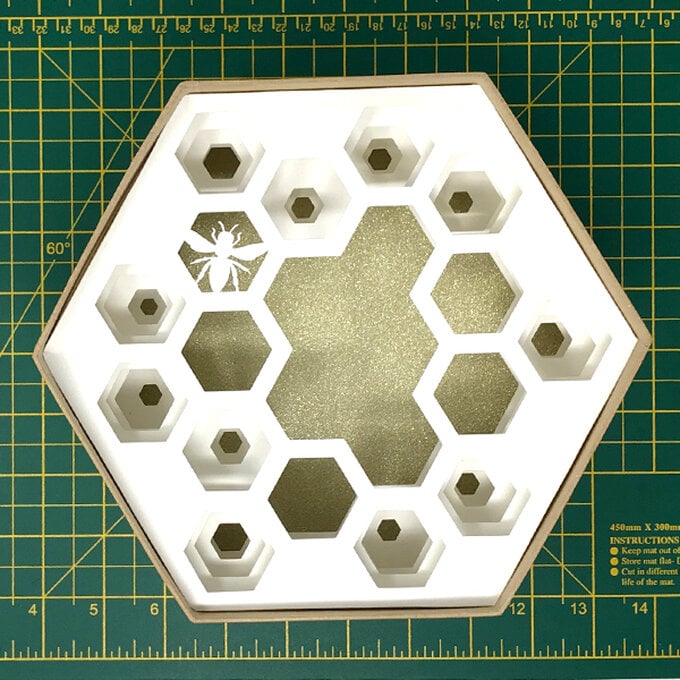
Cover the outside of the box with the gold glitter card by drawing around the base again and affixing with the double sided sticky tape. Cut 6 rectangular pieces of glitter card (approx. 11.4 x 8.8cm) and affix to the sides of the box covering up the tabs from the top layer.
Top Tip: Choose a craft knife that has replaceable blades, by keeping the blade sharp you will achieve a cleaner finish and it won't tire your hand and fingers out.
