Skip to Content (Press Enter) Skip to Footer (Press Enter)

How to Create a Watercolour Papercut Card

Level
Beginner
Time
1 hour
Budget
10 - 30
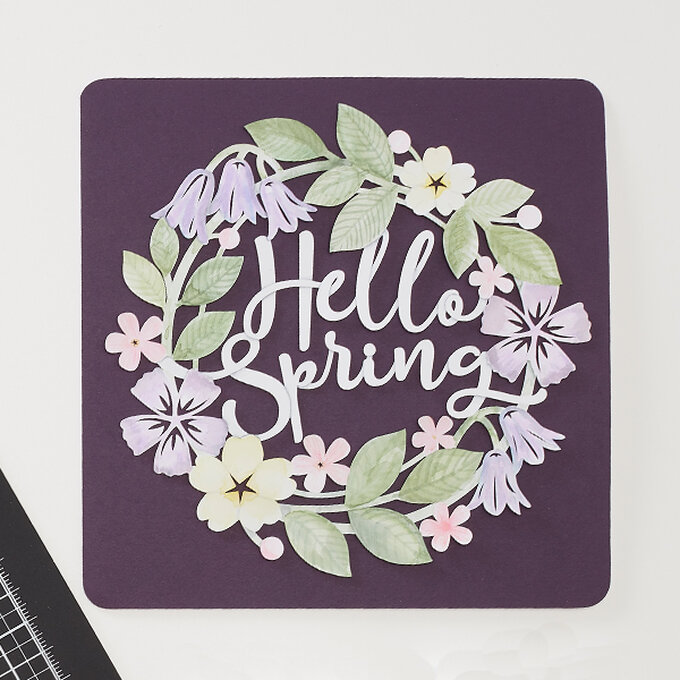
Start this spring with a new craft and create a beautiful coloured floral papercut. This template is perfect for all abilities, and allows you to combine the much-loved colouring-in trend with the delicate craft of paper cutting.

You will need

Is $ 12.00

Low stock only 2 left

Quantity: 1

Subtotal

Is $ 12.00

Is N/A

Quantity: 1

Subtotal

Is N/A

Out of stock

Is $ 11.00

Quantity: 1

Subtotal

Is $ 11.00

Out of stock

Is $ 20.00

Quantity: 1

Subtotal

Is $ 20.00

Is $ 5.49

Quantity: 1

Subtotal

Is $ 5.49

Is $ 5.49

Quantity: 1

Subtotal

Is $ 5.49

Out of stock

Is $ 1.49

Quantity: 1

Subtotal

Is $ 1.49

Out of stock

You’ve viewed 2 of 7 products

You’ve viewed 4 of 7 products

Total:

How to make

Step-1
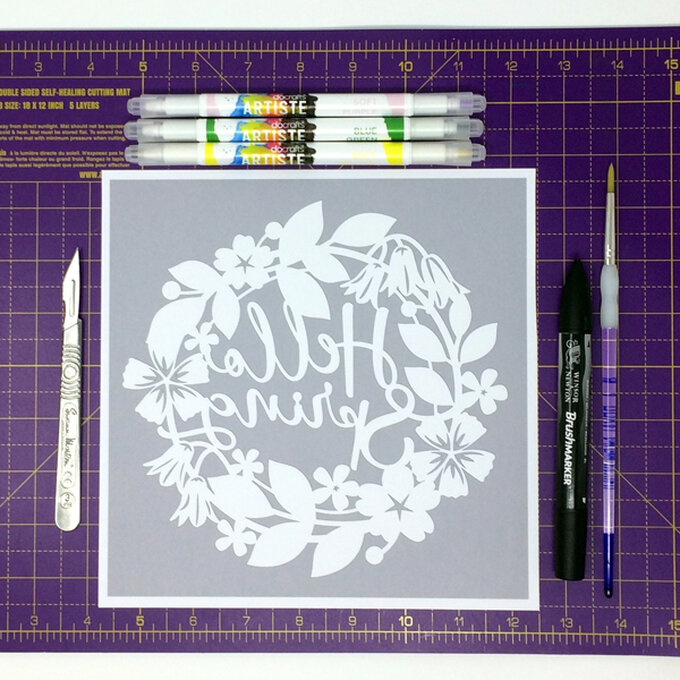
Start by downloading and printing out the paper cutting template onto white card. The template is reversed so that you cut from the back of the paper which keeps the front clean from any print marks.
step1.jpg?sw=680&q=85
Step-2
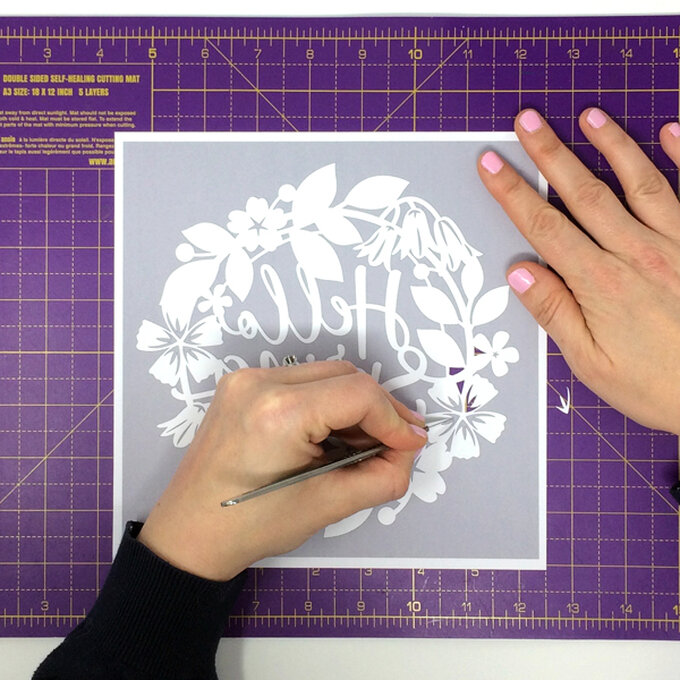
Cut away the grey centres of the flowers, always moving the knife towards you in small strokes to achieve a clean precise cut.
step2.jpg?sw=680&q=85
Step-3
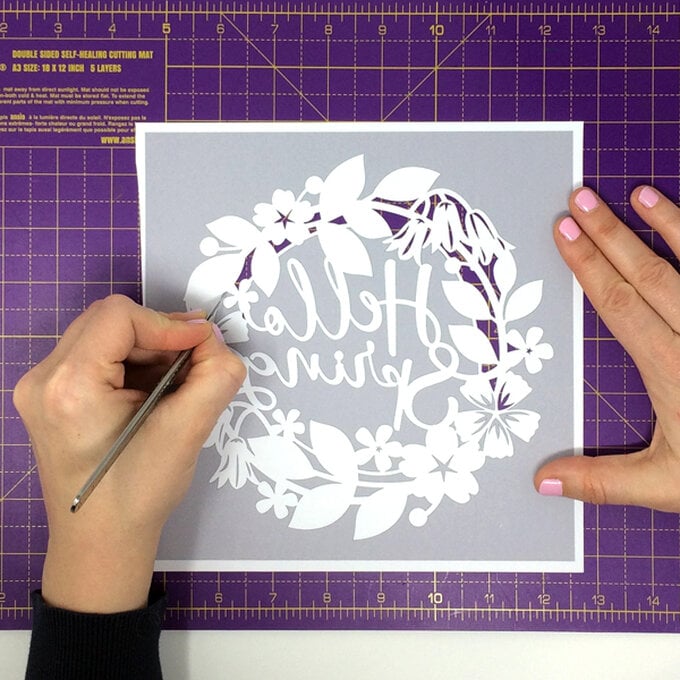
Continue around the inside of the design working your way inwards towards the text. Cut the small insides of the text first before cutting the letter shapes out, this will help to keep the paper stable.
step3.jpg?sw=680&q=85
Step-4
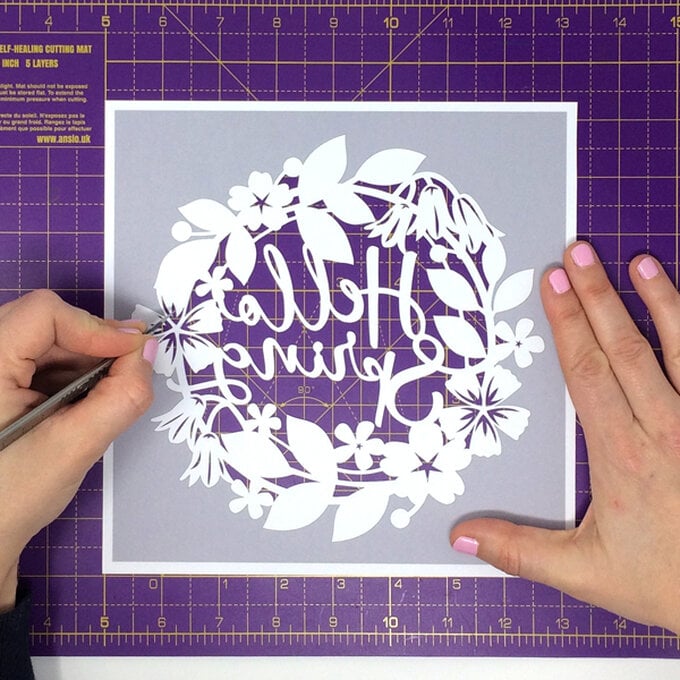
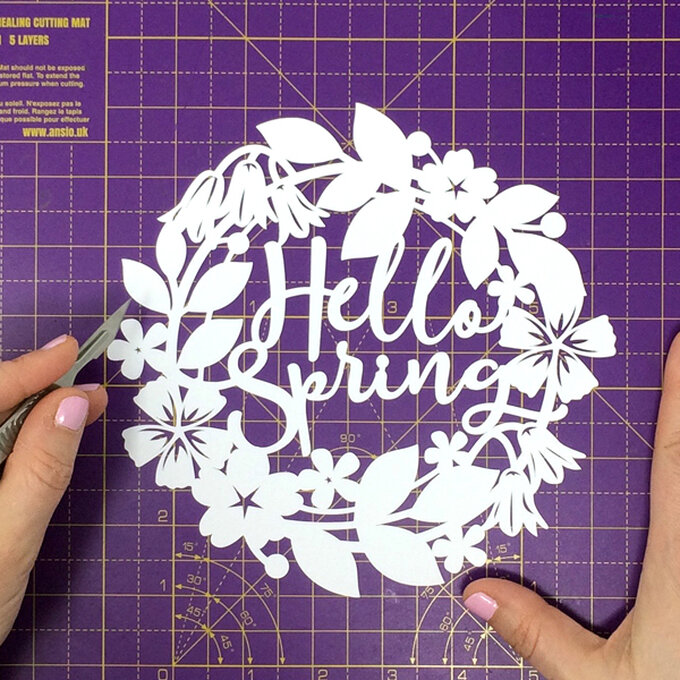
To complete the papercut, trim around the boarder removing all of the grey left on the page. Once finished, flip the paper over to see the completed design.
Step-5
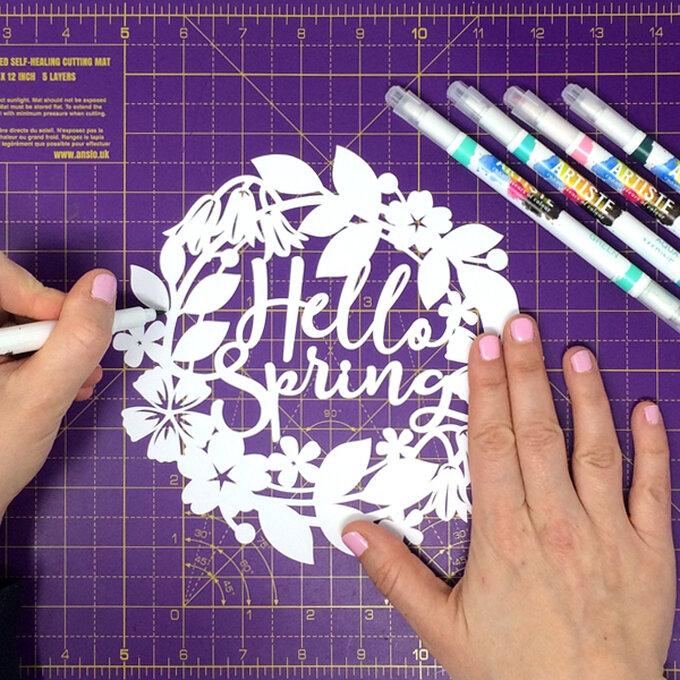
Select the colours and parts of the design you would like to colour in, we've coloured in the whole design, however you could just colour the leaves or flowers.
step6.jpg?sw=680&q=85
Step-6
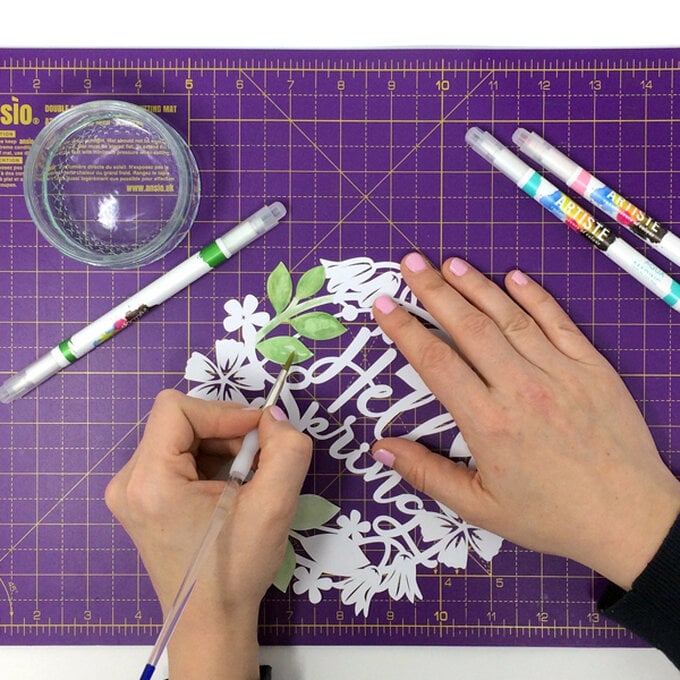
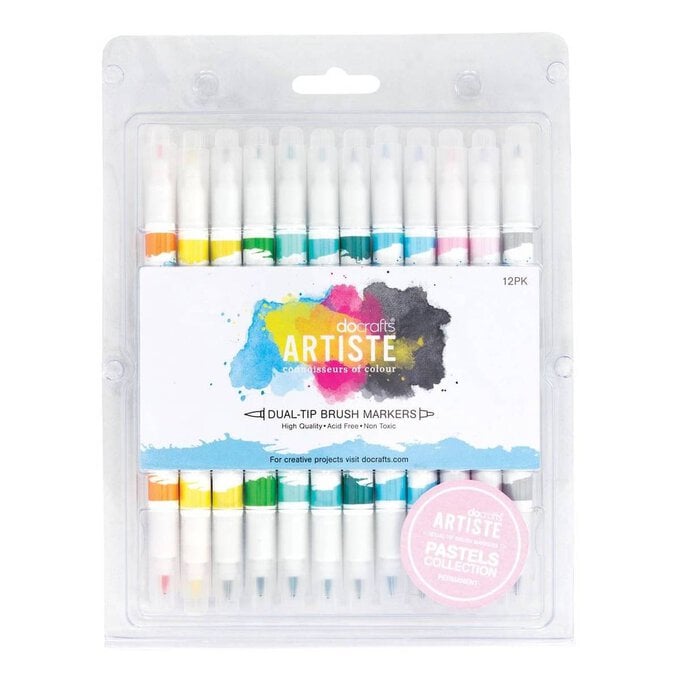
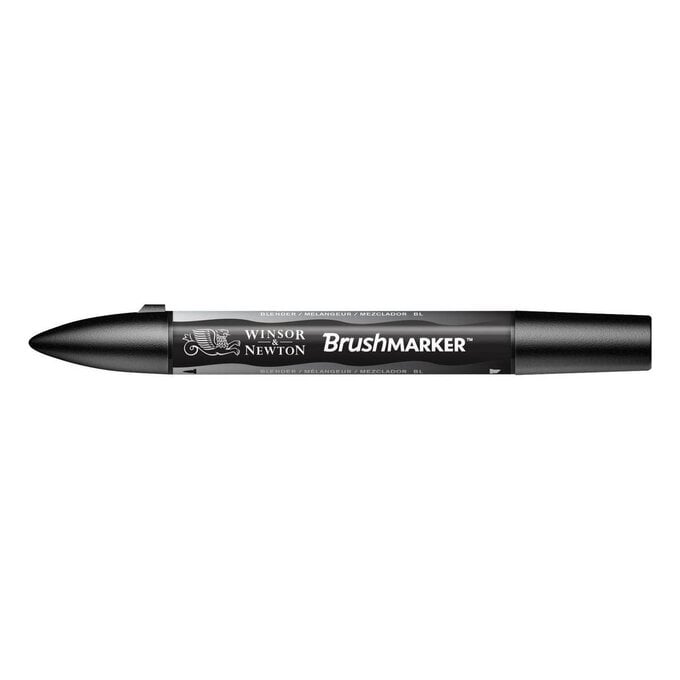
To achieve the watercolour effect, use a little water to wash down the brush pens on the paper and spread the colour further. To achieve the finer details on the leaves use the finer tip on the brush pens and use the blending pen to blend the colours together.
step8.jpg?sw=680&q=85
Step-7
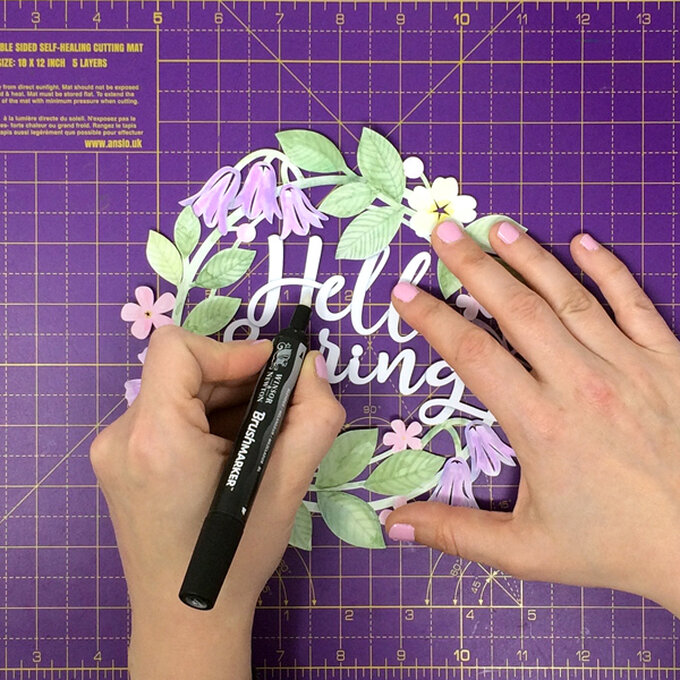
Add shadow effects to the 'hello spring' lettering by using the grey brush pen and again using the blending pen to create a gradual shadow effect.
step7.jpg?sw=680&q=85
Step-8
Take an 8 x 8″ white card blank and round each of the four corners with a craft punch. Cover the front of the card blank with a sheet of purple cardstock using a paper trimmer to cut it to size, round each of the four corners once more.
step7.jpg?sw=680&q=85
Step-9
Once the papercut is completely dry, apply foam pads to the reverse. Remove the backing paper and secure centrally to the card blank.
step7.jpg?sw=680&q=85
Step-10
Top Tips: Choose a craft knife that has replaceable blades. By keeping the blade sharp you will achieve a cleaner finish and it won't tire your hand and fingers out. Test the brush pens first on off-cuts of paper, so you get a good feel of how they work and practise some of the effects you want to achieve. Use an acrylic block (or the plastic packaging the brush pens come in) to first apply the ink from the brush pens and then transfer the ink using a watercolour paint brush, this will tone down the vivid colours and achieve a greater watercolour effect.
hello-spring-sq.jpg?sw=680&q=85
Rated 1 out of 5 by from Missing Link Nice project, however the link to the template is missing so as yet I haven't made it.
Date published: 2024-06-18
  • y_2024, m_11, d_21, h_6
  • bvseo_bulk, prod_bvrr, vn_bulk_3.0.42
  • cp_1, bvpage1
  • co_hasreviews, tv_0, tr_1
  • loc_en_GB, sid_how-to-create-a-watercolour-papercut-card, prod, sort_[SortEntry(order=RELEVANCE, direction=DESCENDING)]
  • clientName_hobbycraft
  • bvseo_sdk, dw_cartridge, 18.2.0, p_sdk_3.2.0
  • CLOUD, getReviews, 5ms
  • reviews, product

Related Products

Top