How to Make a Clay Rainbow Cloud
Create this clay rainbow cloud to add a pop of joy and colour to your home! Perfect for a baby's nursery, this easy-to-make design uses air drying clay and features wonderful rainbow thread colours.
The project will be great for getting little ones stuck in. Together, create a cute ornament that can be displayed and cherished forever.
Project and instructions by Emily Dawe.
You will need
Subtotal
Is $ 7.49
Subtotal
Is $ 2.49
Subtotal
Is $ 2.49
Subtotal
Is $ 2.49
Subtotal
Is $ 2.49
Subtotal
Is $ 2.49
Subtotal
Is $ 2.49
Subtotal
Is $ 2.49
Subtotal
Is $ 5.49
Subtotal
Is $ 5.49
You Will Need
* Air Drying Clay
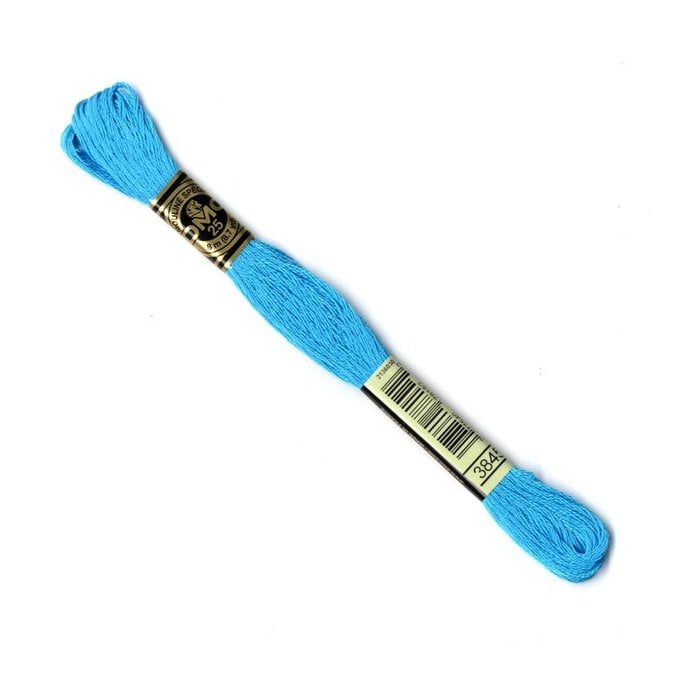
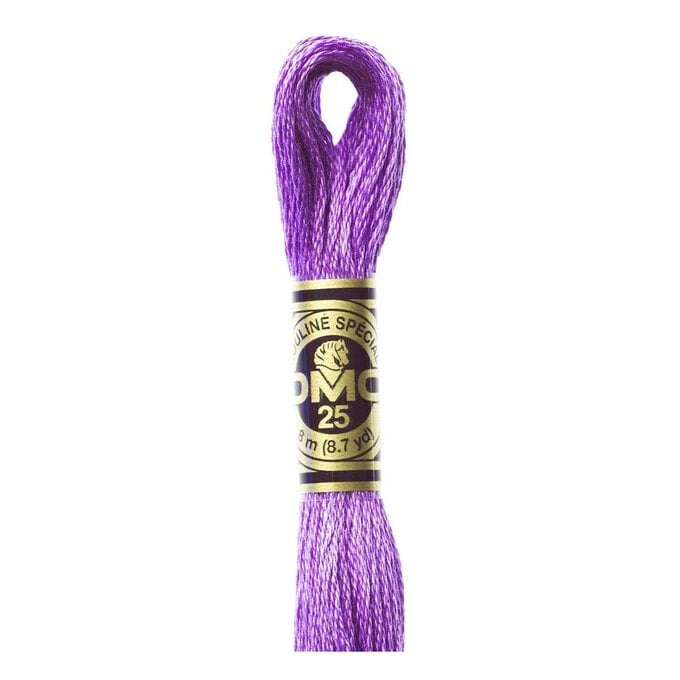
* Cotton Threads in Rainbow Colours
* Acrylic Paint - Blue, Pink and Red
* White Card
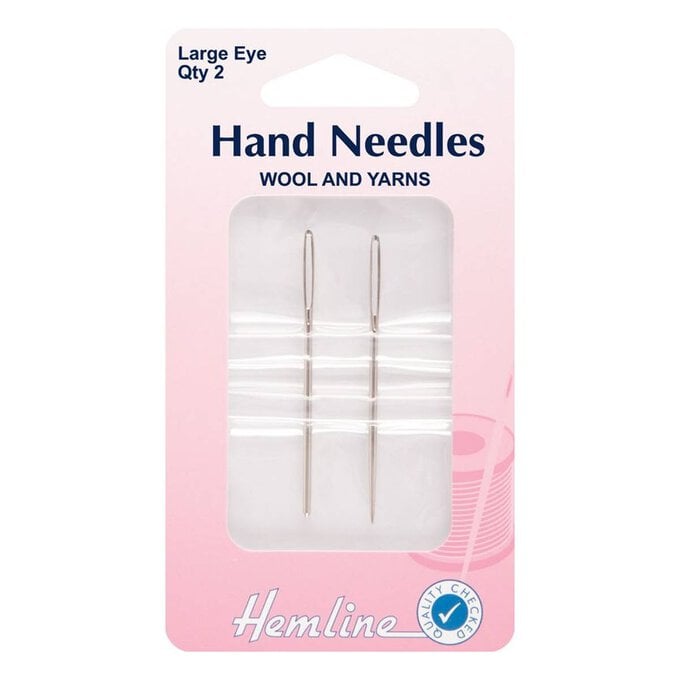
* Yarn Needles
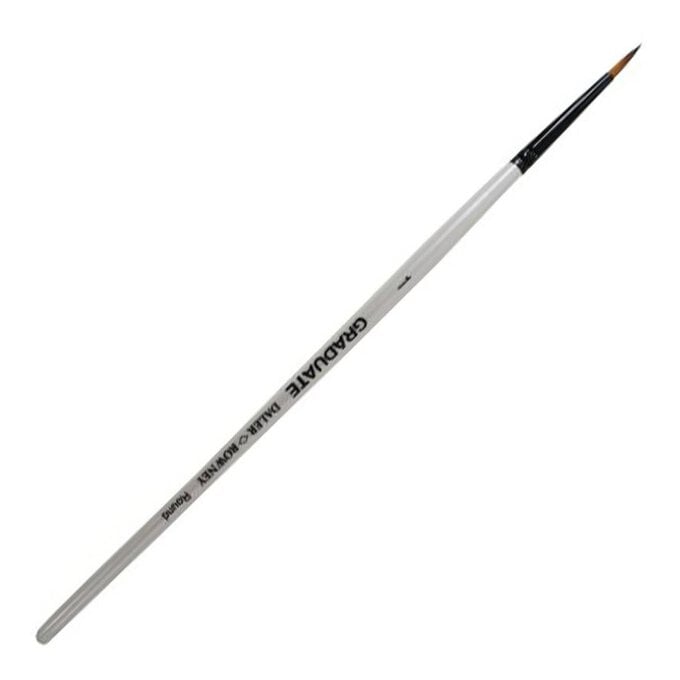
* Paintbrush
* Pencil
* Scissors
* Chopping Board
* Rolling Pin
* Skewer
* Pot of Water and Kitchen Towel
* Blunt Knife
How to Make
Start by drawing a simple cloud shape onto white card with a pencil. You can also draw out a face and seven dots along the bottom edge. Then cut out.
Take a good sized chunk of clay and warm it up between your hands to soften it. Use a rolling pin to roll it out, turning it over occasionally. You want to aim to make it about 1cm thick.
Place your cloud template onto the clay and use a blunt knife to cut all around it. Lift off the excess clay and leave to one side.
Use a skewer to mark where the seven holes will go, along the bottom edge. Then carefully push the skewer all the way through to make holes. Make one hole at the top of the cloud too.
Take your little pot of water, dip in your finger, then use this to smooth over any rough parts of the clay.
Place a piece of the excess clay back onto the board and then, using the blunt knife, cut a long triangle shape for the nose. Use the water to smooth off the edges of the nose. Then dab some on the back of the nose, then carefully position it onto the cloud, pressing down lightly. You then need to leave your cloud to air dry for 24 hours.
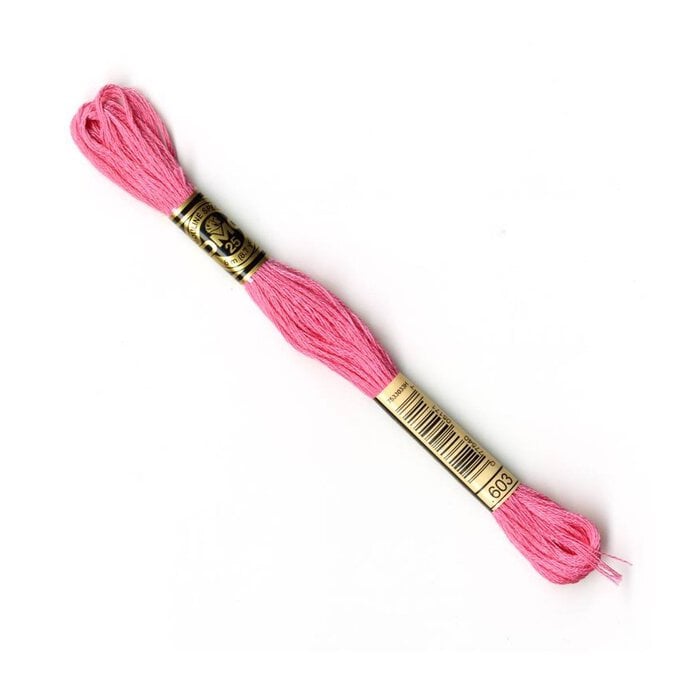
Once your cloud has completely dried, take your pink embroidery thread, pull out a long length, holding it up to the cloud to get an idea of the length. Cut three pieces of embroidery thread of the same length.
Use a large needle to thread a length of the pink embroidery thread through the first hole. Then do the same with the other two lengths of pink, pulling them so they all fall to roughly the same length.
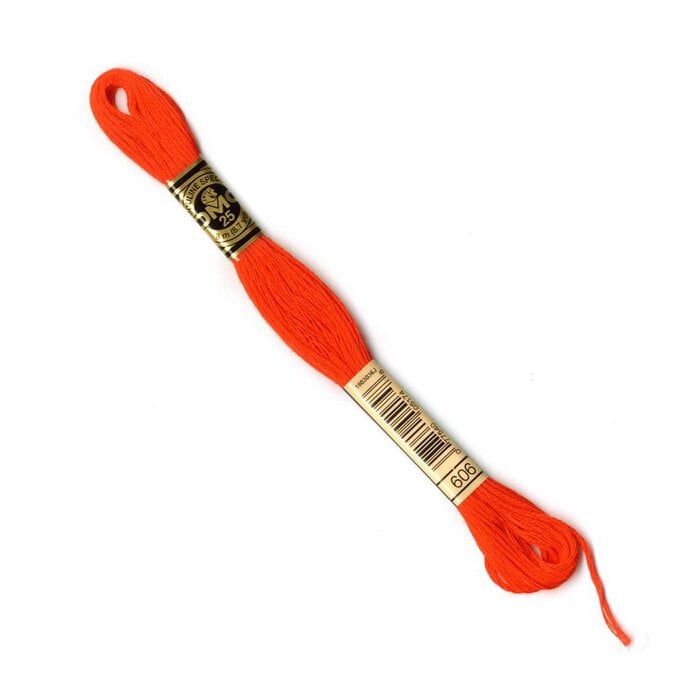
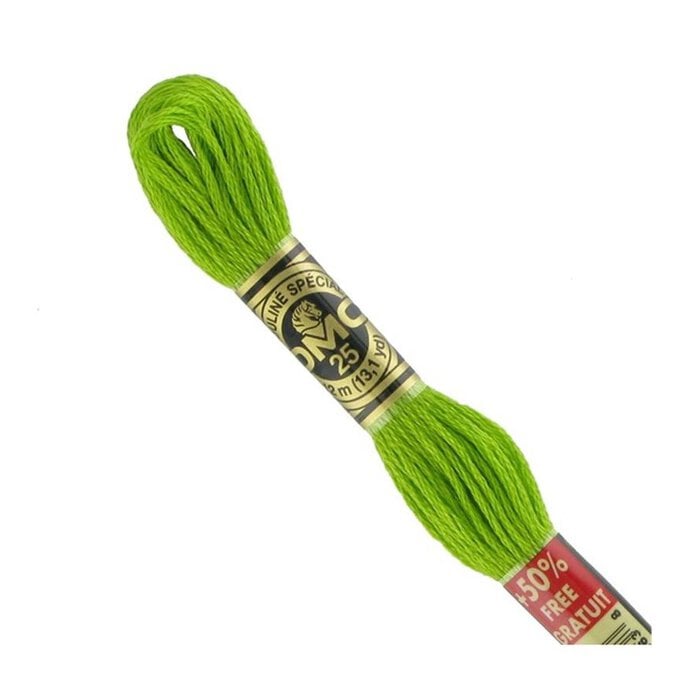
Then cut three lengths of embroidery thread in red, orange, yellow, green, blue, and then purple. Thread each colour through the holes, using the needle and working along in order, until all the rainbow threads are in place.
Take a short length of the pink embroidery thread and then, turning the cloud over, tie a knot around the threads of the same colour, close to the top. Continue tying knots around all the lengths of rainbow thread.
Squeeze out a little blue, pink, and red paint. Pick up a bit of the blue with a fine paintbrush, then paint on two eyes. Wash off the blue paint in water, then paint on a little red smile. Wash off the red paint off the brush, then add some water to the pink. Paint on two round cheeks, either side of the nose
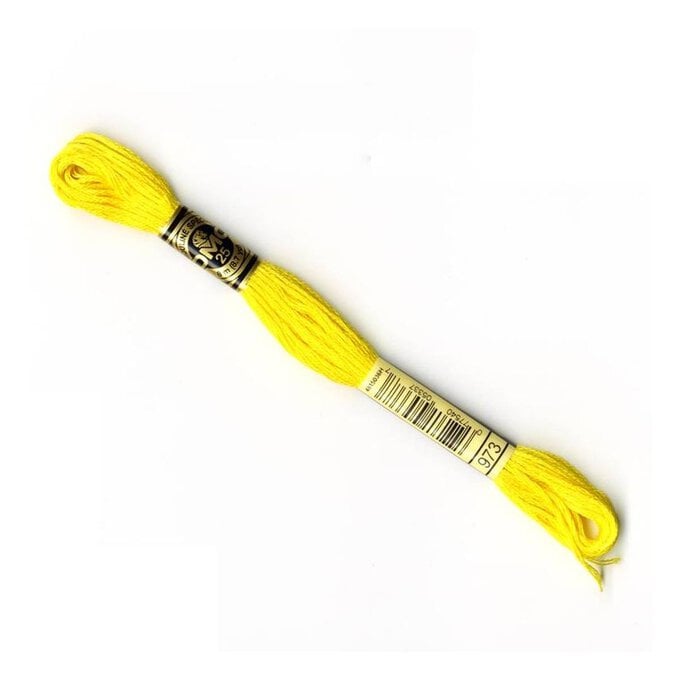
Finally, cut a long length of yellow embroidery thread, double it over then thread the looped end through the hole at the top. Push the loose ends through the loop and pull tightly. You can then use this to hang your cloud up on a wall or in the window.

