How to Make a Menorah from Air Drying Clay
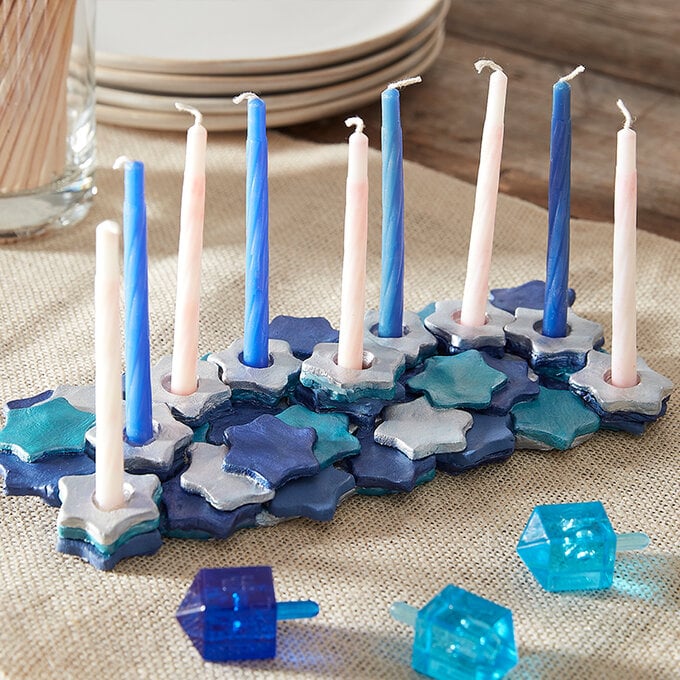
Hanukkah (or Chanukah, as it's more traditionally known) is the Festival of Lights. That's why it's perfectly fitting to create a menorah out of clay, especially if you're looking for an appropriate project to enjoy with your family. This will help both adults and children come together on dark winter's evenings.
Hanukkah wouldn't be complete without lighting the menorah, eating doughnuts and playing with the dreidel. All you need is some clay, your imagination and some paints to make a menorah that can be used for years to come.
Project and instructions by Chava Erlanger
You will need
Subtotal
Is $ 9.49 , was $ 12.00
Subtotal
Is $ 5.49
Subtotal
Is $ 15.00
Subtotal
Is $ 8.49
Subtotal
Is $ 7.49
Subtotal
Is $ 4.49
Subtotal
Is $ 4.49
Subtotal
Is $ 4.49
Prepare a flat wooden or cardboard surface and make sure that you have a cup of water handy.
Open the Das pack and take out a quarter of it. Using the rolling pin, roll out a rectangle of clay, 0.5cm thick. (If you are using the Das rolling pin, use the thickest ring for this). This is the base of your menorah.
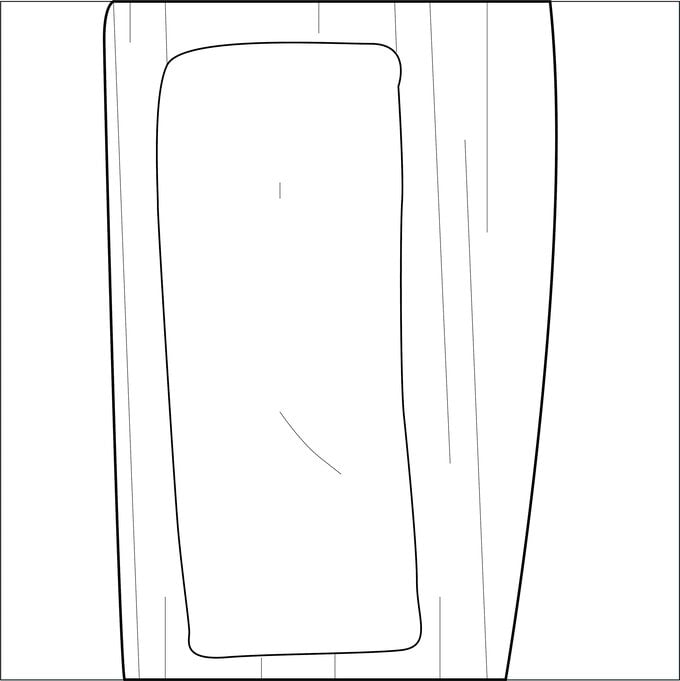
Put this rectangular base of your menorah aside. If you are leaving it for longer than 30 mins, sprinkle it with a little water.
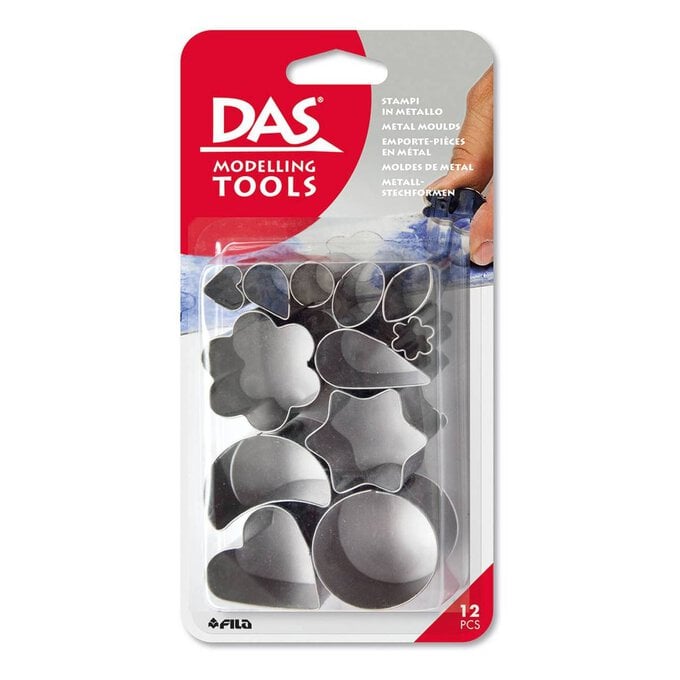
Take another quarter of the pack of Das and roll it evenly into a rectangle 0.5cm thick. Using the star shaped cutter in the pack of Das metal moulds, gently press the cutter into the Das clay.
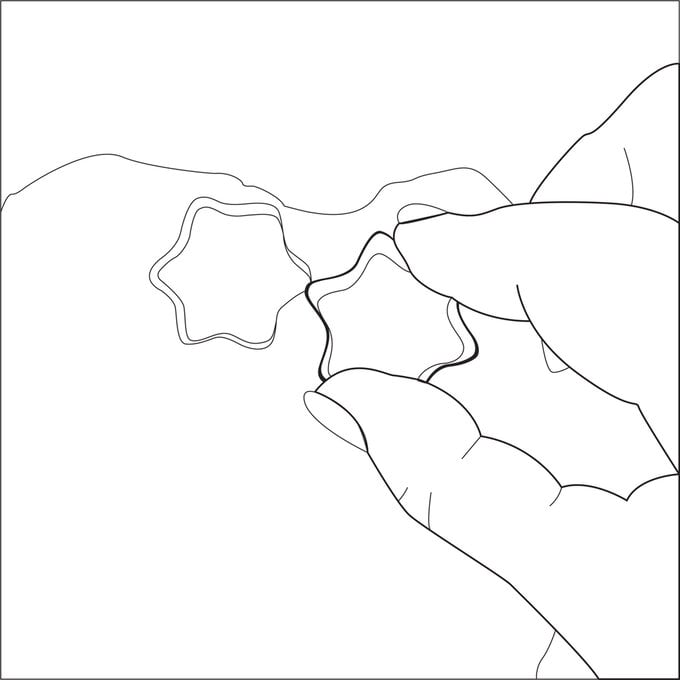
Repeat step 4, 20 more times until you have 21 stars
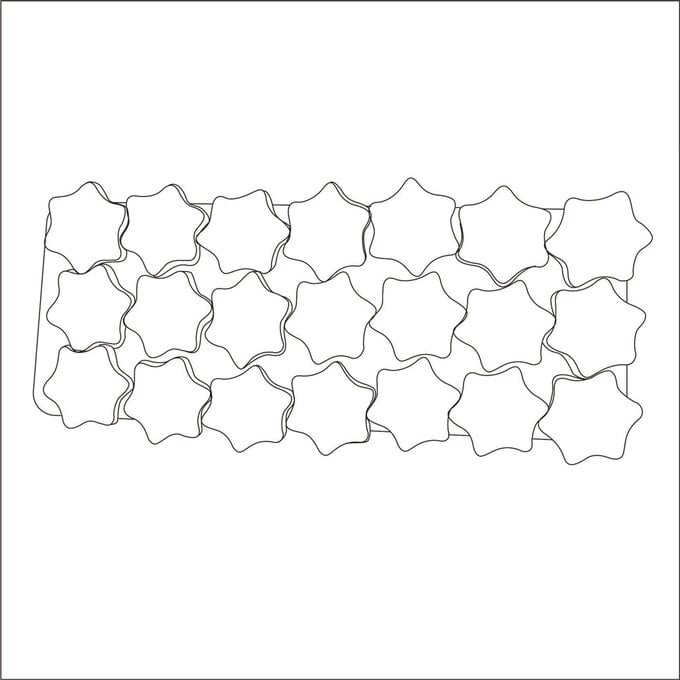
Arrange the stars as seen in image 3 on your base. If your base or stars are a bit dry, sprinkle the base with some water and arrange your stars on top of it. Do not use too much water.
Take the trimmings of Das left over from cutting out your stars and cut another 19 stars.
Take 9 of these stars, and using the smallest round cutter, cut out a circle from the middle of each of these stars
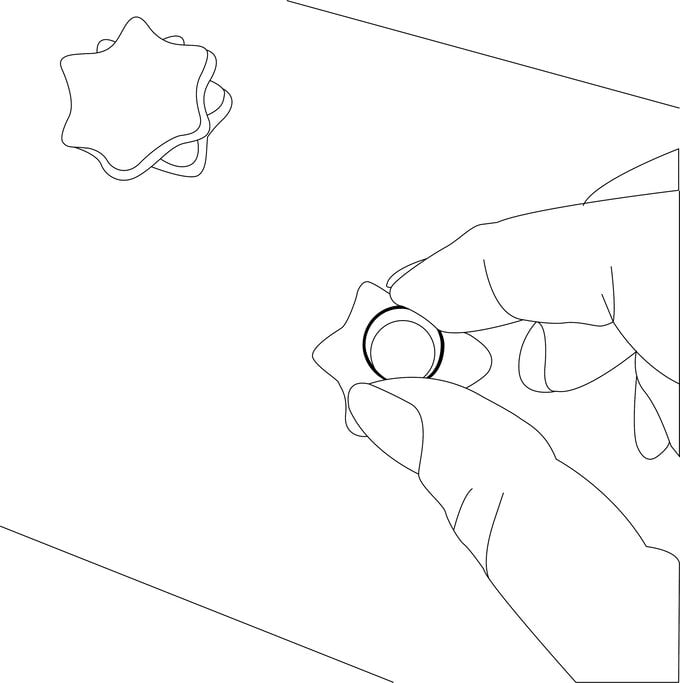
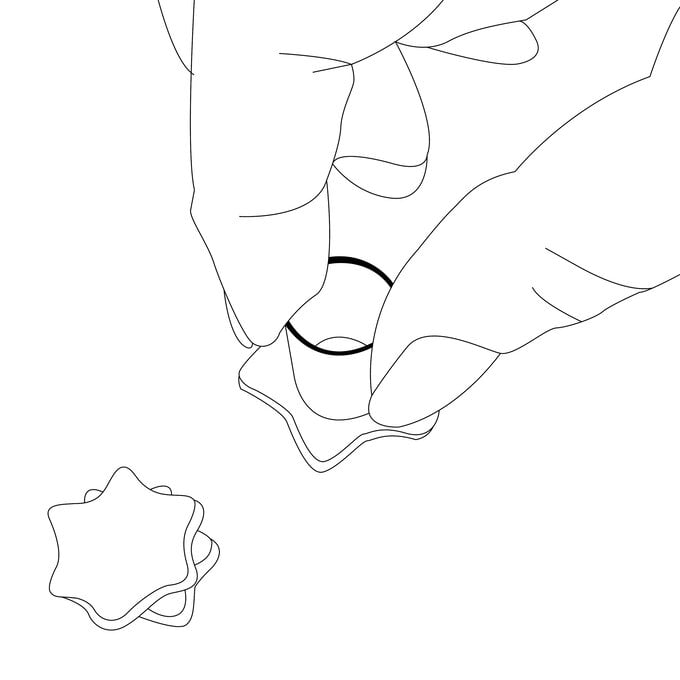
Take another 9 stars and arrange 8 of them in a half circle on top of the stars on the base of the menorah
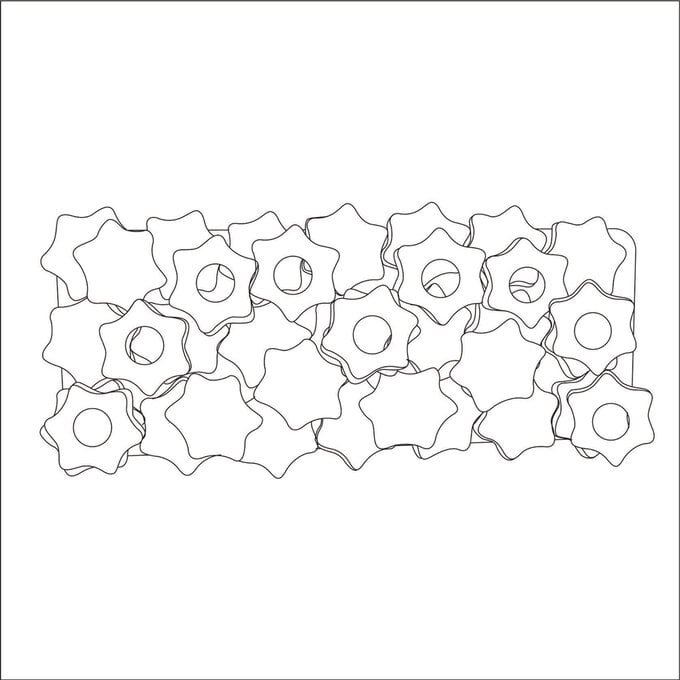
Take another 9 stars and arrange 8 of them in a half circle on top of the stars on the base of the menorah
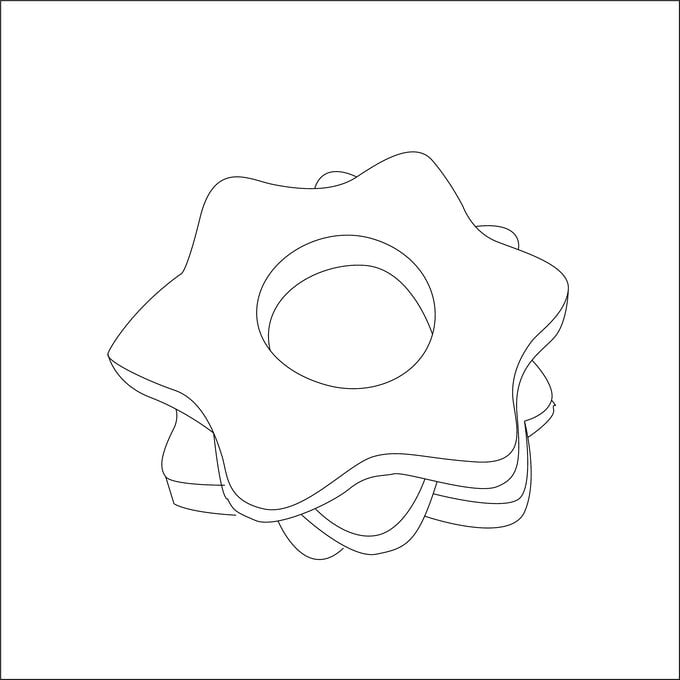
To make the Shamash candle holder, layer two plain stars on top of each other, with one star with a hole on top. Therefore making 3 stars layered together.
Place the shamash separately from the other candle holders.With your left over Das, cut out some more stars and place them wherever you wish.
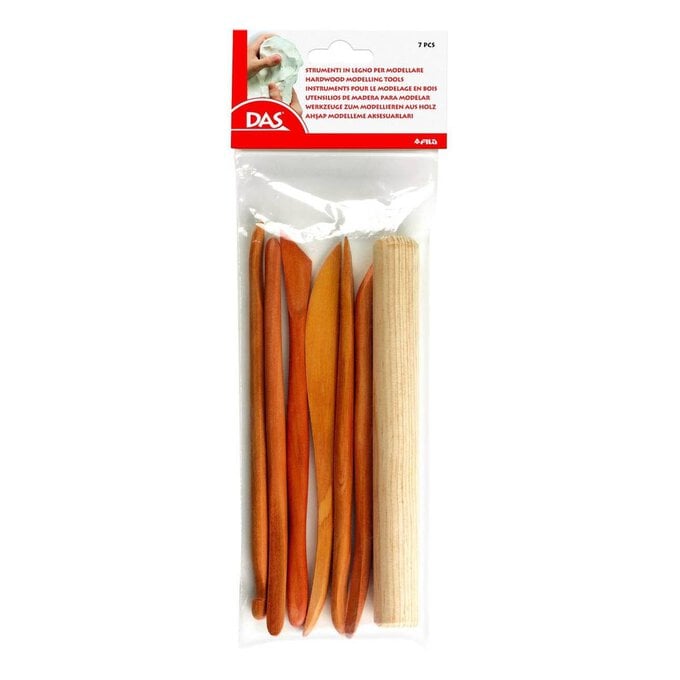
Using the carving tools, you may want to cut off any surplus clay from the base, following the pattern of the stars.
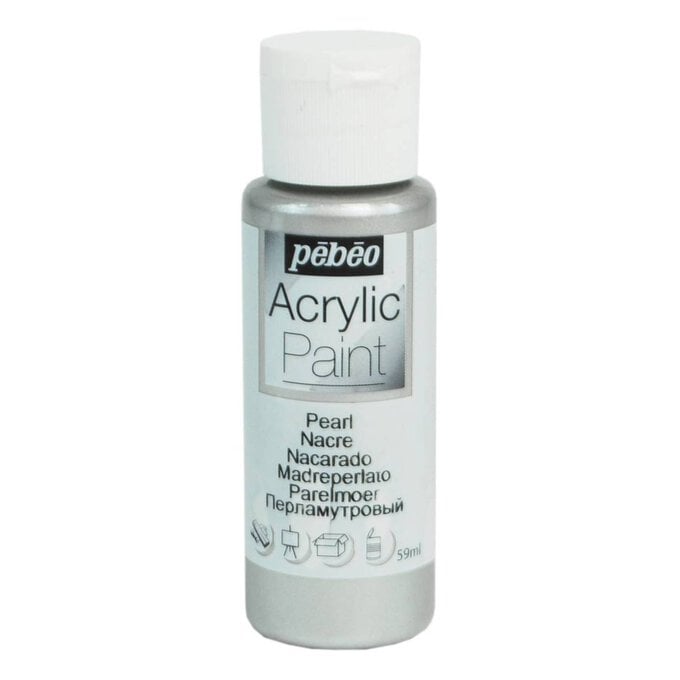
You can paint the Das when it is wet, or wait a day or so until it dries.
Optional: You can varnish or seal your work with Mod Podge.
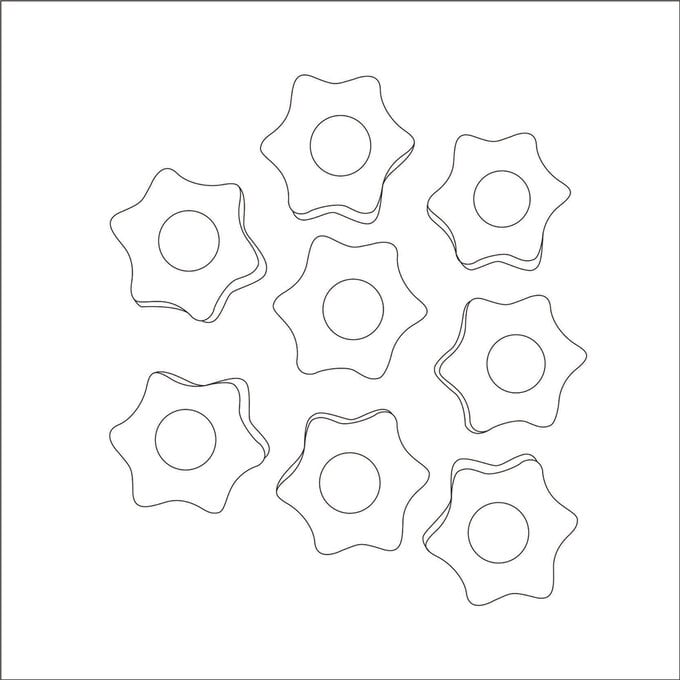
Your Menorah is then ready to use!
