How to Make a Clay Diya Lamp
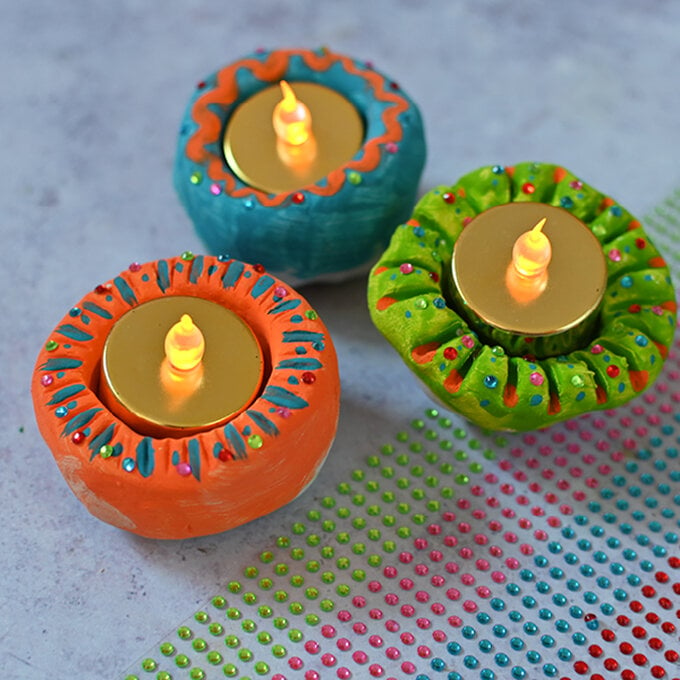
Diya lamps are traditionally oil lamps with a cotton wick dipped in ghee to symbolise prosperity for the new year. These colourful versions are made with white air drying clay and can be decorated with all manner of things.
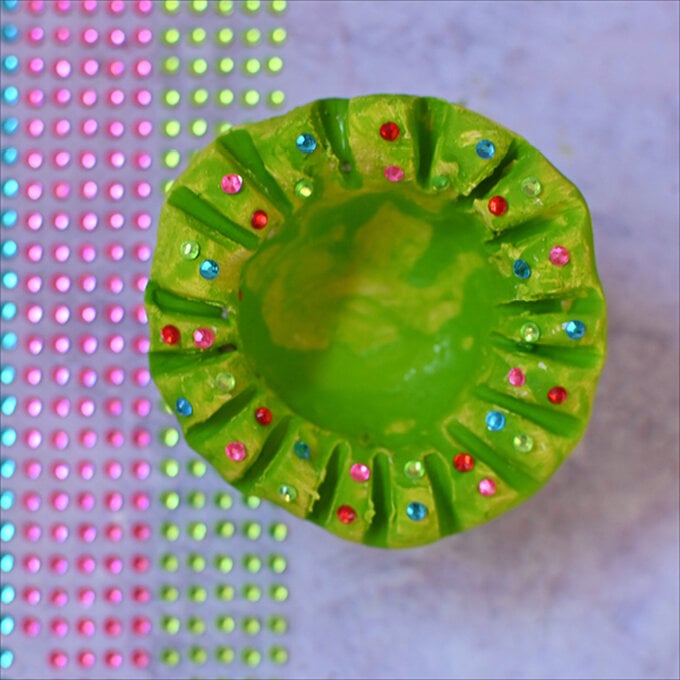
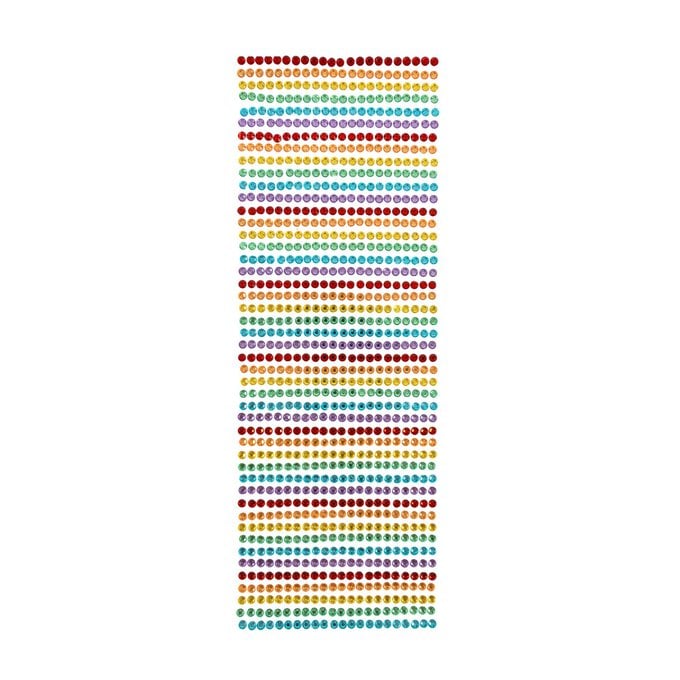
With this project, we’ve used self-adhesive jewels to add stunning details that reflect beautifully once you’ve turned the glow of your tealight on.
You will need
Subtotal
Is $ 7.49
Subtotal
Is $ 7.49
Subtotal
Is $ 4.49
You will also need:
*A paintbrush
*Tools (e.g. cutlery)
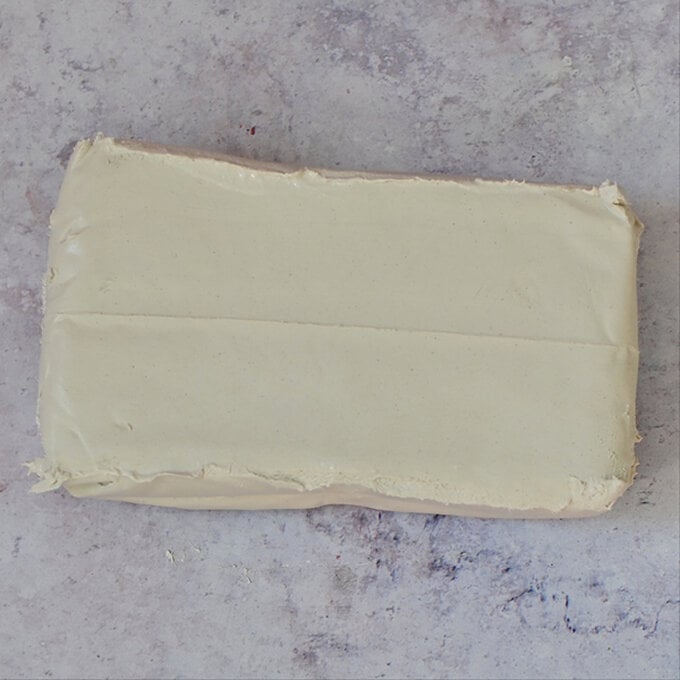
Unwrap the clay and portion out how much you think you’ll need for the number of lamps you are making (I used half of a pack to create 3 Diya lamps).
Wrap the remaining clay up and keep in an airtight container.
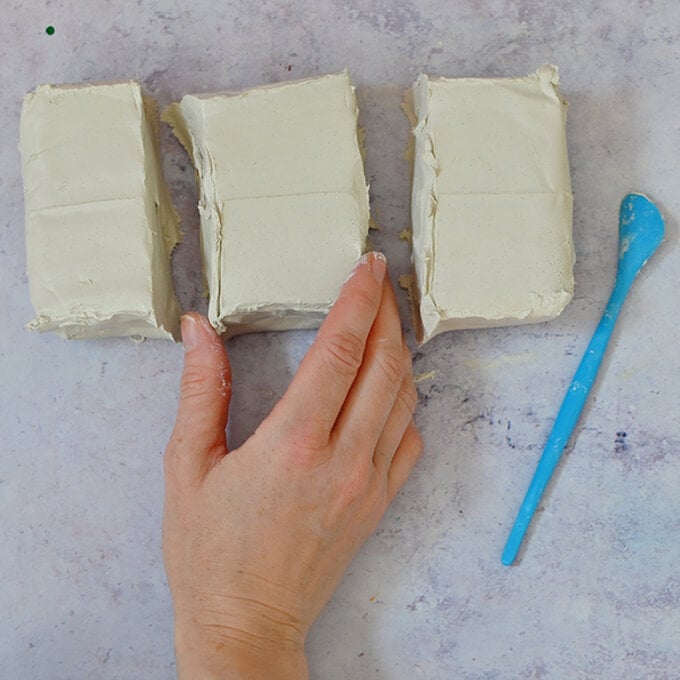
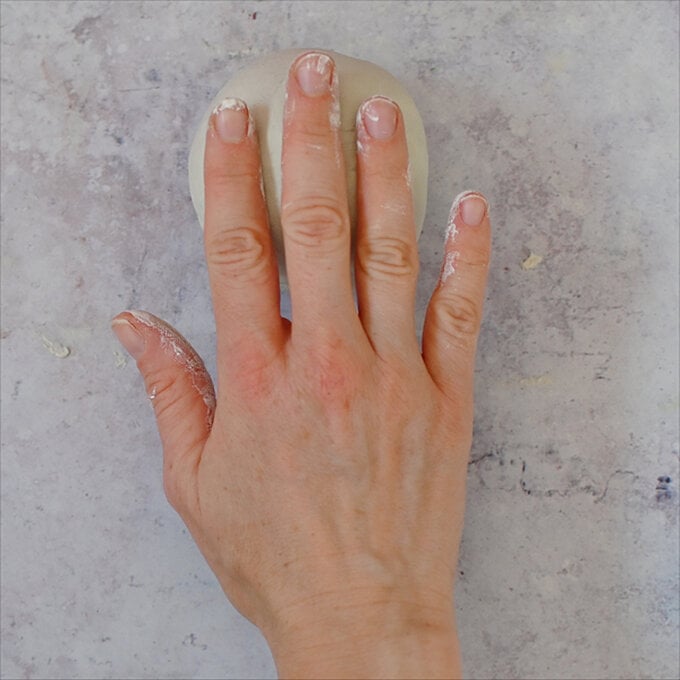
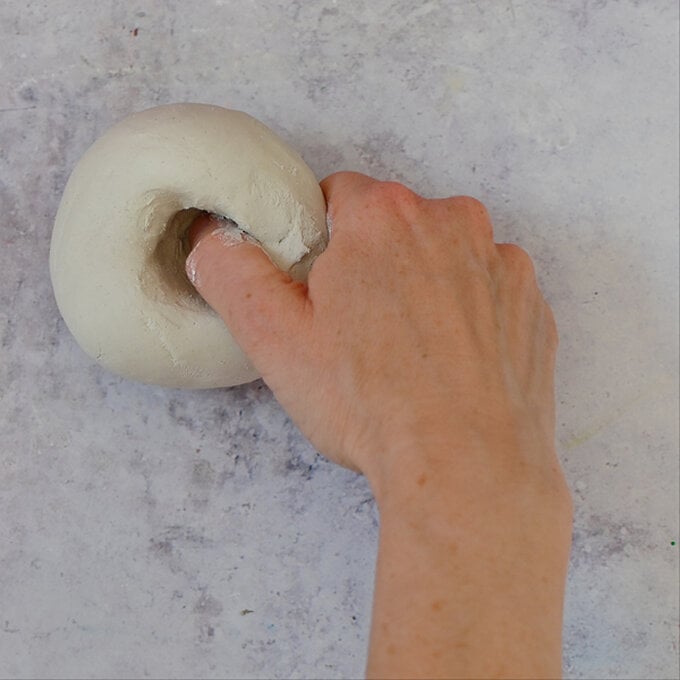
Roll the clay into a ball.
Place your thumb in the centre of the clay and then gently ease out the clay to create the dip for the tealight.
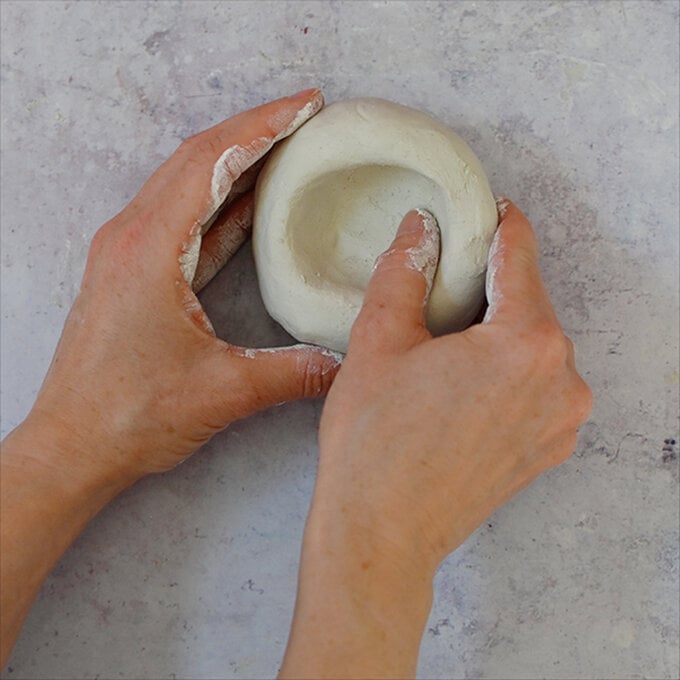
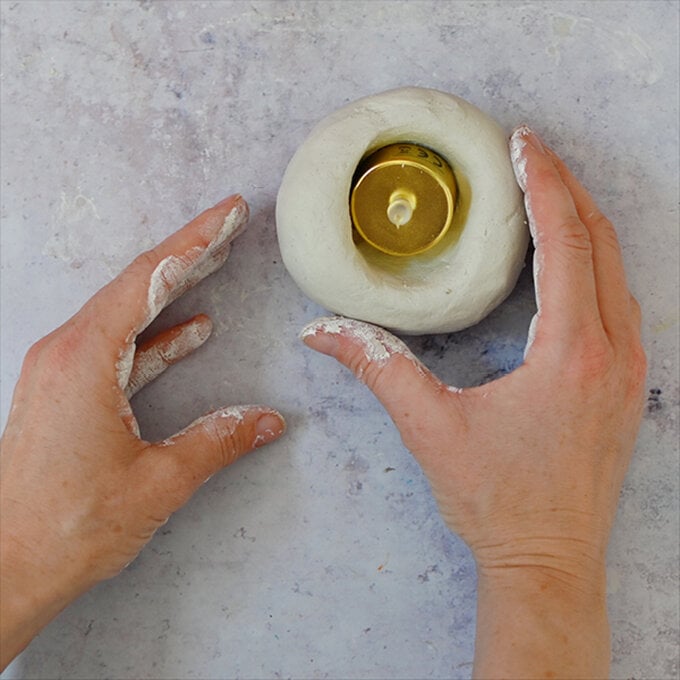
Place the tealight inside the holder to see if you have made the indentation big enough, if not keep moulding to gradually increase the size.
Once the indentation is the correct size, smooth over any cracks with your finger. It may help to add a little water to the clay to help smooth it over
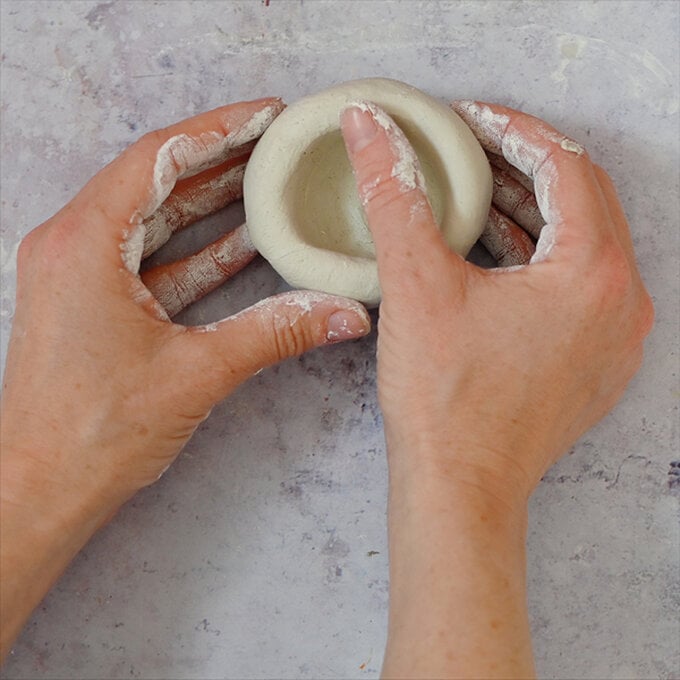
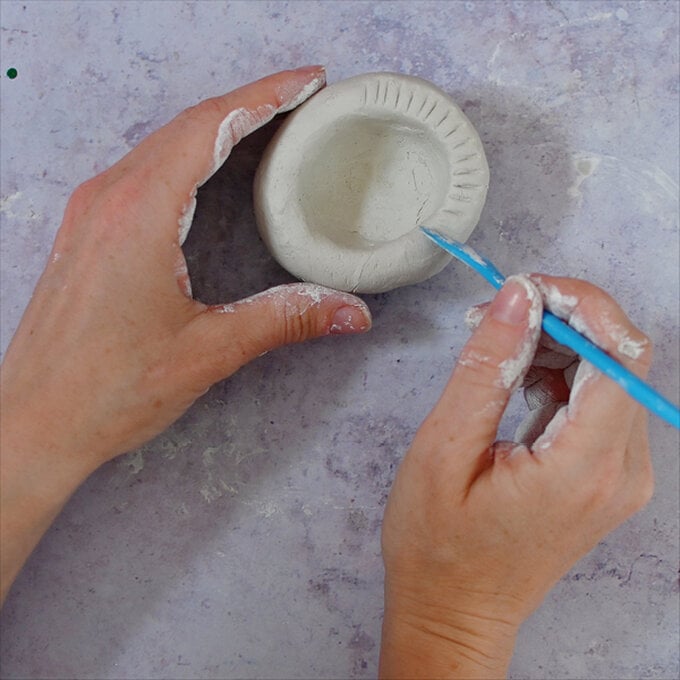
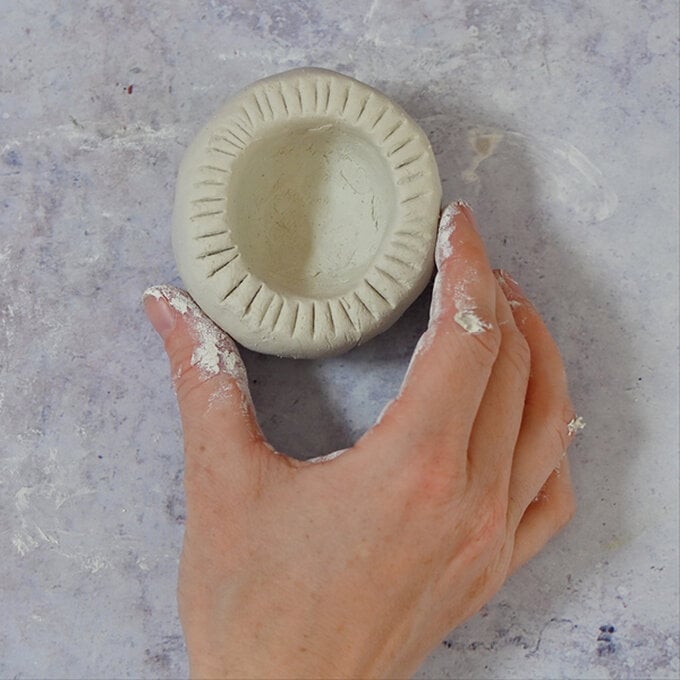
Use a clay tool to create some little grooves around the edge of the lamp, or any other decoration you’d like.
Then leave to dry.
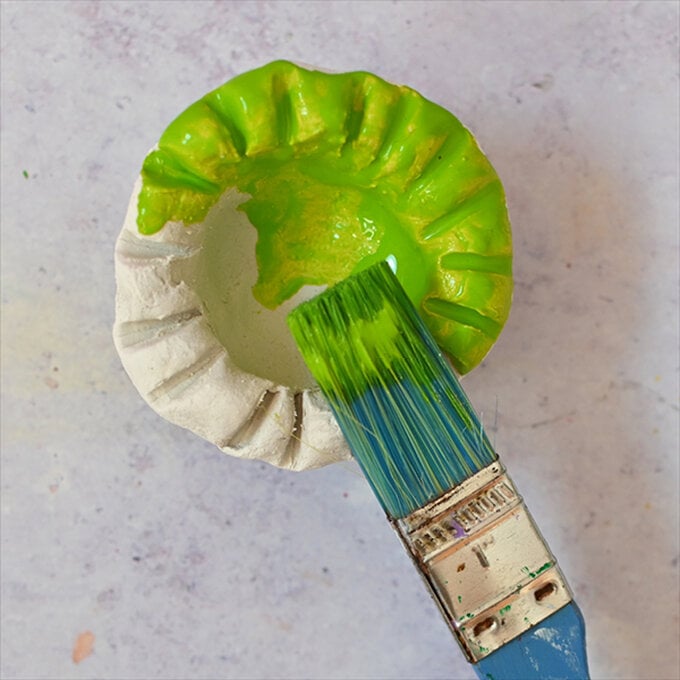
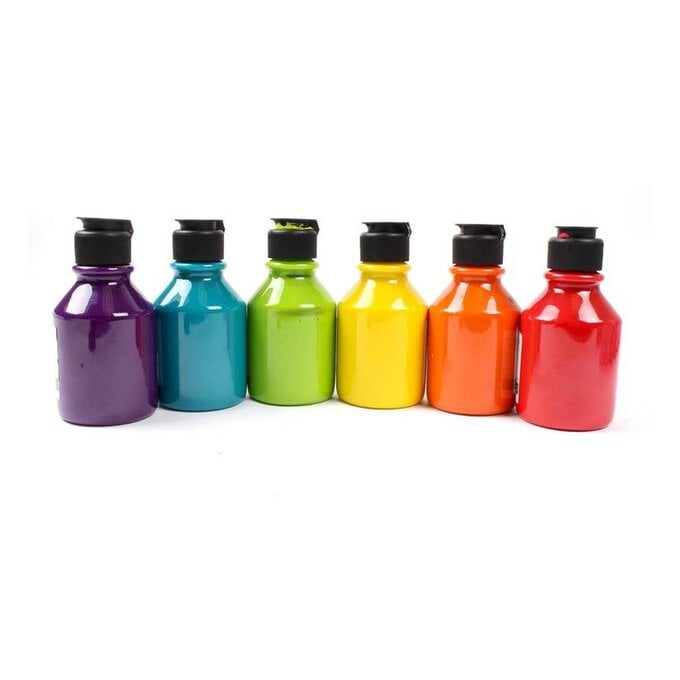
Once dry, paint the clay using two coats if required.
Stick on the jewels and pop in the tealight.
