How to Make a Personalised Bucket Hamper
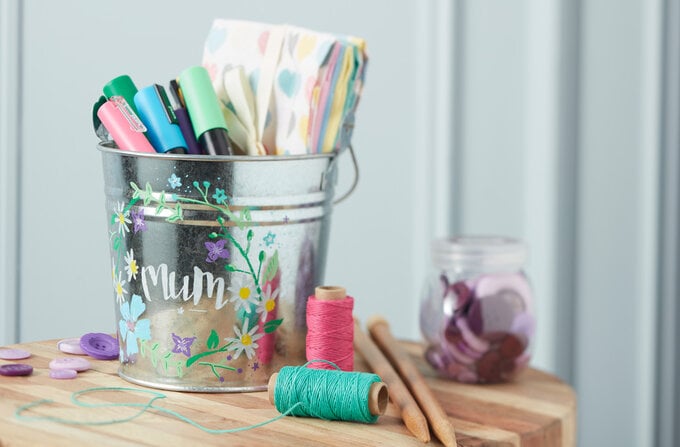
Make mum's day... quite literally! We think hampers are the perfect present for just about anyone - full of personalised things you know they'll love, they show thought and a hand-decorated hamper adds an extra special touch. Personalise one for mum this Mother's Day, and turn a simple metal bucket into a pretty floral bucket hamper full of her fave goodies!
You will need
Subtotal
Is $ 33.00
How to make
Start out by sketching your floral border design onto a piece of paper. Try to make a design that is a similar scale to your bucket, to get a feel for how big it will be.
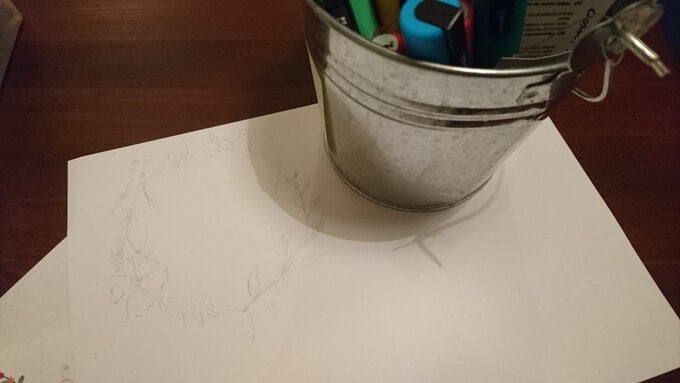
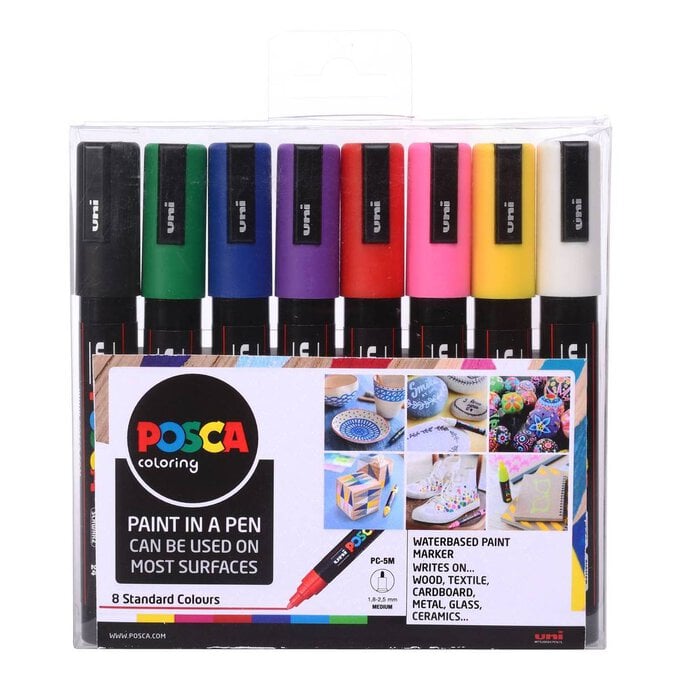
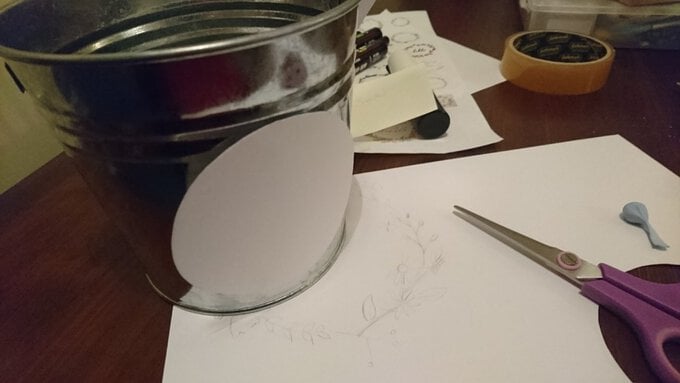
Either cut out your design or cut another circle from card or paper and bluetack it to your bucket. Use a green Posca pen to draw at least four dots marking the top, bottom, left and right edges of the circle. This provides a guide for you to follow when you add the detail, and will be covered up by the design later.
Posca pens can be applied straight onto the bucket, without the need to prime or paint. If you are right-handed, start with the left of the design and work your way to the right, vice versa if you are left handed! This means that you are less likely to smudge the design as you apply it!
It is easiest to start with the green stems of your flowers, then add the other colours into the gaps and over the top. Once a colour has dried, you can add another colour over the top without worrying about disturbing the layers beneath. Keep adding details and colours to your design until you are happy!
If you can still see your original guide dots, use the same colour pen to mask these and blend them into your design.
Once you have a nice even circle, add your message to the centre.
Add a tissue paper lining to the inside of the bucket and fill it with lots of goodies that your mum will love!
