How to Make Quilled Floral Wall Art
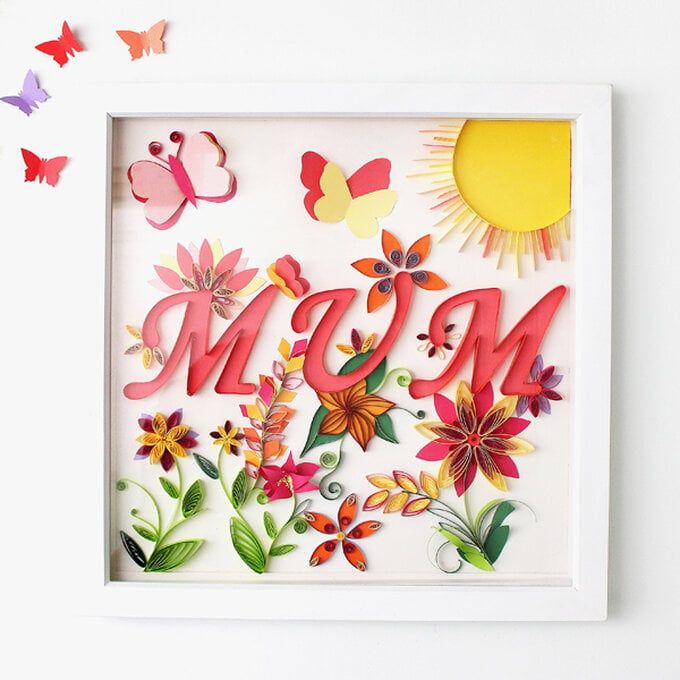
Quilling is a stunning technique to create beautiful floral box frames. Either use initials or spell out a word, perfect for a bedroom, living room.
You will need
Subtotal
Is $ 3.49
Subtotal
Is $ 6.49
Subtotal
Is $ 28.00
Subtotal
Is $ 4.49
Out of stock
How to make
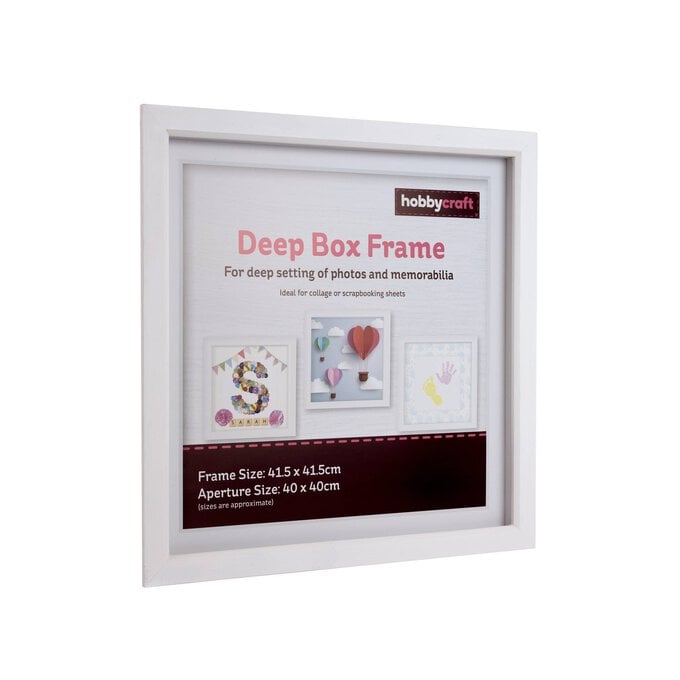
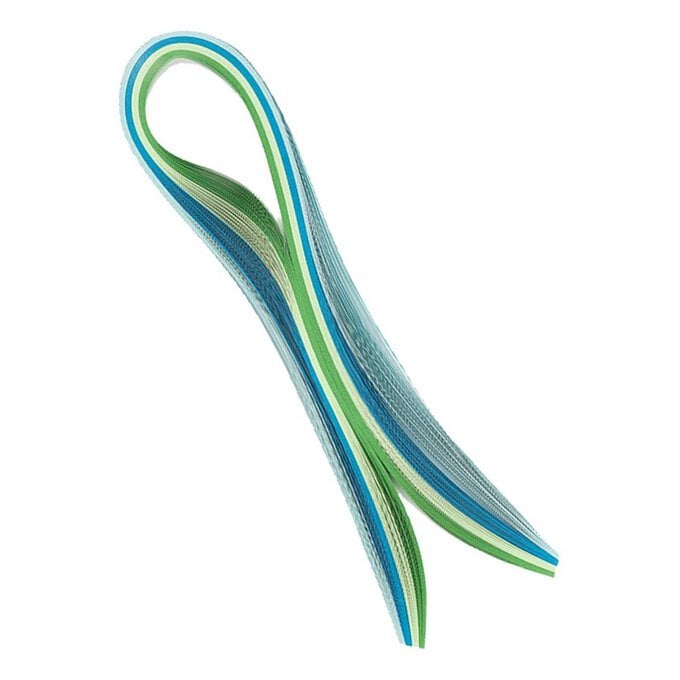
Cut your A1 card to 40cm x 40cm to fit the box frame and select your colour palette from the Cardstock and Quilling strips.
Print out your choice of text in the required font, cut out, and position centrally onto the base piece of card and lightly trace around the outside edge. Trace around the letters once more, this time onto coloured cardstock, once complete, secure with adhesive foam pads, using the guides you made earlier.
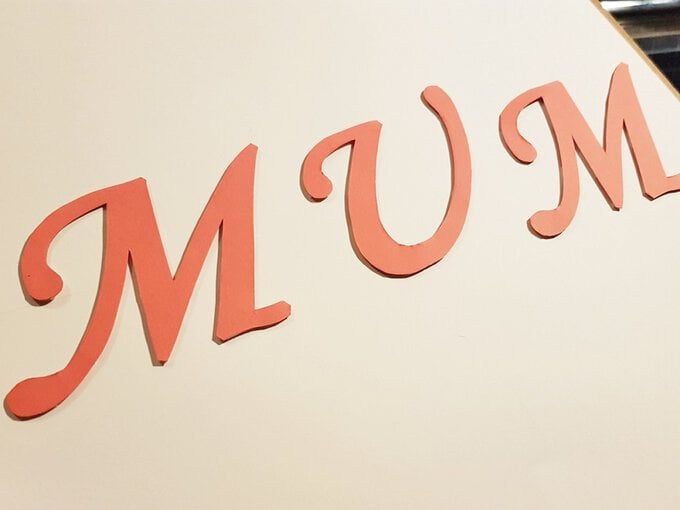
Edge the text with strips cut from the same colour of cardstock, bending and gluing the strip down as you go.
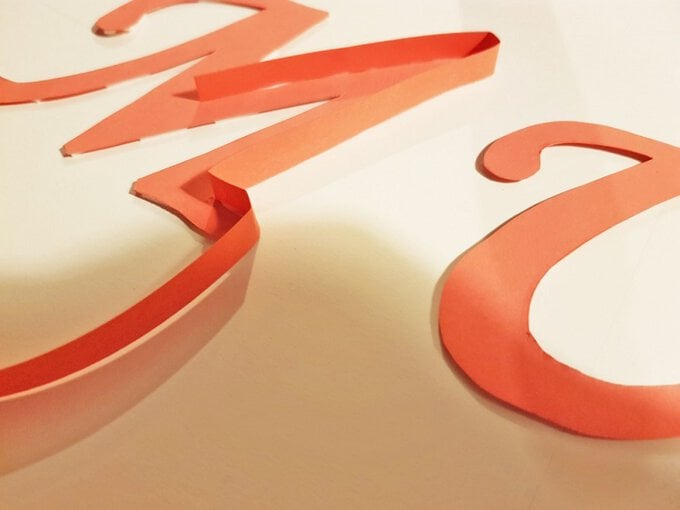
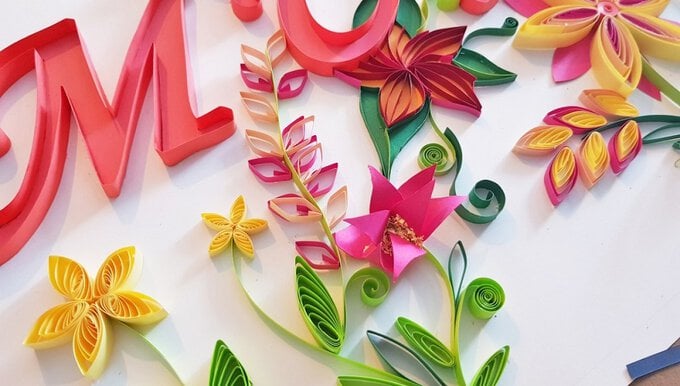
Create your first set of petals using the quilling comb in varying sizes, adding some stems and petals for interest. Quill circles in bright floral colours, closing the shape with a little tacky glue. Repeat the same process and pinch both ends to form petals and attach to the end of the stems.
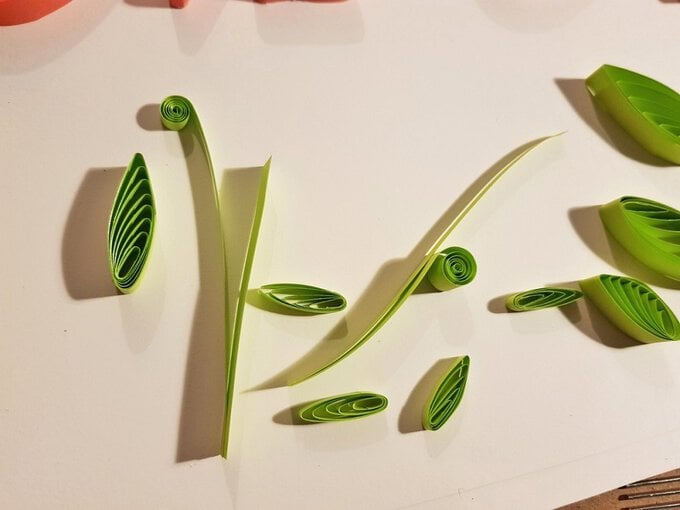
Make varying types of petal shapes in bright and fresh colours to form different floral elements.
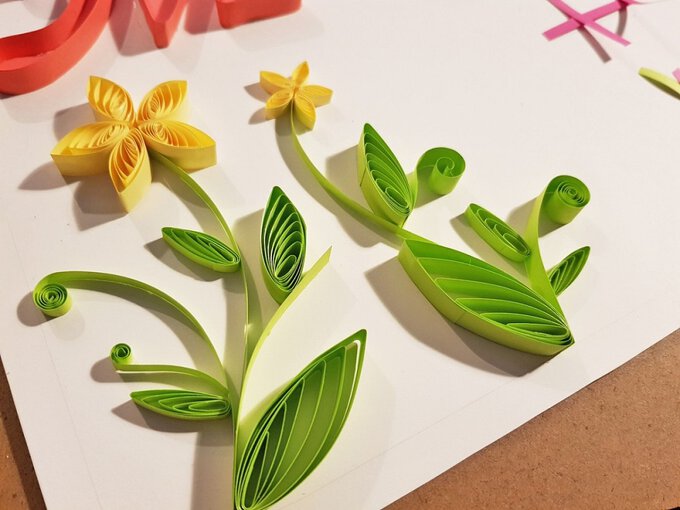
Start to place your quilled elements around the central greeting. Create flat-cut petal shapes and gently twirl them around the handle of a quilling tool to form 3D curved leaves, stems and grass.
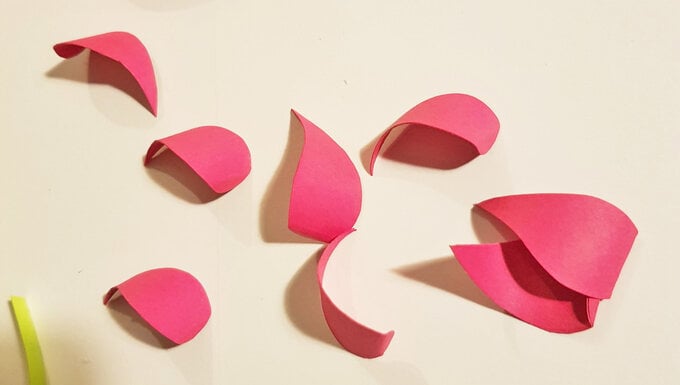
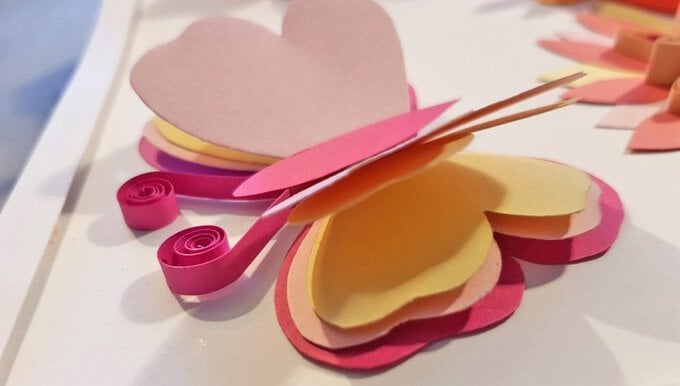
Cut multiple sizes of butterfly shapes and piece together to form layered butterfly elements to decorate the top of the piece.
Cut a sun shape from plain Cardstock for the top right corner of the piece, add slightly zigzagged quilled strips to form the sun's rays, this is achieved but lightly concertina folding a quilling strip.
Fill in larger areas of white space with small floral elements, using a mix of flat cut and quilled shapes.
Once everything is secured into place and before sealing the frame, use double-sided tape to secure the base piece of cardstock to the frame backboard.
