How to Make a Pom Pom Bunny Wall Hanging
Discover how to create a pom pom bunny wall hanging with this beginner-friendly step-by-step guide. Perfect for making with your little ones, all you'll need is a few basic crafting supplies to create an adorable bunny wall hanging that will be cherished forever.
You could even experiment with different colours and sizes to create an entire collection of pom pom bunny wall hangings! Make something to bring out every Easter.
Project and instructions by Natasha Emmerson.
You will need
Subtotal
Is $ 12.00
Subtotal
Is $ 9.49
Subtotal
Is $ 3.49
Subtotal
Is $ 4.49
Subtotal
Is $ 5.49
Subtotal
Is $ 3.49
Subtotal
Is $ 16.00
Subtotal
Is $ 7.49
Start by making your pom poms.
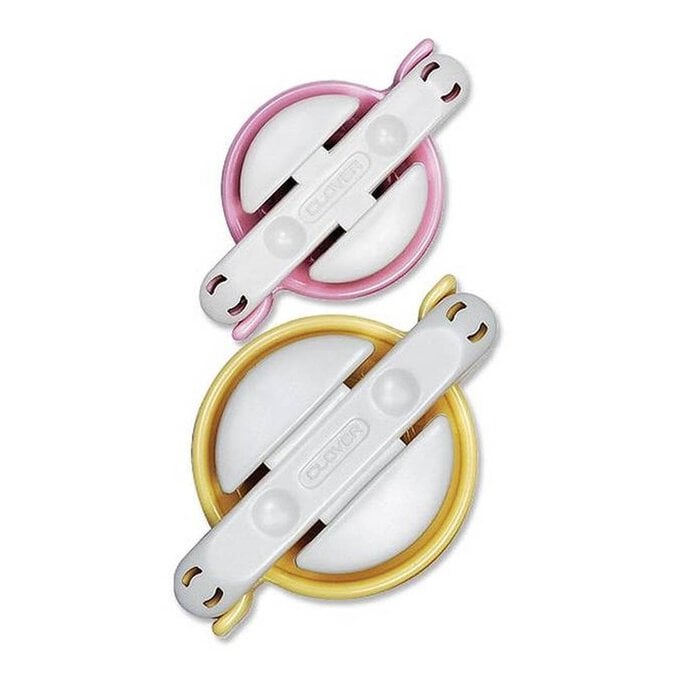
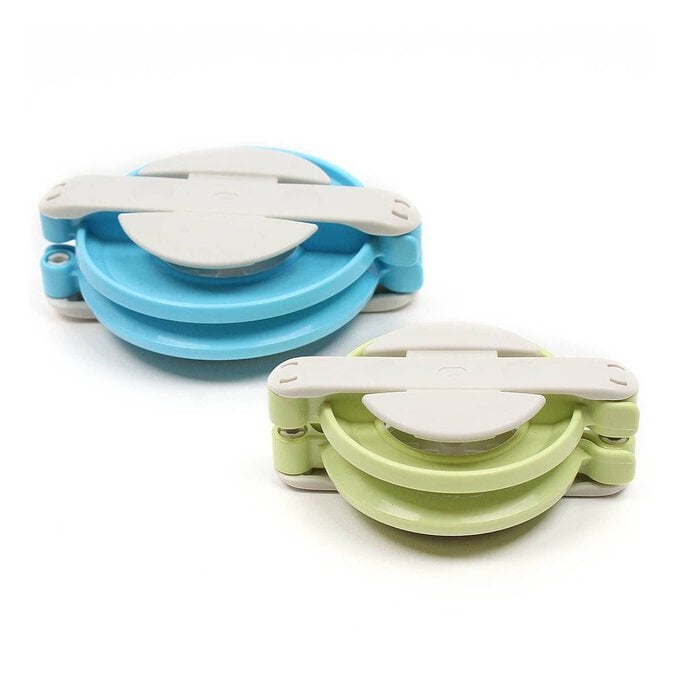
Using the Green Pom Pom maker (65mm) make 11 pom poms, you want these to be nice and fluffy so keep your tension loose when wrapping and tie each pom pom you make to secure with a long piece of string.
With the Yellow Pom Pom maker (45mm) make 13 pom poms.
With the Pink Pom Pom maker (35mm) make 18 pom poms.
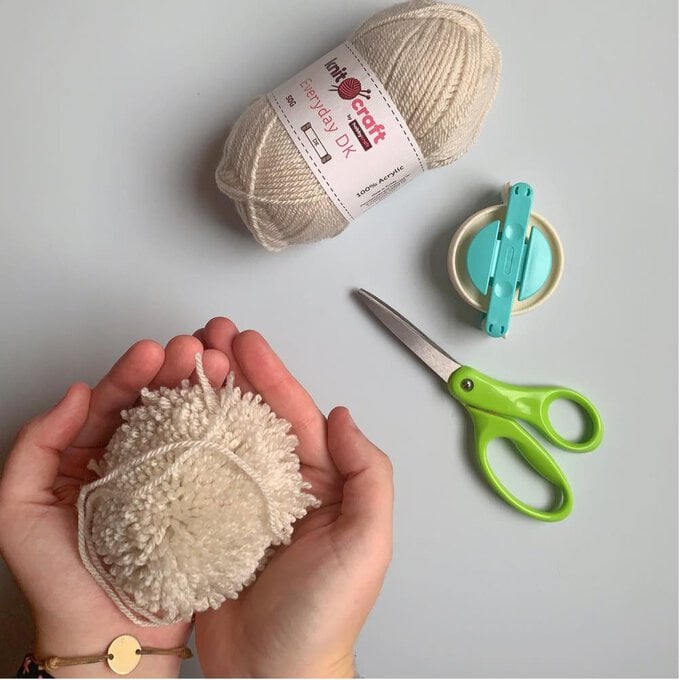
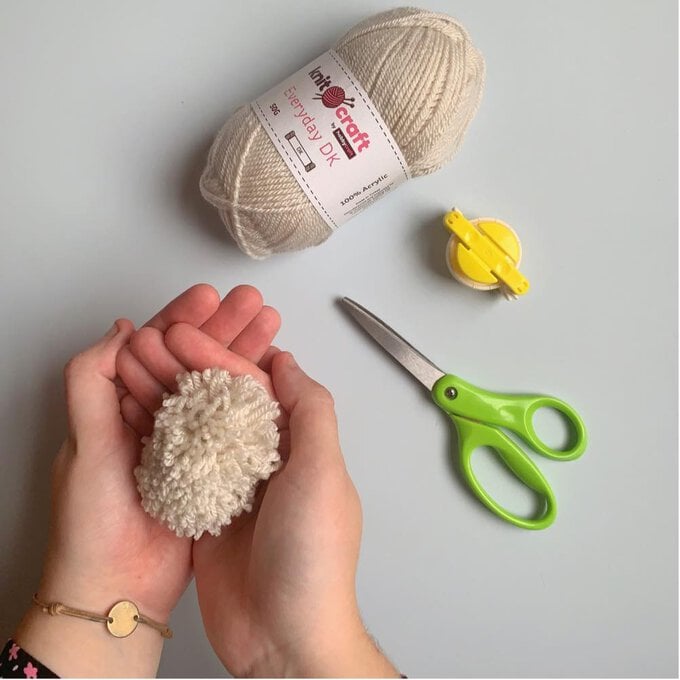
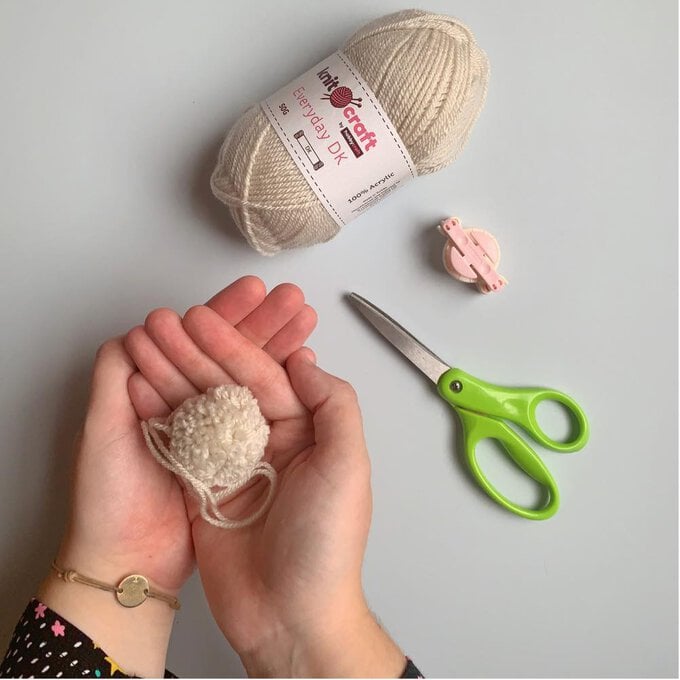
Trim the pom poms keeping them nice and fluffy.
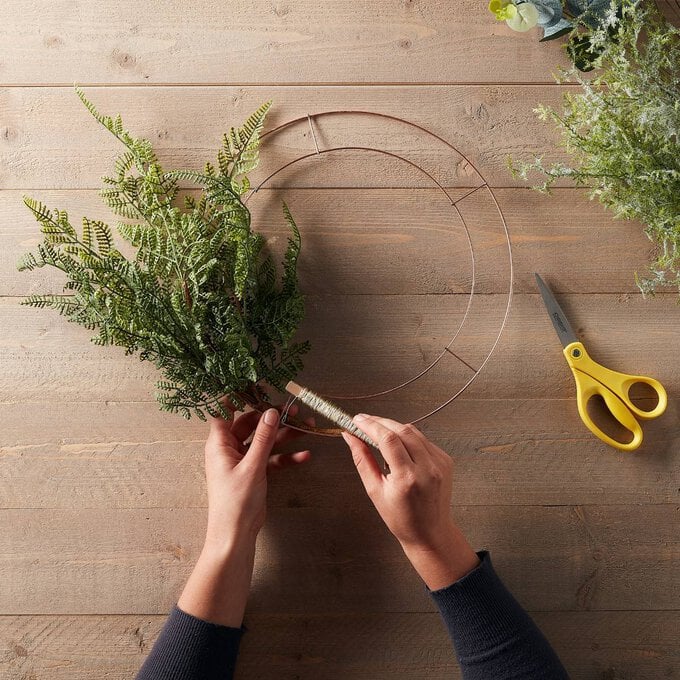
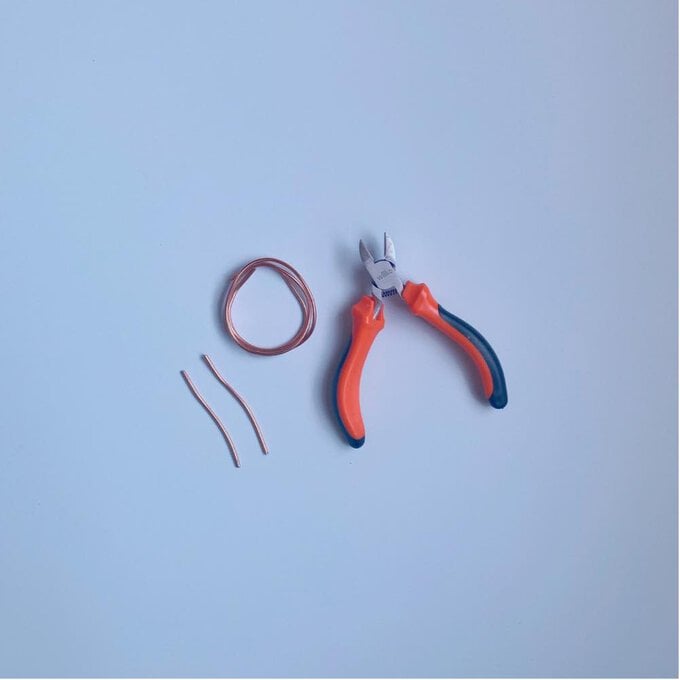
Then, using wire, cut two small pieces measuring 1 inch each.
Place the smaller wire wreath above the larger wreath. With one of the small pieces of wire previously cut, curve one end around to form a hook and place under the wreaths where they meet and hook them both together, curve and hook the opposite end of the wire to secure tightly.
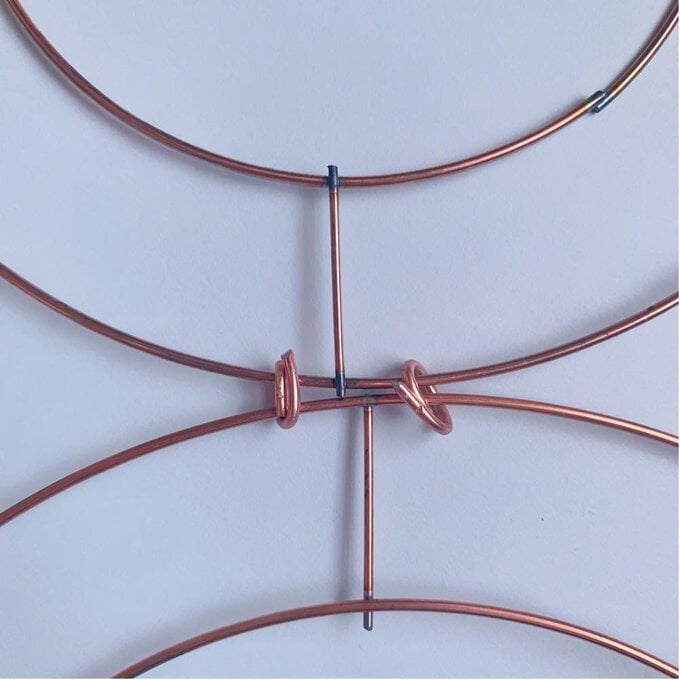
Repeat Step 3 on the other side.
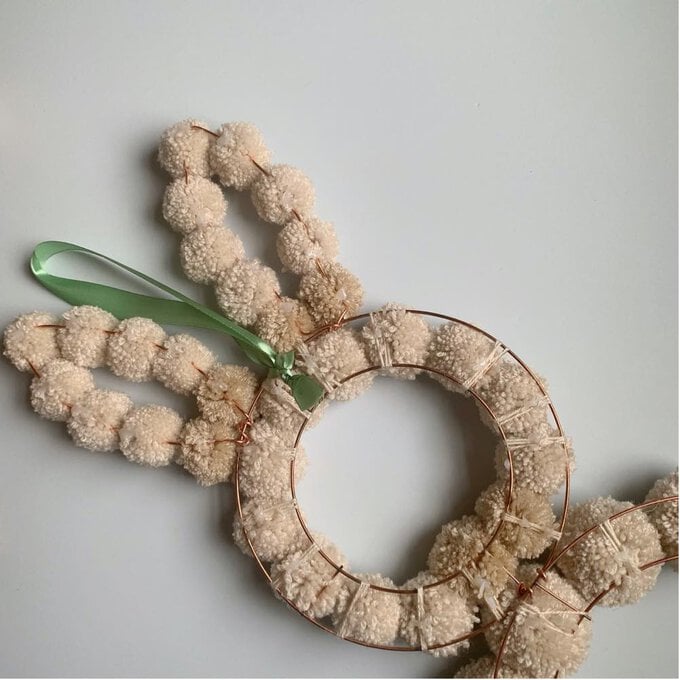
Then, cut two longer pieces of wire measuring 20 inches each. Curve both these wires to form bunny ears.
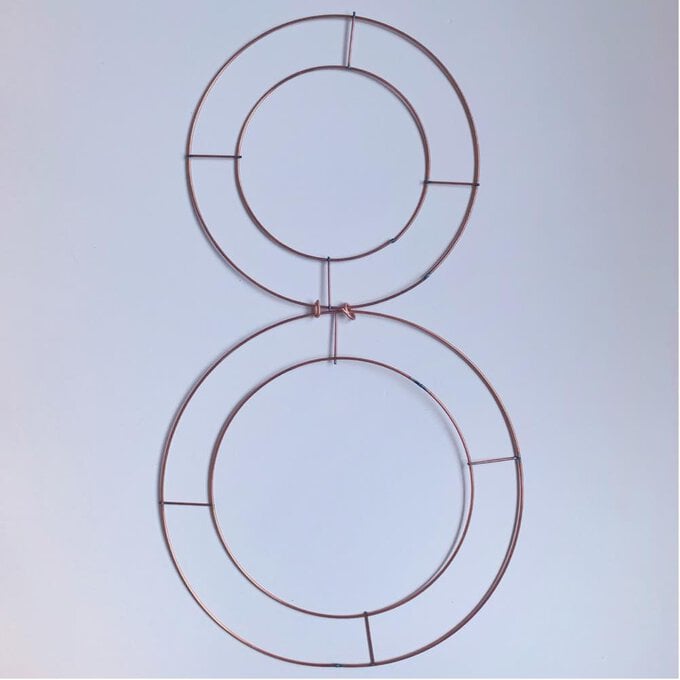
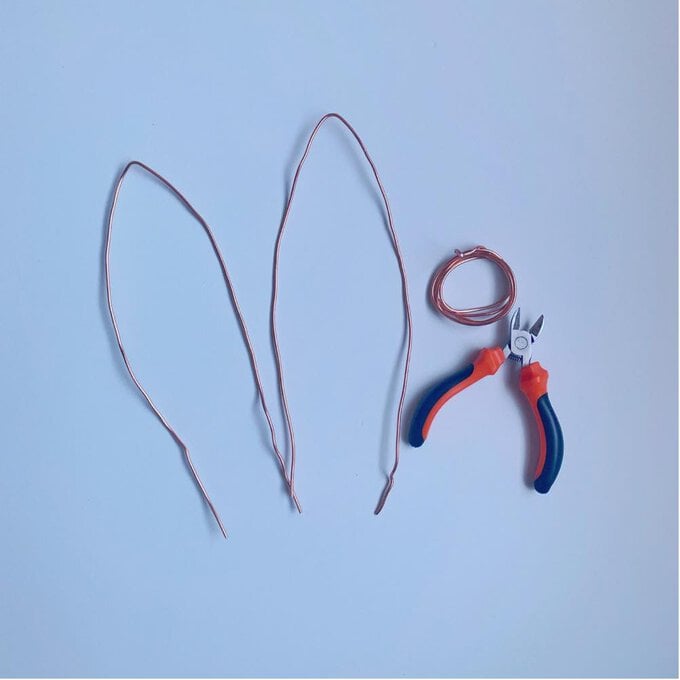
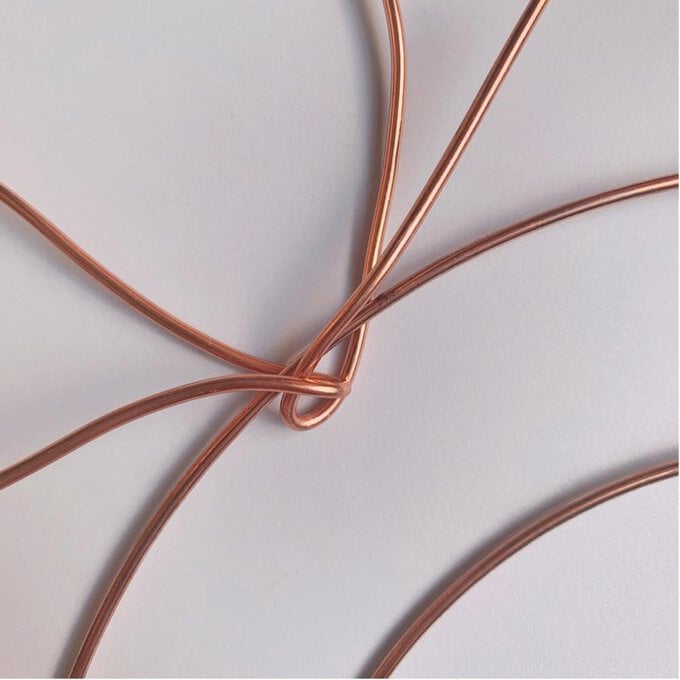
At the top of the smaller wreath secure the ears by creating a larger hook at one end and placing it under the wire repeat this on the opposite end, cross over both ends together and secure.
Repeat this with the other ear.
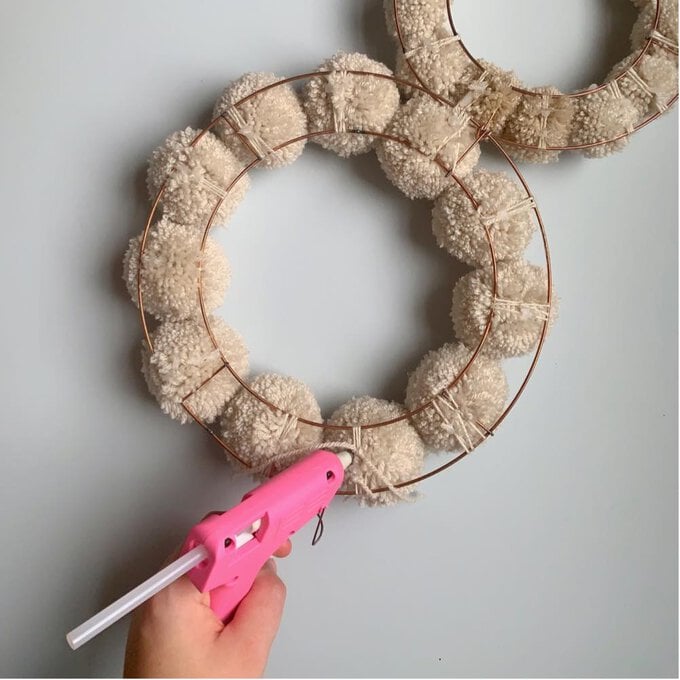
Secure the largest pom poms to the larger wreath. Wrap the long tie over the wreath and tie and knot to secure, repeat this a second time.
Repeat this again with the remaining large pom poms on the large wreath and then the medium pom poms with the smaller wreath and the smaller pom poms on ears.
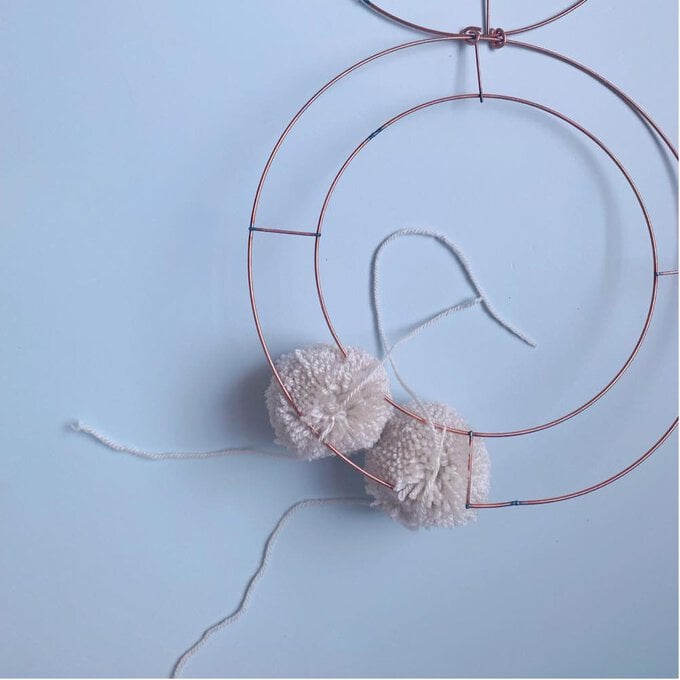
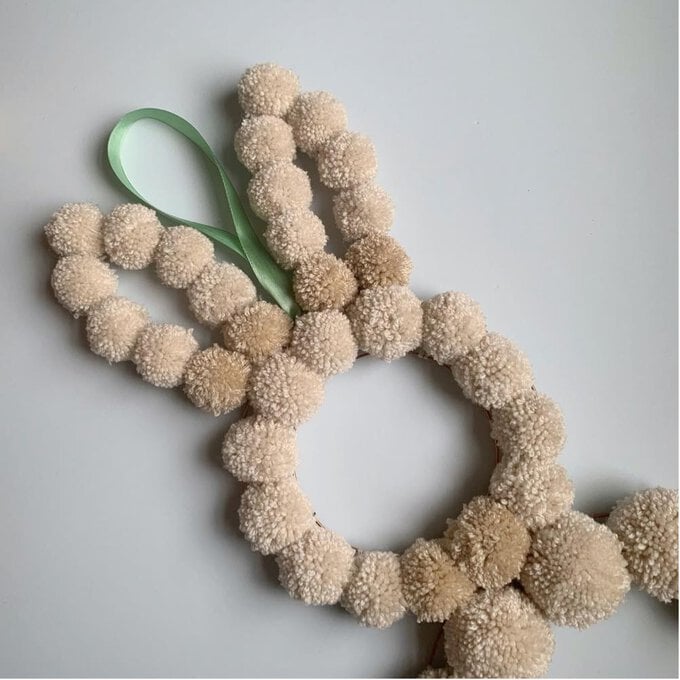
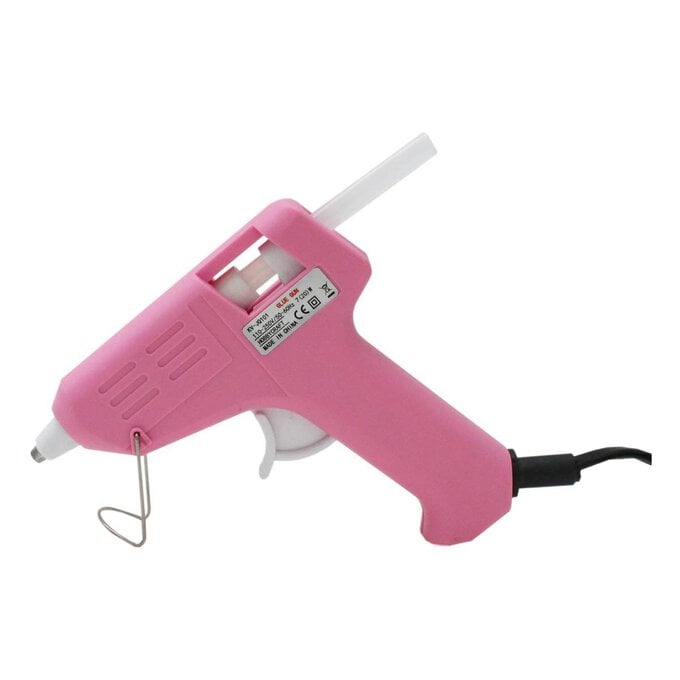
To finish use the hot glue to keep the knots secure and cut off the long tails. Glue between each pom pom to stick together to hold the shape.
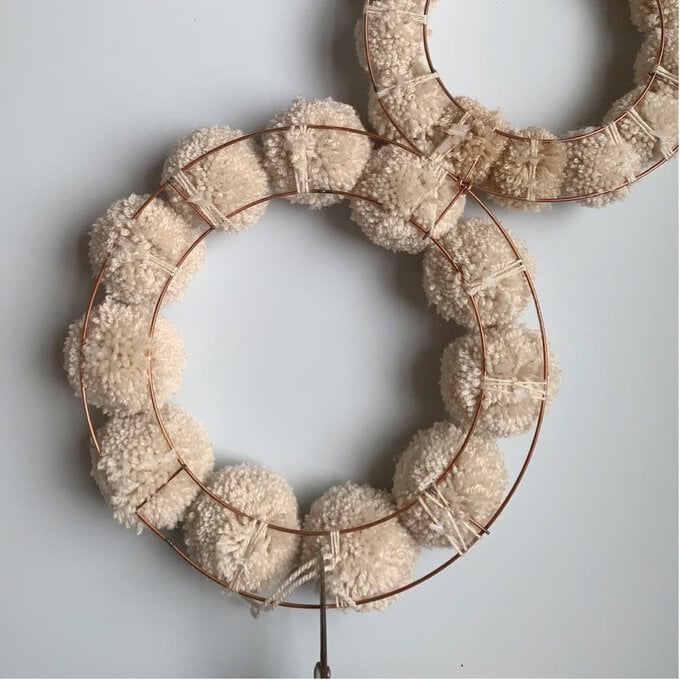
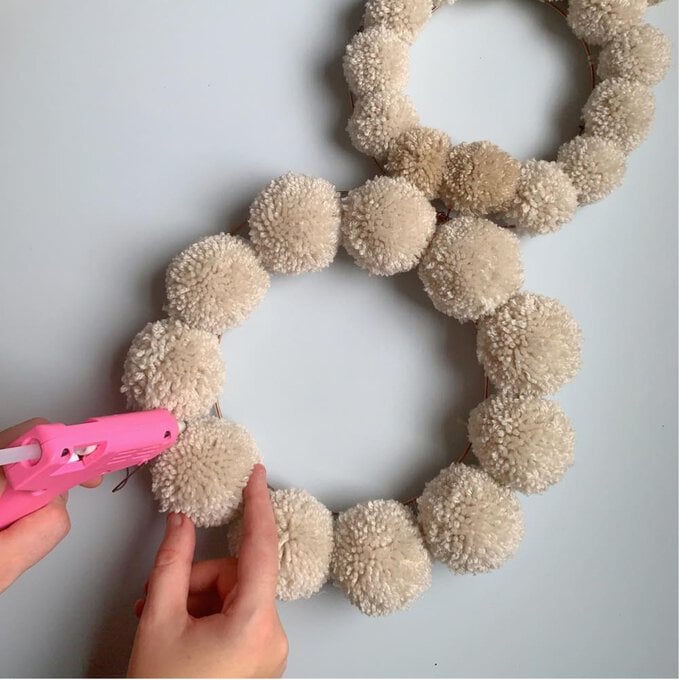
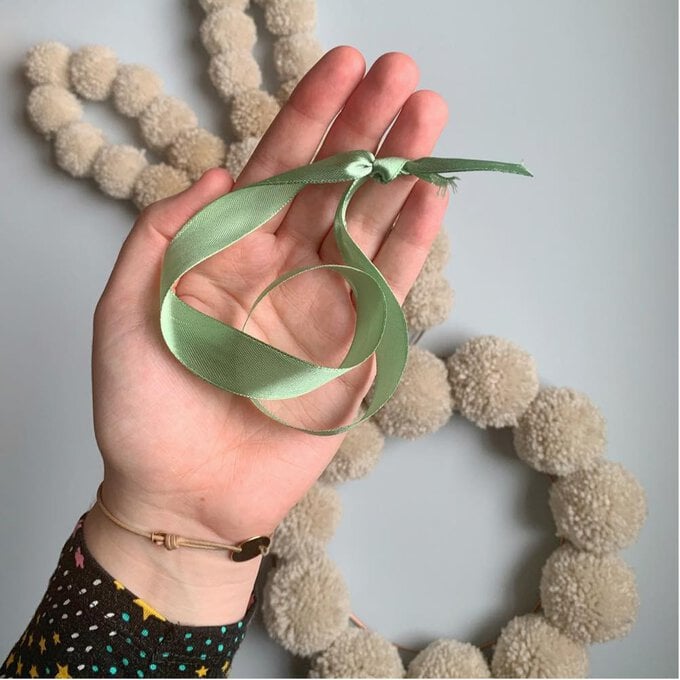
Cut a piece of ribbon, knot and hook the ribbon to the top of the small wreath to create a loop to hang on the wall.
