Skip to Content (Press Enter) Skip to Footer (Press Enter)

How to Make a Poppy Pin Wheel Brooch

Level
Beginner
Time
1 hour
Budget
<10

This little spinning brooch is a lovely way to get children involved in Remembrance Sunday activities. It is really easy to make with some simple tools and card.

Here we've used glue, but you could opt for double sided tape if you want a mess free, quicker version.

Discover more papercraft projects here >

You will need

Is $ 1.49

Quantity: 1

Subtotal

Is $ 1.49

Is $ 4.49

Quantity: 1

Subtotal

Is $ 4.49

Is $ 4.49

Quantity: 1

Subtotal

Is $ 4.49

Is $ 3.49

Quantity: 1

Subtotal

Is $ 3.49

Out of stock

Is $ 7.49

Quantity: 1

Subtotal

Is $ 7.49

You’ve viewed 2 of 5 products

You’ve viewed 4 of 5 products

Total:

How to make

You will also need:

*Blu Tack

*Scissors

*Glue

Step 1

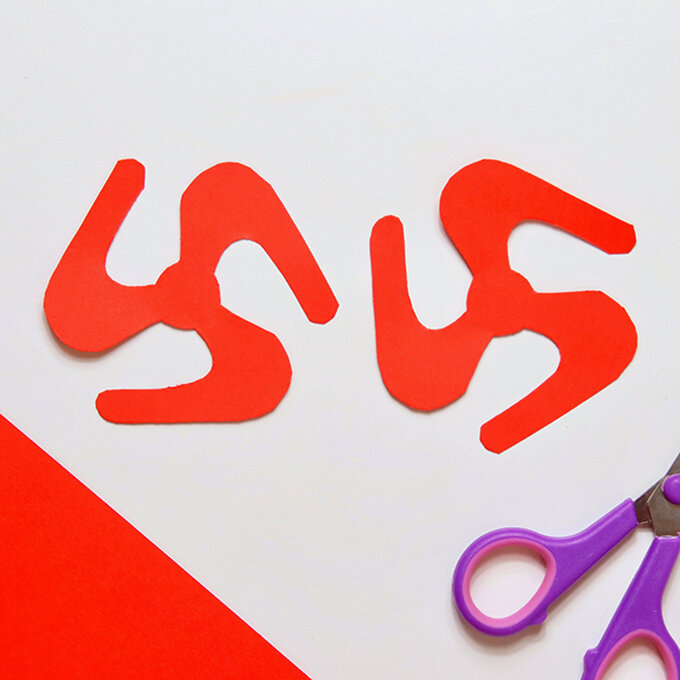
Use the template provided to cut 2 pinwheel shapes from red card.
poppy_step1-600-x-600.jpg?sw=680&q=85
Step 2

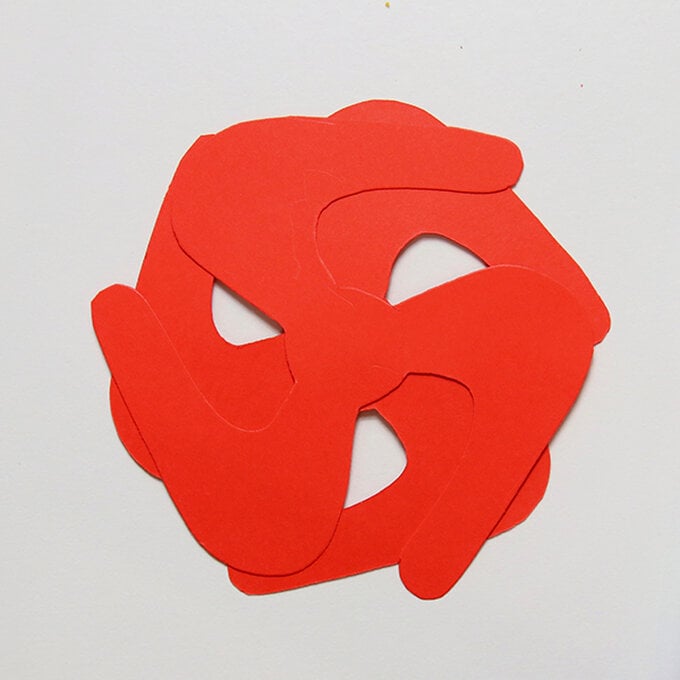
Stack up the two pinwheel shapes so that they form a hexagonal shape. Glue them together in the centre.
poppy_step2-600-x-600.jpg?sw=680&q=85
Step 3

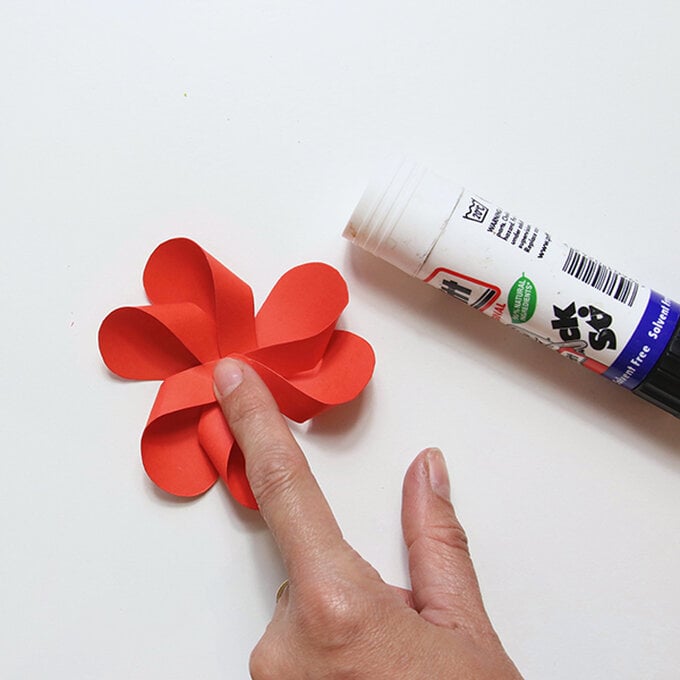
Gently bend the arms of the pinwheel into the centre, being careful not to fold the card. Glue them one at a time into the centre, pinching in place with your fingers as you go. Use a peg to hold the pinwheel in place whilst the glue dries. If you prefer instant stick, use double sided tape to fix the arms in place.
poppy_step3-600-x-600.jpg?sw=680&q=85
Step 4

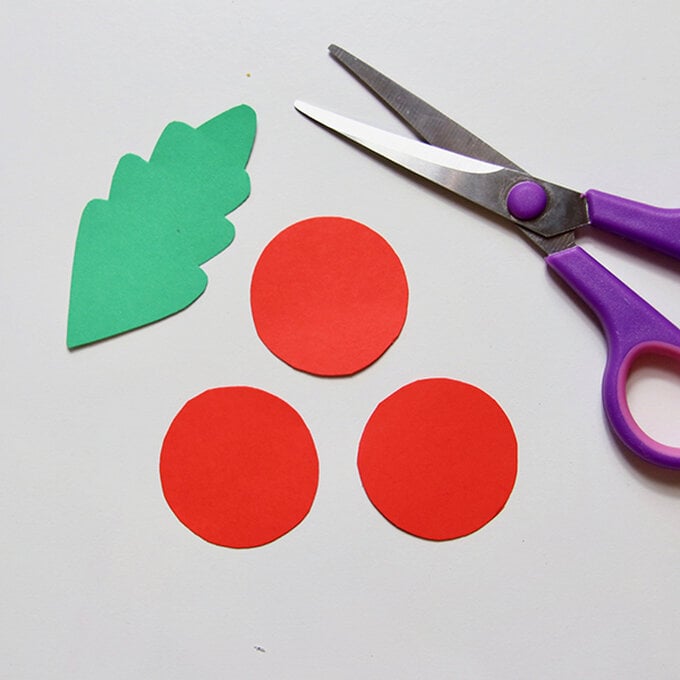
While the glue is drying, use the template to cut 3 circles from red card and a green leaf.
poppy_step4-600-x-600.jpg?sw=680&q=85
Step 5

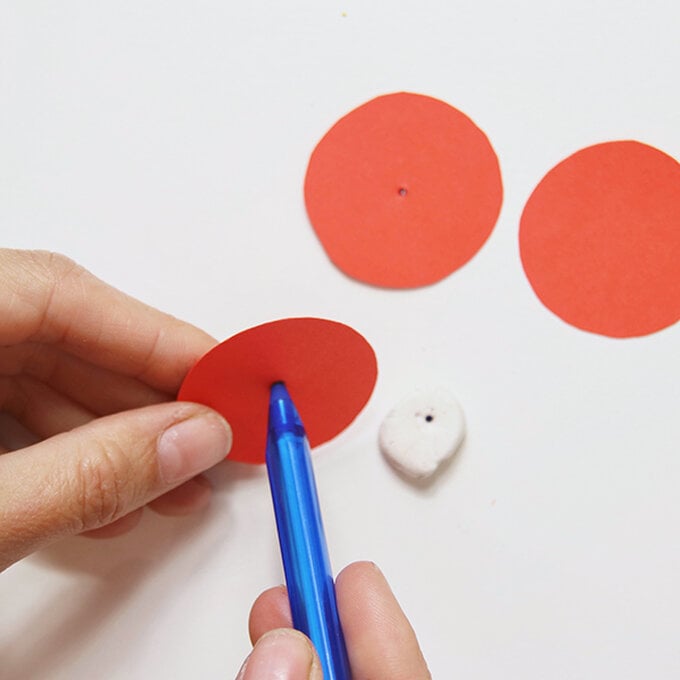
Mark the centre of 2 of the circles then place a lump of blue tak on the back. Use a pen or similar sharp object to push a hole through the circles.
poppy_step5-600x-600.jpg?sw=680&q=85
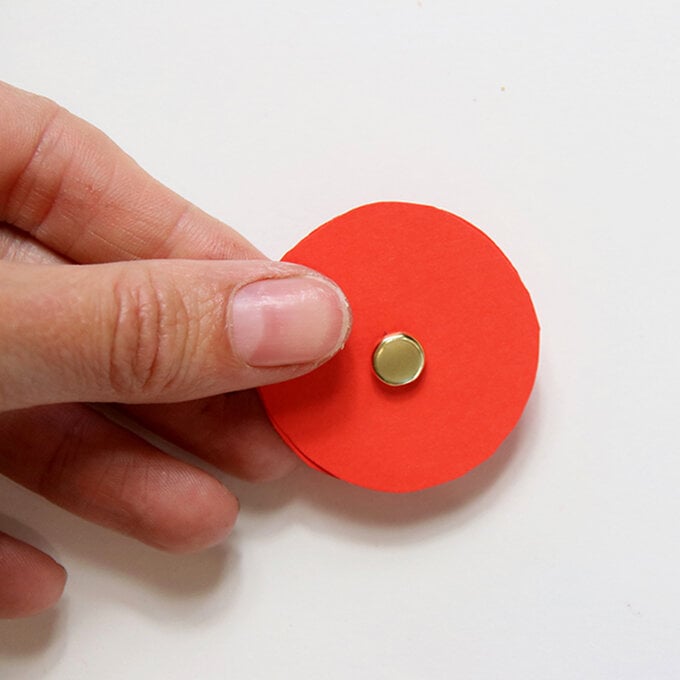
Step 6

Insert the paper fastener. Give it a good wiggle around so that the circles move freely on the pin.
poppy_step6-600x-600.jpg?sw=680&q=85
Step 7

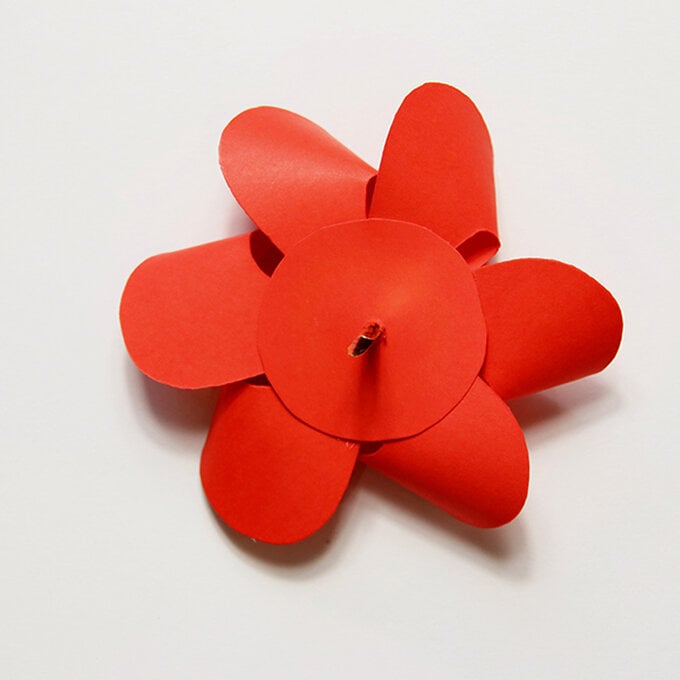
Glue the circle onto the back of the pinwheel, in the centre, with the head of the pin hidden underneath. Make sure you don't get glue on the top circle, as it needs to move around freely.
poppy_step7-600-x-600.jpg?sw=680&q=85
Step 8

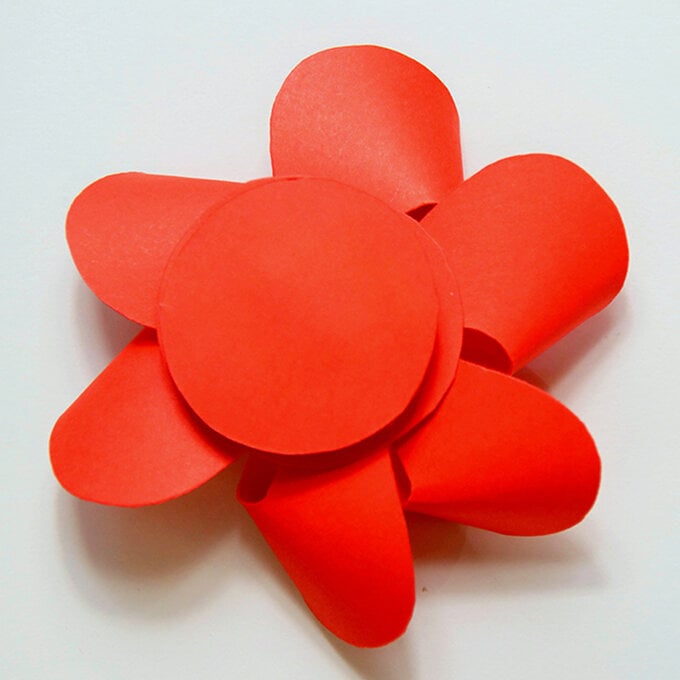
Open up the paper fastener – be careful not to push the ends out too much as you want the flower to spin freely on the pin.
poppy_step8-600-x-600.jpg?sw=680&q=85
Step 9

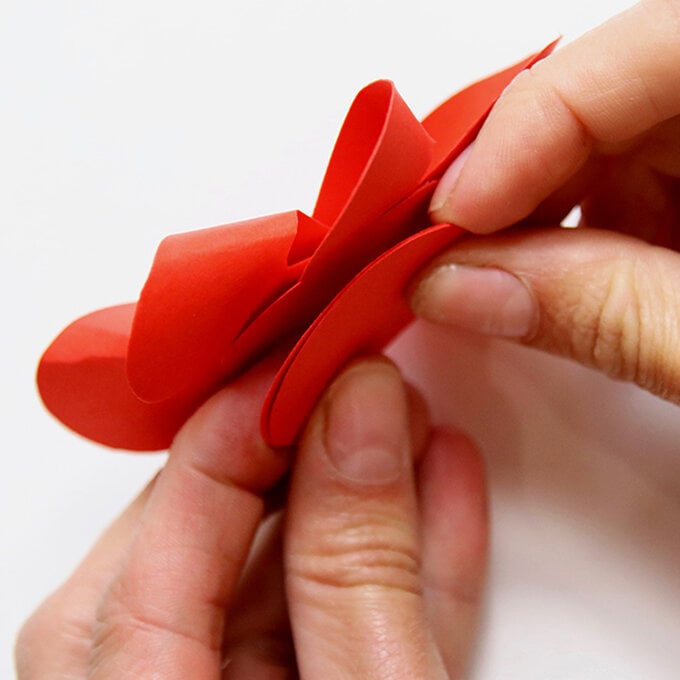
Glue the third circle on top, sandwiching in the ends of the paper fastener.
poppy_step9-600-x-600.jpg?sw=680&q=85
Step 10

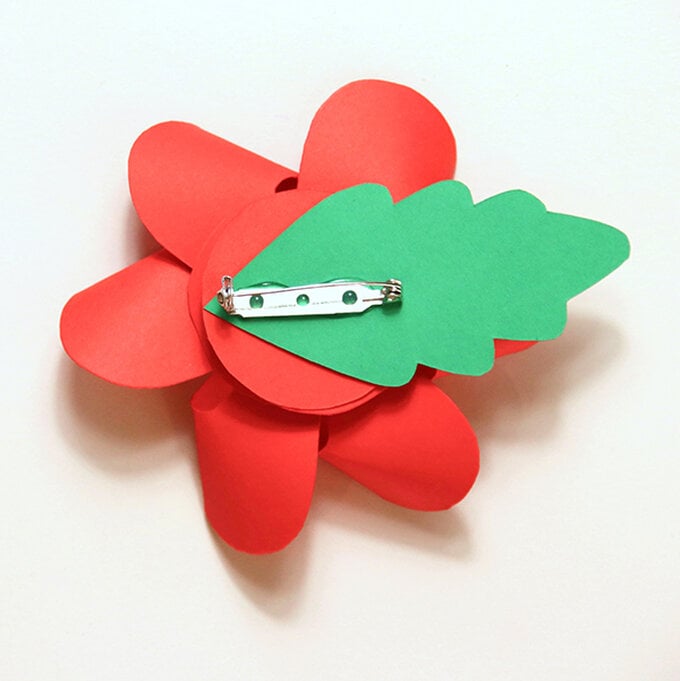
Glue the leaf onto the back, then glue the brooch in place.


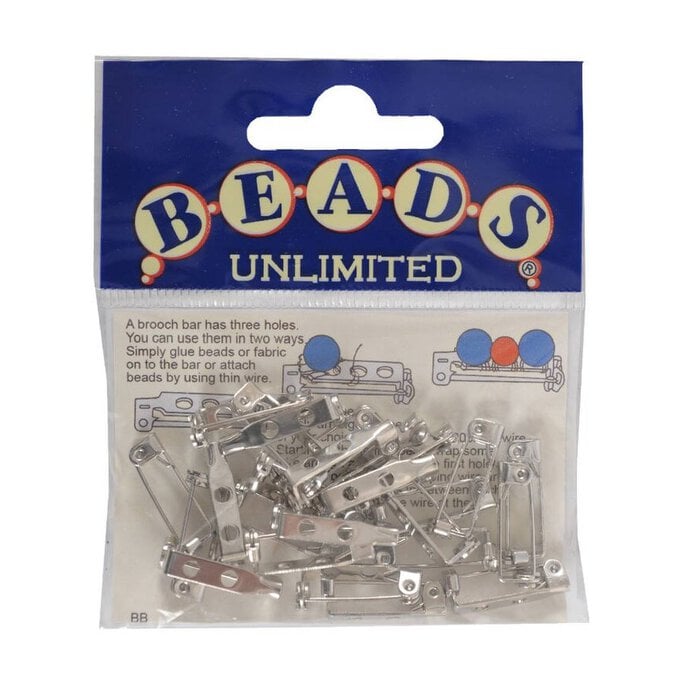
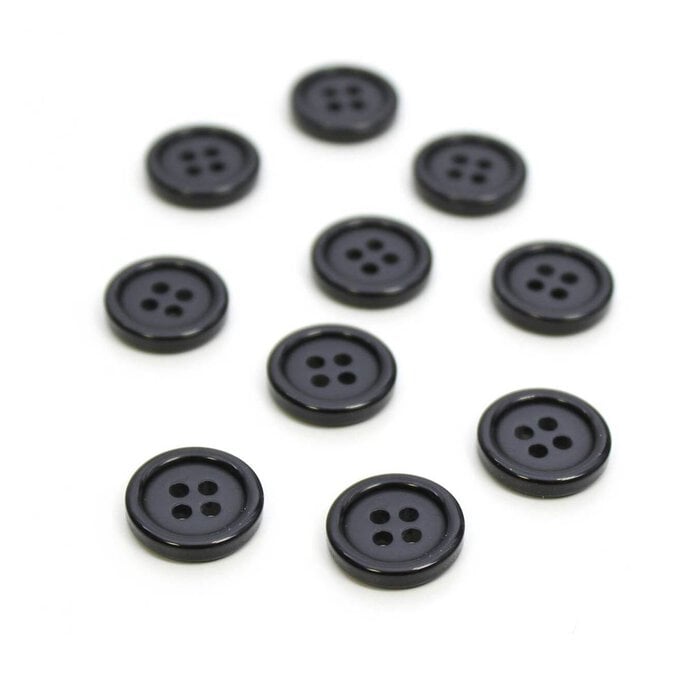
Add a black button to the centre of the front to decorate.
poppy_step10-600-x-600.jpg?sw=680&q=85
Rated 5 out of 5 by from Lovely craft A lovely idea, going to use for my Brownie pack. It would be really helpful if the instructions and photo steps could also be produced as a pdf to download.
Date published: 2023-09-07
Rated 3 out of 5 by from Lovely but needs a new twnplate Great idea but the twnplate needs changing as it says you need 2 of the pinwheels but there is only one on here. Three smaller circles needed too. If printing on white it’s be helpful to hve everything and then be able to colour it.
Date published: 2022-11-06
Rated 3 out of 5 by from Poppy brooch This is a lovely easy craft, however there is no mention of when or how to attach the black button. Love the picking list for the items, really helpful
Date published: 2022-11-03
  • y_2024, m_11, d_19, h_8
  • bvseo_bulk, prod_bvrr, vn_bulk_3.0.42
  • cp_1, bvpage1
  • co_hasreviews, tv_0, tr_3
  • loc_en_GB, sid_how-to-make-a-poppy-pin-wheel-brooch, prod, sort_[SortEntry(order=RELEVANCE, direction=DESCENDING)]
  • clientName_hobbycraft
  • bvseo_sdk, dw_cartridge, 18.2.0, p_sdk_3.2.0
  • CLOUD, getReviews, 14ms
  • reviews, product

Related Products

Top