How to Make a Pyrography Box
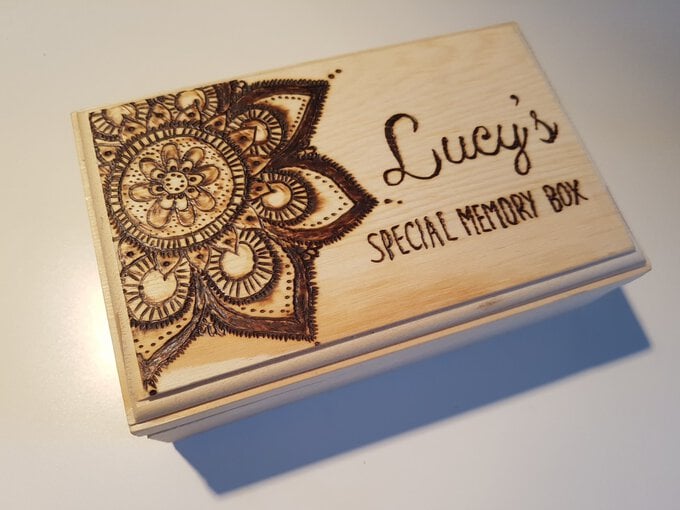
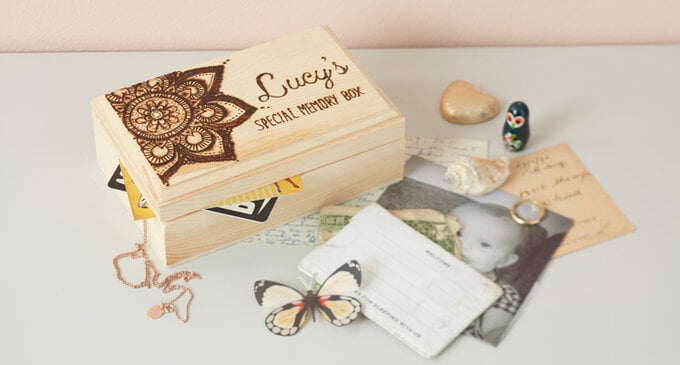
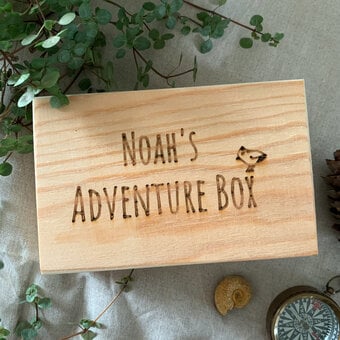
Decorate a simple wooden pyrography box, using wood burning techniques. All it takes is some imagination and this heat tool to create something personalised and beautiful, the perfect gift.
Tutorial by Rachel Richardson.
You will need
Subtotal
Is $ 6.49
Out of stock
Subtotal
Is $ 11.00
How to make
You will also need:
Design software enabling you to reverse your chosen design to print
Hand held mirror (optional)
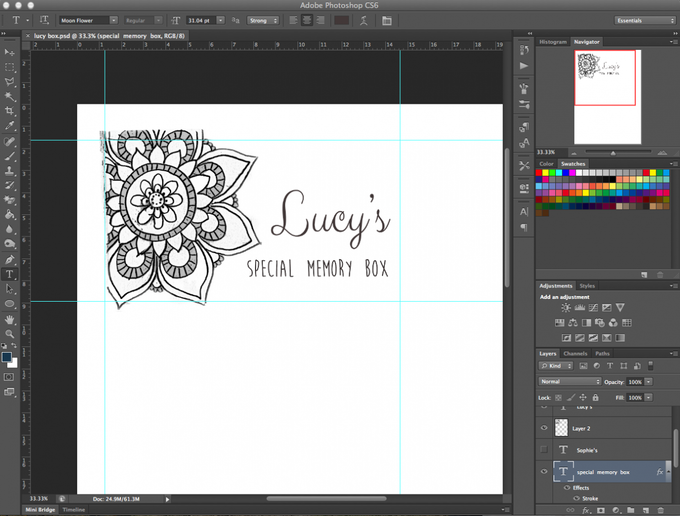
Measure the box, use the measurements to help you create a design that will fit. The fonts shown are Clicker Script and Bite_Bullet, you can find free fonts available with a quick internet search. Once created, in the settings of your design software flip the image horizontally and print onto tracing paper.
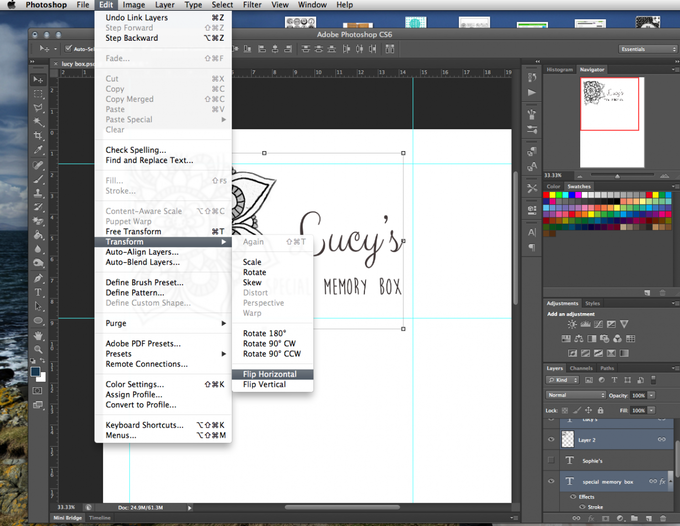
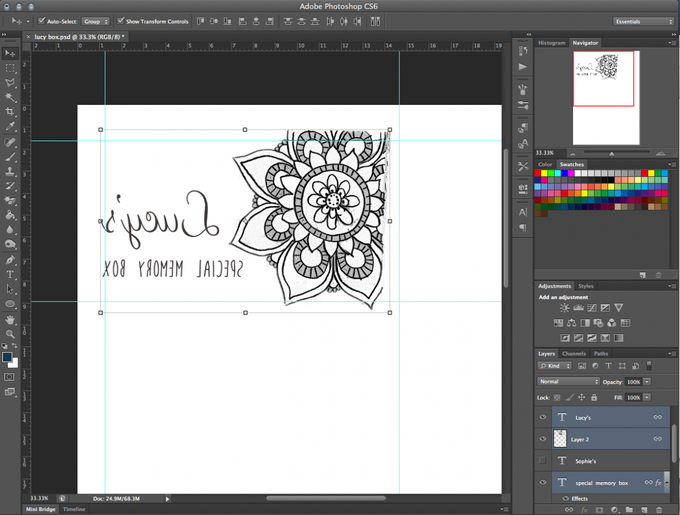
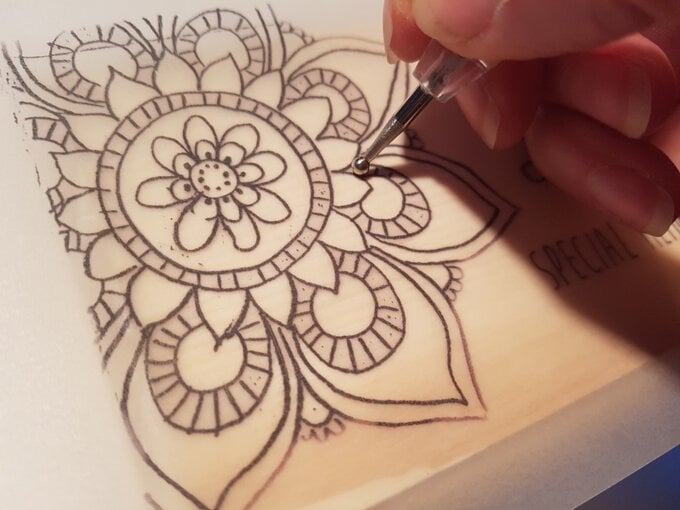
Place the ink side of the tracing paper face down onto the box and tape into place.
Using the embossing tool, rub over the image gently to transfer the ink onto the box. Peel back the paper and check the pressure you have applied is enough.
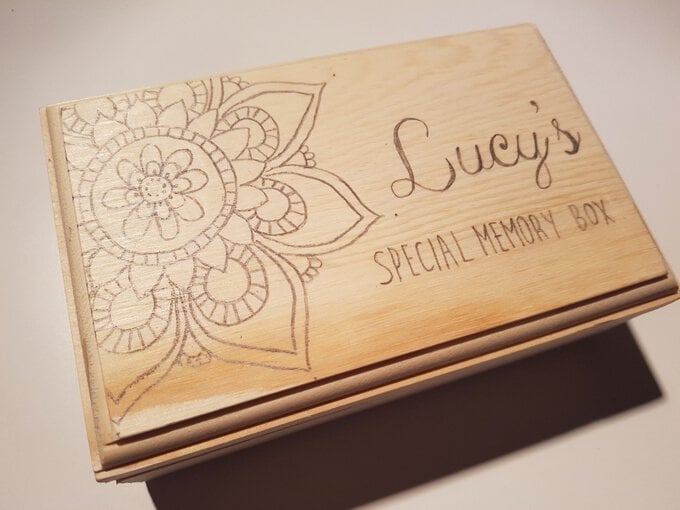
Allow the pyrography tool to heat up for approximately five minutes.
Use a fine tip to begin with, you can build up thickness if you need to later. Experiment with different tips to create different effects.
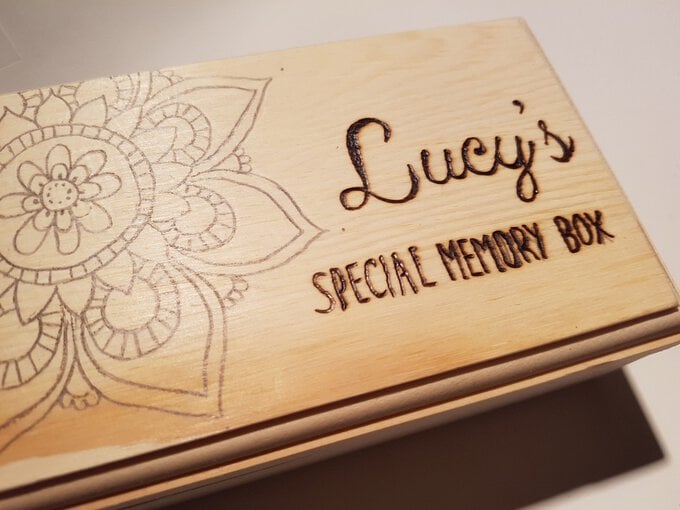
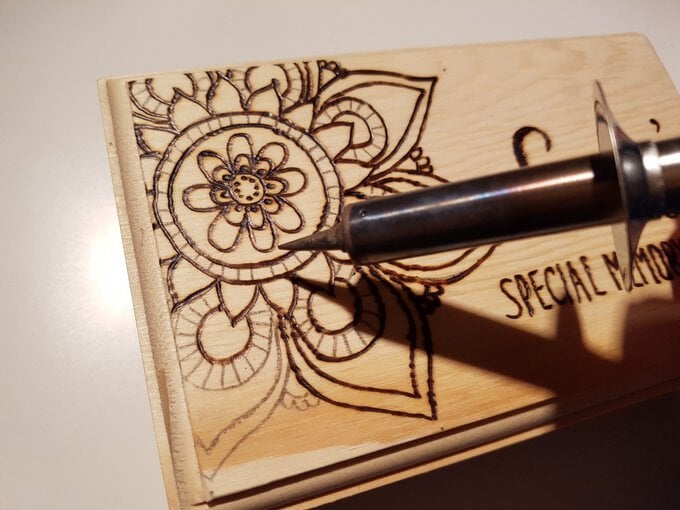
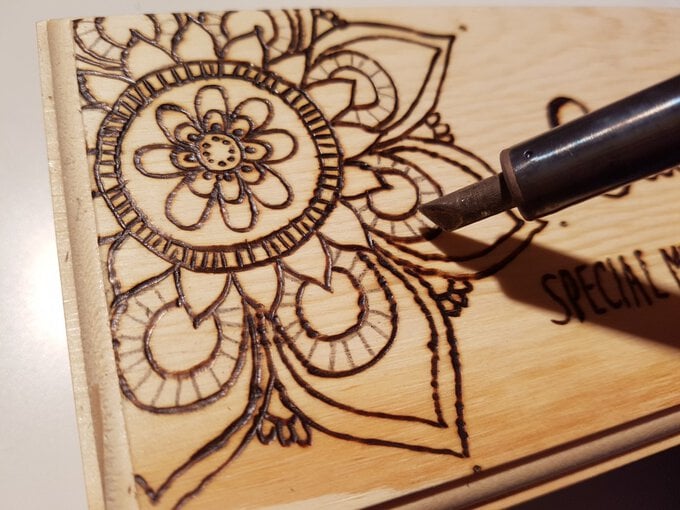
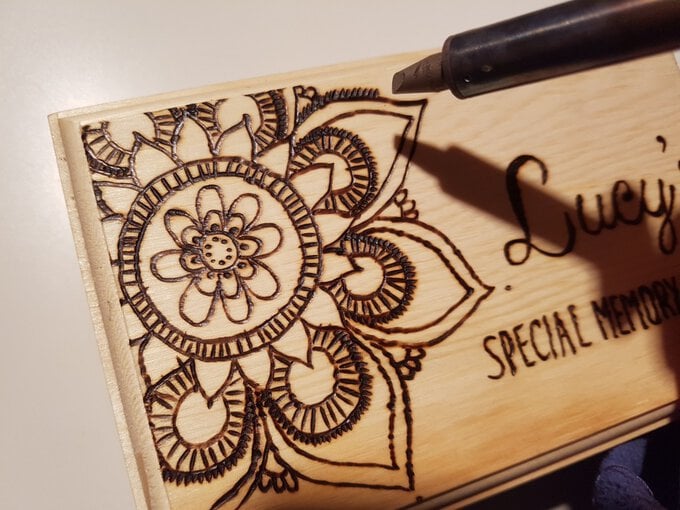
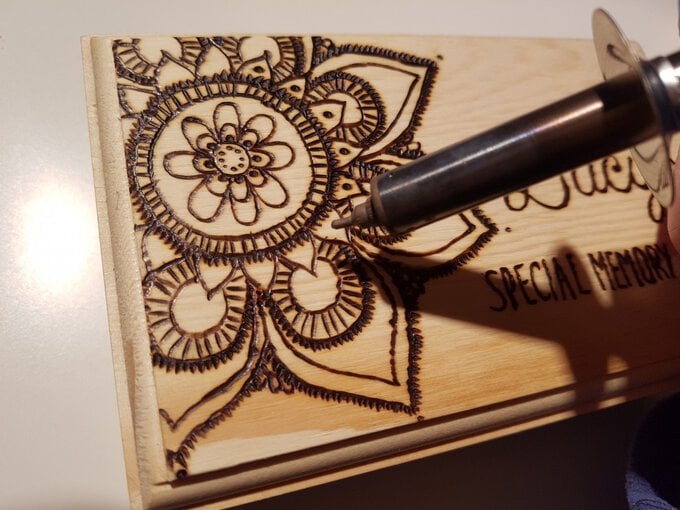
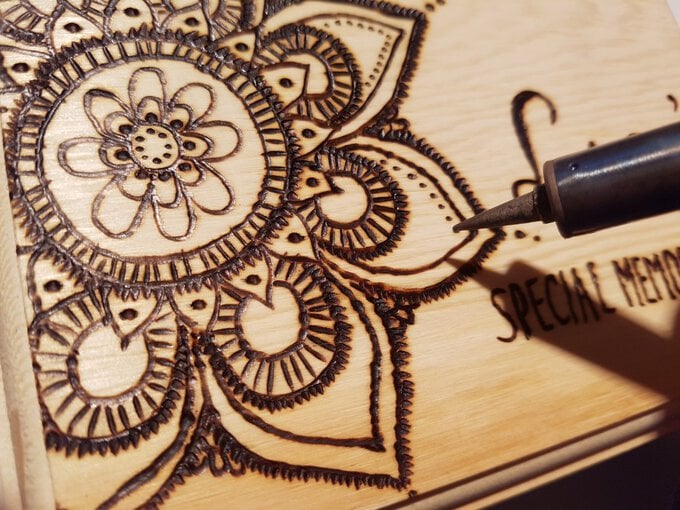
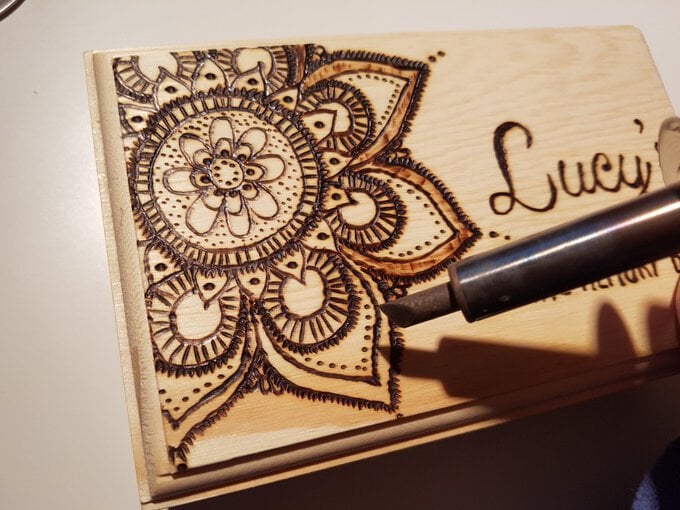
Use a sharp scalpel to gently scratch away mistakes or scorch marks.
