How to Make a Pyrography House Sign
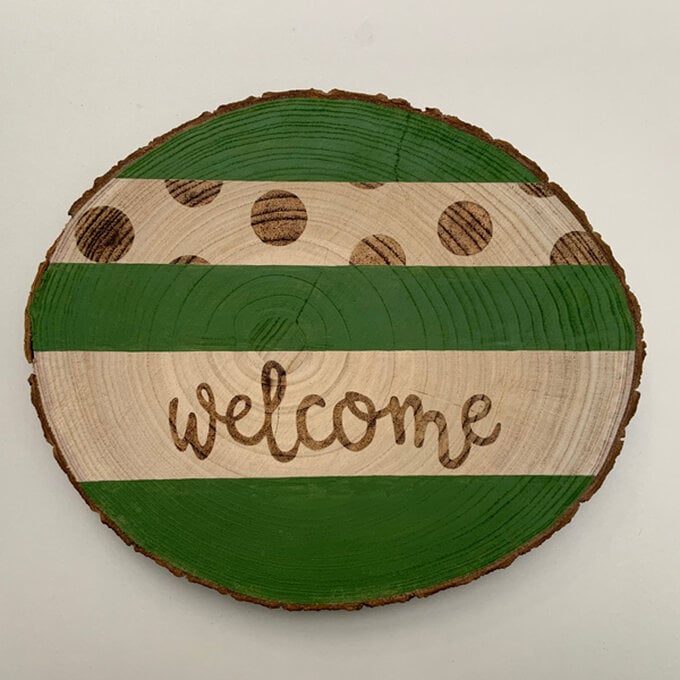
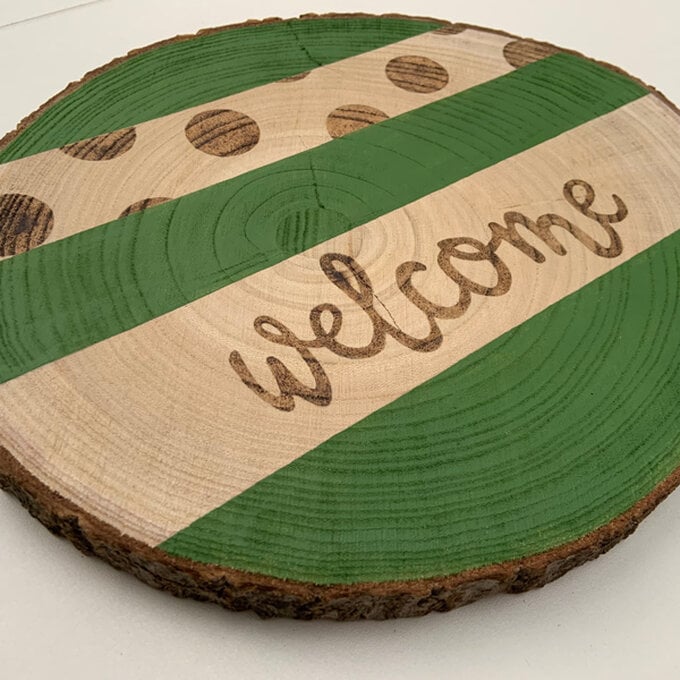
No home would be complete without a wood-burned welcome sign! This easy pyrography project for beginners is simple and fun to make. Just use the template provided, a few items of equipment and a 2p coin to bring the design to life.
This is a great introductory project in wood burning, and it is sure to impress guests visiting your home!
Project and instructions by Danielle Frampton
You will need
Subtotal
Is $ 6.49
Subtotal
Is $ 6.49
Subtotal
Is $ 15.00
You will also need
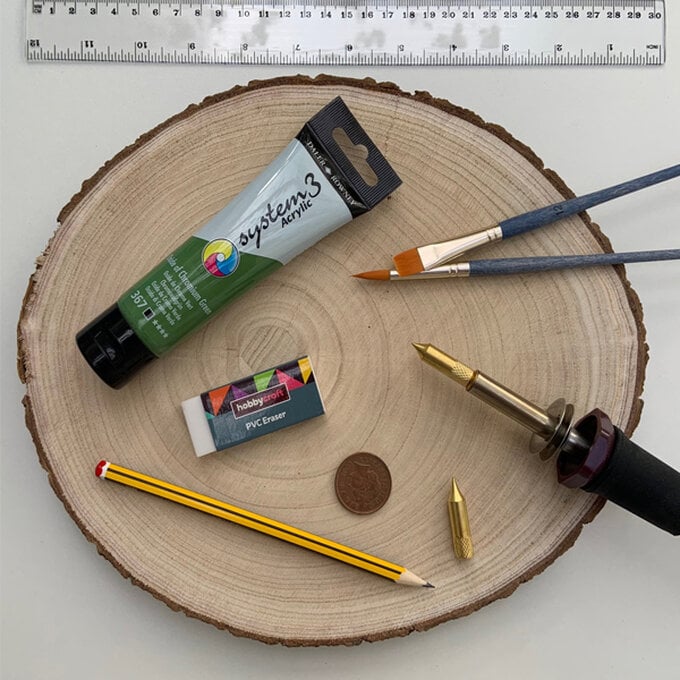
*A ruler
*HB pencils
*A 2p coin
*PVC white eraser
How to make
Download the template below in preparation for this superb project!

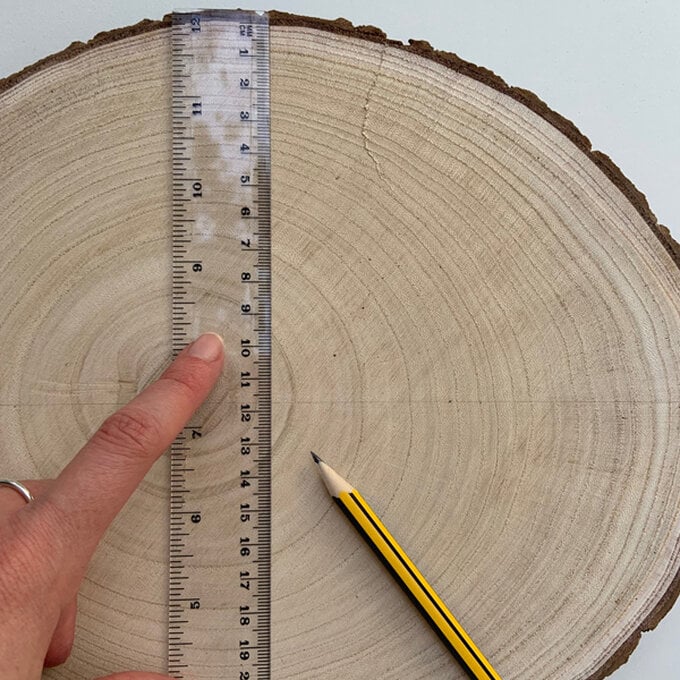
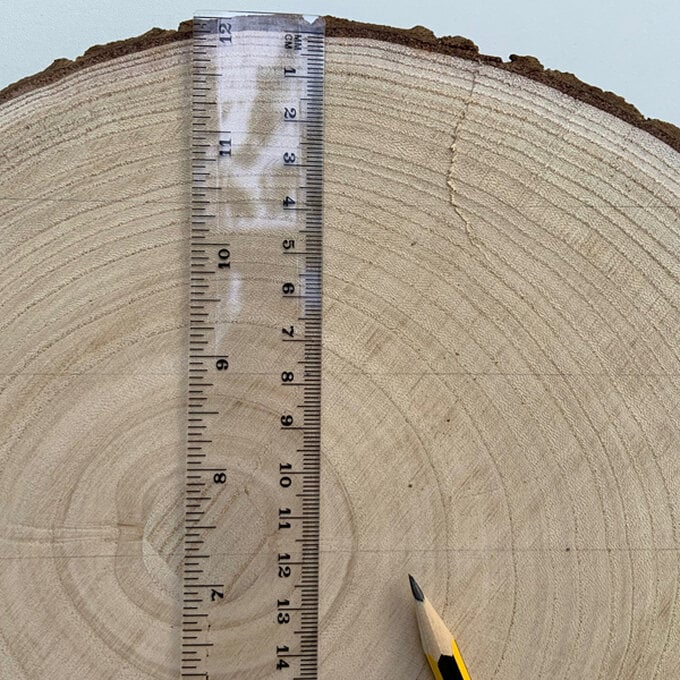
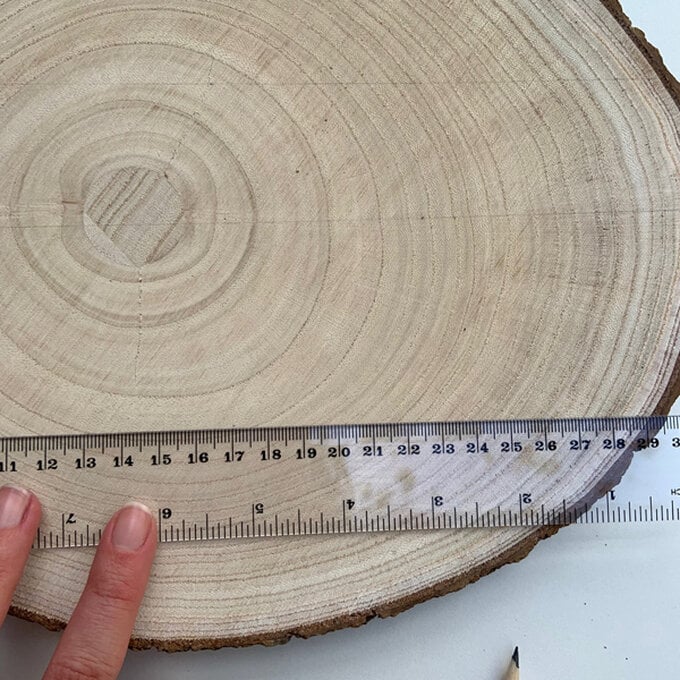
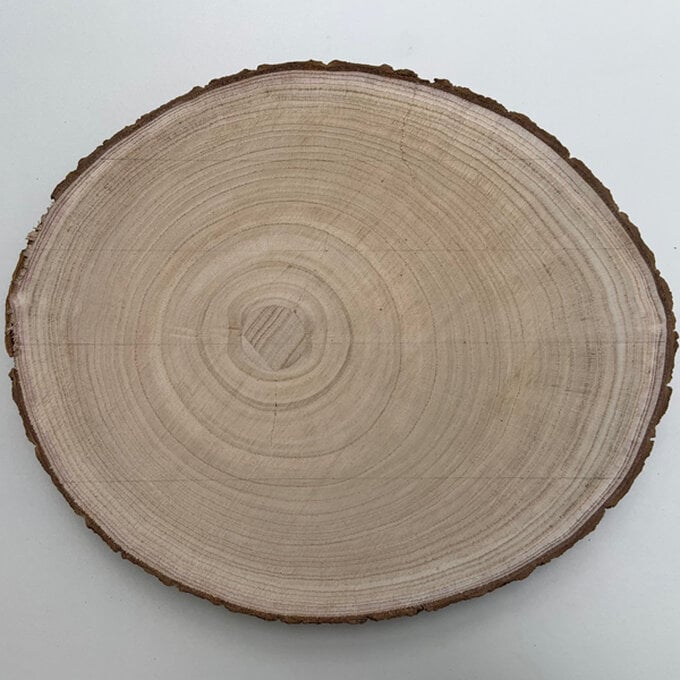
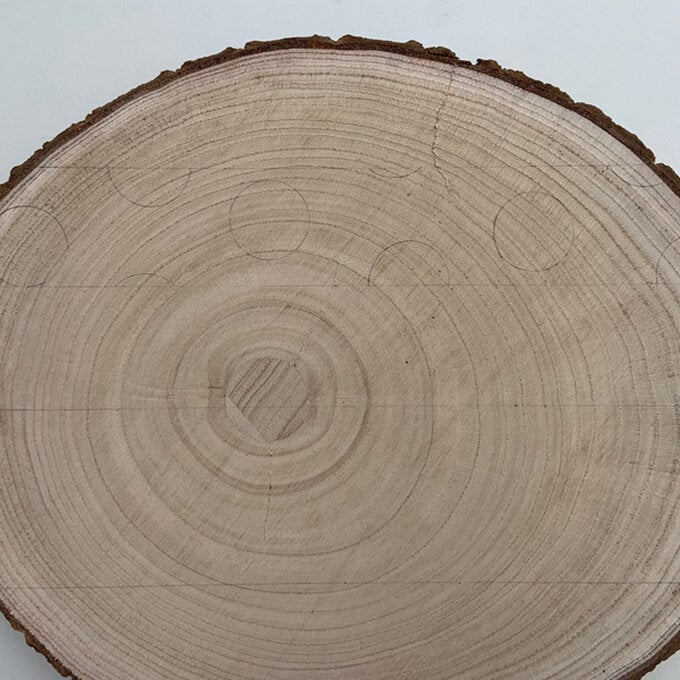
In the middle section of your top half, draw your spot design.
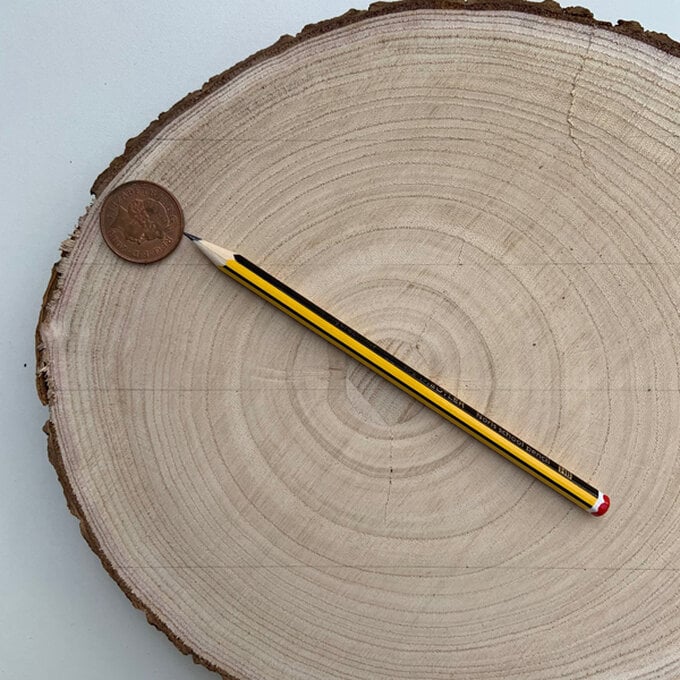
Draw around a 2p coin, creating circles which can be placed as close or far apart along this section to create a pattern. You can place the coin along the edge of the section and only draw half way around it to create semi-circles.
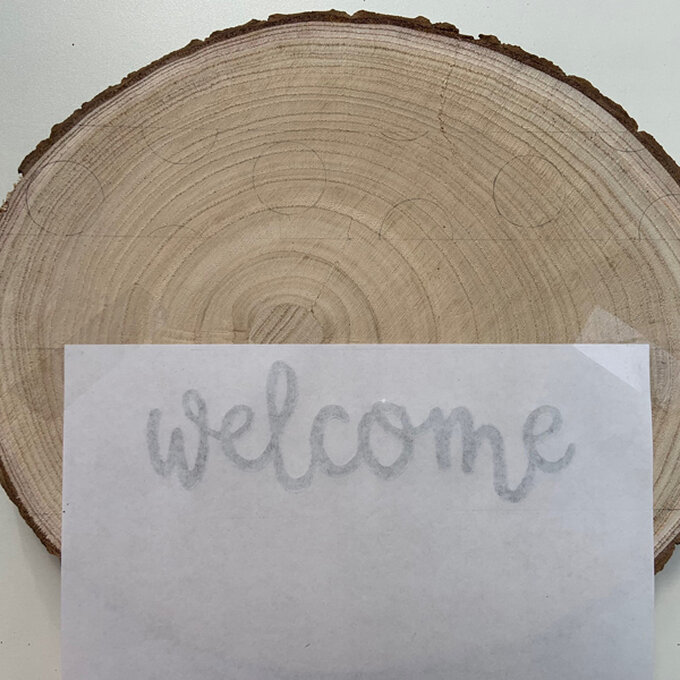
Print out the template provided. The text has been provided both normal and mirrored so it can be traced onto the wood. I prefer the mirrored version as it does not require a light box or window.
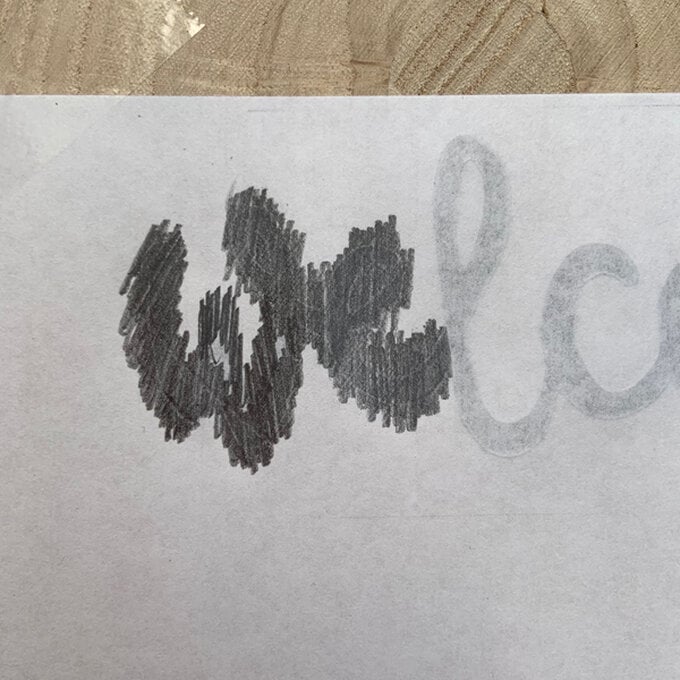
Draw around the outline of the printed mirrored lettering by pressing hard with a pencil, flip the paper over so the printed text is face down with the pencil marks, and place it on to the wood as pictured.
Colour over the text with pencil, this will transfer the lettering outline onto the wood. Use the normal version with a light box or window so that you can see the text through the back of the paper.
Turn the paper over against the light, draw around the outside of the lettering and flip the paper so the printed text is face up and pencil face down, and then colour over the text to transfer it to the wood.
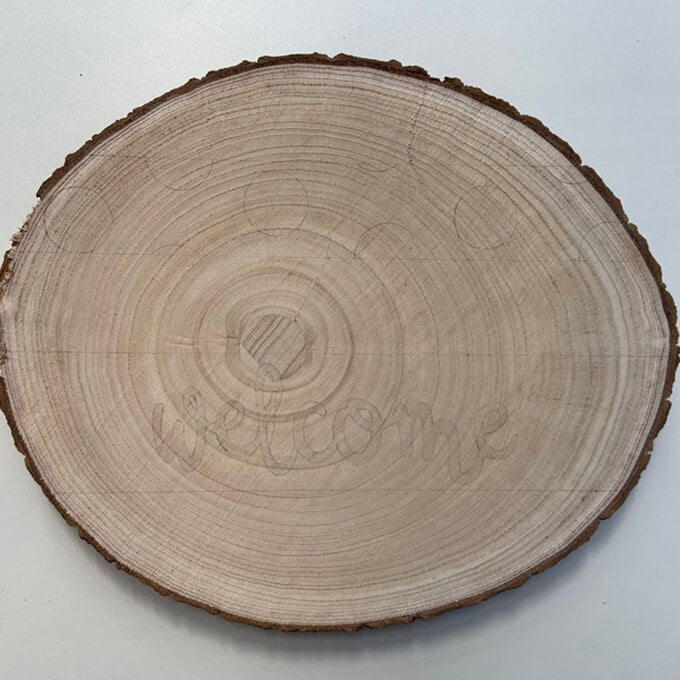
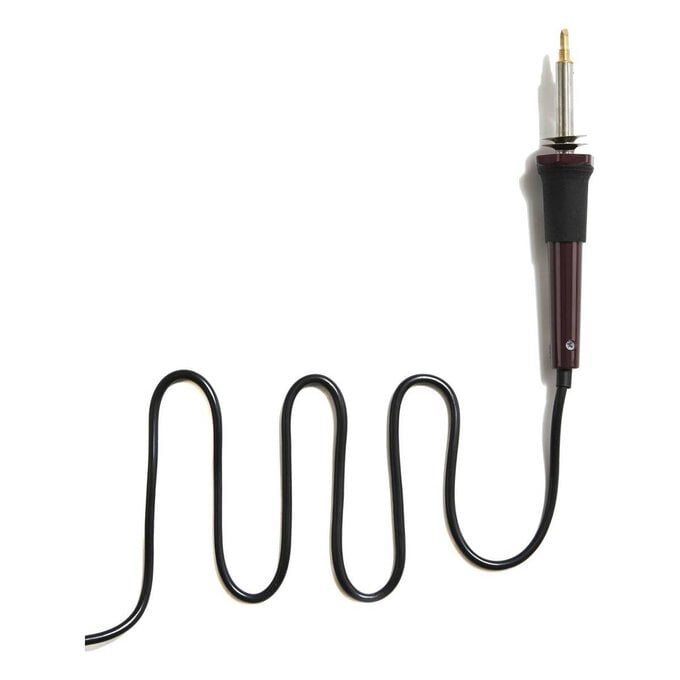
Before you plug in the pyrography tool, attach either the short point or long point tip so the tool gives you a nib to burn neatly up to the lines.
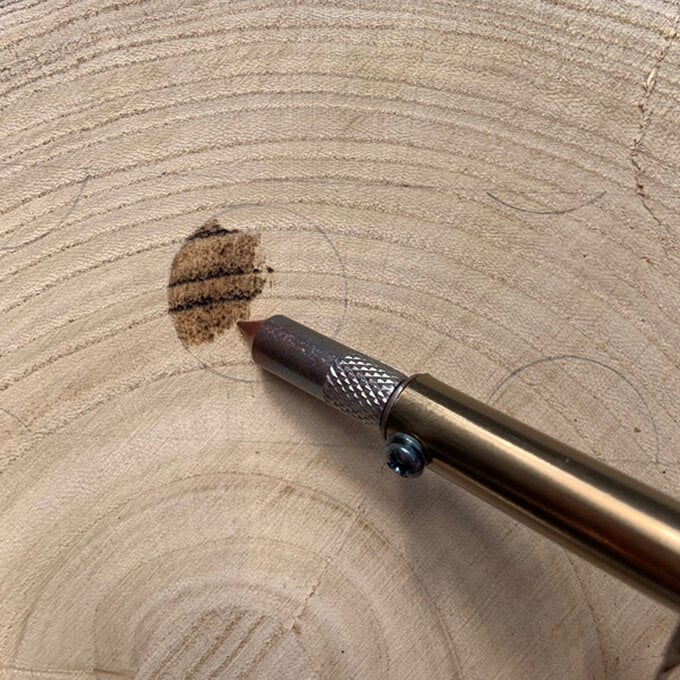
Plug in the pyrography tool. It will take approximately 10 minutes to heat up and will burn dark on the wood when it’s warm enough. Test part of the wood to check the heat, and do not touch any of the metal parts whilst plugged in.
Slowly move the tool across the wood to fill in the shapes, a similar motion to slowly colouring in with a pencil. Due to the grain on the wood, some parts will burn darker than others.
Once finished, allow the tool to completely cool before touching it.
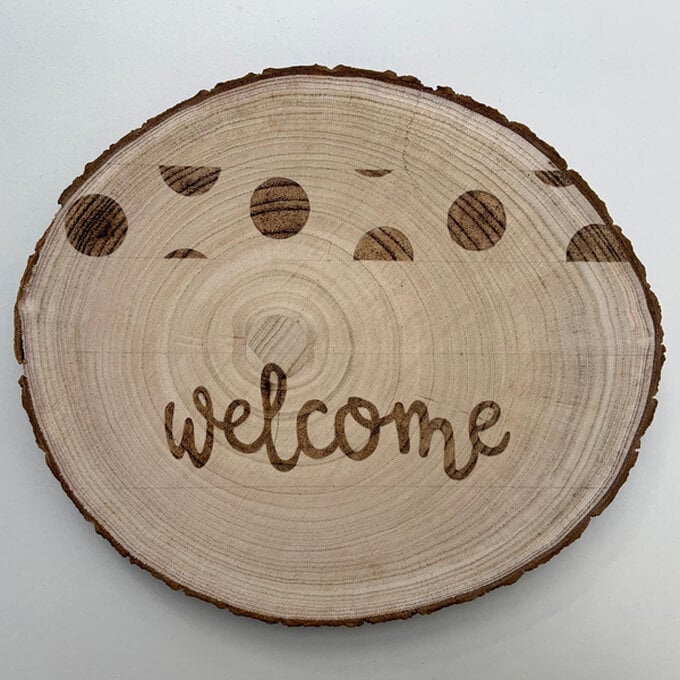
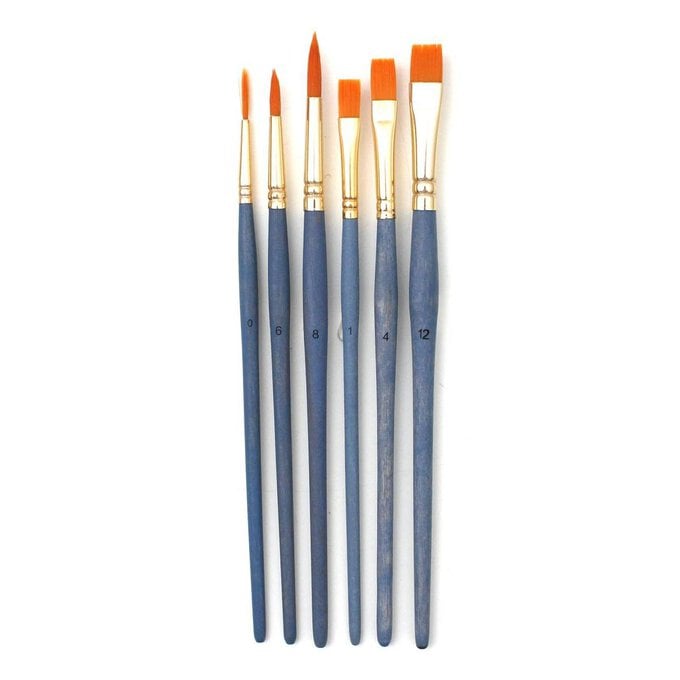
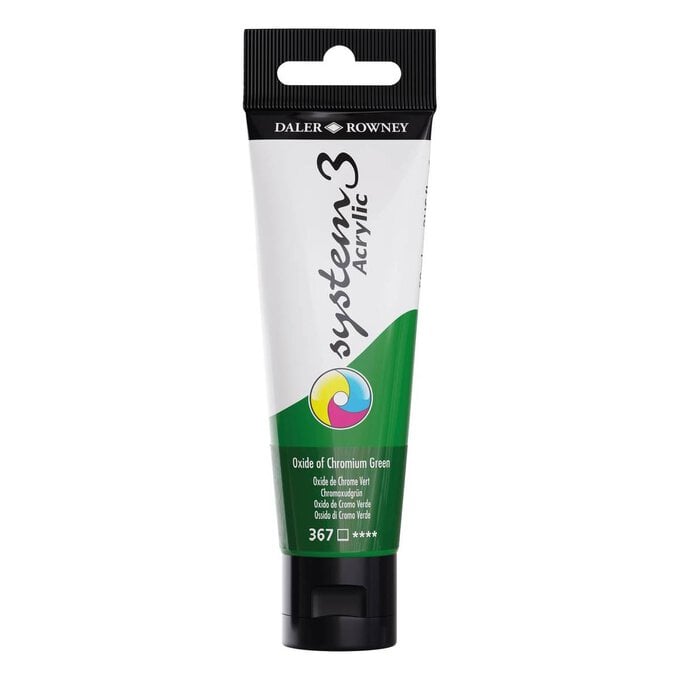
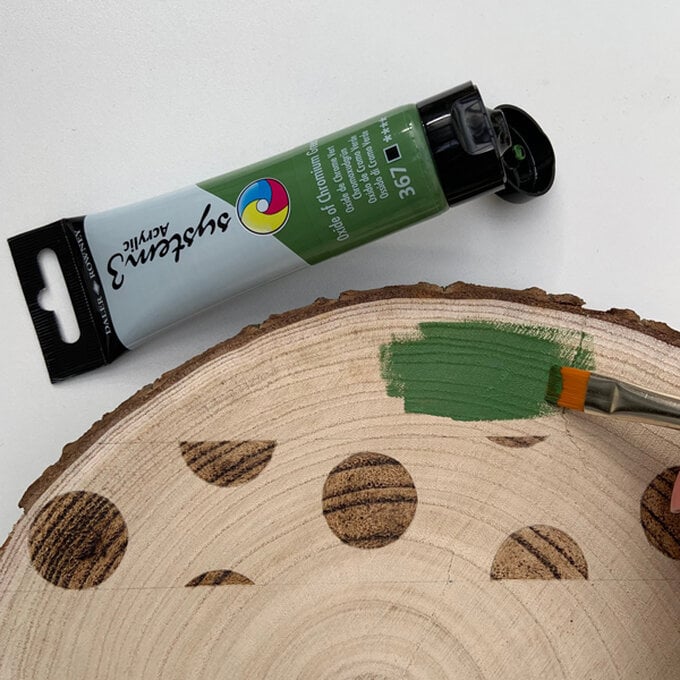
Use the flat brush to paint the remaining sections which you have not burned. Acrylic paint works well with wood and has a nice coverage.
Use the end of the brush to create a neat line along the edge of each section. You can also use the round brush to paint up to the corners.
Once painted, erase any visible pencil marks
Your welcome sign is now finished and ready to place for all your visitors to see! This wood has not been finished with a varnish, so is more suited to indoor use and avoid getting it damp or wet.
You can customise your sign using different colours and patterns.
