How to Make a Reindeer Stocking
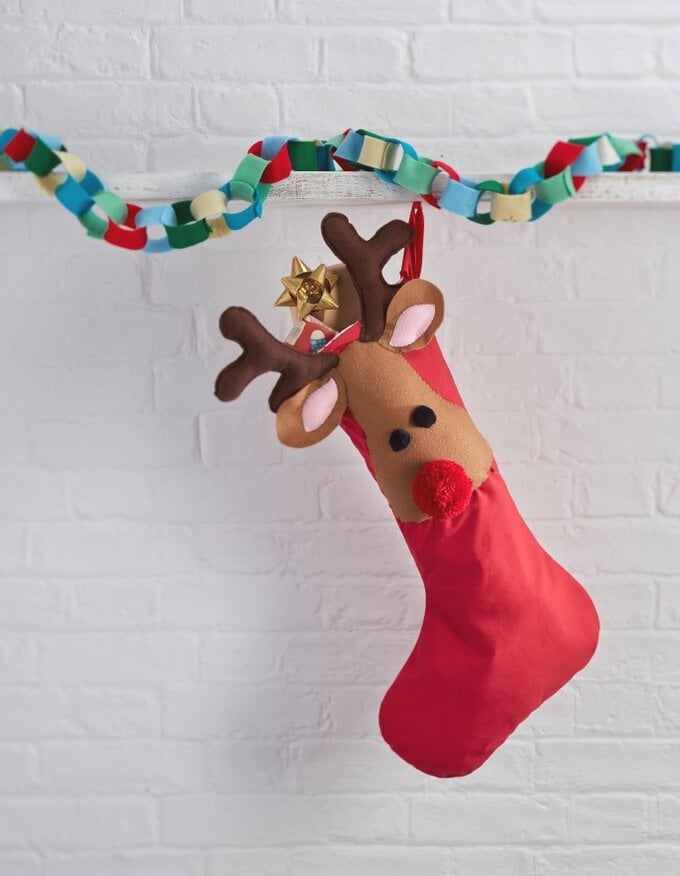
No matter how old, everybody needs a stocking to hang on Christmas Eve ready for Father Christmas's visit and we've got some great ideas to help you make your own. This cute reindeer stocking will look great on your mantelpiece or little one's bedpost and can be stored away to use for years to come. This project is ideal for someone wanting to improve their machine skills or for those more experienced with sewing.
Project with thanks to Caroline Giles
You will need
Subtotal
Is $ 131.00
Subtotal
Is $ 33.00
Subtotal
Is $ 7.49
Subtotal
Is $ 3.49
Subtotal
Is $ 1.49
Subtotal
Is $ 5.49
Subtotal
Is $ 1.49
Out of stock
Subtotal
Is $ 7.49
How to make
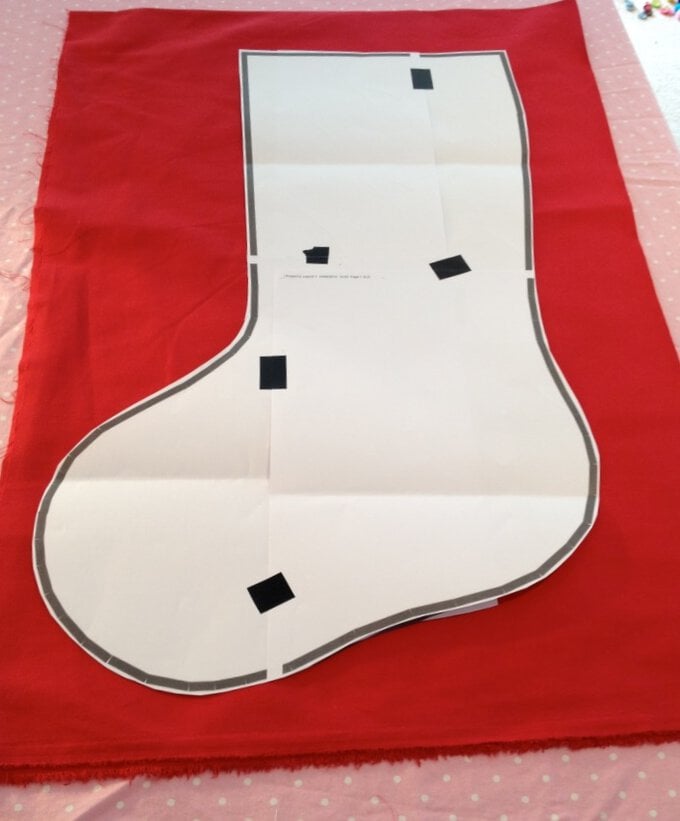
Draw out a stocking template onto paper. Fold the red fabric in half, pin the template to the fabric and cut out. Repeat this step for the lining. You should now have four stocking shapes in total: two outer pieces and two lining pieces.
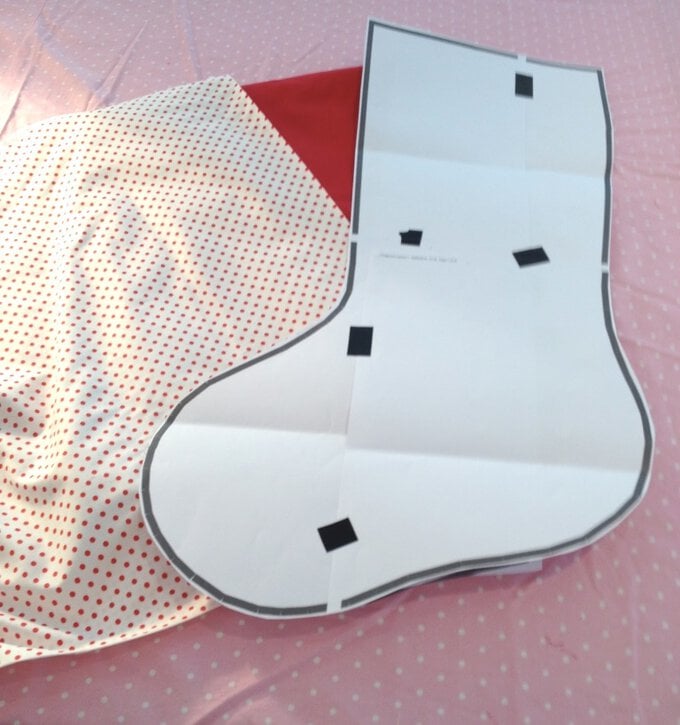
Pin one outer piece and one lining piece, right sides together, along the top edge of the stocking and then stitch. Repeat for the other two pieces.
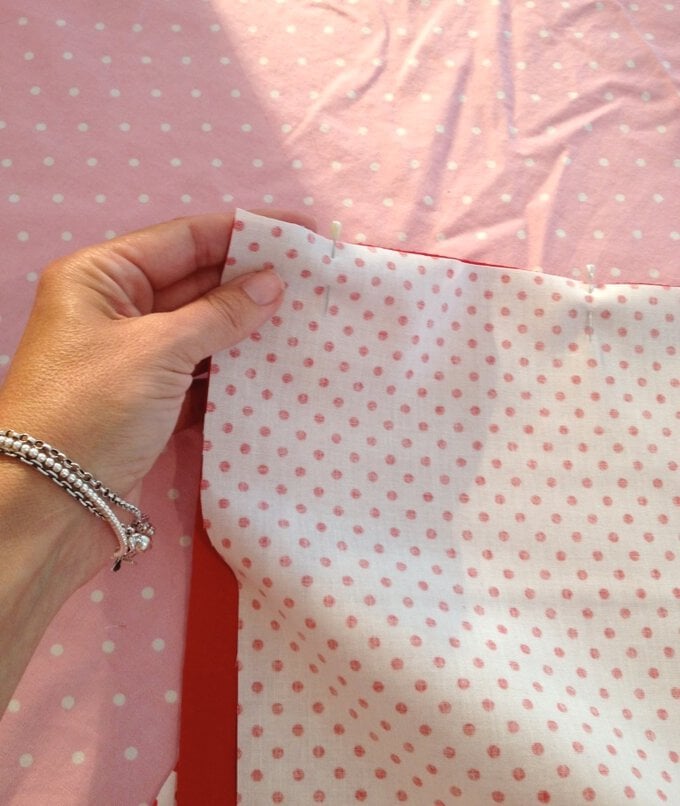
Open each stocking piece flat and then lay right sides together on top of each other. Fold the ribbon in half and lay in the top seam of the stocking, making sure it is facing inwards. Pin the pieces together then sew all the way round the stocking, leaving a gap in the lining for turning.
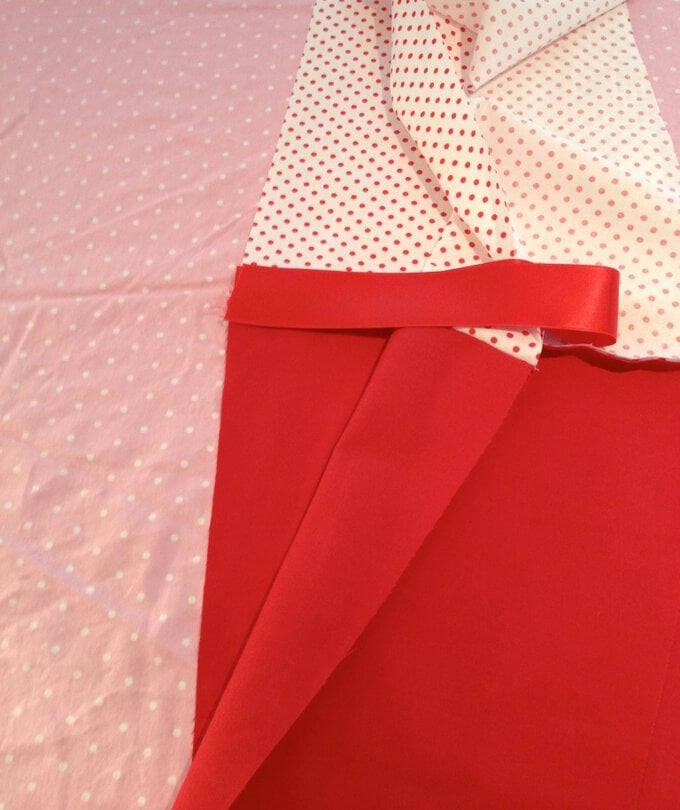
Before turning right side out, snip into the seam on the curved edges so the fabric is smooth on the outside when it is turned. Push the lining back inside the stocking and press.
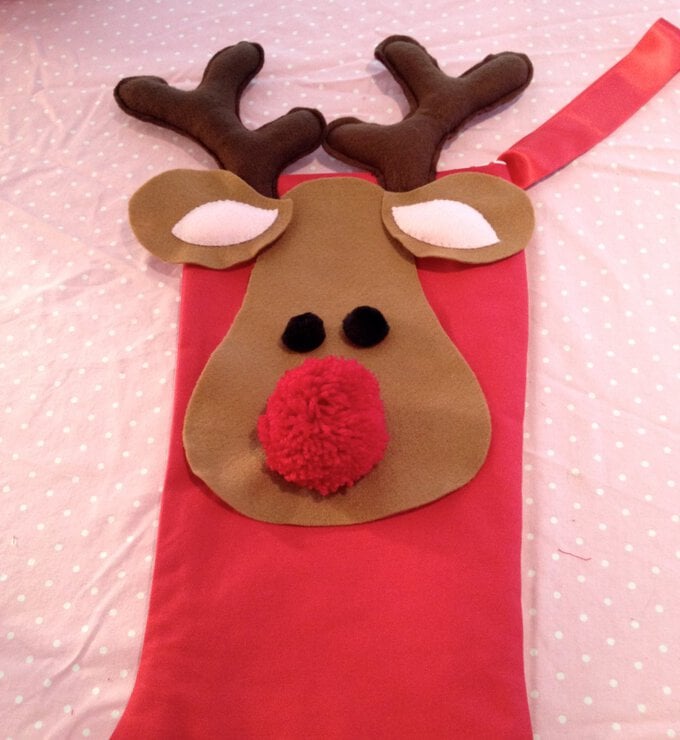
Create a paper pattern for the reindeer face. Cut out four antler pieces in dark brown felt, then stitch round the edge of the antlers, leaving the bottom edge open. Lightly stuff each antler.
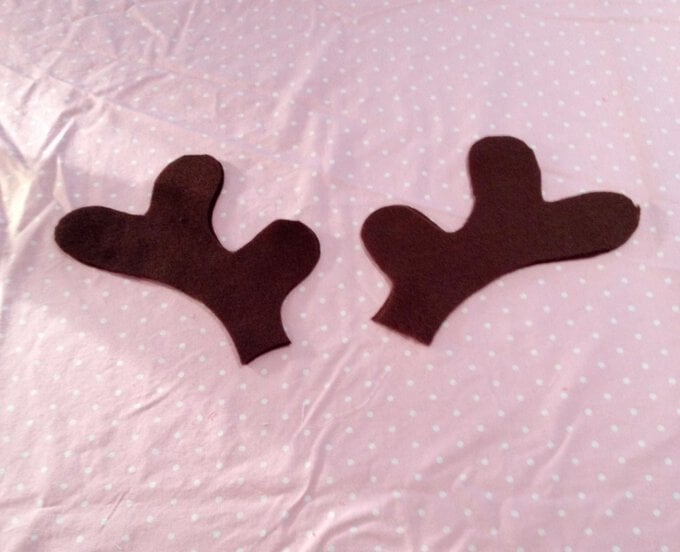
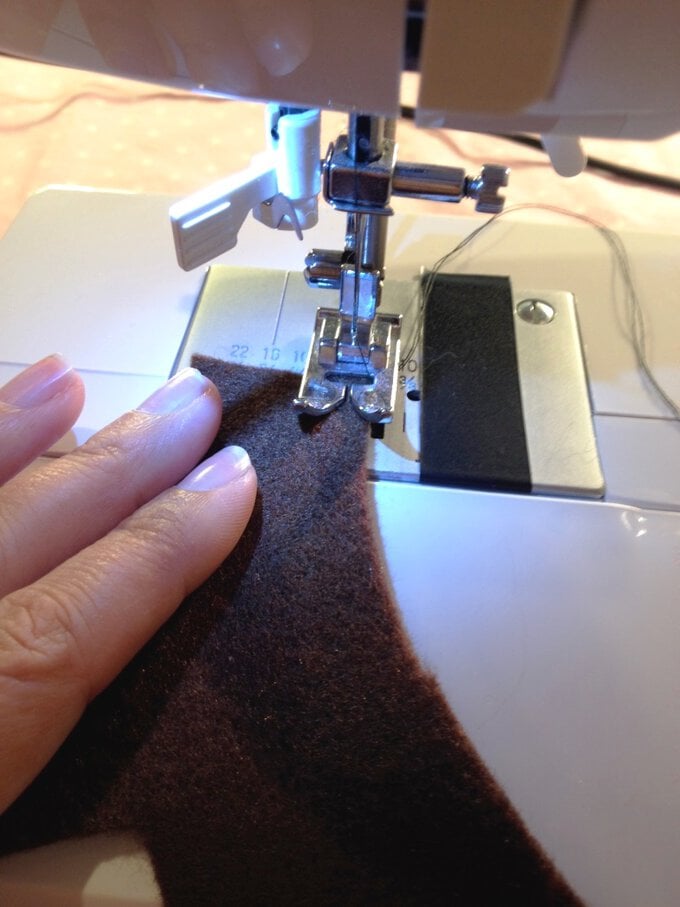
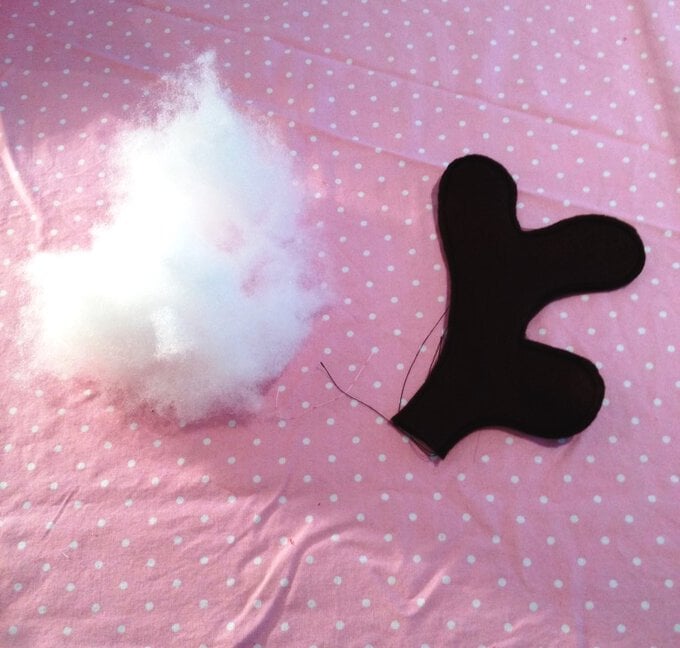
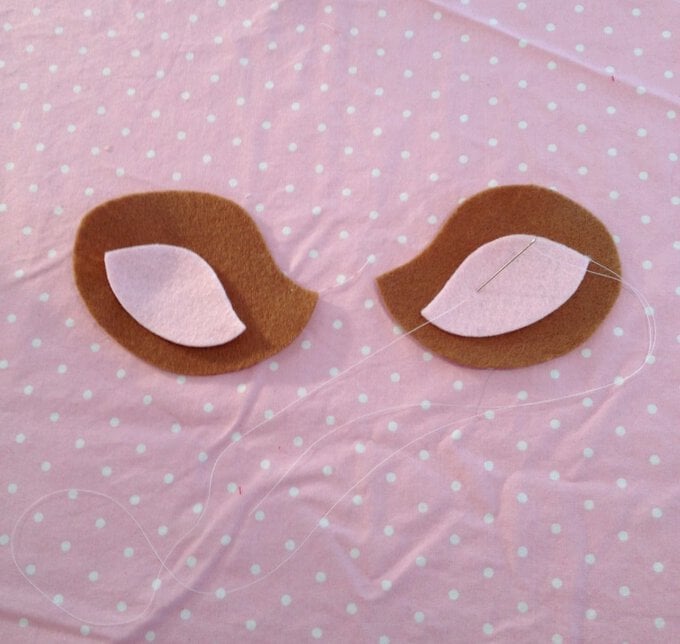
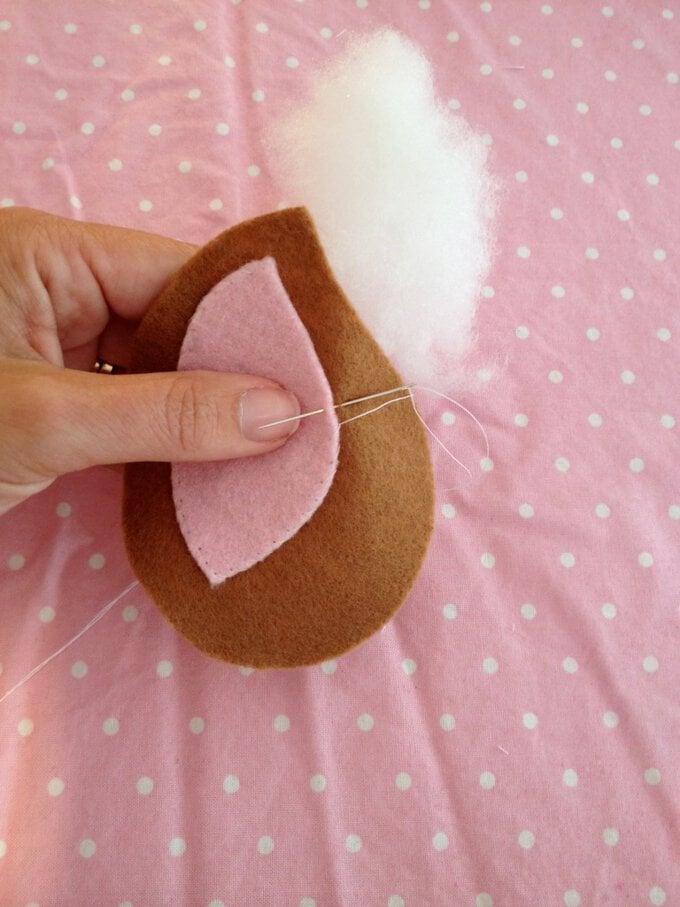
Cut out two light brown earpieces and two pink inner ear pieces. Hand sew the inner pieces to the ears, leaving a small gap. Lightly stuff and then close up. Repeat for the other ear.
Using a Pompom maker, make a red Pompom for the reindeer's nose.
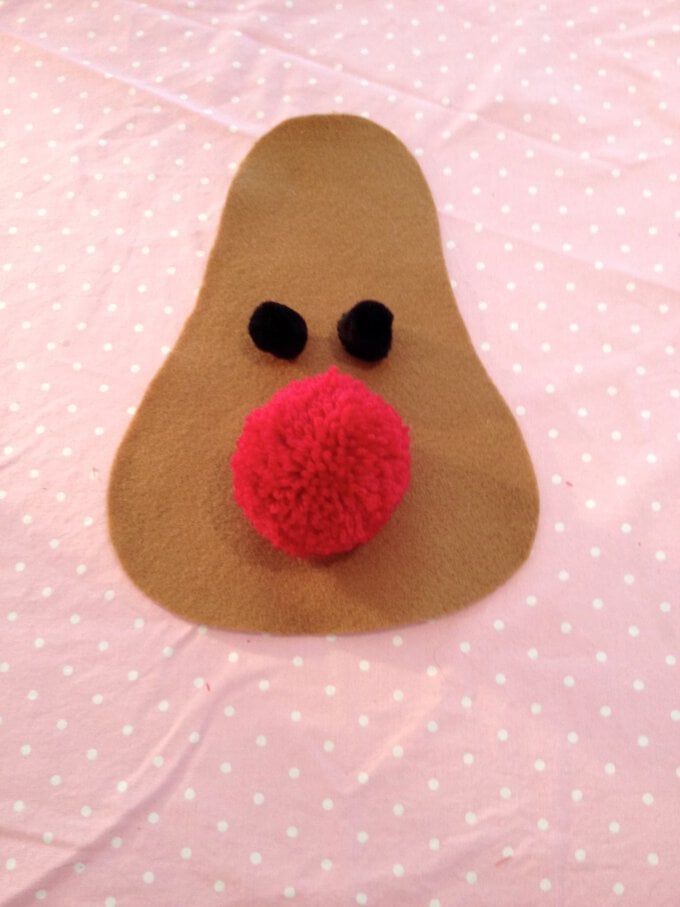
Cut out the reindeer's face from light brown felt, then add the features. Place the two black Pompoms for the eyes and the red Pompom for the nose and sew in place.
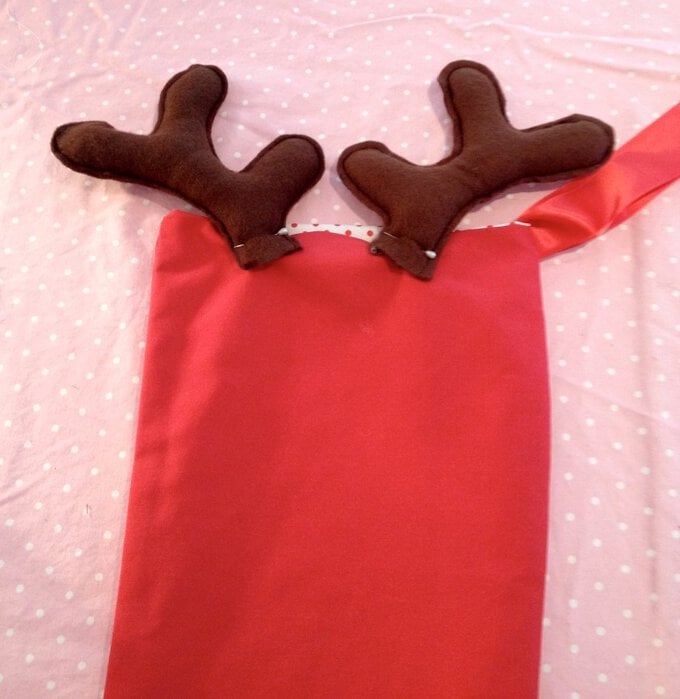
Pin the antlers in the desired position on the back of the stocking and hand stitch in place.
Finally, pin and hand stitch the face and ears to the stocking. Leave a small gap in the face and lightly stuff before closing.
