How to Make a Ribbon Noticeboard
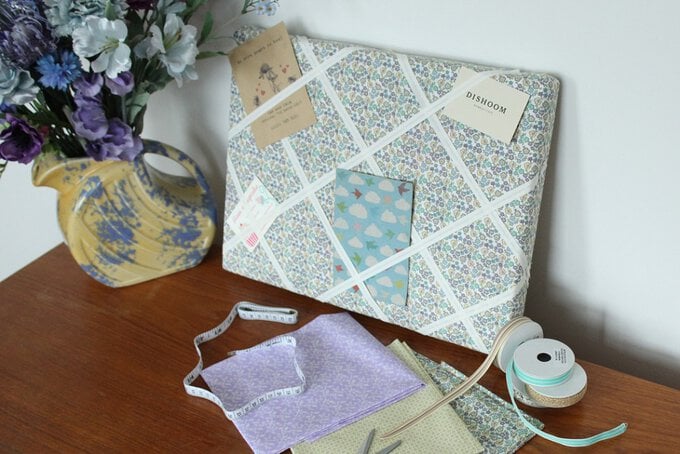
Jazz up your home and get organised this January with a snazzy fabric and ribbon noticeboard. Use it for all your important cards, invites and notes and you'll never lose anything important again!
You will need
Subtotal
Is $ 6.49
Out of stock
Subtotal
Is $ 36.00
Subtotal
Is $ 3.49
Subtotal
Is $ 38.00
Out of stock
Subtotal
Is $ 9.49
Subtotal
Is $ 15.00
How to make
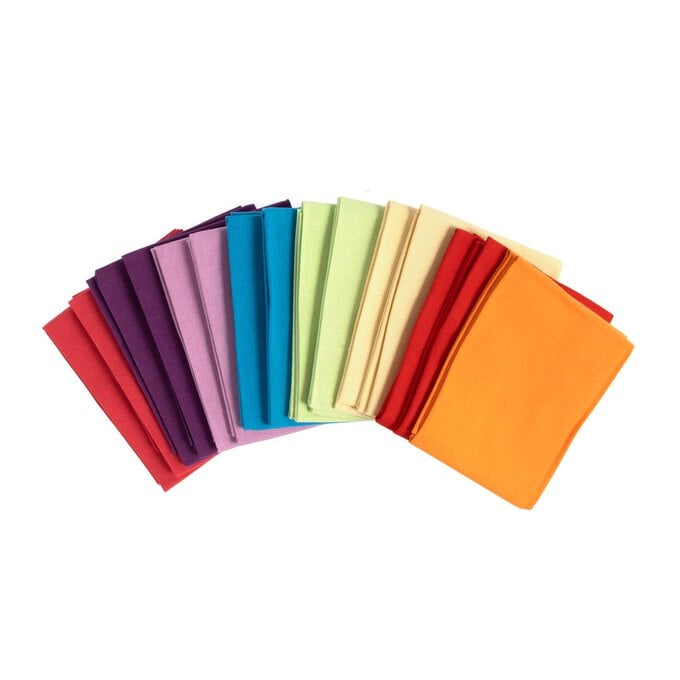
Lay out your material face down.
Place your canvas on top of the material face down, making sure that you have enough of it to overlap the canvas by about 5 cm on each of the four sides.
Cut the material to this size (you don't have to be exact).
Now place your canvas on top of the wadding and cut it, allowing an extra centimetre around all 4 edges.
Put the material underneath the wadding with the canvas still face down.
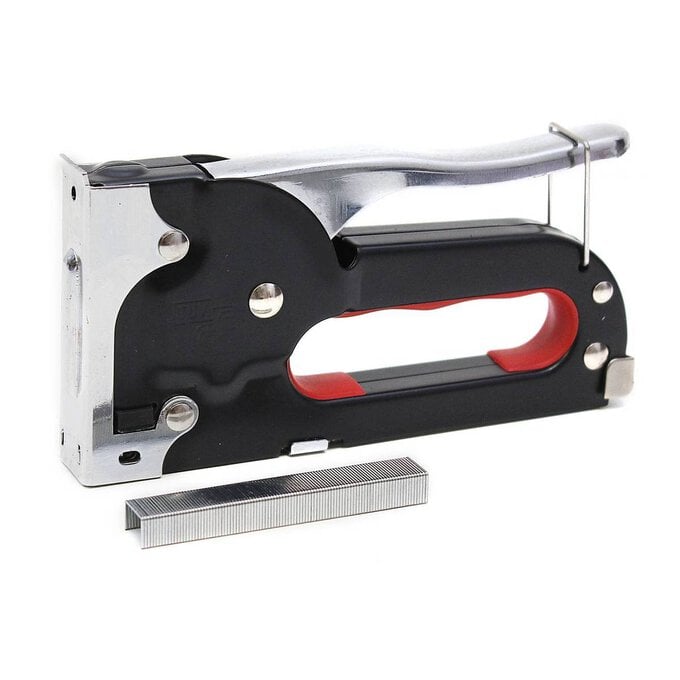
Using your staple gun, start by pulling the material fairly tight over the back of the canvas and stapling the material to the canvas back, using the wooden edge of the canvas to secure in place. Begin working on one of the longest sides first, then when you get to the corner, bend the fabric around so it is nice and tight, staple and move the canvas around so you can do each edge and corner as you go around. Use three to six staples per side.
Turn the canvas over and check if you need to pull the fabric any tighter – you can do this easily by pulling on it on the back and re-stapling.
Trim any extra material you have on the back of the canvas to make it neat.
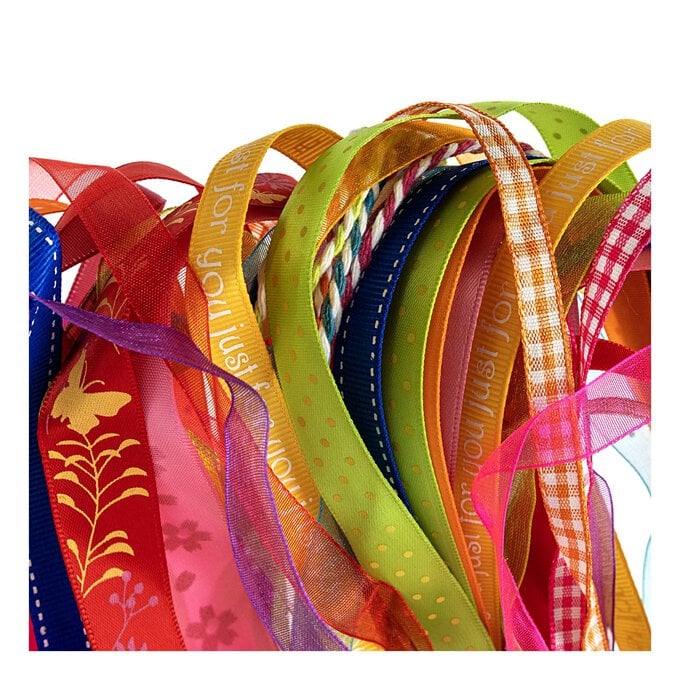
Turning your canvas around to the front, place your ribbon on top, diagonally, and work out where you would like your ribbon to go. You will need four pieces of ribbon for each side – cut these with an extra 5 cm on each end, cutting the end of the ribbon diagonally too to prevent it from fraying.
Don't place the ribbon over the corners of the canvas as the tension of the ribbon will be compromised, instead go for a few centimetres away from it.
Holding one of the ribbons in place, staple it to the back of the canvas on the wooden edge again. Then turn the canvas back around to check the placing of the ribbon, holding the other end in place, turn the canvas around and staple it again.
Attach all four lengths of ribbon in one diagonal direction first, then do the other direction. Make sure the ribbons are tight and use extra staples if you need to, to keep the tension in the ribbon.
You can add a bit of extra tension to the ribbon by stapling where the ribbon crosses over at the front. Glue some buttons to those areas to make it extra pretty, if you wish.
