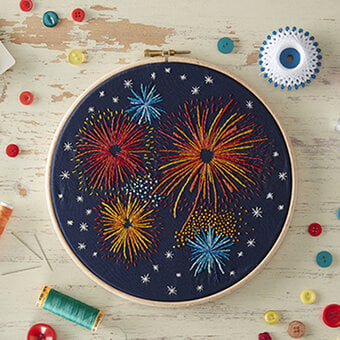
How to Make a Candlewick Style Embroidery Hoop
Dive into the trending craft of candlewicking with our easy-to-follow guide!
Learn how to master this classic whitework technique using colonial knot stitches to create a beautiful butterfly design.
Perfect for adding a touch of elegance to your home décor, our step-by-step instructions will help you craft a stunning piece that showcases your embroidery skills.
Project and instructions by Katherine Lucy Creates
You will need

Subtotal
Is $ 16.00
Subtotal
Is $ 5.49
Subtotal
Is $ 8.49
Subtotal
Is $ 10.00
You Will Need
* Natural Cotton Fabric
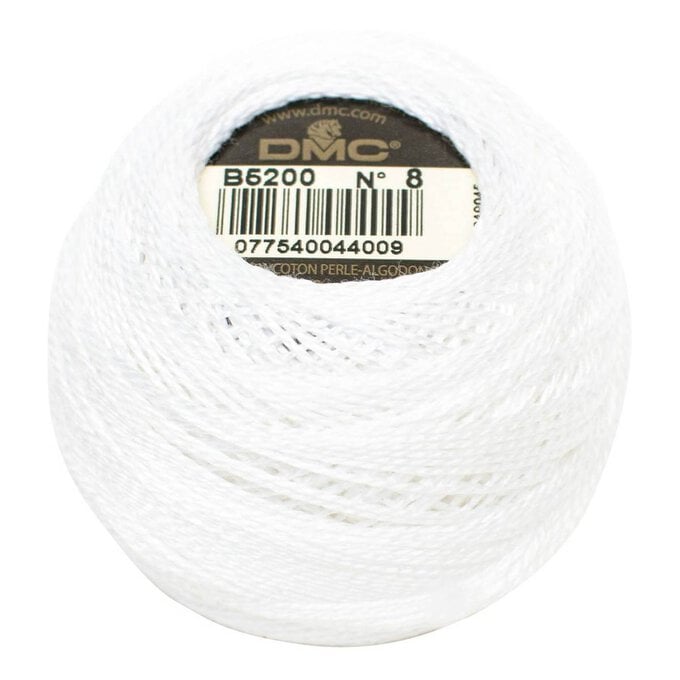
* DMC White Pearl Cotton Thread on a Ball Size 8 80m
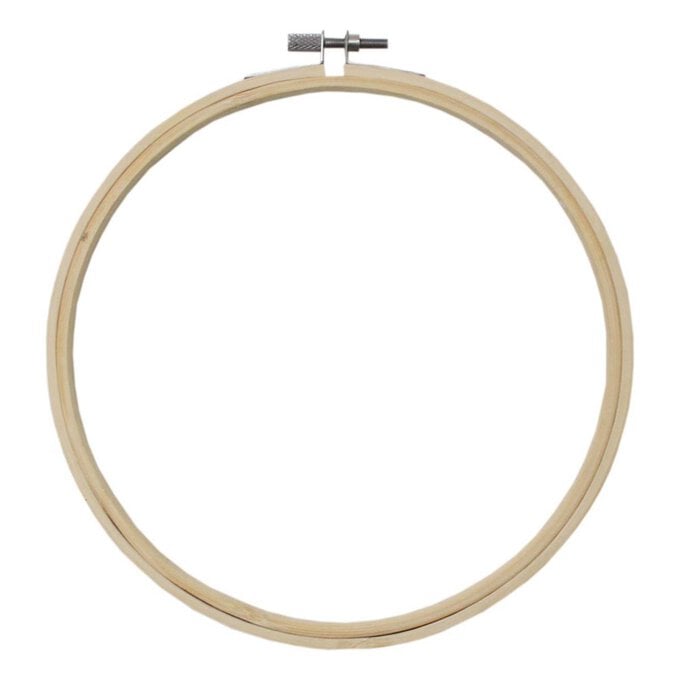
* 7” Embroidery Hoop
* Fabric Scissors
* Embroidery Scissors
* Embroidery Needle - Size 8
* An Iron
* Erasable Fabric Pen
How to make
Download and print the embroidery template.
Cut a piece of fabric approx 10” x 10”, and gather the rest of the materials and tools.
Use a good light source and an erasable fabric pen to trace the design onto the fabric.


Place into the 7” Hoop.
Now we will start the design with the Colonial Knots: Bring the needle up through the fabric, create a loop with the thread to the right of where you want the knot to be.
Place the needle through the loop. Wrap the thread around the tip of the needle, creating a figure 8.
Push the needle down through the fabric, keep the thread tight.
Pull the thread all the way through the fabric and either knot at the back or move onto the next Colonial Knot.


Now it's time to create your Lazy Daisy!
Bring the needle up through the fabric at the centre of the flower, insert back through next to this, creating a loop. With the loop loose, bring the needle back up through the end of the petal. Pull the loop tight and insert the needle back though over the loop.
Repeat for the rest of the petals and flowers.


Start at the base, bringing the needle up through the fabric and back through a short distance along the line.
Bring the needle back up the same distance above and insert back through so that the lines join.
Repeat along the lines.


All that is left to do is finish the hoop!
Remove from the hoop and trim the excess fabric so that you have approx 1.5” around the hoop size. If you have a sewing machine handy, use the longest stitch setting and do a gather stitch, then place back into the hoop. If not, place the design back into the hoop, simply do a running stitch all the way round, leaving strands to be able to pull.
Pull the gather strands tight and tie off to finish the back of the hoop.


Craft with us at our workshops


Related Products