How to Make a Stencilled Anniversary Card
Want to make that special person in your life feel extra loved on your anniversary?
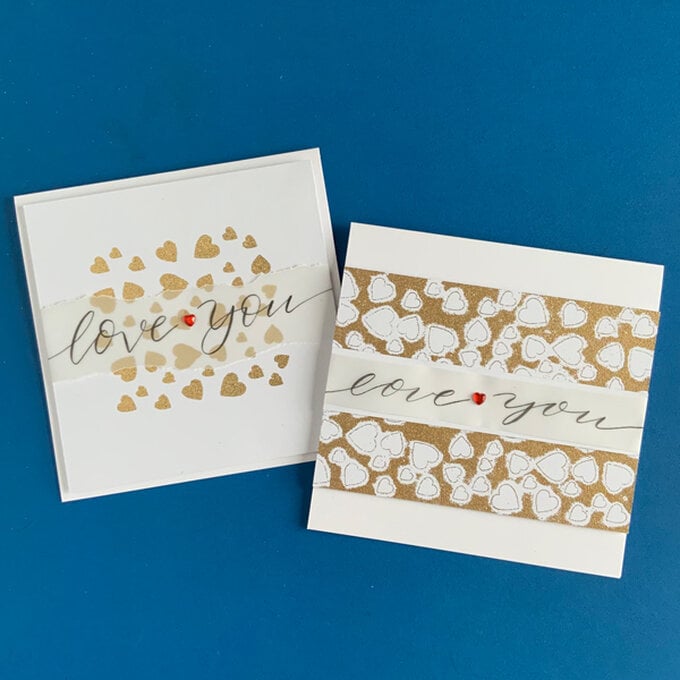
Discover how to create a sentimental anniversary card that uses one of Hobbycraft's new stencils to produce a design which is truly special.
Choose from two beautiful designs and follow our simple step by step instructions to create a special card in no time!
Project and instructions by Sue Smith
You will need
Subtotal
Is $ 9.49
Subtotal
Is $ 11.00
Subtotal
Is $ 3.49
Subtotal
Is $ 5.49
How to make
Design A:
* White Cards and Envelopes 6 x 6 Inches
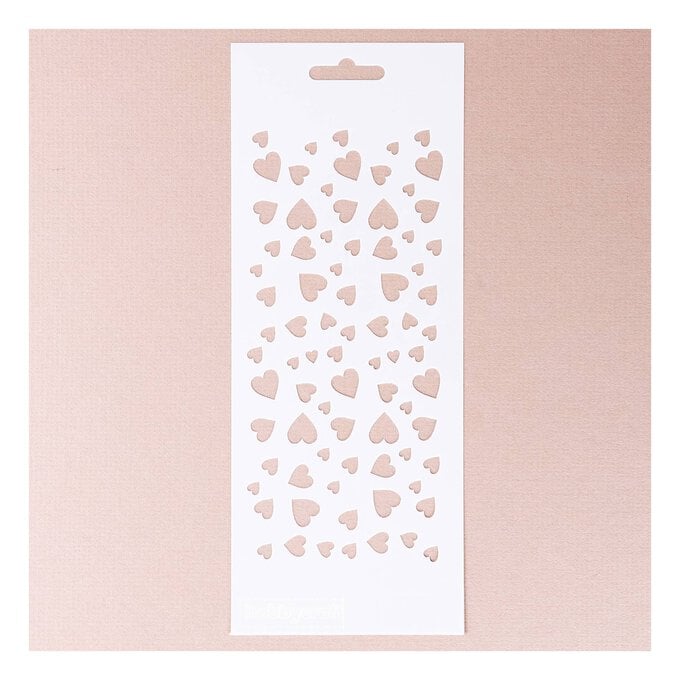
* Mixed Media Stencil (Heart)
* Hobbycraft Clear Embossing Ink Pad
* Papermania Tinsel Gold Embossing Powder
* Hobbycraft Tracing Paper Pad A4
* Hobbycraft Firm Black Brush Pen
* Red and Silver Adhesive Heart Gems
* Adhesive Foam Pads 7mm x 7mm
* A Heat Tool
* Spare White Card
* Craft Tape
* Glue Stick
* Ruler
* Scissors or Craft Knife
* Fine Paint Brush
* Pencil
* Free Templates – Downloaded + Printed
Design B:
* White Cards and Envelopes 6 x 6 Inches
* Mixed Media Stencil (Heart)
* Hobbycraft Clear Embossing Ink Pad
* Papermania Tinsel Gold Embossing Powder
* Hobbycraft Tracing Paper Pad A4
* Hobbycraft Firm Black Brush Pen
* Red and Silver Adhesive Heart Gems
* Adhesive Foam Pads 7mm x 7mm
* Heat Tool
* Spare White Card
* Craft Tape
* Glue Stick
* Ruler
* Scissors or Craft Knife
* Pencil
* Free Templates – Downloaded + Printed

Download the template below in preparation for each of your projects.

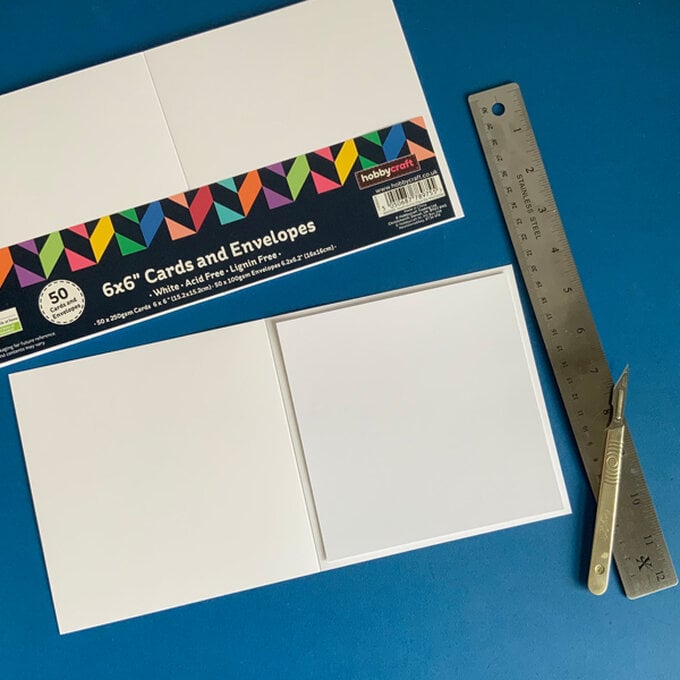
Position the hearts stencil over the matted layer.
Cut four pieces of tracing paper and mask off the surrounding area around the stencil, creating a square of hearts. Trim the tracing paper around any hearts on the top and bottom edges to leave complete hearts showing.
Centre the prepared stencil over the matted layer and apply plenty of embossing ink over the hearts.
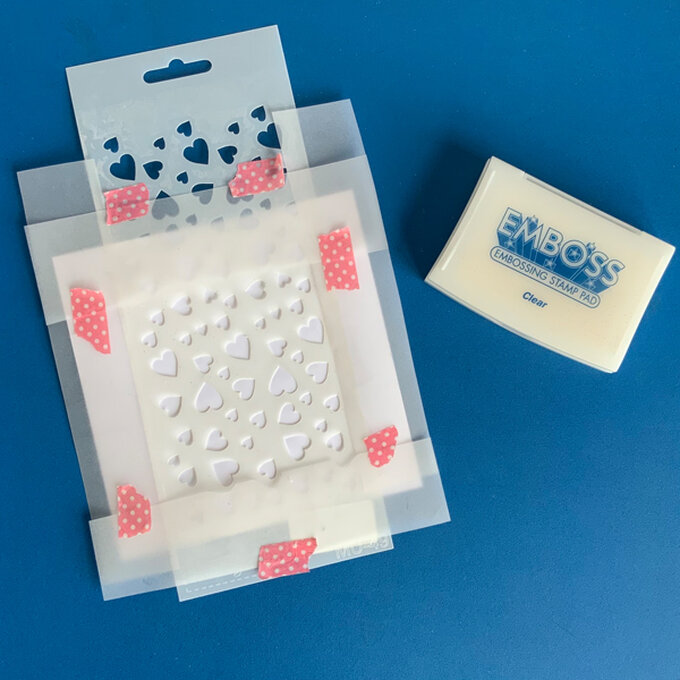
Remove the inked stencil carefully and place the matted layer onto a spare sheet of folded paper.
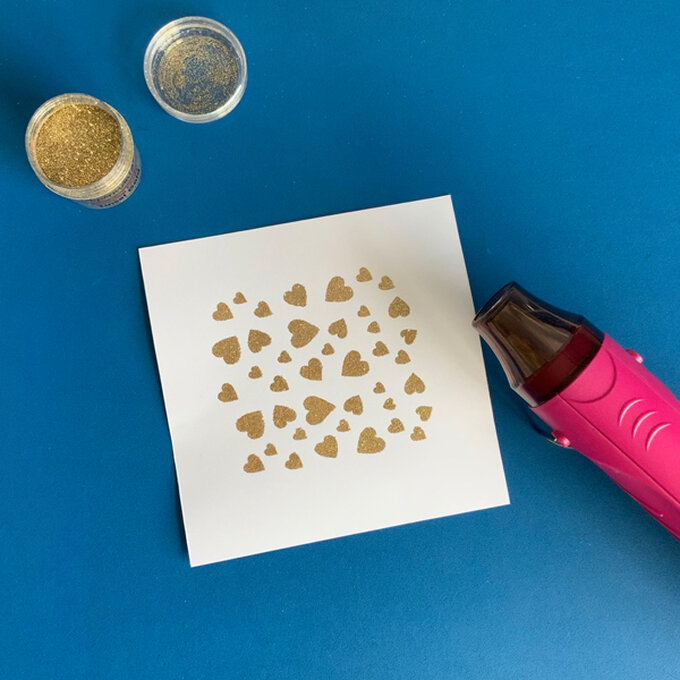
Then, sprinkle over plenty of tinsel gold powder. Shake all the excess onto the folded paper to replace back into the pot.
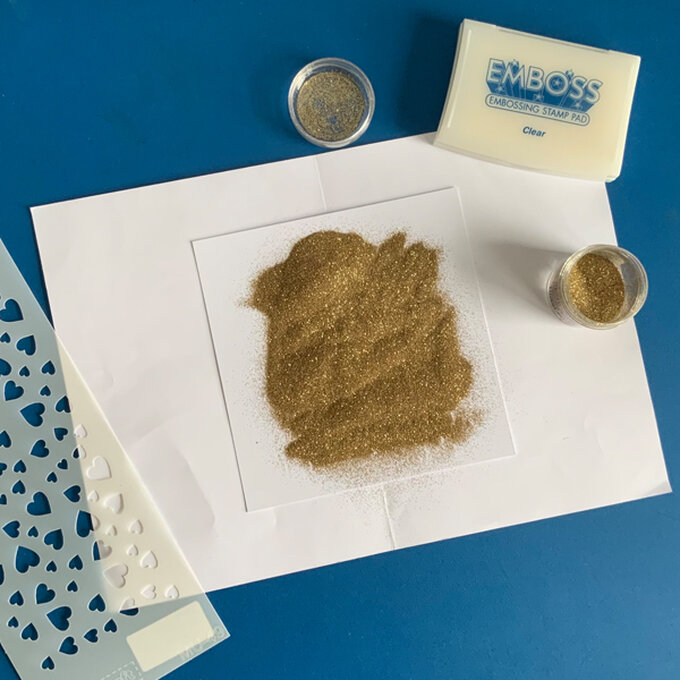
Brush away any loose powder sitting between the hearts with a fine paint brush.
Set the powder using a heat tool.
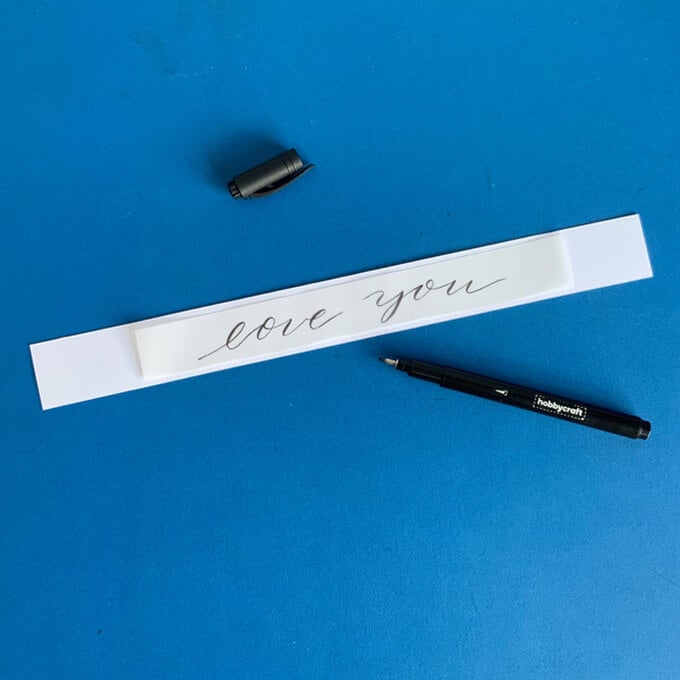
Use the printed supplied template to trace the ‘Love You’ caption. Use a firm brush pen to brush letter the caption onto tracing paper.
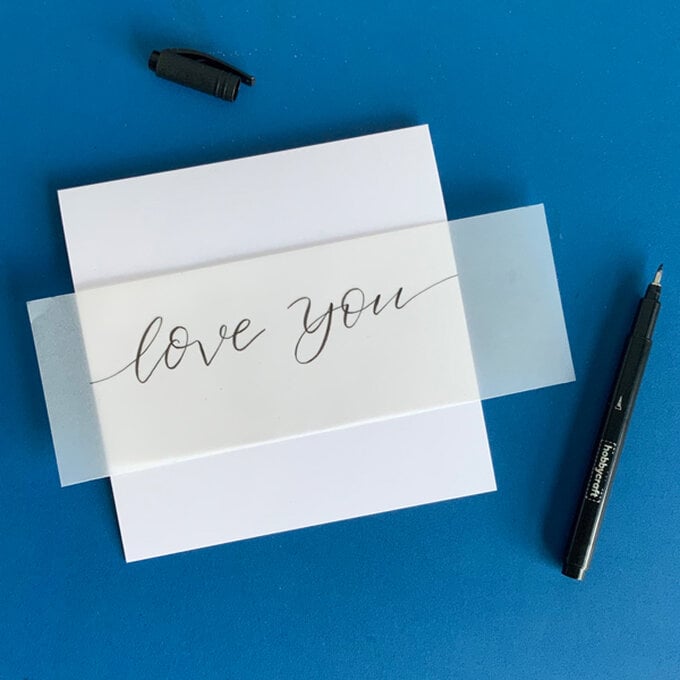
Carefully tear the tracing paper just above and below the lettered caption to create a banner strip.
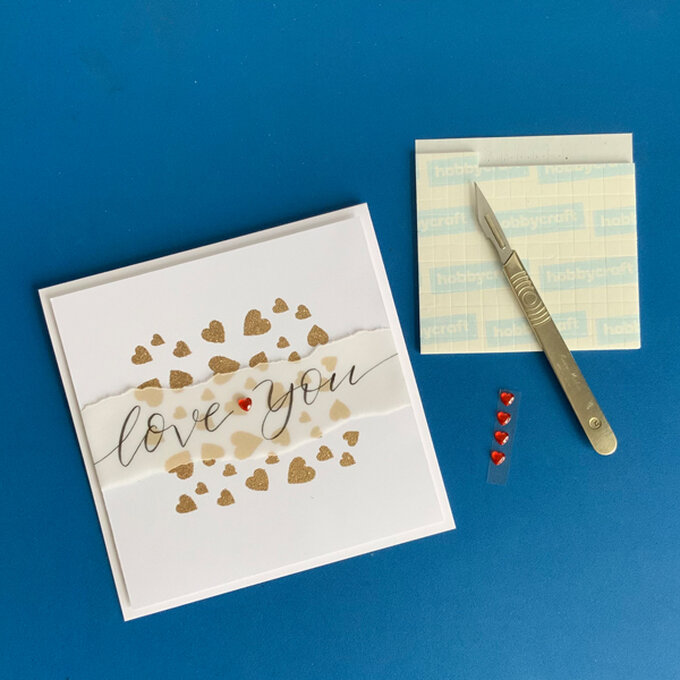
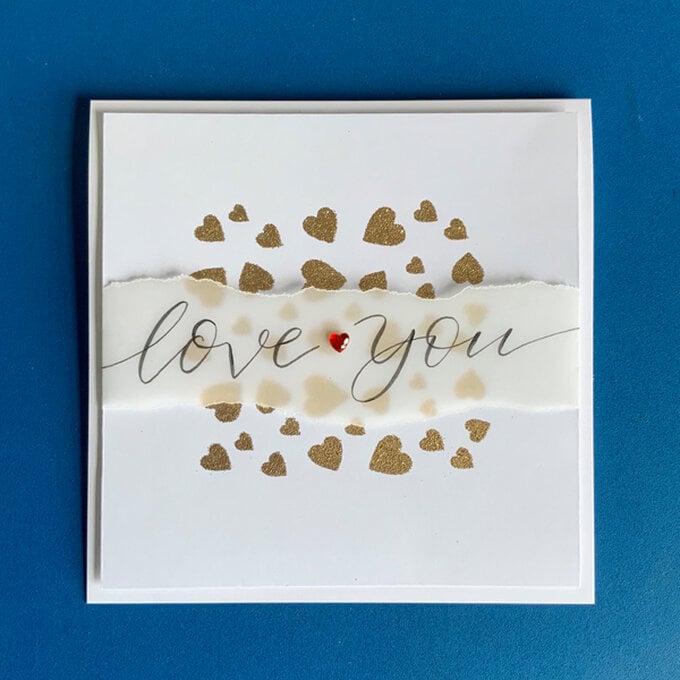
Position over the gold hearts, folding the ends underneath.
Add a single red heart gem between the two words. Add a tiny spot of glue to the middle of the banner behind the heart gem to secure the front of the banner to the matted layer.
Apply glue to the folded ends of the banner to secure in place on the reverse of the mattered layer. Add foam pads to the back of the matted layer, and fix in place onto the card base.
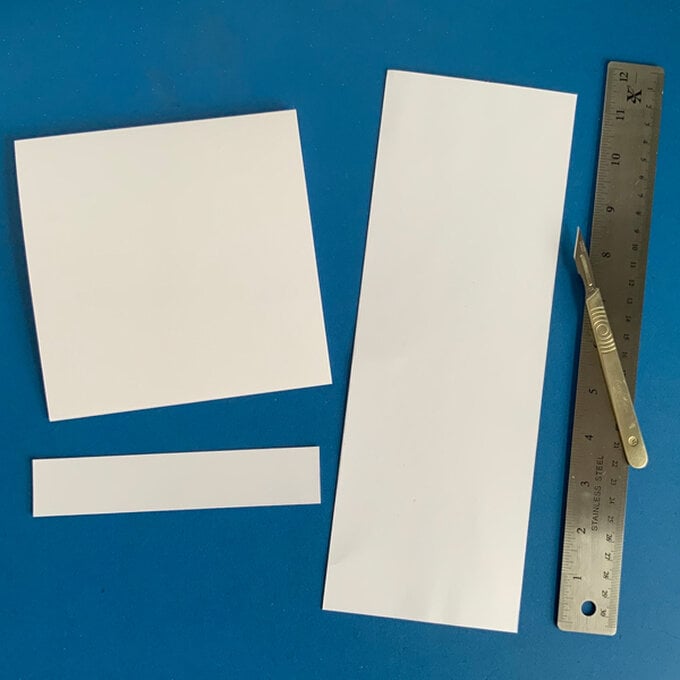
Start by trimming a spare sheet of A4 white card in half lengthwise. Keep both halves, and trim another piece of card to measure 15.2cm x 3cm. Use these pieces with a top fold card blank.
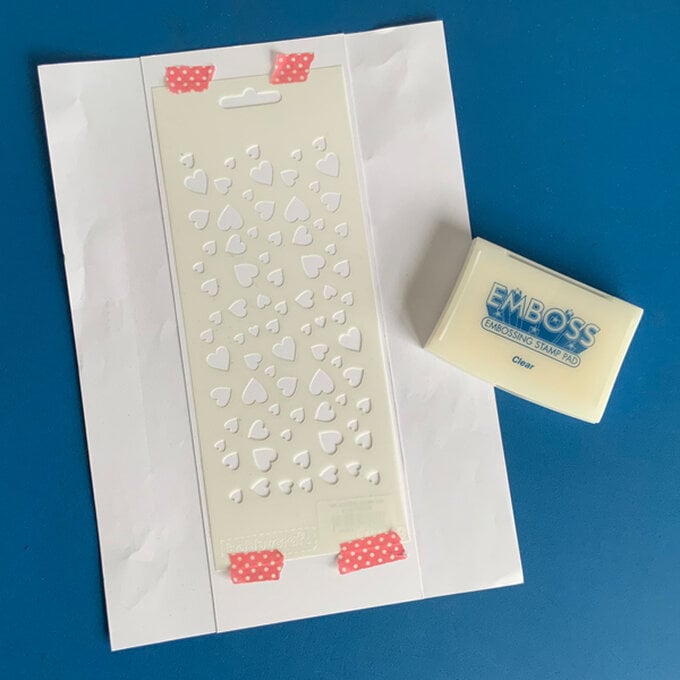
Position the hearts stencil over one of the larger pieces of trimmed card, fix it in place using some craft tape.
Apply plenty of embossing ink all over the hearts stencil.
Next, carefully place the second larger piece of trimmed card over the stencil, and press down firmly over the whole area.
Remove the top layer of card and place it onto a spare sheet of folded paper.
Sprinkle over plenty of tinsel gold powder. Shake all the excess onto the folded paper to replace back into the pot.
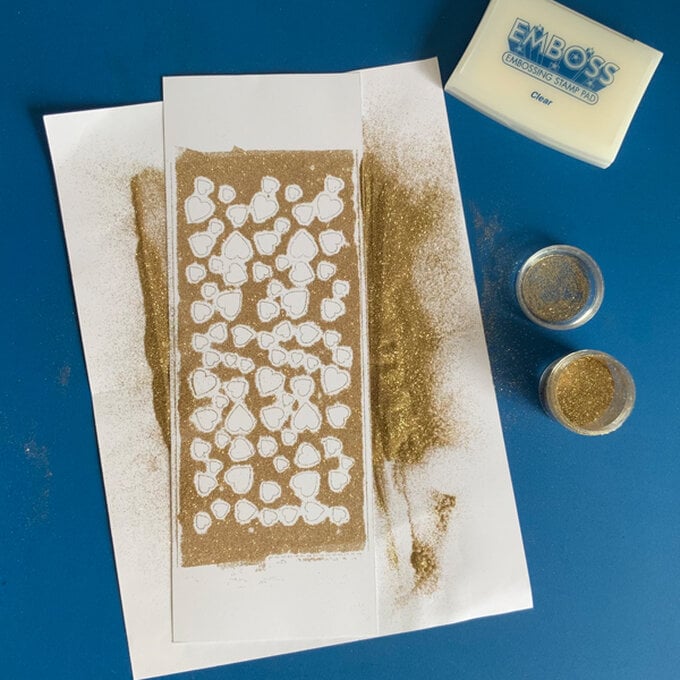
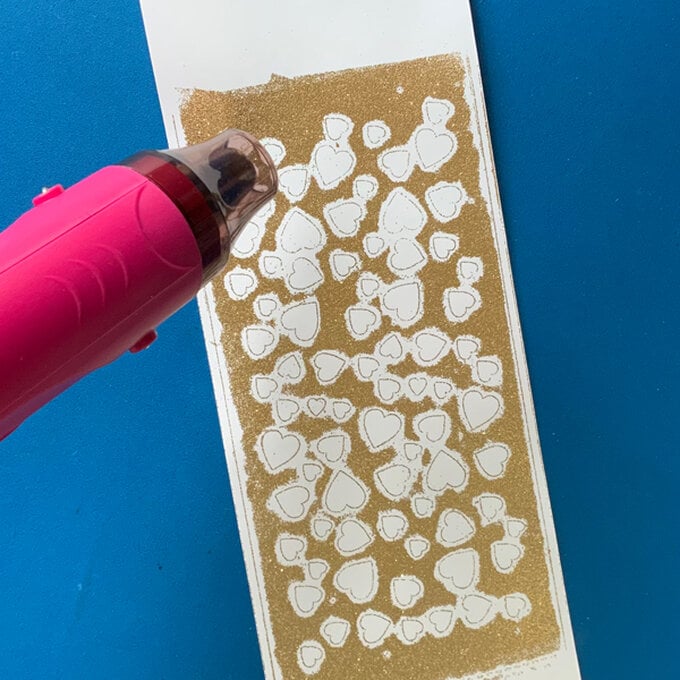
Trim the long edges to neaten the heart design.
Trim the top and bottom, leaving the heart panel measuring 6 inches tall. Cut the panel in half down the centre.
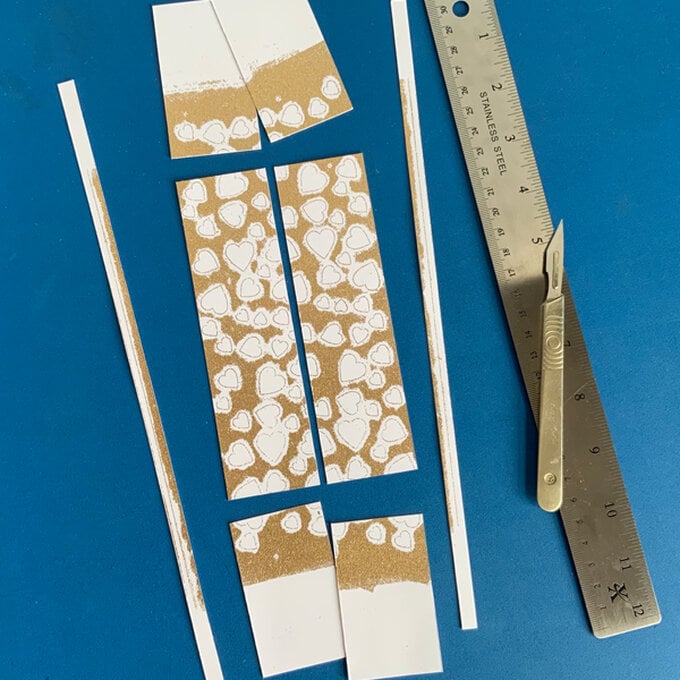
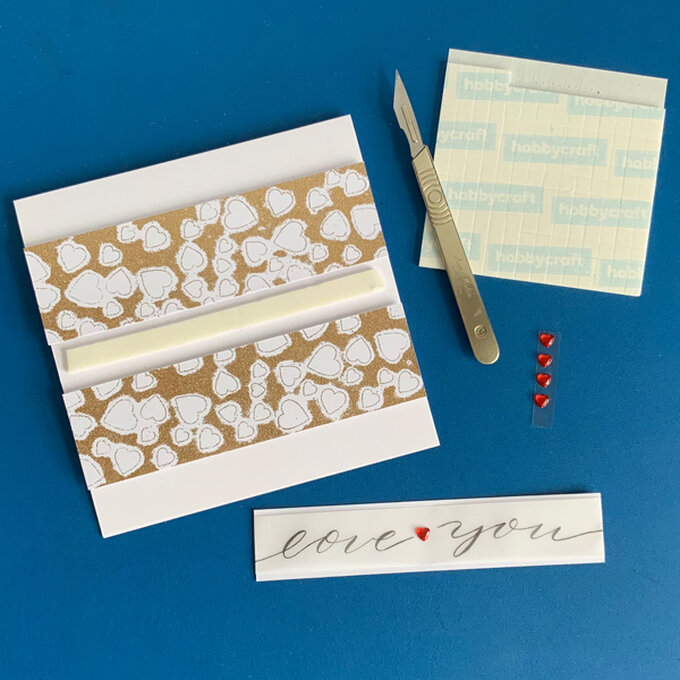
Apply foam pads to the reverse of the heart panels. Fix them into place onto the card blank leaving a 2.2cm gap along the top and bottom of the card.
Add a strip of foam tape, or more foam squares, along the centre gap.
Trim the lettered caption to create a banner strip, slightly narrower than the smaller piece of prepared card. Add a single red heart gem between the two words. Apply a tiny spot of glue to the middle of the banner behind the heart gem to secure the front of the banner to the small card piece.
Fold the ends of the banner under, apply glue to secure on the reverse.
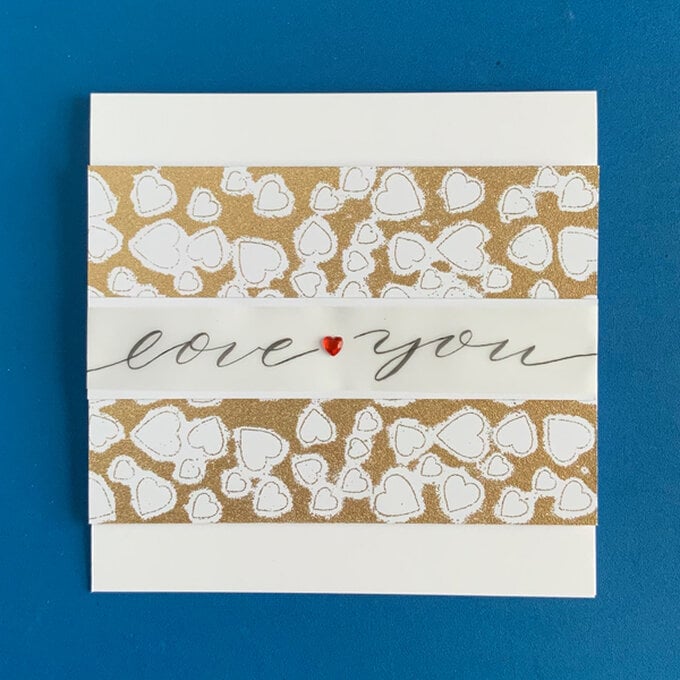
Simply position and secure the caption piece across the front of the card covering the centre gap.
And there you have it, your card is ready to go!
