How to Make a Travel Scrapbook Layout
Christmas and New Year arent far away now, and I'm already looking forward to planning some holidays for next year. So I took a look back at where I went this year and decided to memorialise my awesome adventures!
You will need
Subtotal
Is $ 6.49
Subtotal
Is $ 3.49
Subtotal
Is $ 9.49
Subtotal
Is $ 33.00
Subtotal
Is $ 8.49
How to make
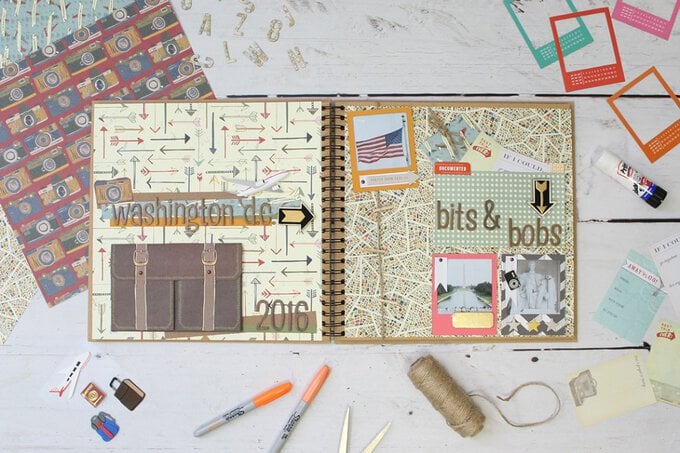
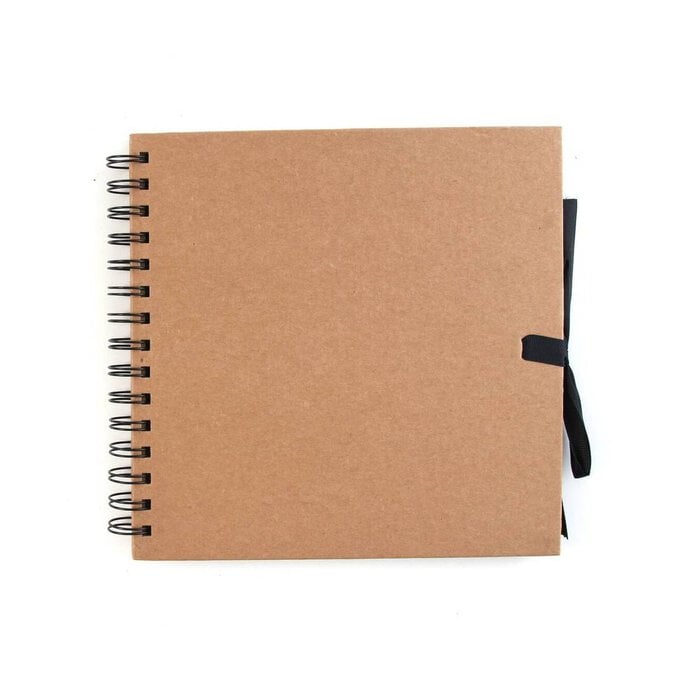
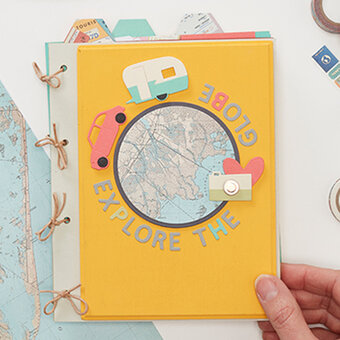
Cover the right-hand page with your chosen patterned paper – this will need to be trimmed down ever so slightly to allow for the spiral binding of the notebook.
Cut strips of complimentary and patterned papers, layer and adhere these just above the central point of the page. Apply the Thicker stickers on top, followed by your choice of embellishments.
Add brads to the suitcase pocket from Smash's Classic Pockets set and then position at the bottom of the page.
Repeat step one for the left-hand scrapbook page.
Peel the adhesive backing from the back of three La Deh Dah! polaroid frames and cover with plain and patterned cardstock. Trim the paper to the correct size using a craft knife and metal ruler, repeat this process to remove the paper from the central aperture section of each frame.
Add in your photos and adhere two of the frames to the bottom right-hand corner of the page, adding fishtail banners and embellishments.
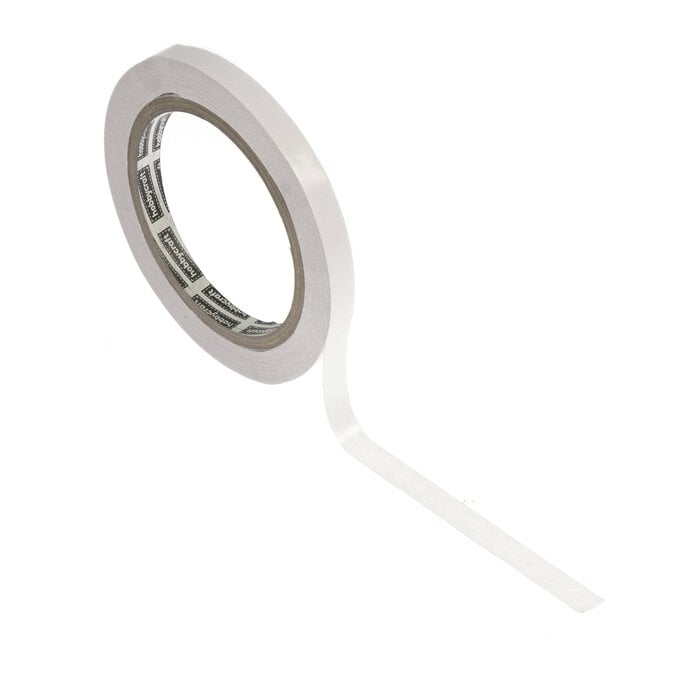
Take the concertina pocket from the Classic Pocket set and adhere complimentary papers to the front and back sections. Place double-sided tape on the back of the pocket and position just above the polaroid frames at the bottom of the page. Apply Thicker stickers and embellishments to the front of the pocket to further decorate.
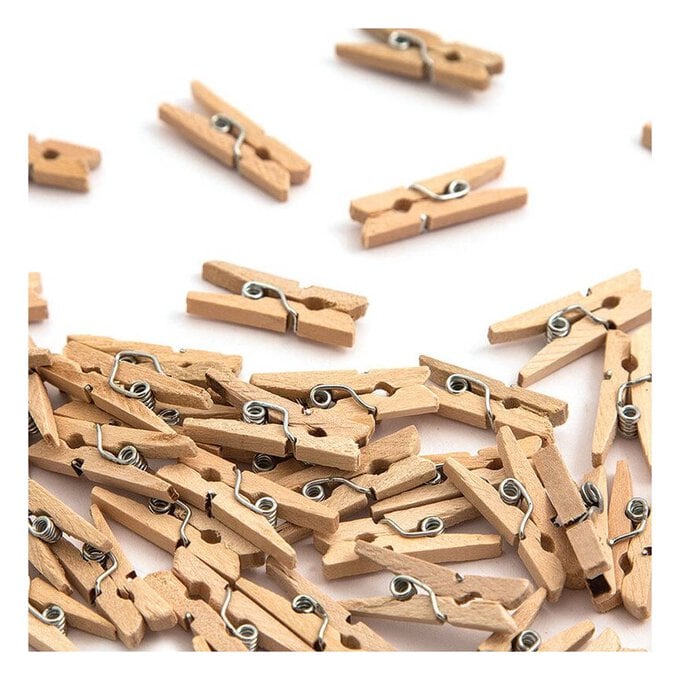
Use mini pegs and twine to create an interchangeable photo display section on the left-hand side of the page.
