How to Make a Cosmic Shimmer Pixie Powder Scrapbook Layout
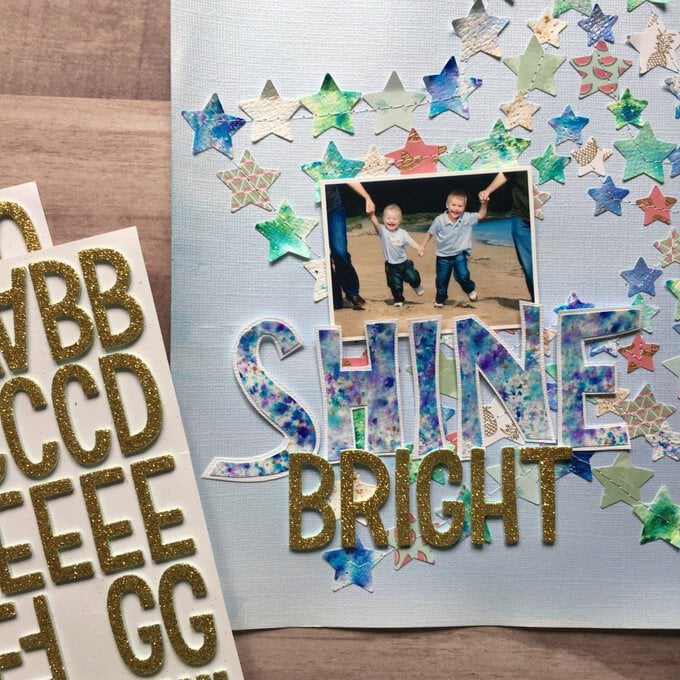
Make a scrapbook layout full of shimmery loveliness with a watercoloured background, punched stars and a hand-cut title. All made using the beautiful Pixie Powders from Cosmic Shimmer.
Project and how-to make instructions by Jo Boland
You will need
Subtotal
Is $ 7.49
Subtotal
Is $ 13.00
Subtotal
Is $ 128.00
Subtotal
Is $ 134.00
Subtotal
Is $ 5.49
Subtotal
Is $ 2.49 , was $ 4.49
How to make
You will also need:
12 x 12” My Colors 'Polar Bear' Cardstock – available in-store only
Put a puff of each Pixie Powder (Rich Gold, White Pearl and Midnight Blue) into a pot and mix with water to create a wash. Brush over the 12 x 12” cardstock and leave to dry.
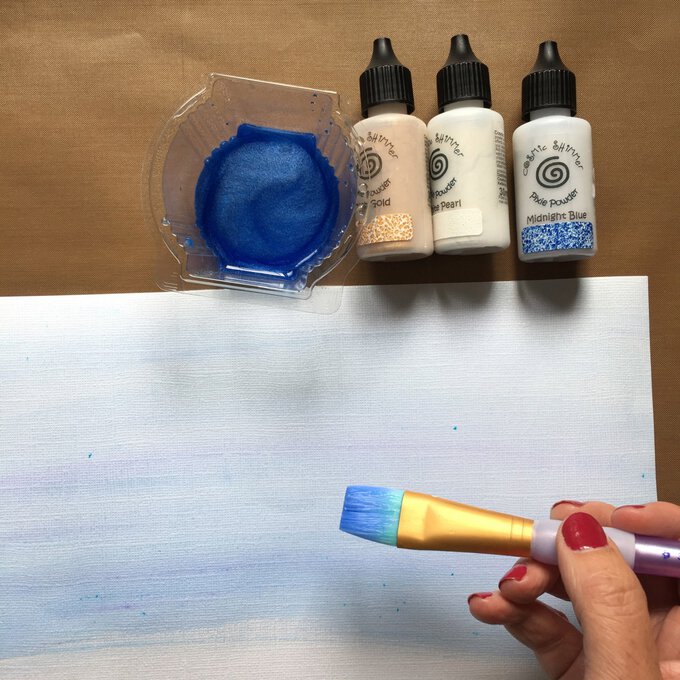
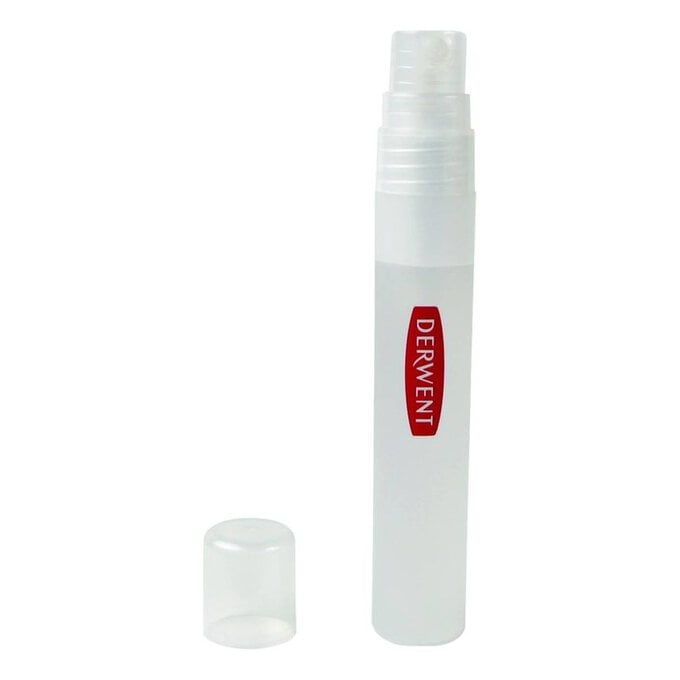
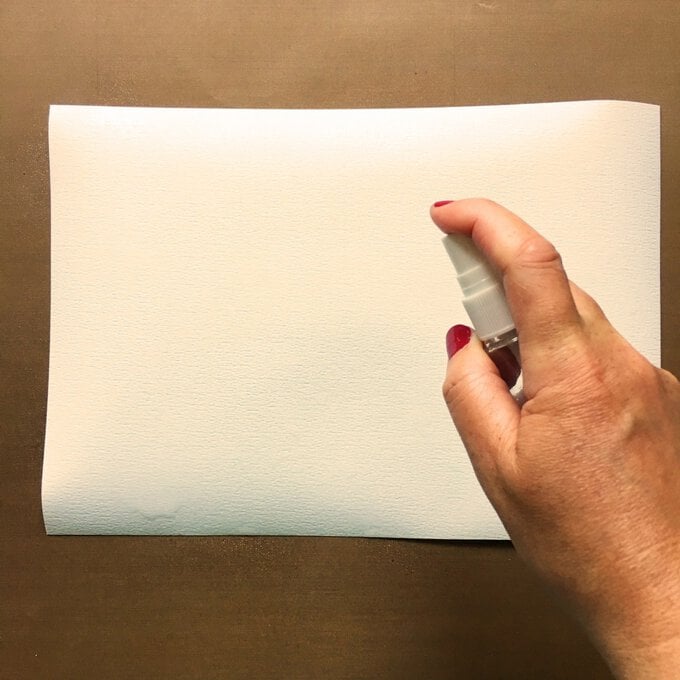
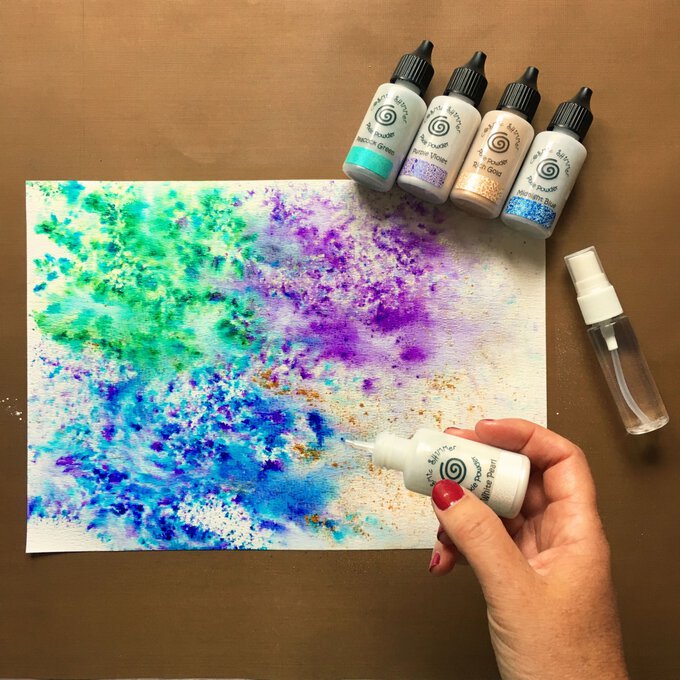
Spray water over a piece of watercolour paper. Tap the bottom of the Pixie Powder bottles to make puffs of the powder come out and fall over the wet paper. On contact with the water the pixie powder will soak in and disperse, splitting into different pigments contained within each powder. Light taps will give subtle coverage; heavier taps will dispense more and give a stronger colour. How you tap it depends upon the effect you desire. Spray with more water to mix the colours further. Use a paper towel to mop up excess water and to create a softer look.
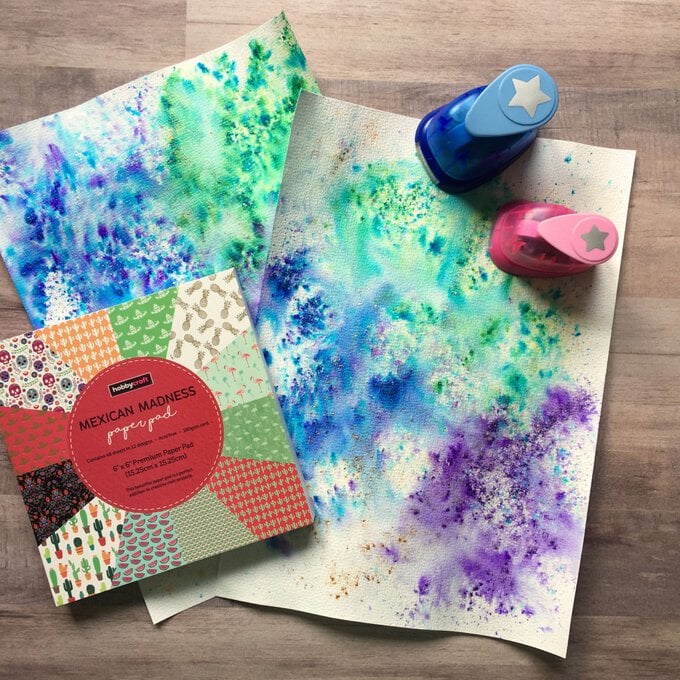
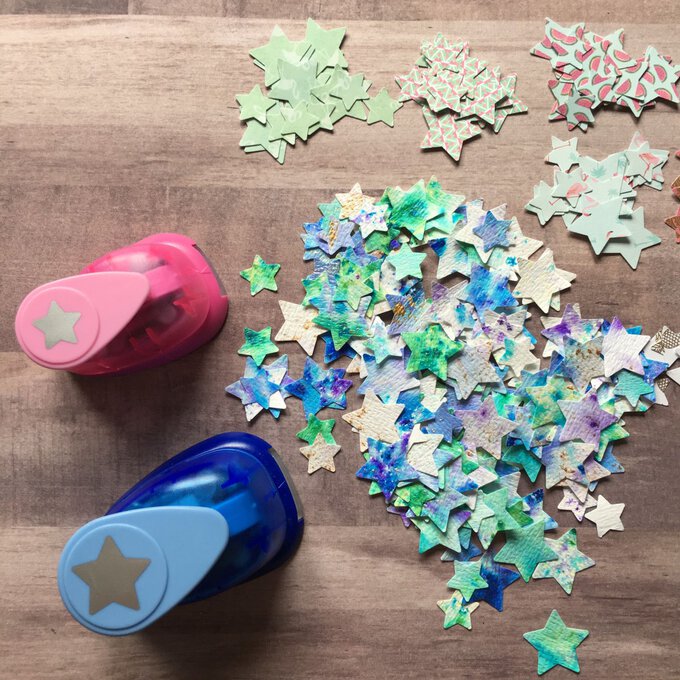
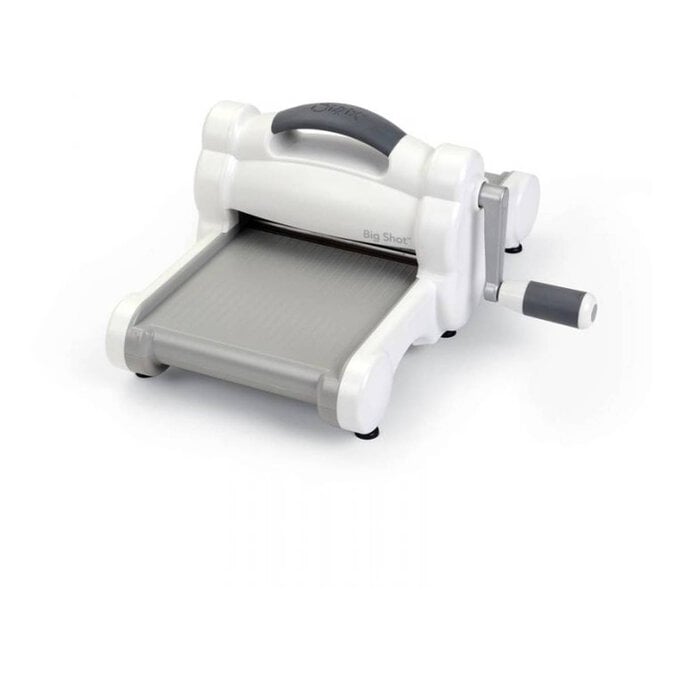
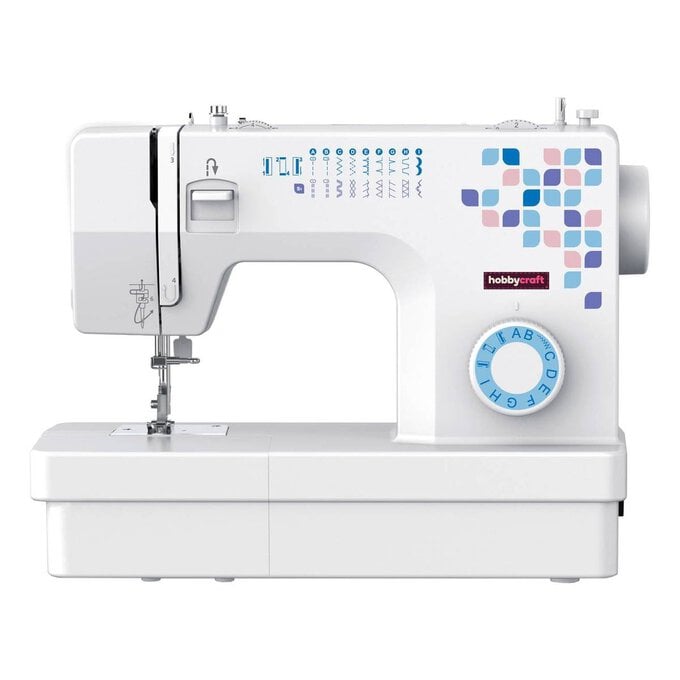
Position the punched stars into three concentric star shaper on the watercoloured background. Once happy with their position add some glue under each to hold it in place. Run the layout through the sewing machine, stitching all the stars into place.
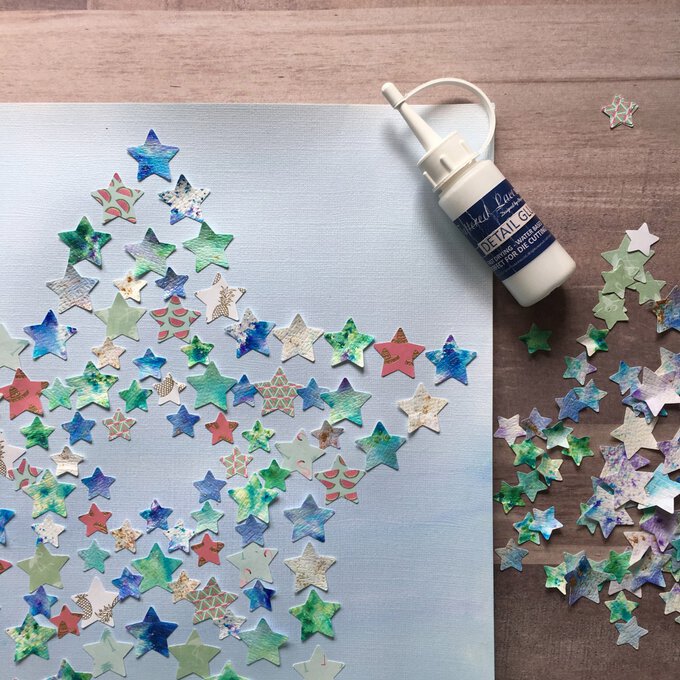
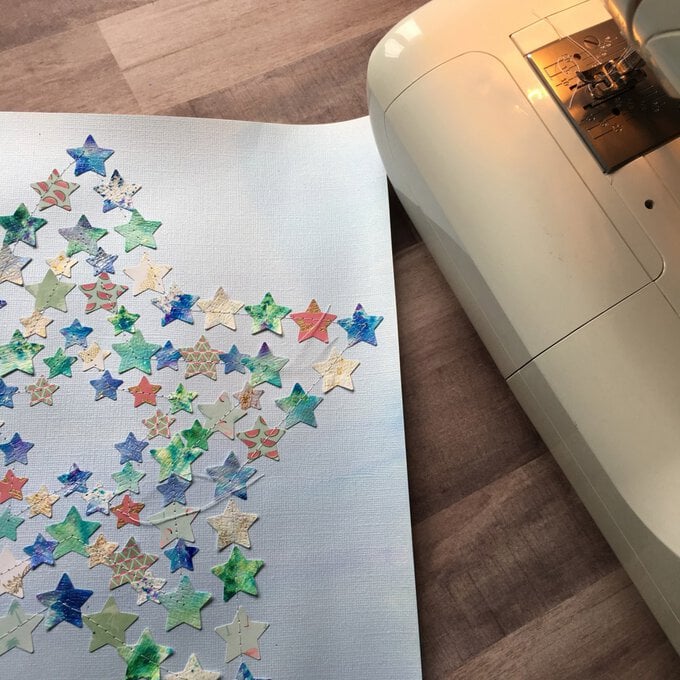
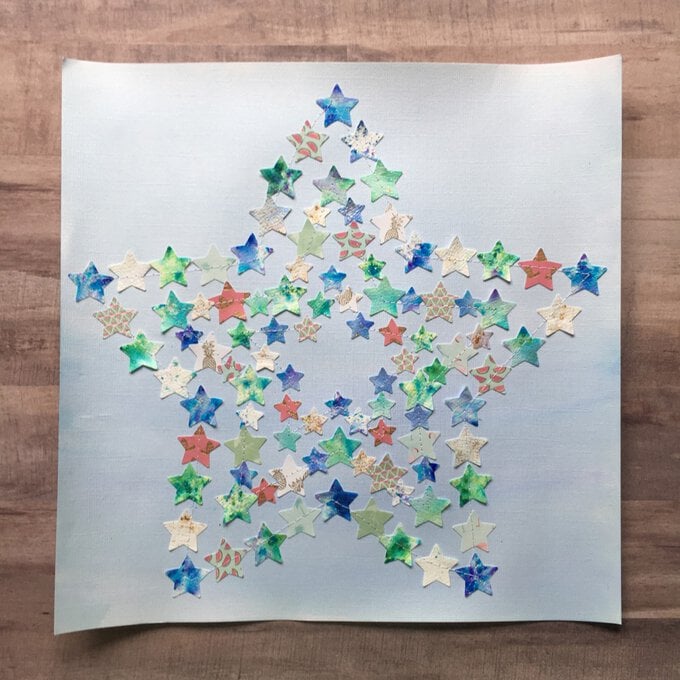
Spray watercolour paper with water and puff Pixie Powders over it. Add more water as required. Leave to dry.
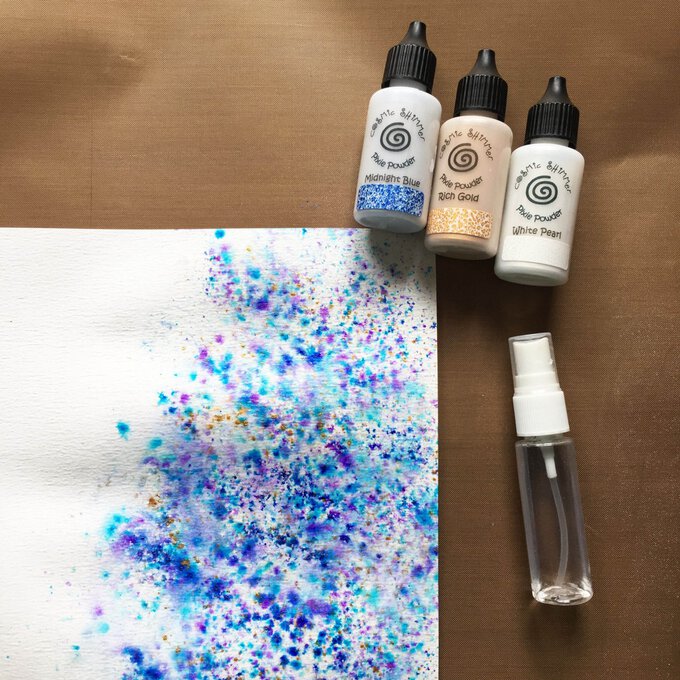
Hand cut the title from the dried paper. Adhere the letters to white cardstock and fussy cut around them to provide a white border which will help them stand out.
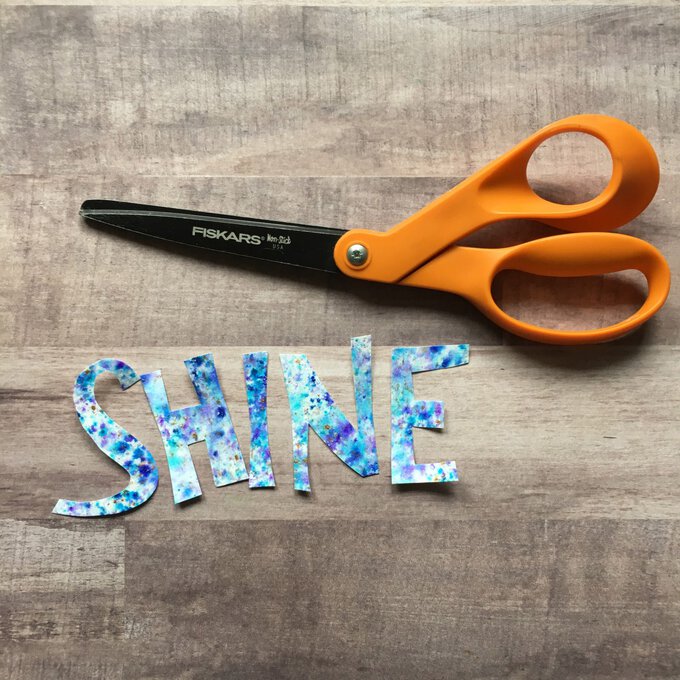
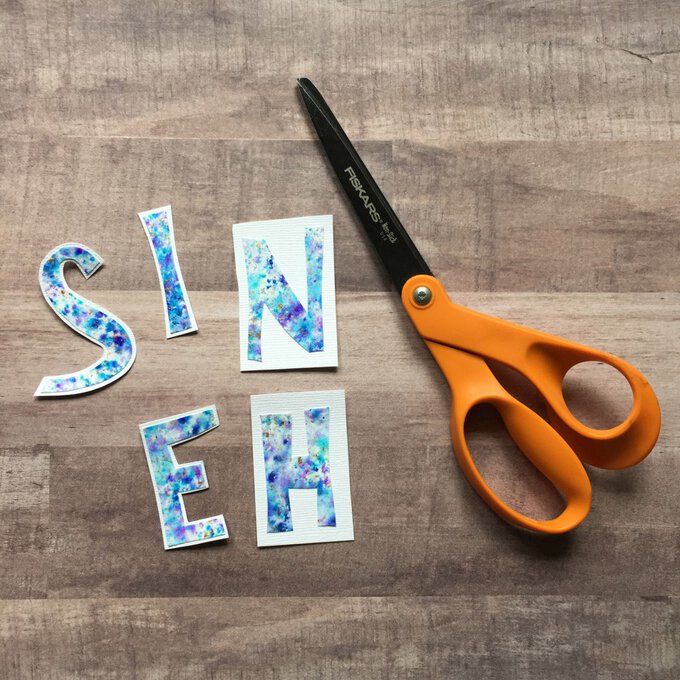
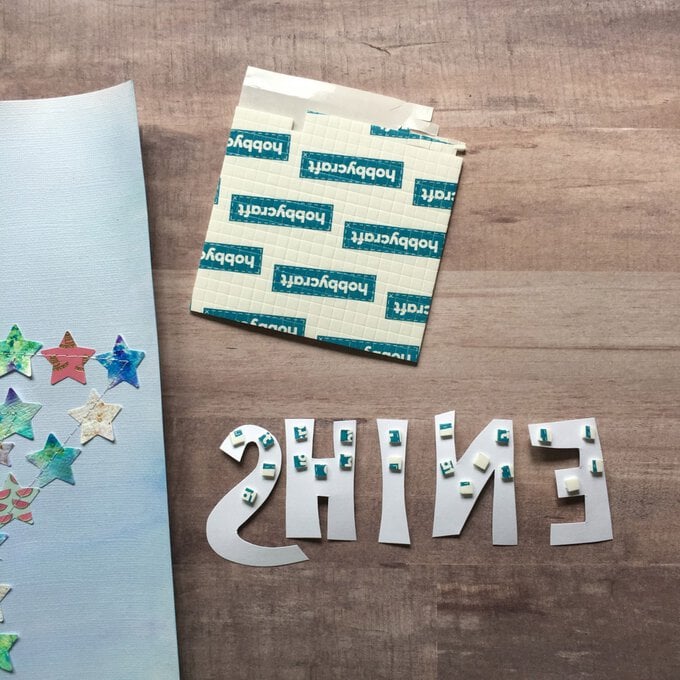
Place foam pads to the top half of the hand cut letters and adhere to the layout with a photo tucked underneath. Add the second word of the title in glitter thicker stickers and adhere below the hand cut letters. Add any journaling to the left side of the photo.
Use a paper towel to soak up excess water when applying the Pixie Powders, this will also lift some of the colour off which allows you to create a softer colour.
If you're worried about cutting the letters out by hand you can always print out the letters in a font you like at the size you want and use it as a template to cut around.
