How to Make a Washi Tape Box Frame
Create a bold and striking accessory for your room or as a gift for a loved one, using only washi tape and a frame! This washi tape box frame can be made in less than two hours, so perfect for last-minute projects and restless crafters!
You will need
Subtotal
Is $ 9.49
Subtotal
Is $ 12.00
Subtotal
Is $ 15.00 , was $ 20.00
How to make
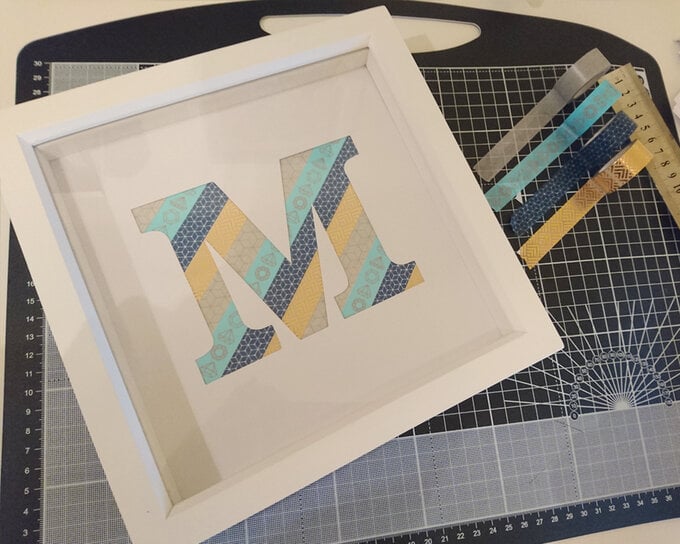
Using your selection of washi tapes, create a diagonal repeating pattern across a square piece of paper, roughly the size of your frame. This does not have to be very neat as only a small portion of it will eventually be on display, and you can trim the edges or simply wrap them round the paper when you are happy with your pattern.
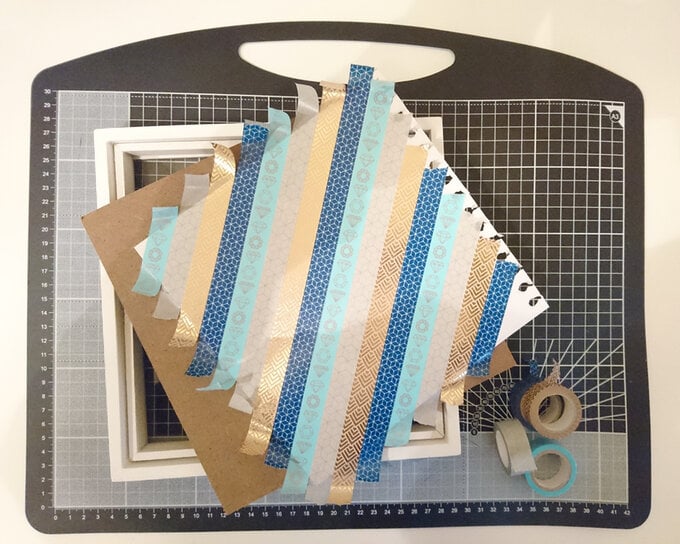
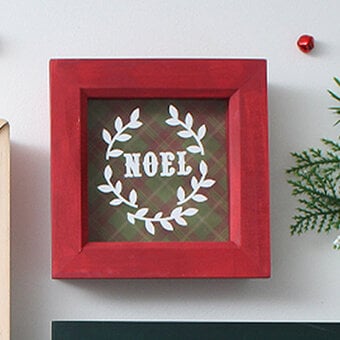
Cut a separate piece of paper to the size of your frame. Draw or trace your letter or initial in the centre of the paper, and neatly cut using a craft knife.
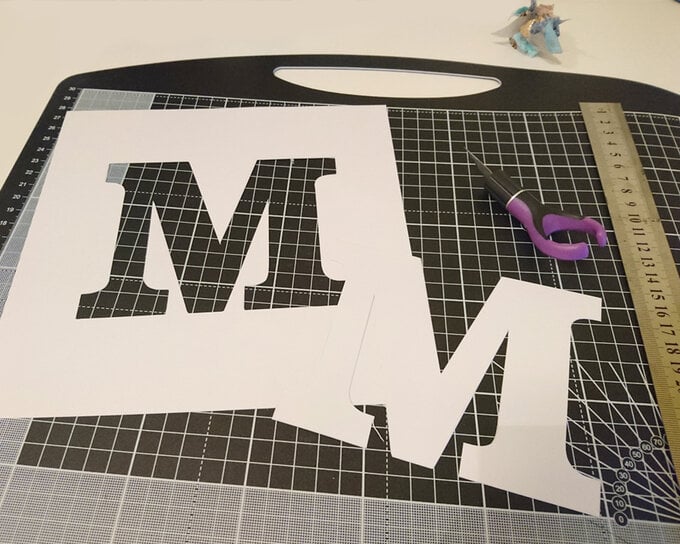
Place your washi tape patterned paper face down onto the back of the letter cutout. You can secure it into place with more washi tape, or with a craft glue when you are happy with the positioning.
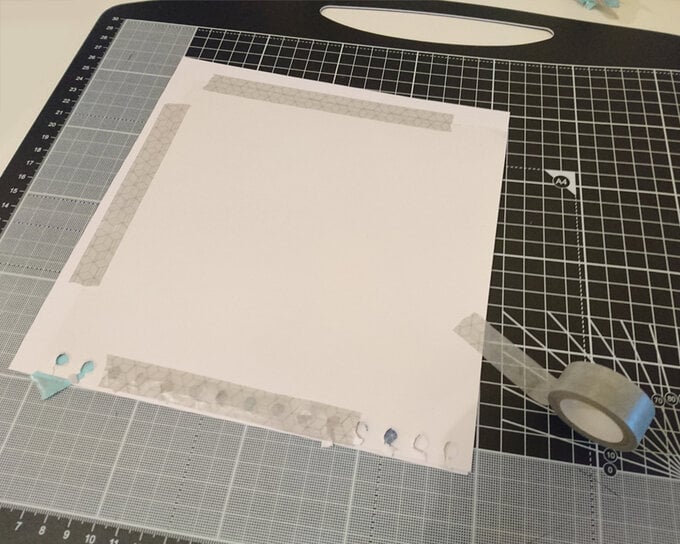
Position your finished design in your frame. If you find that small cut-outs parts of your letter seem insecure, attach them to the washi tape design with a bit of blue tack or a small amount of glue.
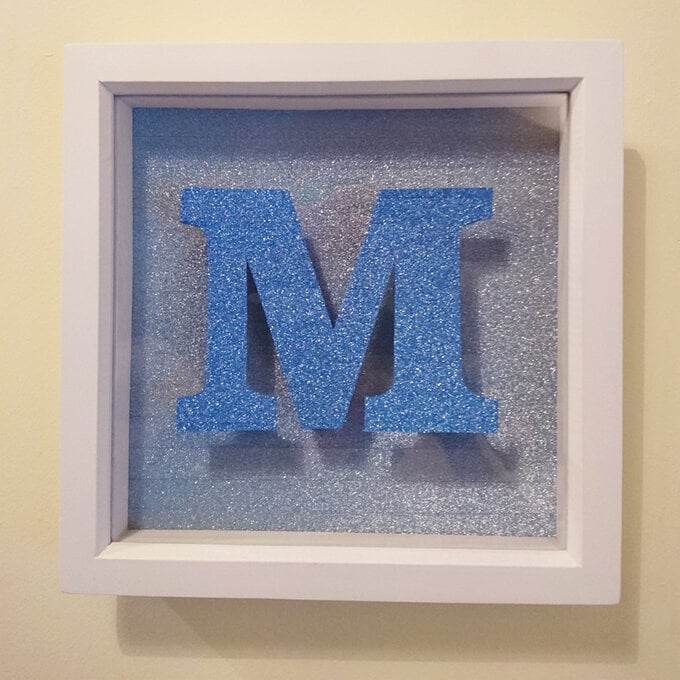
Alternatively, you can attach the cut out letter to the outside of your frame for a completely different result!
