Skip to Content (Press Enter) Skip to Footer (Press Enter)

How to Make Calligraphy Pumpkins

Level
Beginner
Time
1 hour
Budget
10 - 30
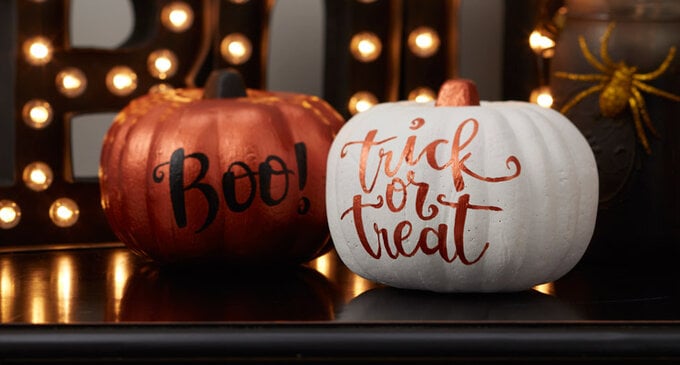
Calligraphy is a hot trend right now, so why not incorporate it into your home decor? We've used some trendy copper paint and gorgeous writing to create these calligraphy pumpkins that are perfect for more sophisticated Halloween decor!

You will need

Is $ 7.49 , was $ 10.00

Quantity: 1

Subtotal

Is $ 7.49 , was $ 10.00

Is $ 1.49

Quantity: 1

Subtotal

Is $ 1.49

Out of stock

Is $ 4.49

Quantity: 1

Subtotal

Is $ 4.49

Is $ 4.49

Quantity: 1

Subtotal

Is $ 4.49

You’ve viewed 2 of 4 products

Total:

How to make

Step-1
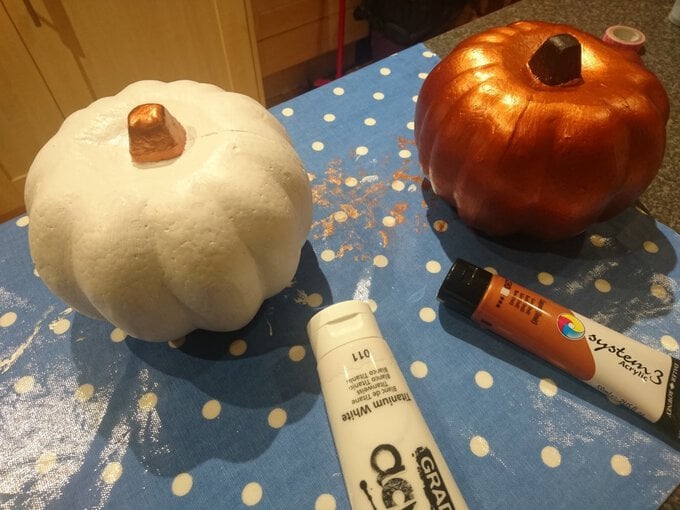
Start by painting your pumpkin shape in your chosen colours. You may need more than one coat for a nice, even coverage.
cal-1.jpg?sw=680&q=85
Step-2
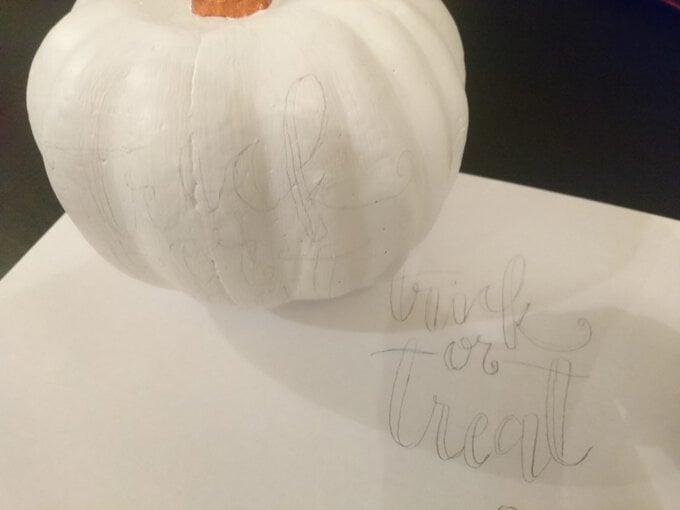
On a piece of paper, print or draw the design you would like to apply to your pumpkin. It is very difficult to transfer a design onto the polystyrene, so make sure if is not overly complicated! When you are satisfied with a design that will work, draw it onto the pumpkin in pencil.
cal-2.jpg?sw=680&q=85
Step-3
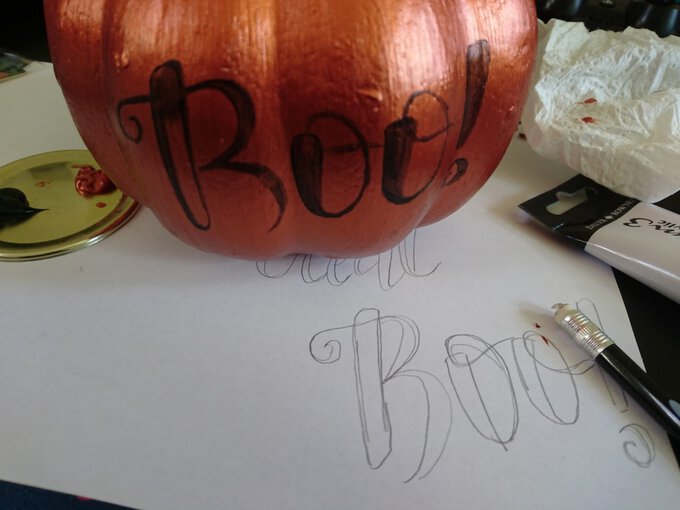
Pencil does not show up well if you are using metallic paint as a base, so you may need to paint a light outline onto the shape first before bulking up the lettering later.
cal-3.jpg?sw=680&q=85
Step-4
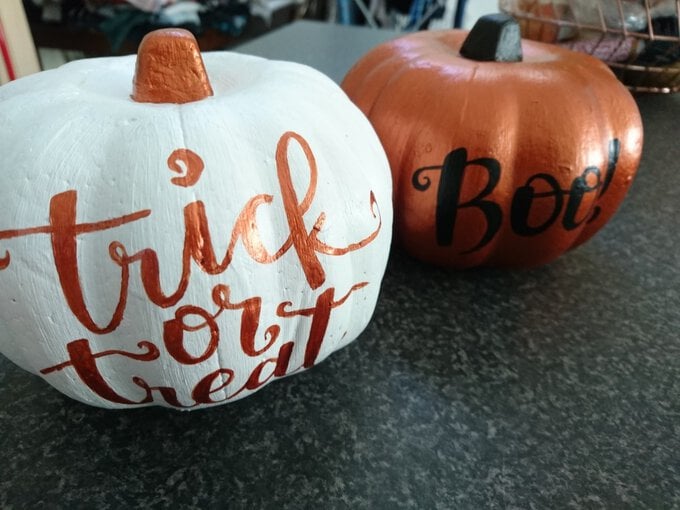
Using a thin brush, paint your design using a contrasting colour. This may take a few coats, especially is you are painting a light colour onto a dark colour.
  • bvseo_sdk, dw_cartridge, 18.2.0, p_sdk_3.2.0
  • CLOUD, getReviews, 4ms
  • reviews, product
  • bvseo-msg: Unsuccessful GET. status = 'ERROR', msg = 'Not Found.'; Unsuccessful GET. status = 'ERROR', msg = 'Not Found.';

Related Products

Top