How to Make Personalised Baby Shower Decorations
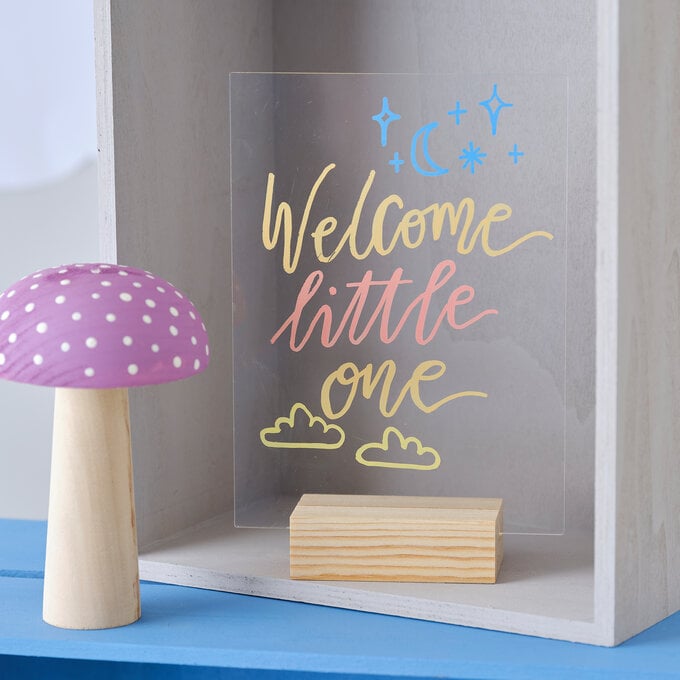
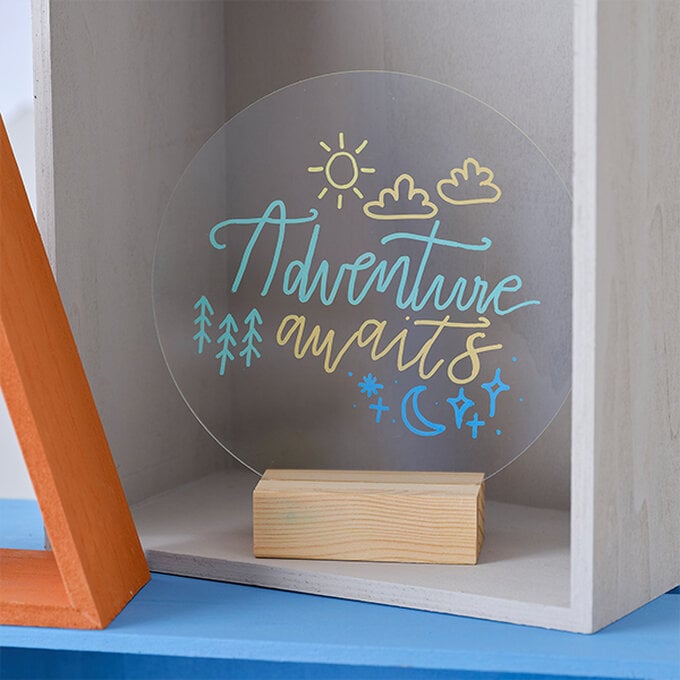
Welcome a newcomer to the family with these charming acrylic designs. There are three FREE ready-to-use downloadable templates to choose from below, or you could even create your own bespoke greeting with the alphabet sheet!
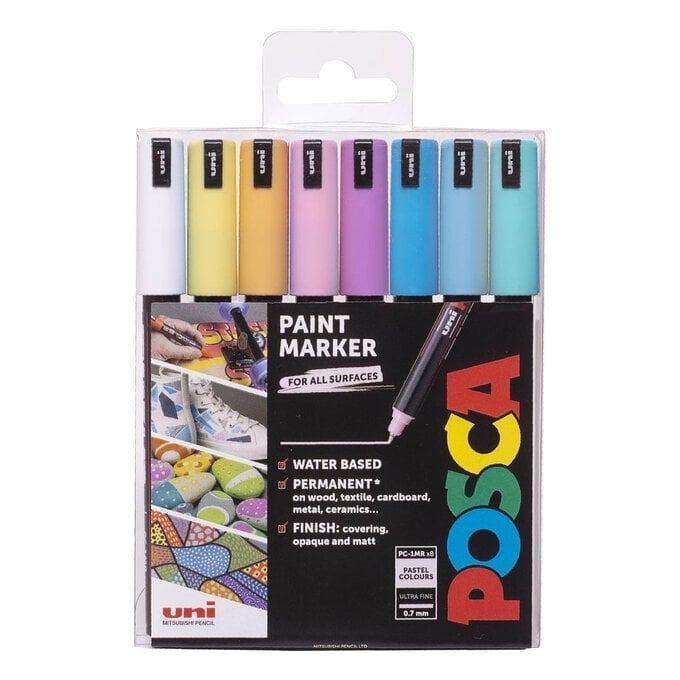
Add the designs to your acrylic sign of choice using pastel paint pen markers, which will allow the surface of the signs to be wiped clean and reused after the celebratory party.
Project and instructions by Edlyl Asis
You will need
Subtotal
Is $ 2.49 , was $ 4.49
Subtotal
Is $ 2.49 , was $ 4.49
Subtotal
Is $ 19.00 , was $ 25.00
Subtotal
Is $ 3.49 , was $ 4.49
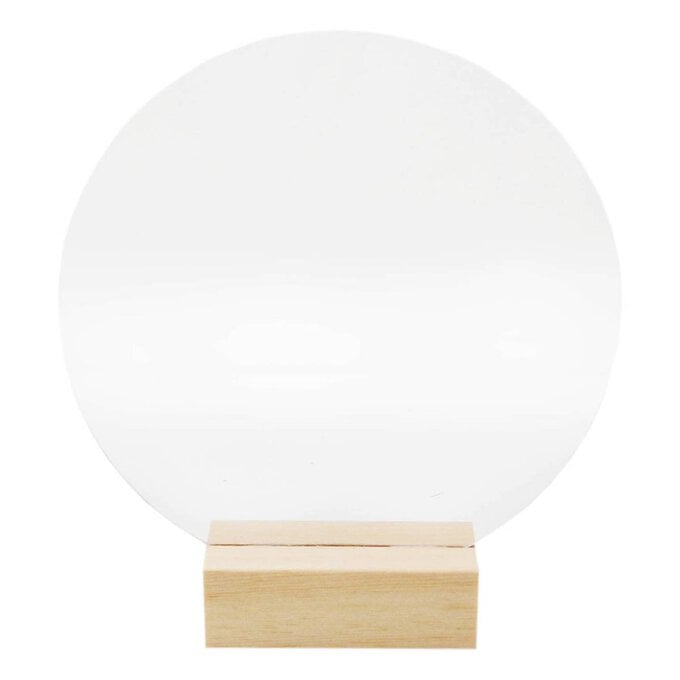
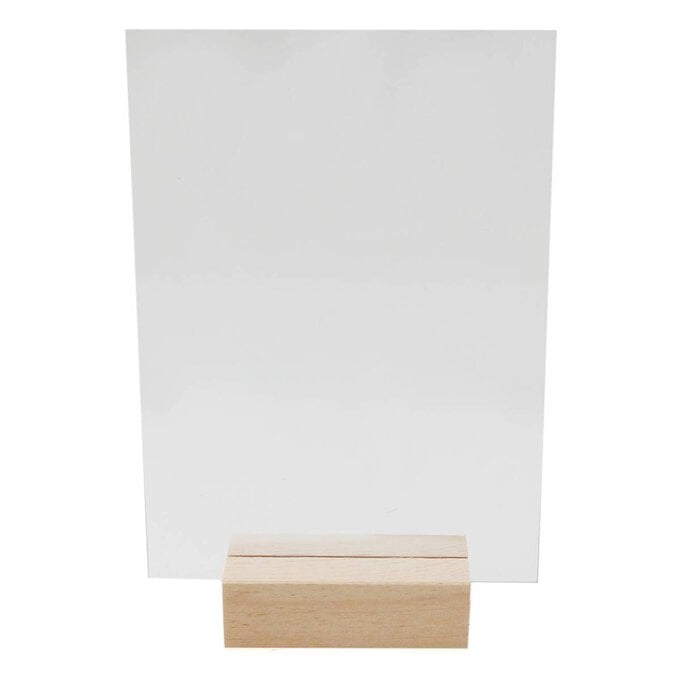
* Acrylic Sign
* Posca Marker Pens
* White A4 Paper
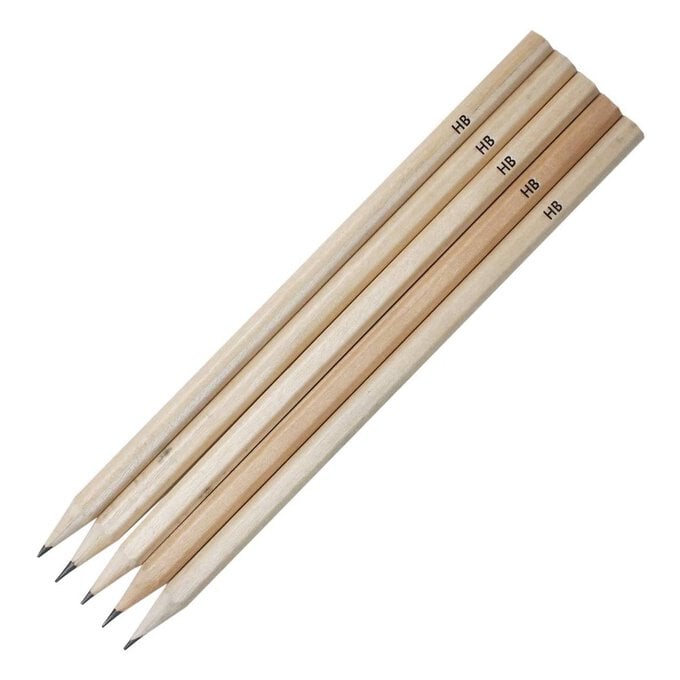
* Pencil
* Template - Downloaded + Printed

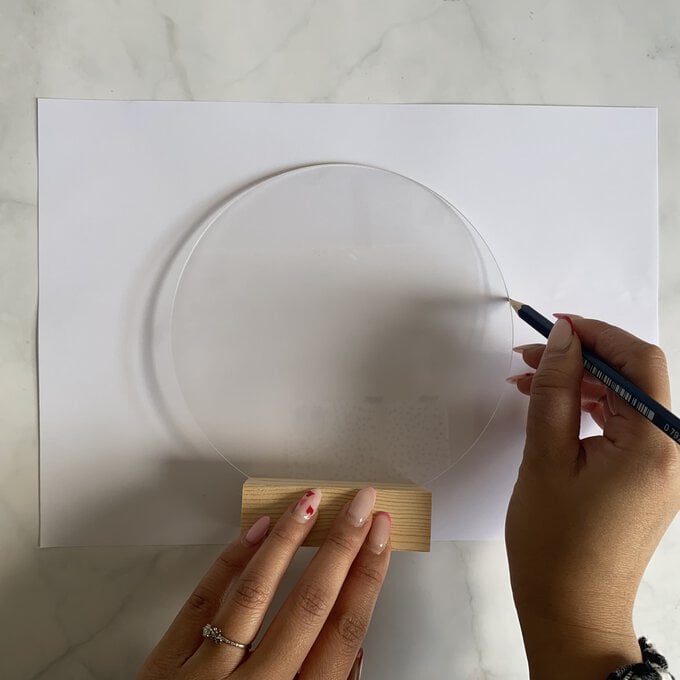
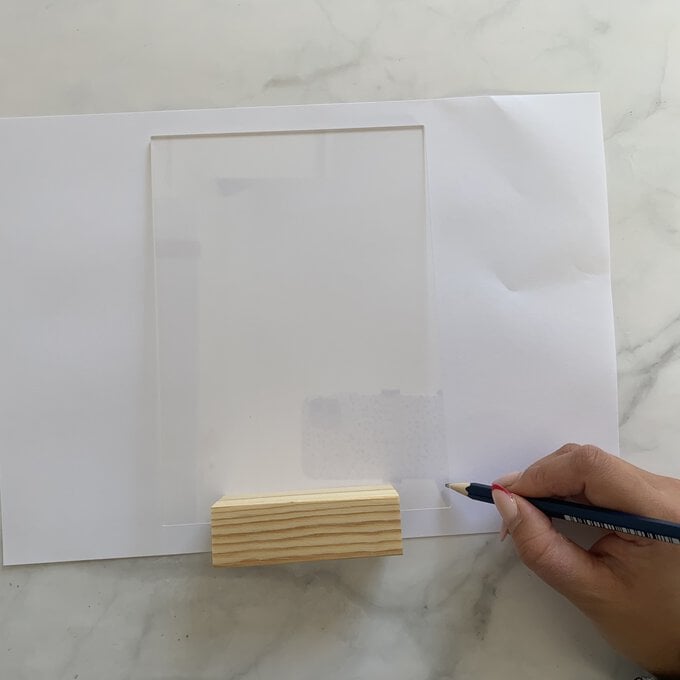
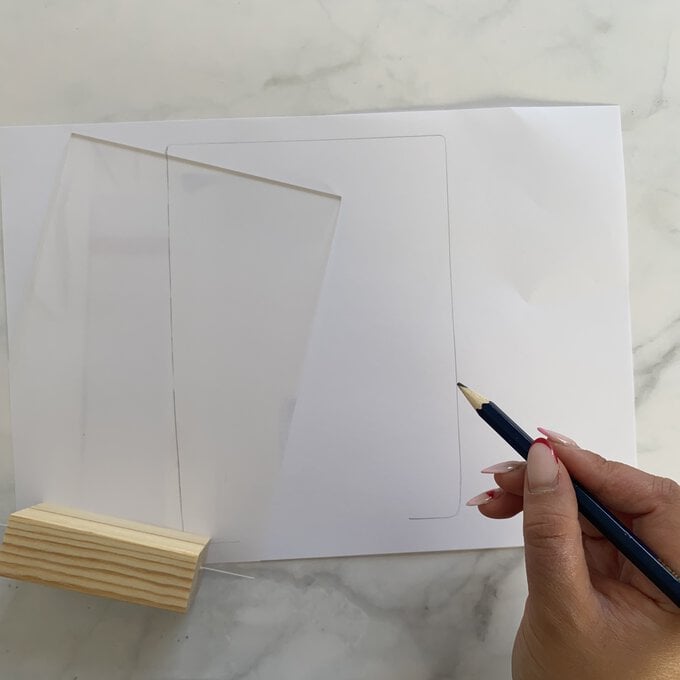
Using the creative lettering guide, write your chosen quote ‘Adventure awaits’ or ‘Welcome little one’.
To create a modern calligraphy style of lettering, write out your word carefully, section by section. Break it up to create a flourished word.
Add some illustrations to your design using the template provided, be as creative and imaginative as you can be!
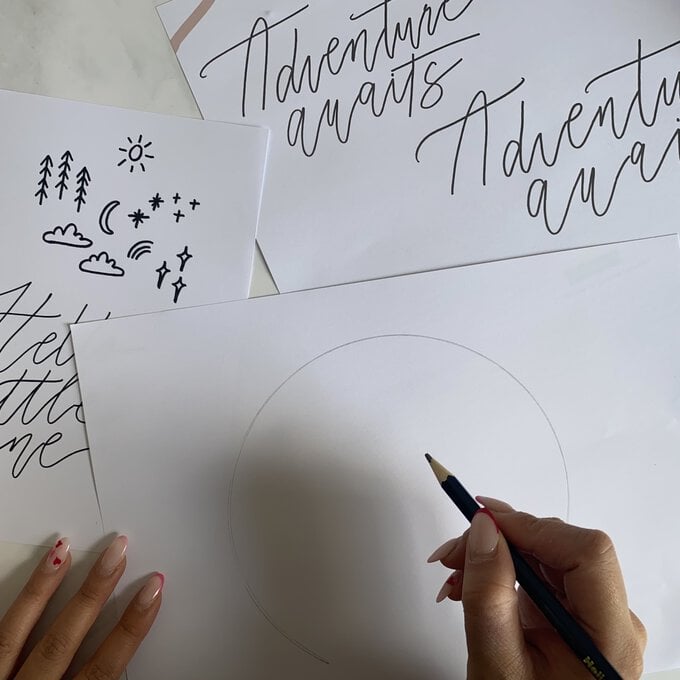
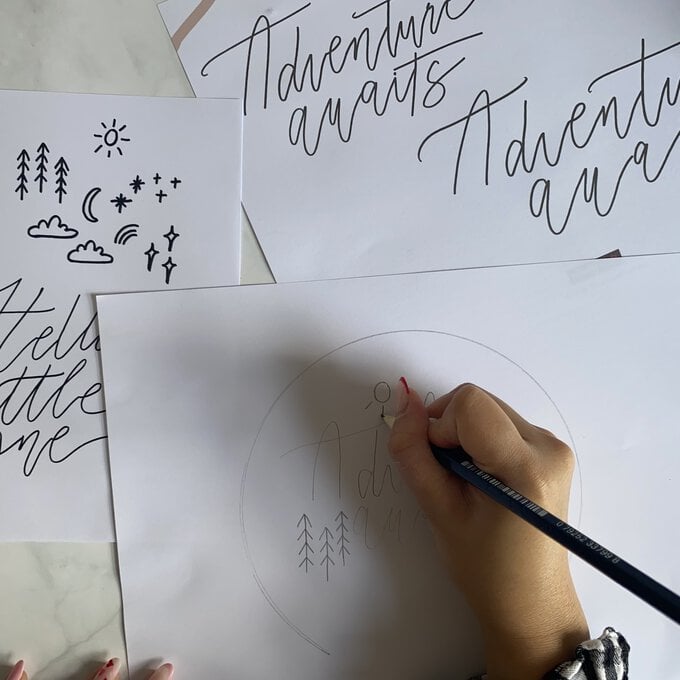
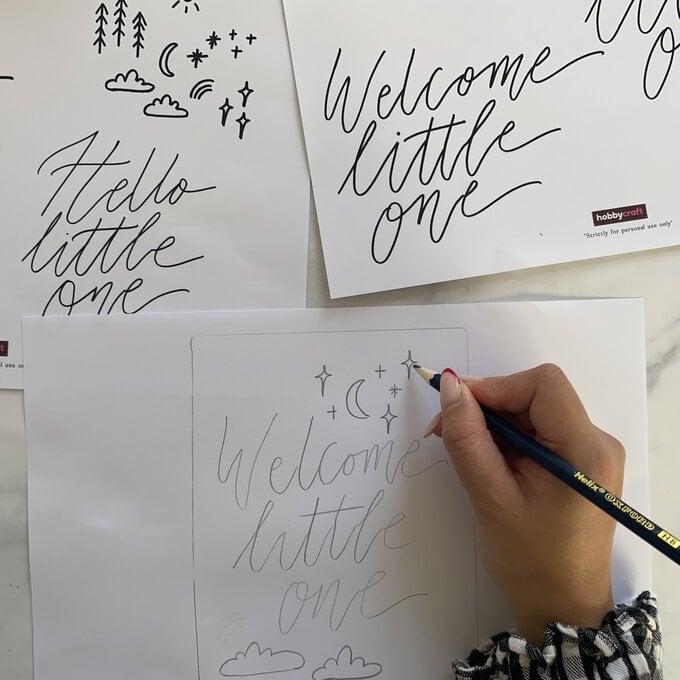
Once you’re happy with the design, go over it using the POSCA pens. When going over your design, try using various colours to make it as colourful as you can!
Top Tip: Before using the POSCA pen, shake it well and press down to release the ink.
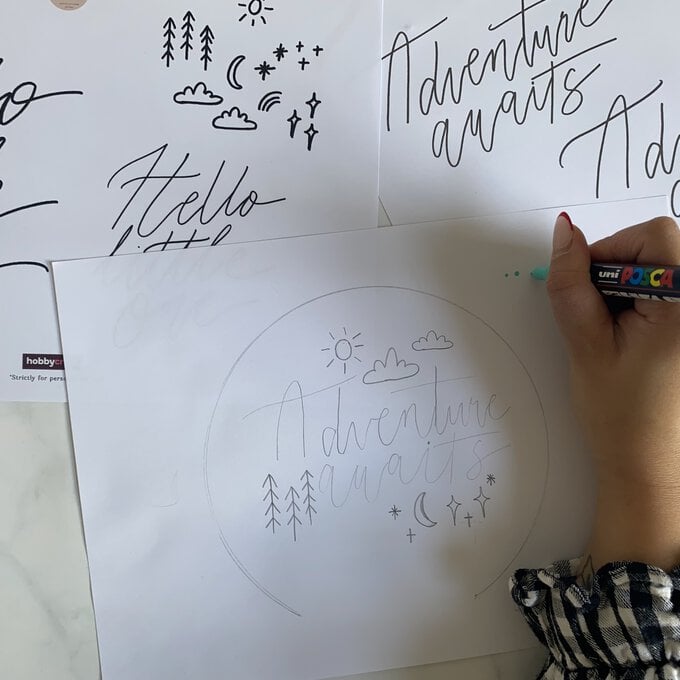
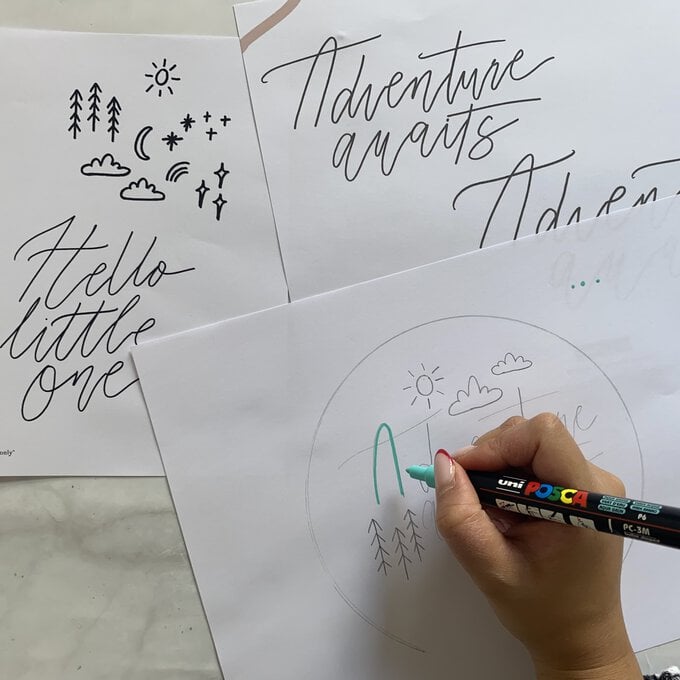
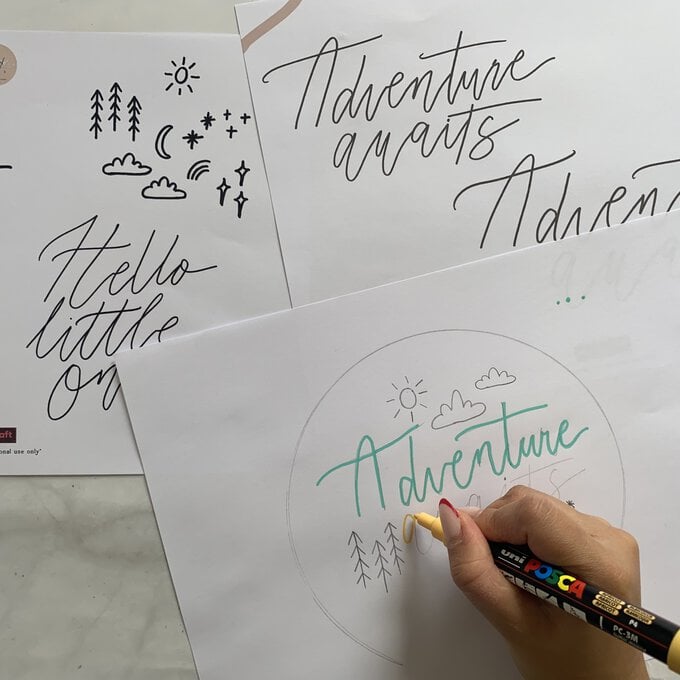
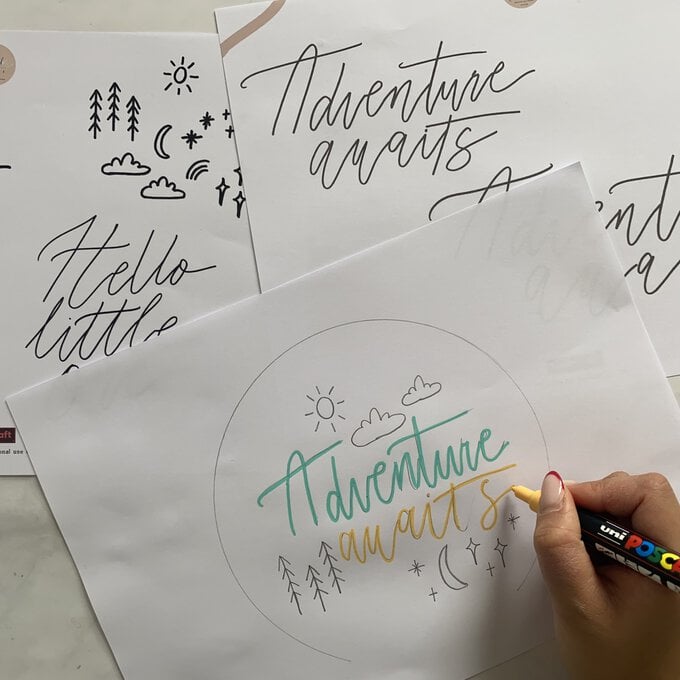
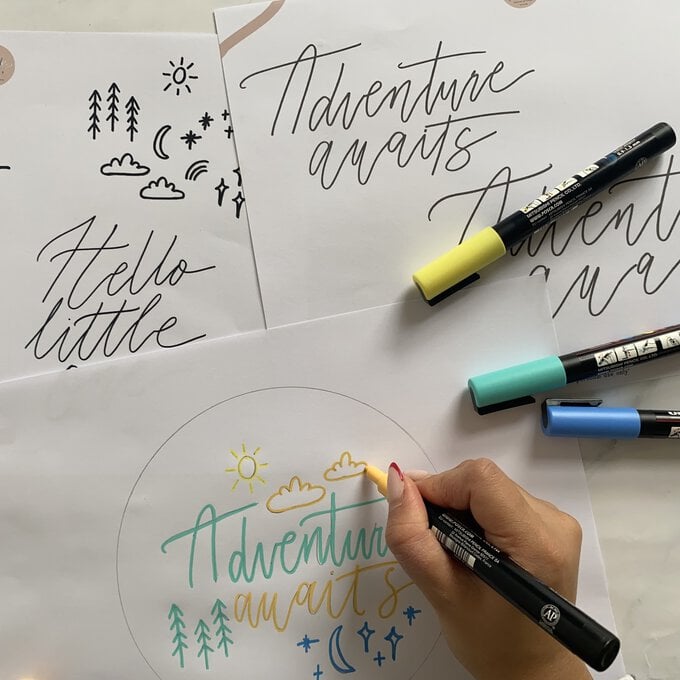
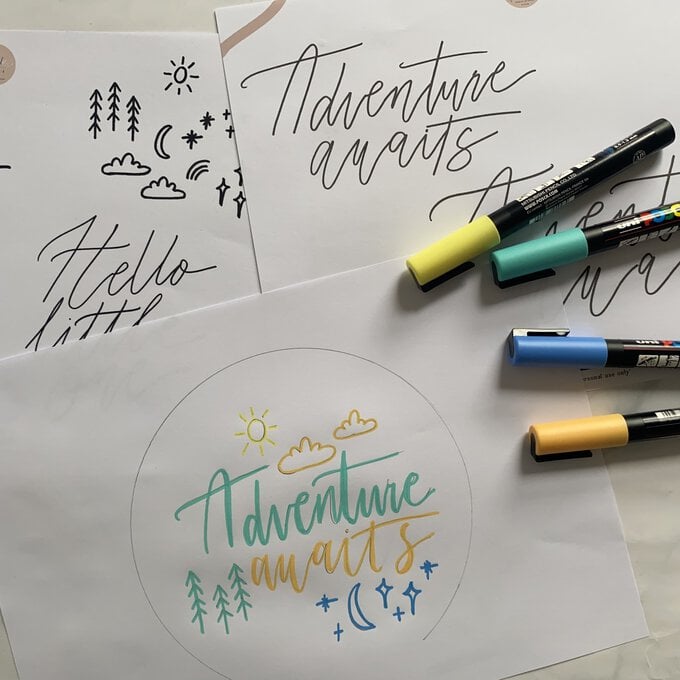
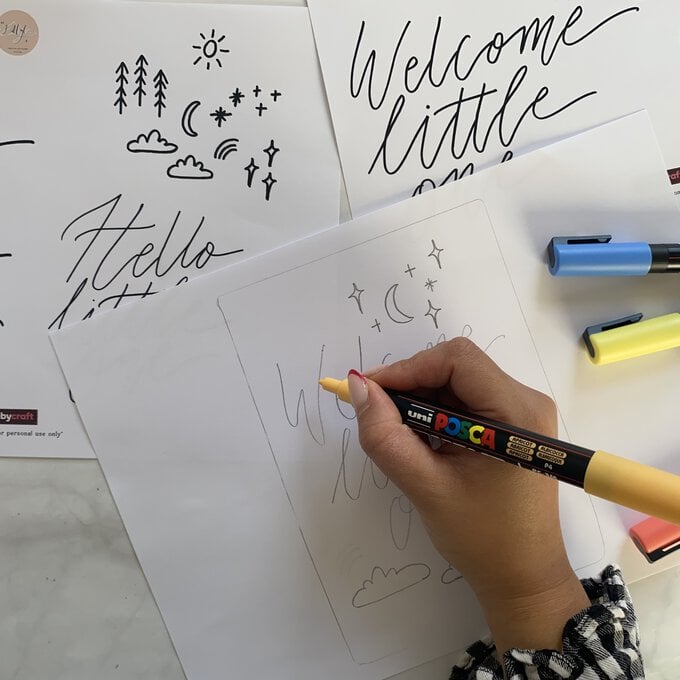
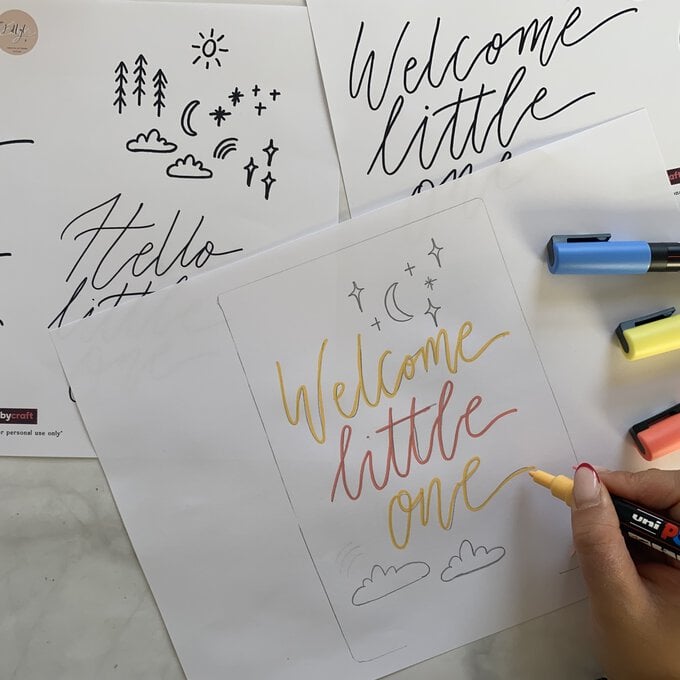
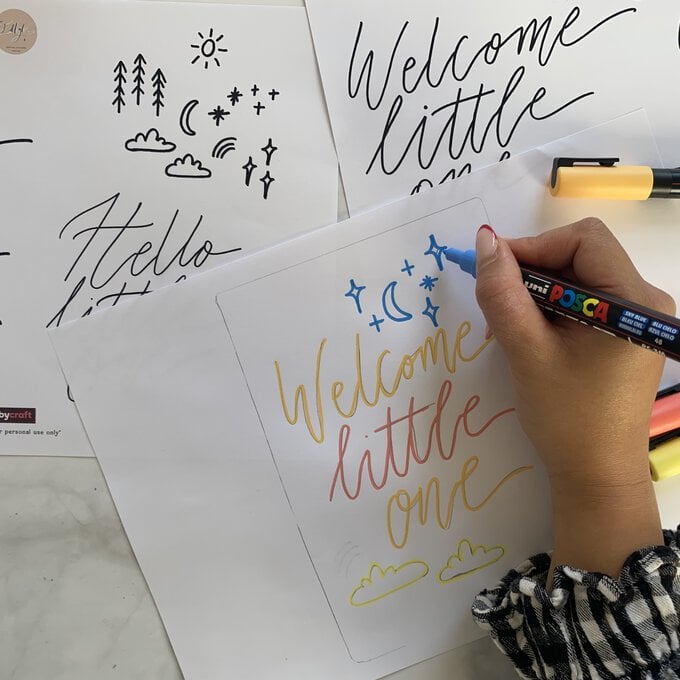
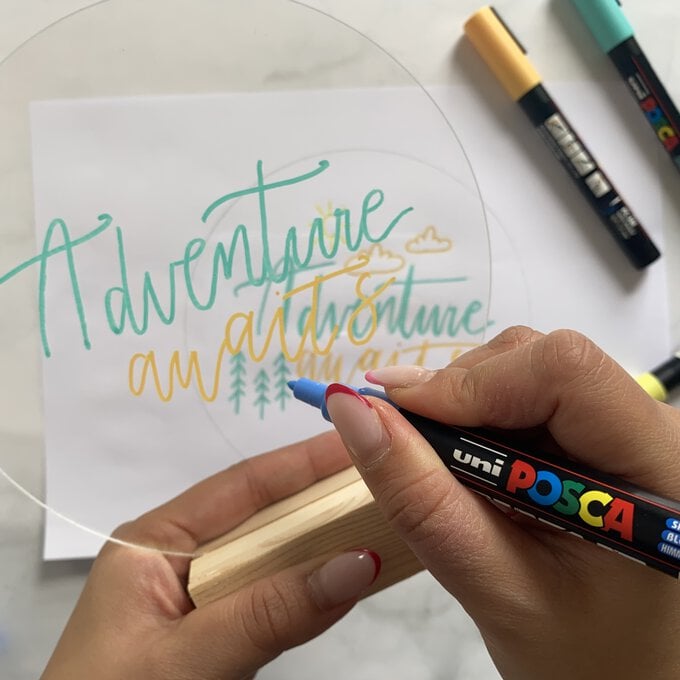
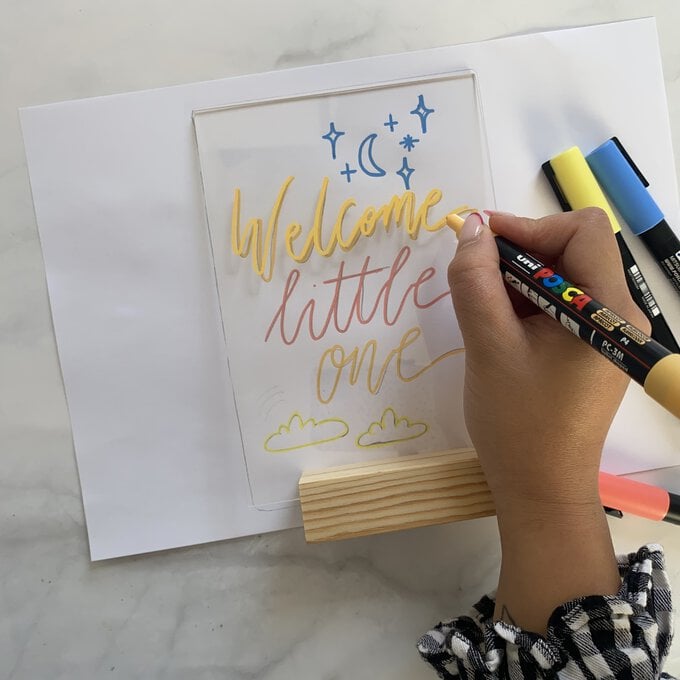
Place the acrylic on top of your design and use this as a guide to transfer the design onto the acrylic.
Carefully draw out your design using the POSCA pens. Start by writing out your words first and then draw the illustrations.
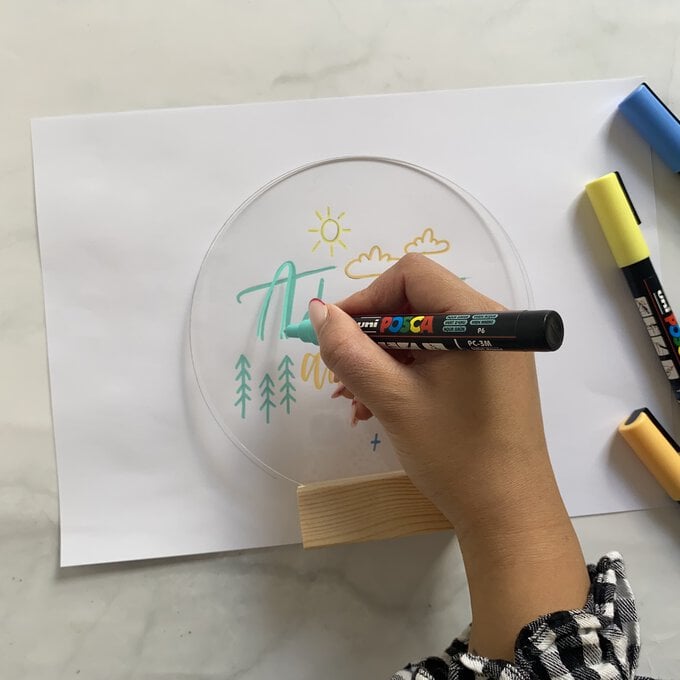
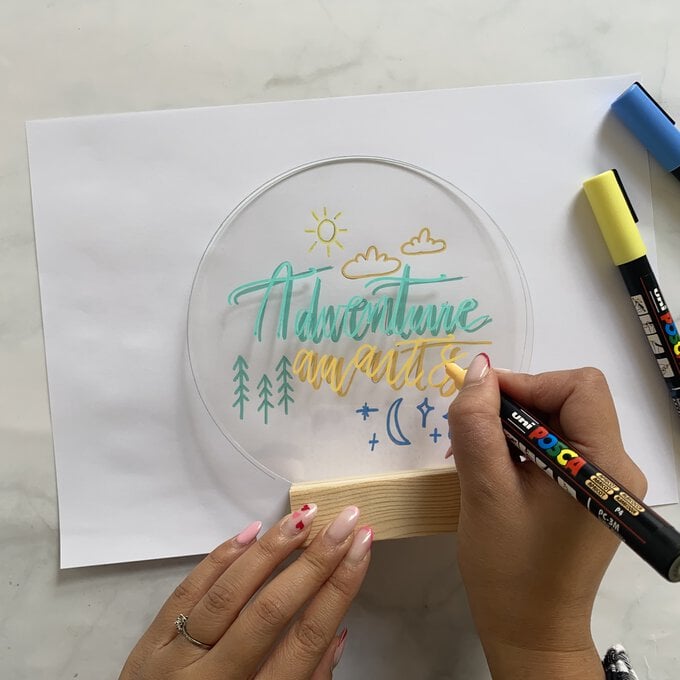
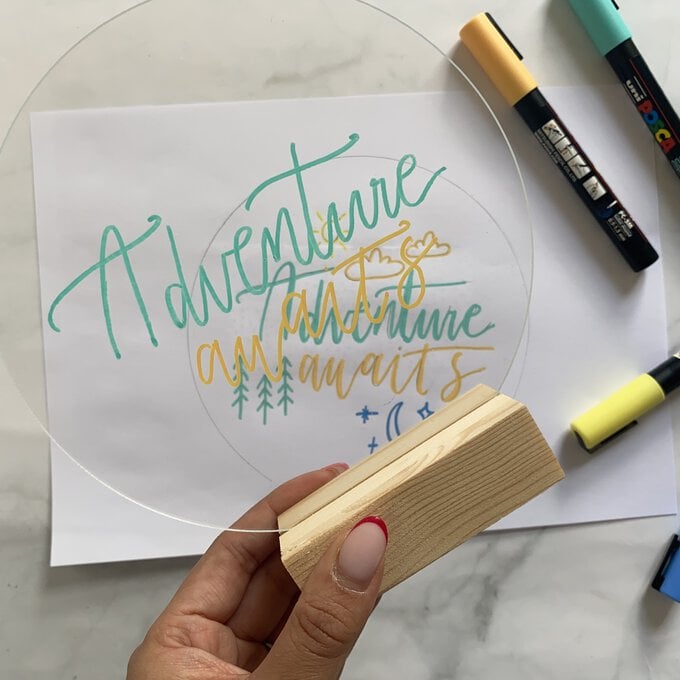
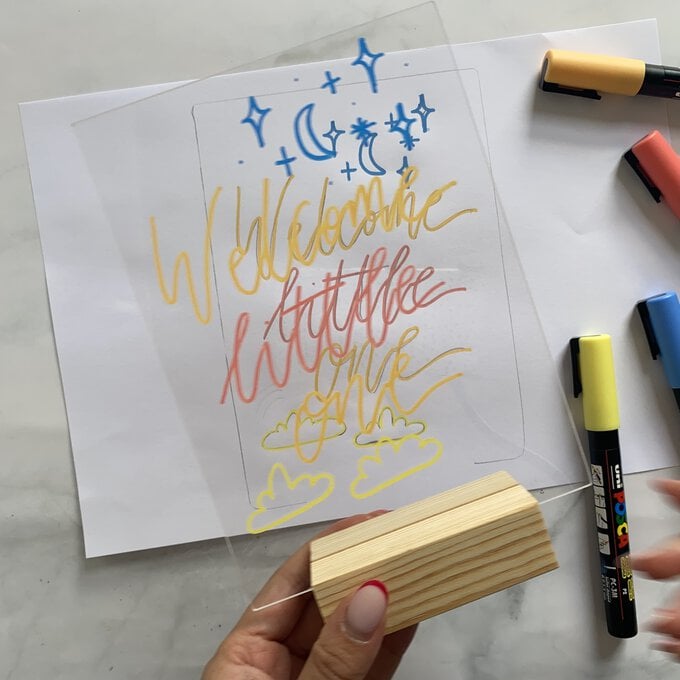
To increase the logevity of the design, draw out the design on the other side. Use the design on the front of the sign to mirror the wording and illustrations.
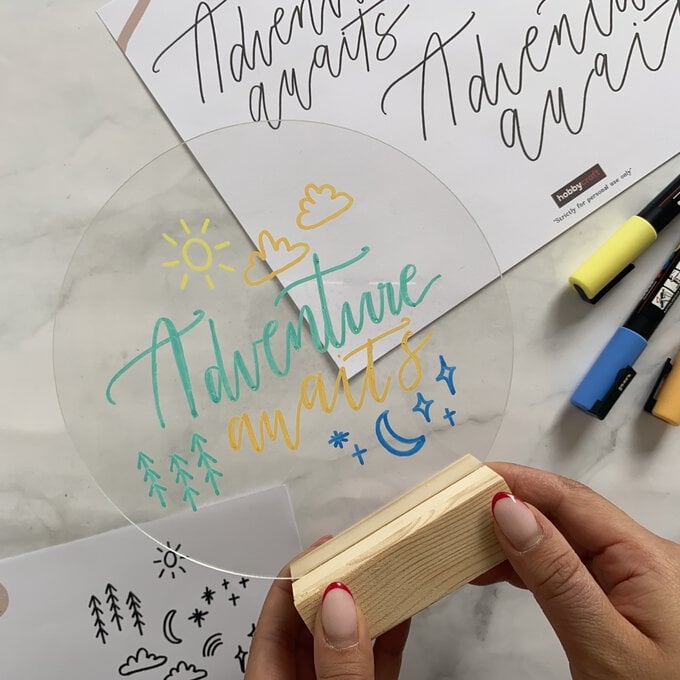
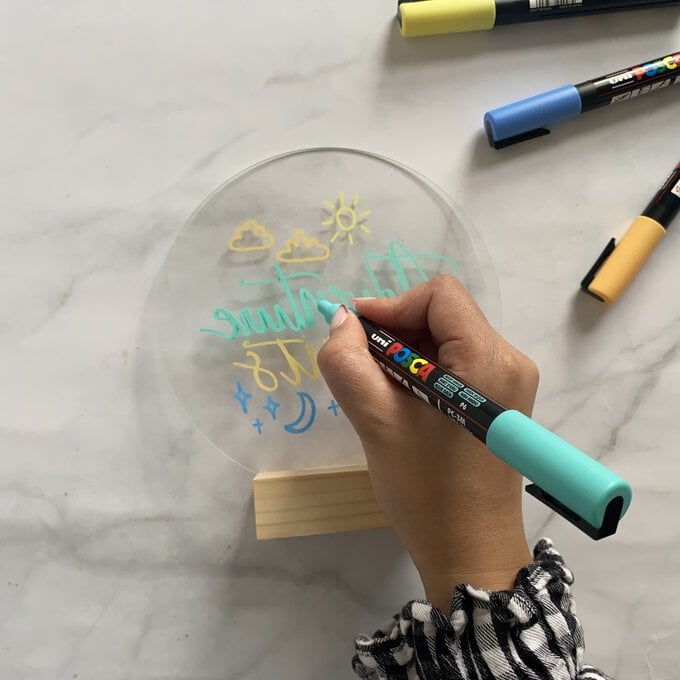
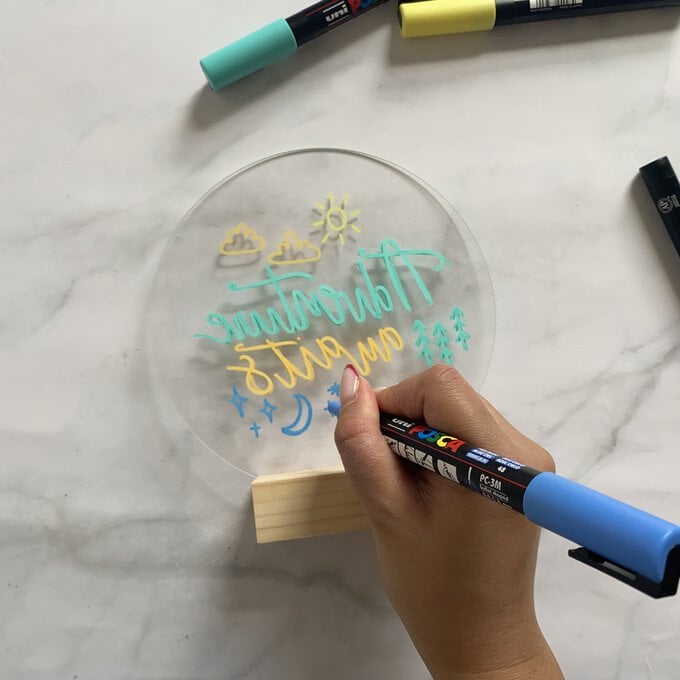
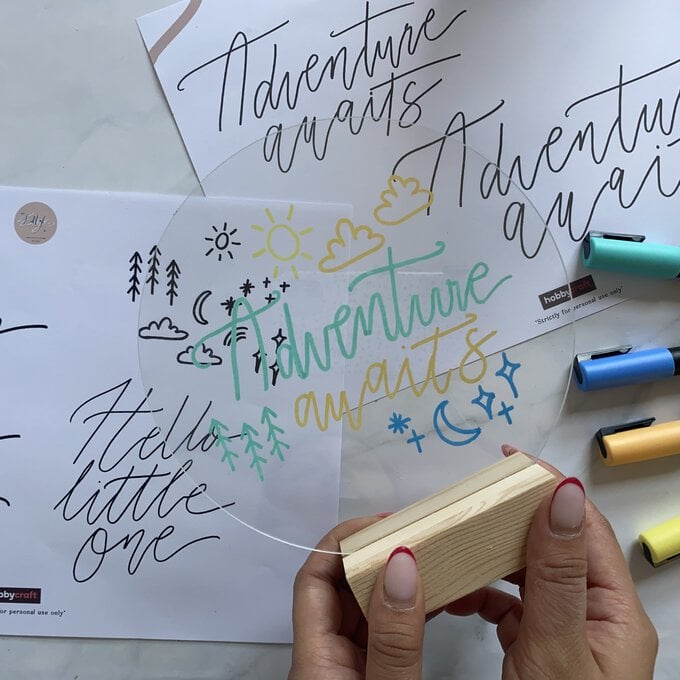
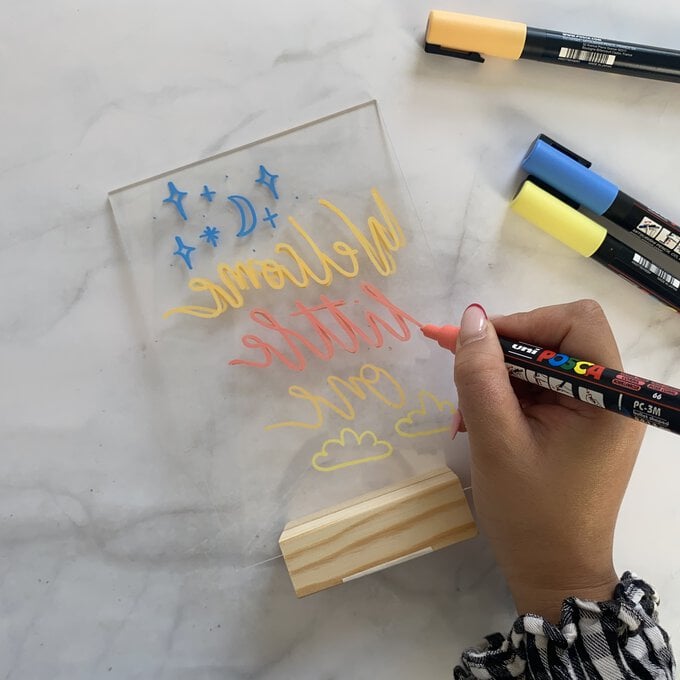
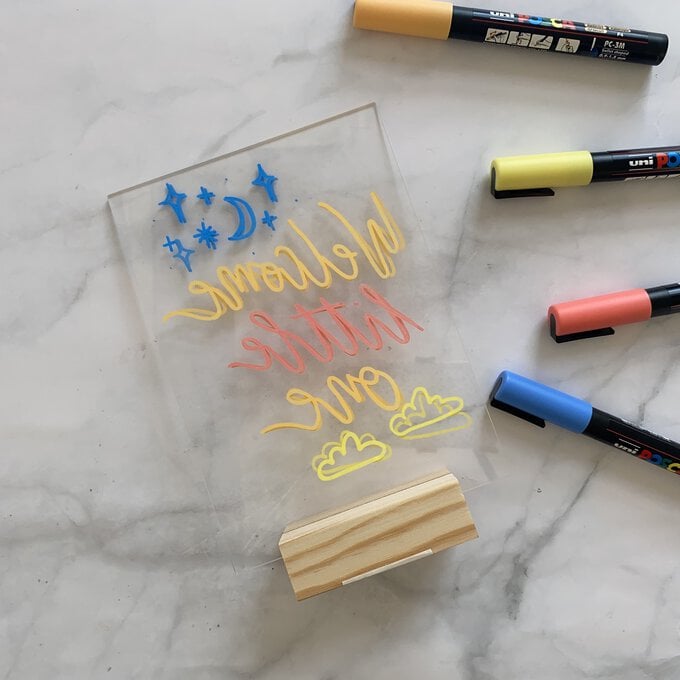
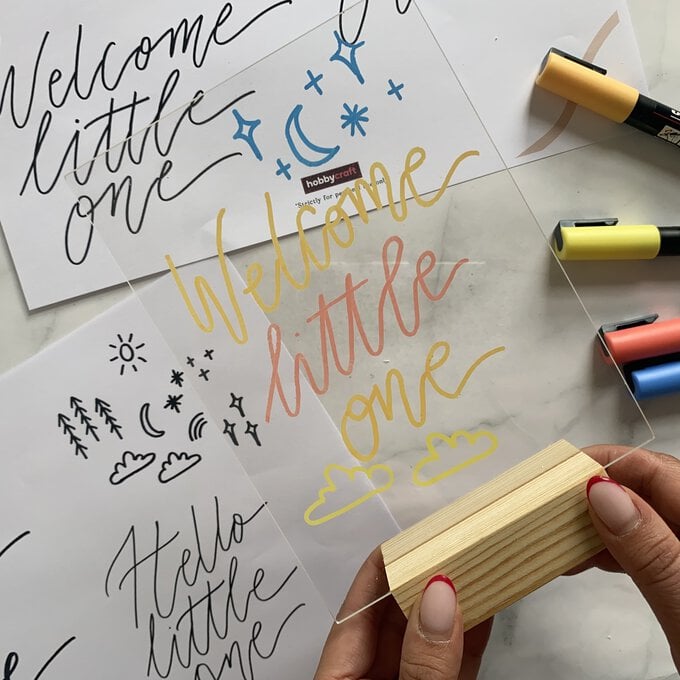
Your finished designs are then ready to be admired!
To re-use the acrylic for another purpose, use soap and water or glass cleaner to remove the design.
