How to Make Winter Milk Bottle Lanterns
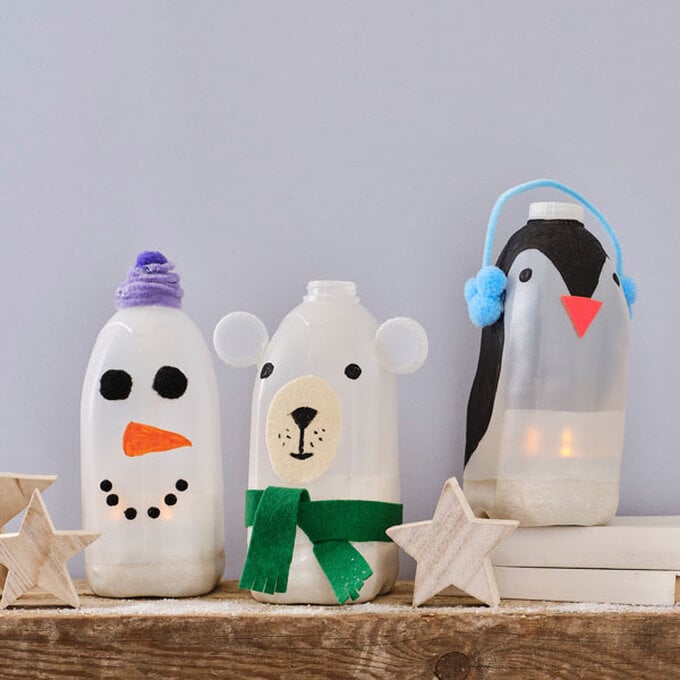
These adorable, winter milk bottle lanterns will look so cute in your home! They are quick and easy to create, making them a perfect kids craft activity for a chilly day this season.
Made out of empty milk bottles and craft essentials you may already have in your stash, this project is a super thrifty way to decorate for the colder months.
Project and instructions by Georgia Coote
You will need
Subtotal
Is $ 1.49
Subtotal
Is $ 1.49
Subtotal
Is $ 3.49 , was $ 4.49
Subtotal
Is $ 3.49
You Will Need
All Lanterns:
* Milk Bottles (Washed and Thorougly Dried, and With Labels Removed)
* Rice (Or Other Dried Grains)
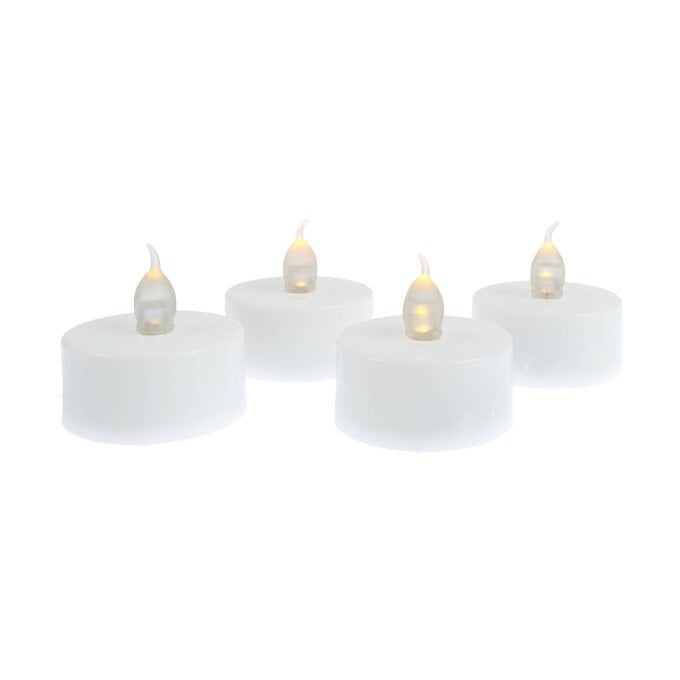
* LED Tealights
* Scissors
* Glue Gun and Glue
* Paintbrush
Polar Bear Lantern:
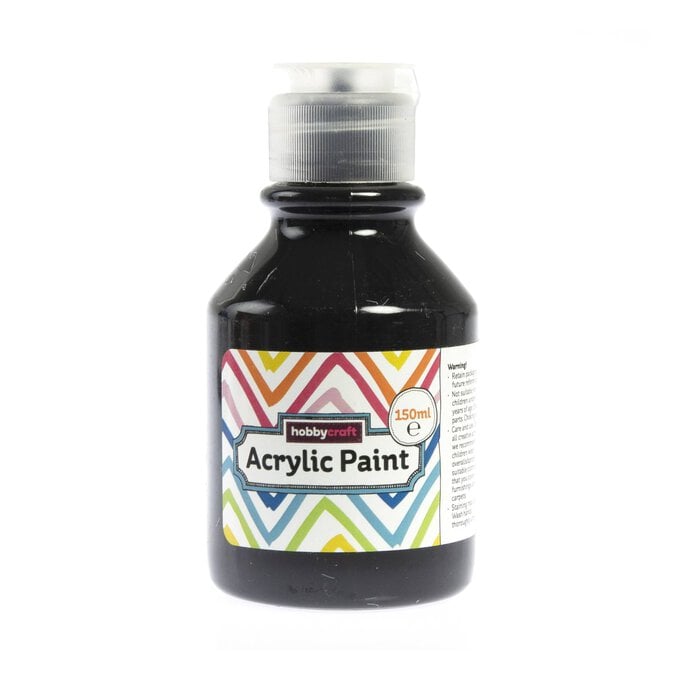
* Black Acrylic Paint
* A4 Felt Sheets - Cream and Green Penguin Lantern:
* Black Acrylic Paint
* Orange A4 Felt Sheet
* 2cm Blue Pom Poms
* Blue Pipe Cleaner
Snowman Lantern:
* Orange Acrylic Paint
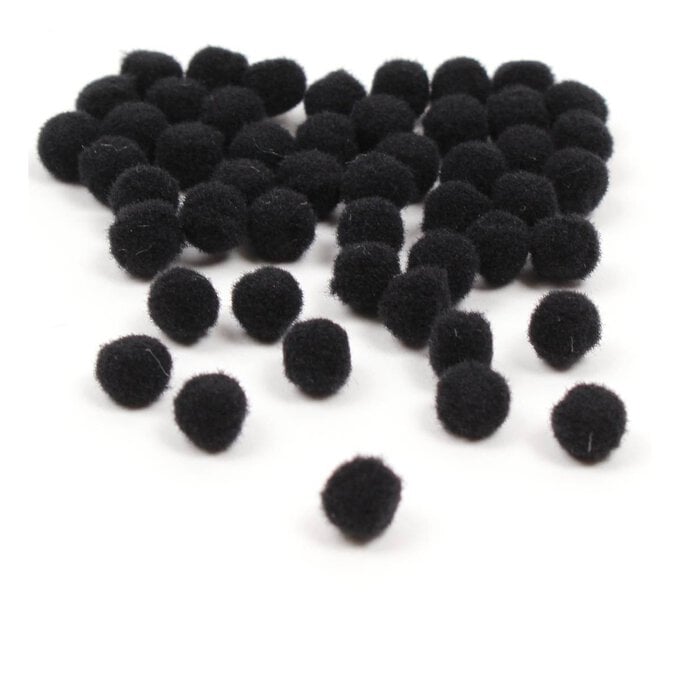
* 2cm Black Pom Poms
* 7mm Black Pom Poms
* 2cm Purple Pom Poms
* Purple Pipe Cleaner
How to make
Follow this step for all designs before decorating your lantern.
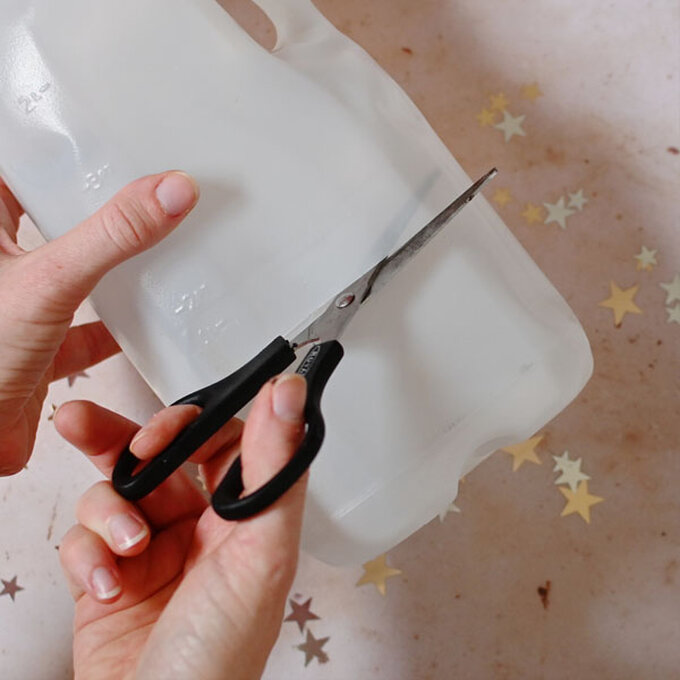
First, carefully cut off the bottom third of the milk bottle using a pair of scissors.
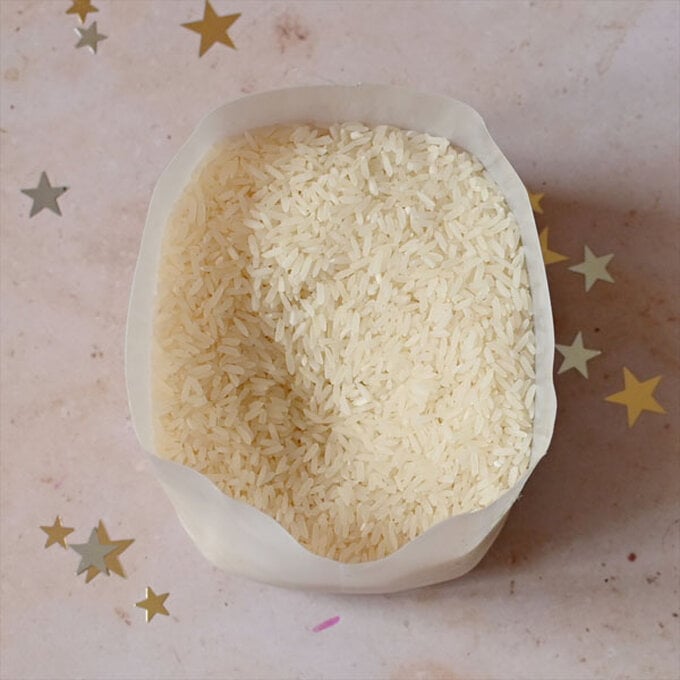
Next, pour some of the dried grains into the base of the milk bottle to weigh it down, so that it doesn't topple over.
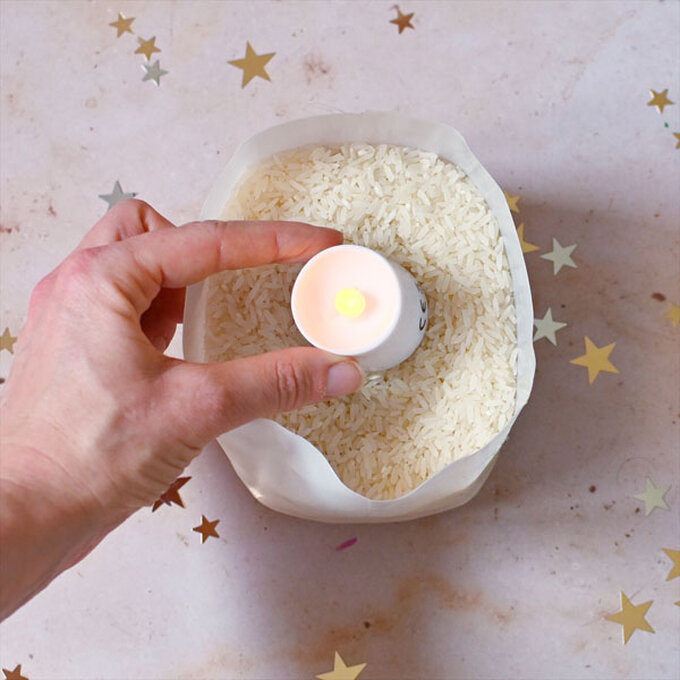
Place an LED tealight in the centre of your grains.
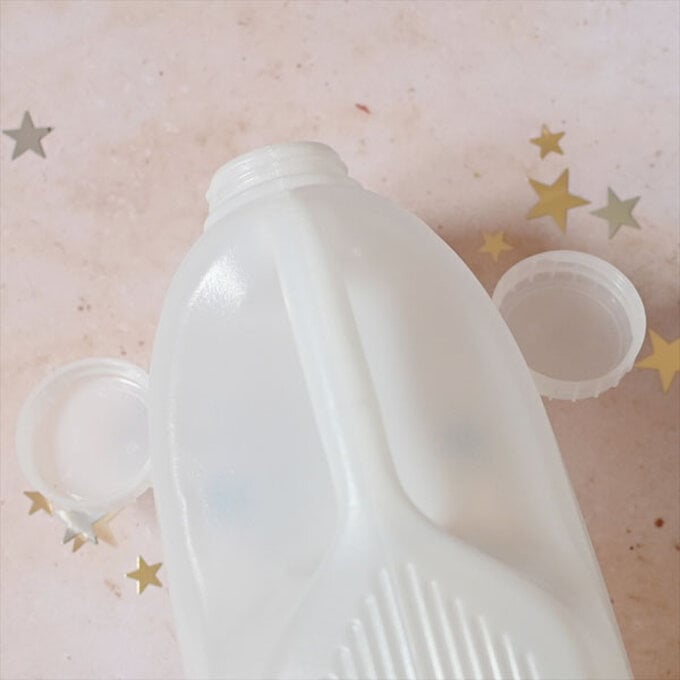
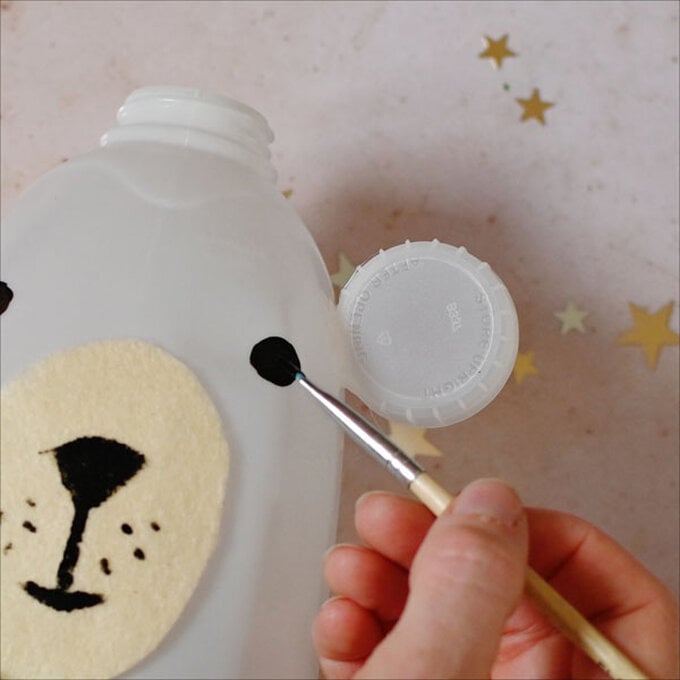
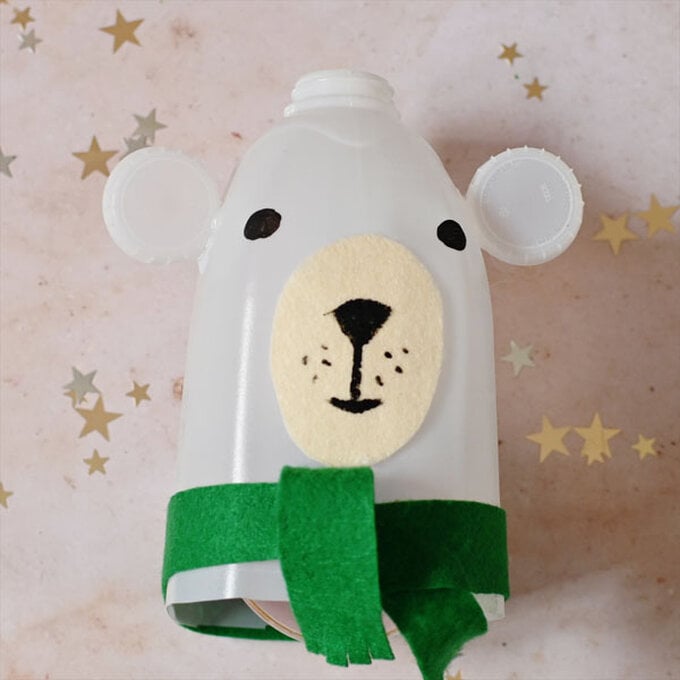
Using a glue gun, glue two milk bottle lids either side of the top part of the bottle to make ears.
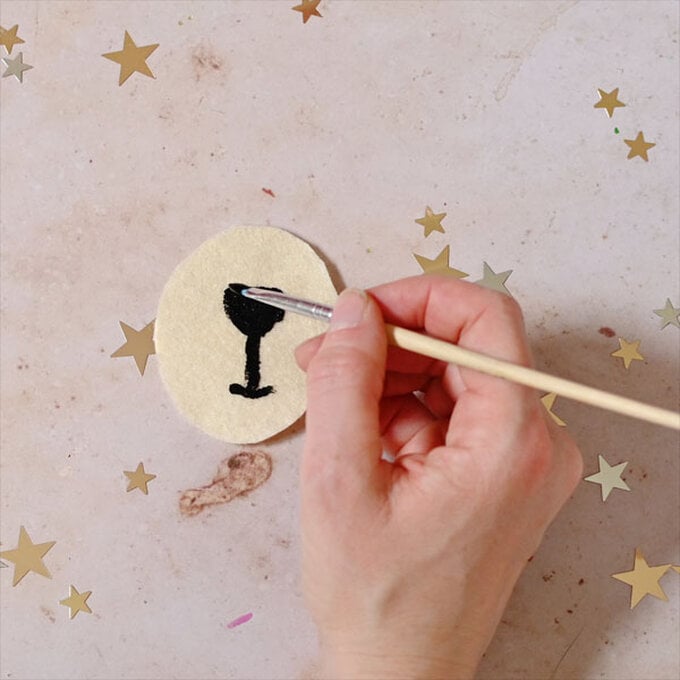
Next, cut an oval out of the cream felt sheet. Paint on a nose and mouth with black acrylic paint, and then leave this to dry for a few minutes. Then, glue the felt onto the milk bottle.
Now paint on some eyes.
Cut a strip of green felt to make a scarf and attach to the milk bottle with a few dots of glue. You might want to cut a few slits in the end of the scarf to make some fringing.
Finally, place the top part of the milk bottle onto the bottom part to finish.
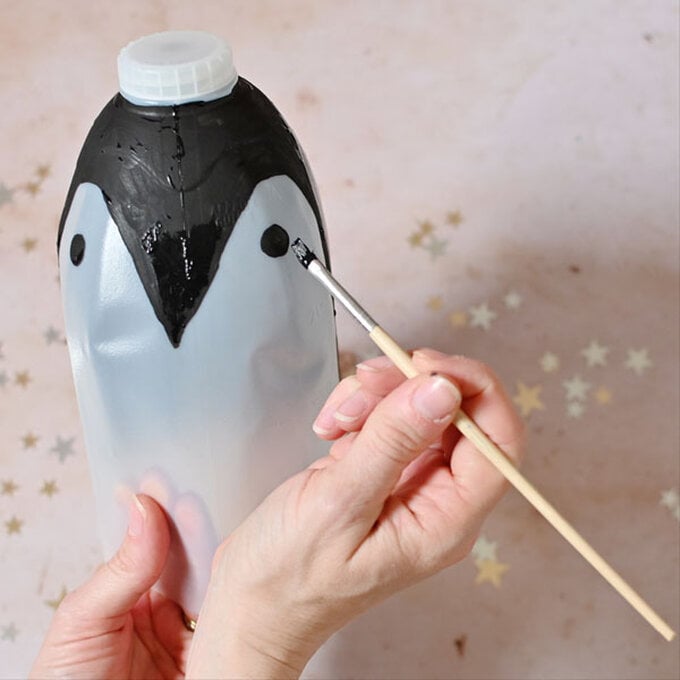
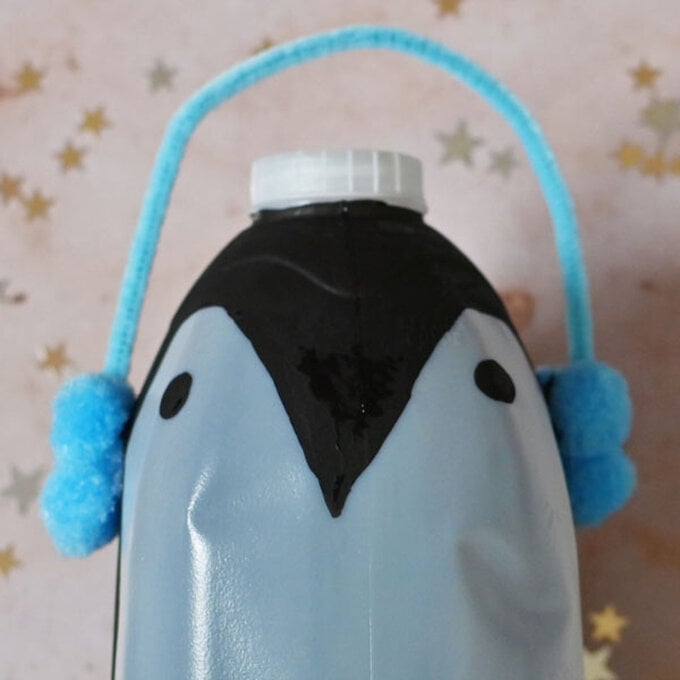
Using black acrylic paint, paint a large point part of the way down the centre of the top section of the bottle, and then add some eyes. Then, paint the back of the bottle.
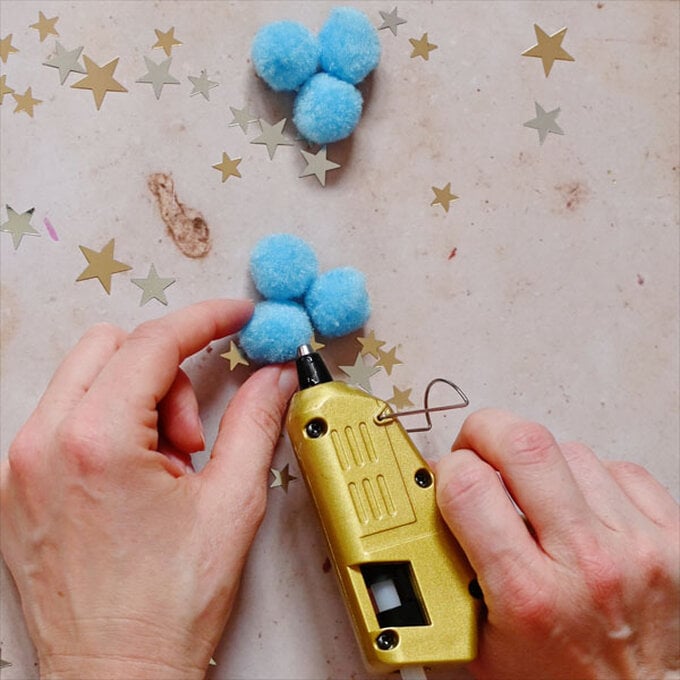
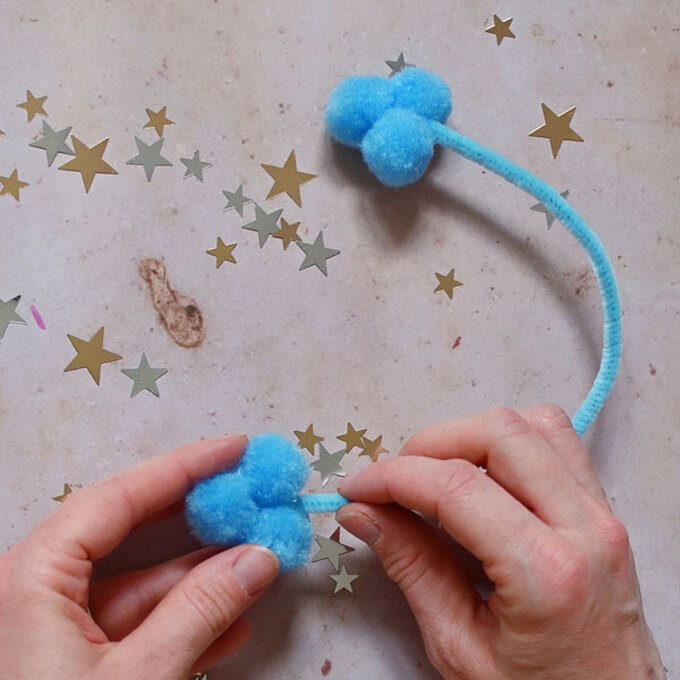
To make the ear muffs you will need six pom poms of the same colour. Glue three of them together, and then glue the other three together. Now glue a set of pom poms onto either end of a pipe cleaner.
Glue the ear muffs onto the bottle. You can then add a beak using a triangle of orange felt.
Lastly, place the top part of the milk bottle onto the bottom part to finish.
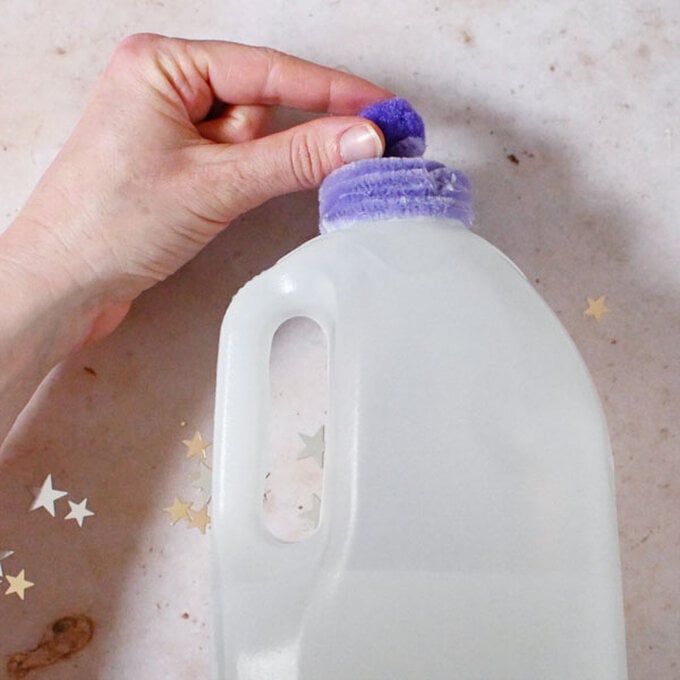
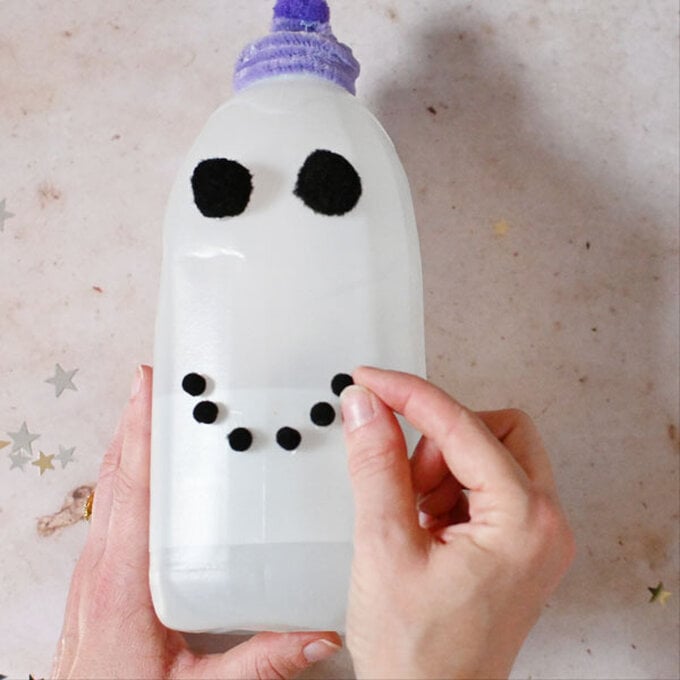
Curl up the pipe cleaner and then attach it to the top of the milk bottle with a glue gun.
Glue the purple pom pom on the top to create a bobble hat.
Now glue on the larger black pom poms for the eyes and the smaller ones to make a mouth.
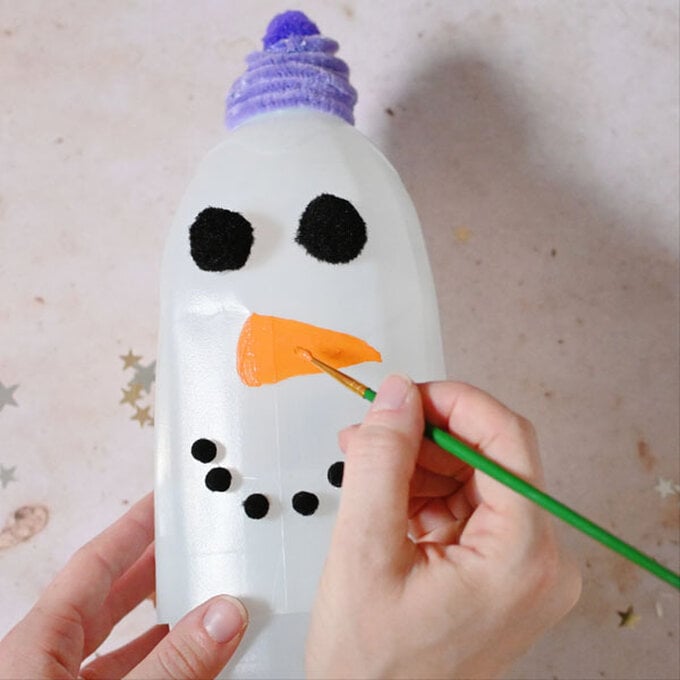
Next, paint on a carrot shape for the nose.
Finally, place the top part of the milk bottle onto the bottom part to finish.
Your winter milk bottle lanterns are now finished!
