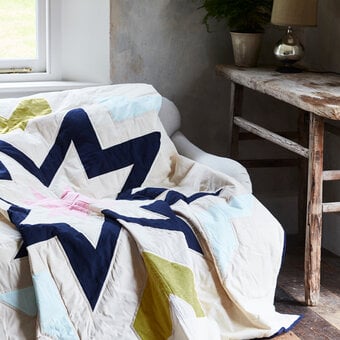
How to Sew a Patchwork Keepsake Blanket
Patchwork blankets are the perfect keepsake, especially when repurposing fabrics that hold memories. This statement blanket combines traditional African handprinted designs with repurposed denim jeans, creating a one-of-a-kind piece.
The backing is made from soft, plush fleece, providing warmth and comfort, making it perfect for cosying up during cool nights.
Project and instructions by Mashona Designs
You will need
Subtotal
Is $ 232.00

Subtotal
Is $ 23.00
Subtotal
Is $ 9.49
Subtotal
Is $ 35.00
You Will Need
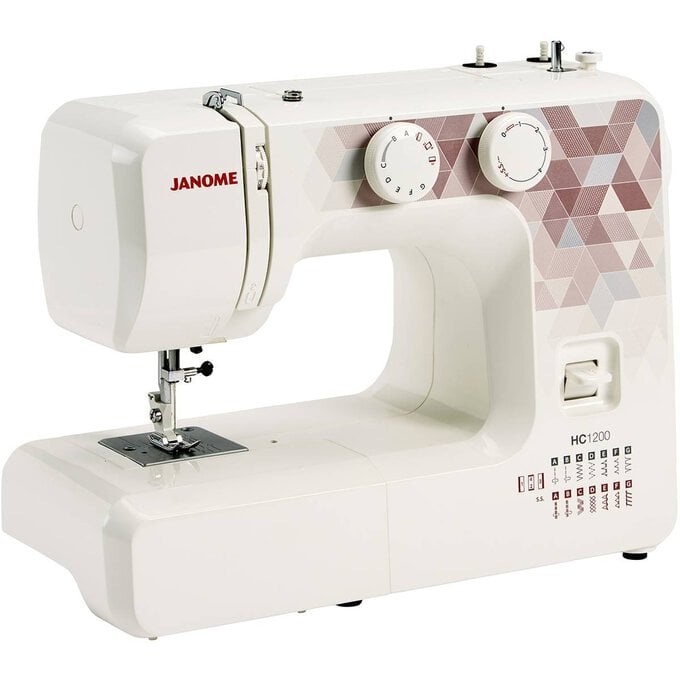
* A Sewing Machine
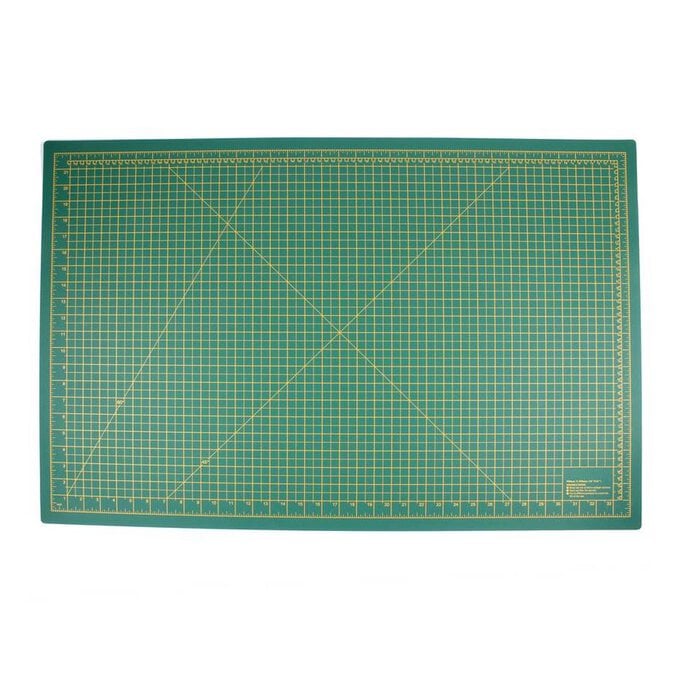
* Cutting Mat
* Rotary Cutter
* Patchwork Quilting Ruler
* Square Patchwork Ruler
* Pins
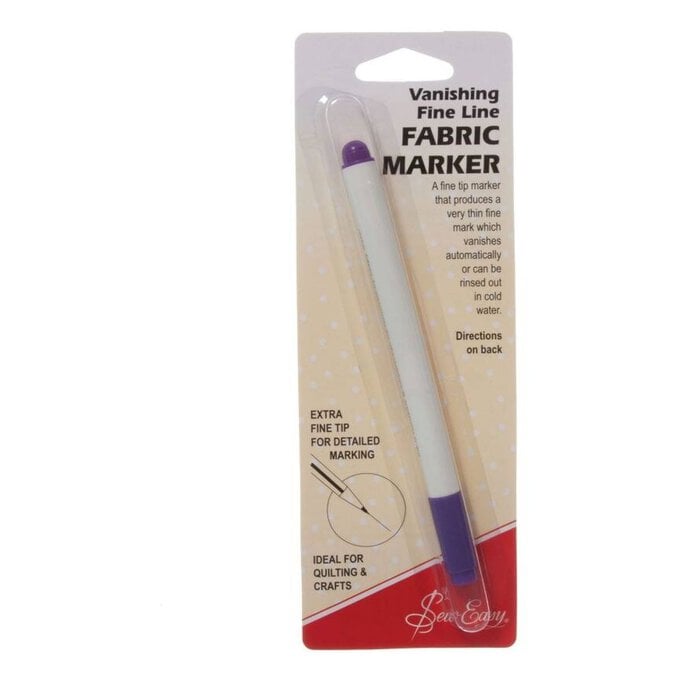
* Vanishing Fine Line Fabric Marker
* Thread
* Fabric Scissors
* Iron
* Seam Ripper
* Cardboard or Thick Paper
How to make
In preparation for this project gather the following tools and materials:
* Patterned fabric: 4.5" squares x 124 or *2.5m (*this is based on 80cm width fabric)
* Denim: 4.5" squares x 16 (use old/preloved jeans)
* Fleece fabric: 1.5m – alternatively you could find a preloved piece of warm fabric
Preparing your fabric: Its always advisable to pre-wash and iron your fabric before cutting to avoid shrinkage. I handwashed the patterned, African, fabrics in cold water and dried them flat, the fleece can be machine washed on a cool cycle.


Create a 4.5" square from a piece of cardboard/thick paper, use your fabric pen to mark out 16 squares.
Use your fabric scissors to cut out the squares.

You need to give your patterned fabric a straight edge before cutting your squares. If working with a full meter of fabric, fold the length in half, placing the selvage edges together and finger press fold.
If you have a meter of fabric which does not fit on the mat when folded, you can fold the fabric twice, ensuring to match up the top edge at the selvage.

Place your ruler onto fabric, line up the bottom folded edge with horizontal line on the ruler. It’s important to make sure they line up exactly.
Cut a small piece of the fabric on the righthand side, this will give you a straight edge.

Flip the fabric over (the straight edge you just cut will now be on the left side).
Align the folded bottom edge of the fabric with the horizontal line on the ruler. Then line up the straight edge (you just cut) with the 4.5" line on your ruler. You will now have a 4.5" width strip of fabric.
Repeat steps 2-4 for the remaining pieces of fabric.


Cut your strips into 4.5" squares, this can be done two ways:
Option 1: To save time place two strips on top of each other, ensure fabric is lay flat and edges are aligned. Place the small square ruler onto the fabric, line up fabric with the top and bottom lines and cut small piece from the strip. Carefully flip the fabric over, place your ruler onto the fabric, lining up the 4.5" lines. Place a firm hand onto the ruler and cut the fabric.
Place cut squares to one side. Do not move the remaining strip, move your ruler back to the fabric to cut the remaining squares. This helps ensure fabric doesn’t shift. If choosing this method, it’s important that the strips are aligned before cutting.
Option 2: If not confident with option 1, alternatively cut the strips individually into squares.


Using a table or space on the floor, arrange your 4.5" squares to your preferred layout. You will need to form 10 rows of 14 squares each. Depending on your style, you can place them randomly or opt for a more colour co-ordinated look.
Top Tip: Take a picture of your final arranged squares so you can refer back to it if necessary.

Label each row in order from 1-10.
Starting from the left, carefully stack the squares into rows, keeping the far left square on top and adding squares to the bottom of the pile as you move to the right. Place your stacks close to sewing machine for easy access.

You will start with row 1. Take the top square (square one) and place square two face down on top of it. Pin the right sides together.
Top Tip: The right side of the fabric is what will be visible from the outside. Depending on your fabric the right side will often be brighter in colour.


Set your machine to a stitch length of 2 – 2.2. Sew the pinned edge (removing pins as you sew) with a ¼ inch seam allowance.
Top Tip: To help your keep seams consistent, you can place tape along the ¼ seam guide on your machine.

Open square one and two, pin square three facing square two (right sides together).
Then, sew a ¼ inch seam. Continue to add the remaining squares in that row.
Top Tip: Keep your row numbers on the fabric, this will help to ensure they do not get mixed up.


In this step you will need to nest your seams. The term 'nesting seams' simply means aligning the seams of each row, so they line up nicely and fit together perfectly like a puzzle piece.
Press the seams to one side (not open). When creating patchwork, pressing seams to the side will help prevent seams from splitting open.
Repeat steps 10-13 for the remaining stacks. The seams on each row must be pressed in opposite directions, this will help them to nest together nicely. An easy way to remember is odd numbered rows (1,3,5,7,9) press seam to left and even numbered rows (2,4,6,8,10) press seam to the right. It may take time, but don’t skip pressing seams.


Turn your rows over and press from the top (right side of the fabric) to help achieve nice, flat seams. Make sure the fabric doesn’t have any creases or bumps.
Top Tip: Make sure to use a cool setting on your iron.

Place row one and two facing each other, matching up seams. The pressed seams should be nesting. Starting from the middle, place a pin in each seam, this helps stop them shifting whilst sewing. Place more pins along the edge to help secure the rest of the fabric whilst sewing.
Next, sew rows one and two together with a ¼ inch seam, remove pins as you sew.
Top Tip: When approaching a seam, take your time and ensure they are laid flat and facing the right direction.
Repeat step 15 to sew the remaining rows in pairs. Remember to nest the seams. You will now have five pairs of rows.


Sew your pairs of rows together in order to finish your blanket top. Remember to pin and nest the seams.
Once completed, give your patchwork top a press from the top (right side of the fabric).

Now you need to cut your chosen backing for the blanket. We used a fleece fabric (which can be more difficult to determine the right/wrong side).
Top Tip: One method to determine the right side is by the selvage edge. Fleece has two selvage edges that run across lengthwise. In fleece, you will notice that the selvage edge is usually folded to one side. The side that the selvage edge rolls into is the right one.

Cut your backing fabric to 104cm x 144cm.
Place your patchwork and backing fabric right sides together and pin all around the fabric, leaving a 4” gap. If using fleece, we recommend using a stretch or ballpoint needle. Sew together with a zig zig stitch 3-4mm length, using a ¼ inch seam allowance. Remember to backstitch at the start and finish.
Top Tip: Place two pins at the start and end of the gap, this will help remind you to not sew in the gap.


Onto the final step, the last part will be to topstitch the blanket which will also close the gap.
Iron your blanket (on a cool setting) from the patchwork side to make sure it's nice and flat. Place pins or clips around the fabric to stop it shifting.
Topstitch your blanket with a straight stitch 3–4mm and a ¼ inch seam allowance. Take your time when topstitching to make sure you get a neat finish.


Craft with us at our workshops


Related Products