How to Make a Willy Wonka Costume
This Willy Wonka costume is the golden ticket of makes because it is completely no-sew! Dig out a large cardboard box in preparation for making this costume. To complete the look, team these makes with green trousers and a plain purple cardigan.
Project and instructions by Little Button Diaries
You will need
Subtotal
Is $ 1.49
Subtotal
Is $ 1.49
Subtotal
Is $ 7.49
Subtotal
Is $ 5.49
Subtotal
Is $ 4.49
Subtotal
Is $ 3.49
You Will Need
* A4 Felt Sheets - White, Red and Yellow
* Duck Tape - Black and Gold
* Gold Buttons
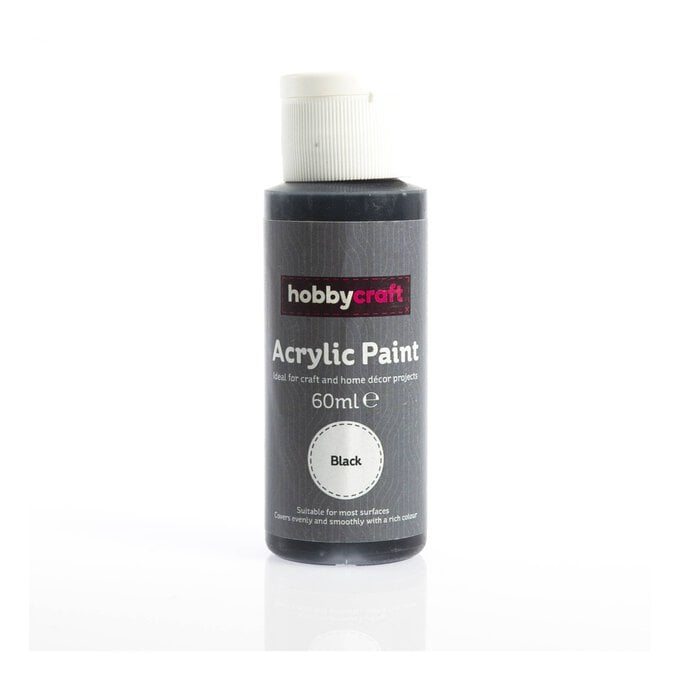
* Black Acrylic Paint
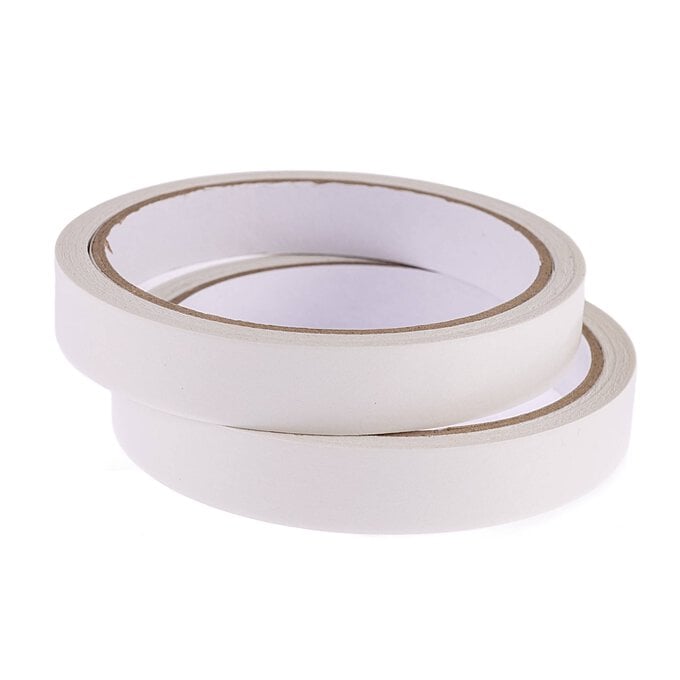
* Double Sided Tape
* Corrugated Card
* White T-Shirt
* Scissors
* Measuring Tape
How To Make
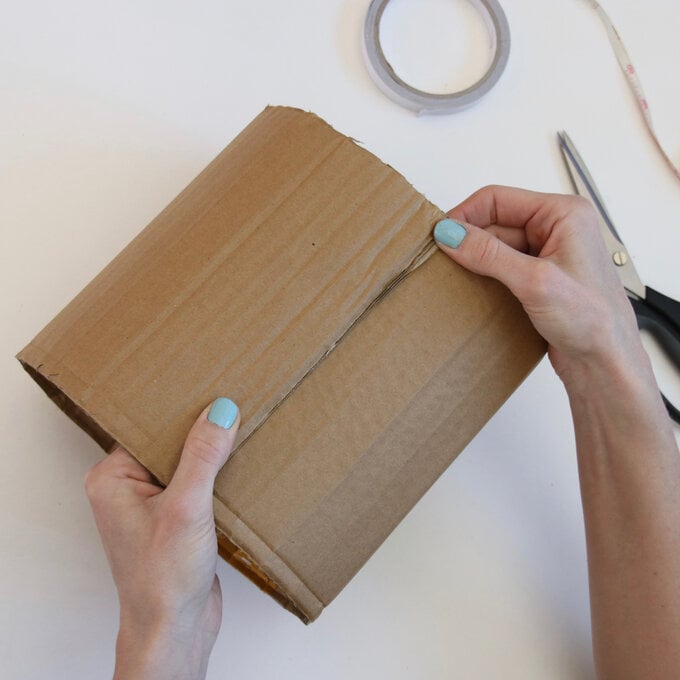
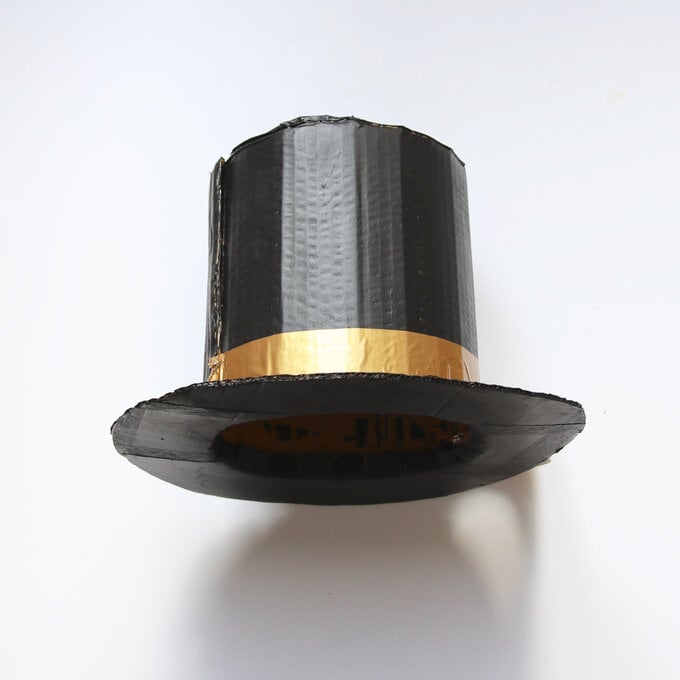
To make the hat, start by measuring the circumference of the head. Cut a 20cm wide piece of corrugated card to the head measurement plus 6cm. Make sure the length cuts across the corrugations so that it is easy to bend. Roll the card into a wide tube, overlapping by 2cm. Secure with double sided tape or glue.
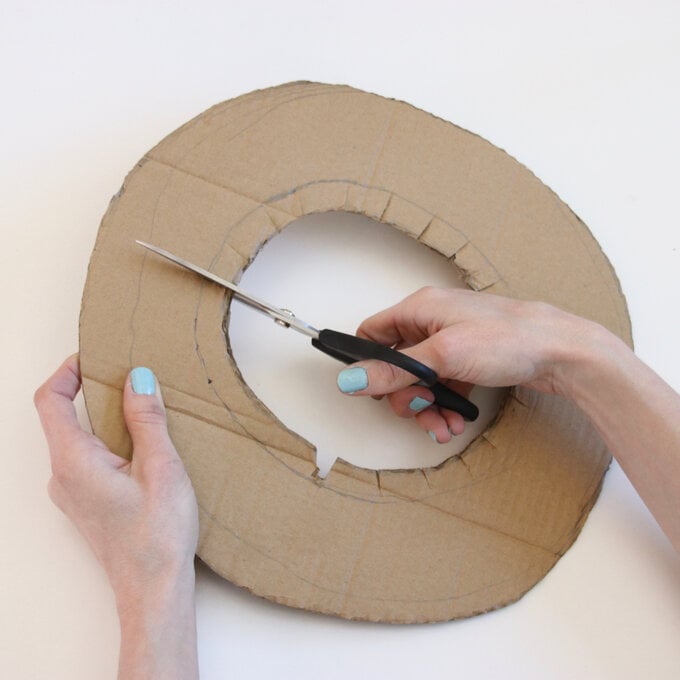
For the rim, place the tube into the middle of a large piece of corrugated card and draw around it. Remove the tube and draw another circle, about 7cm wider than the first. Then add another circle for tabs, 2cm in from the first. Cut out the wider and smaller circles to create a rim.
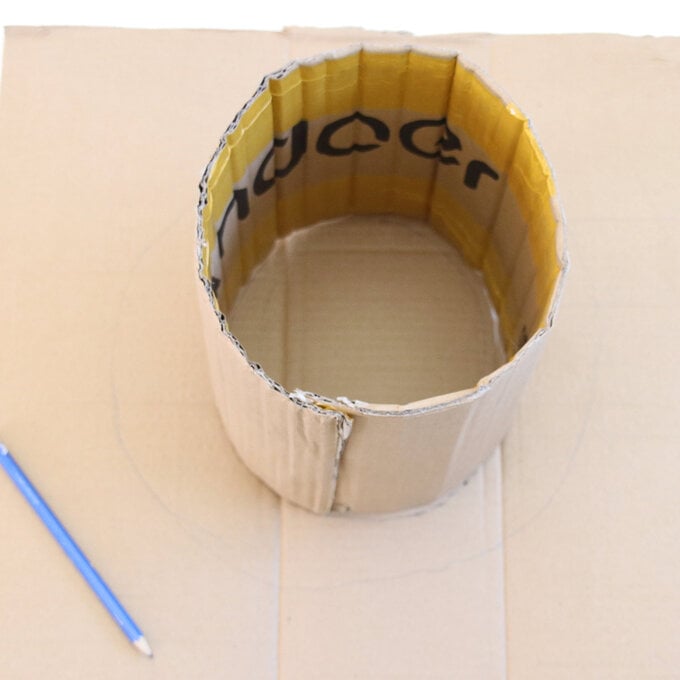
Cut tabs in from the centre. Fold the tabs up and place the tube on top. Attach with tape or strong glue.
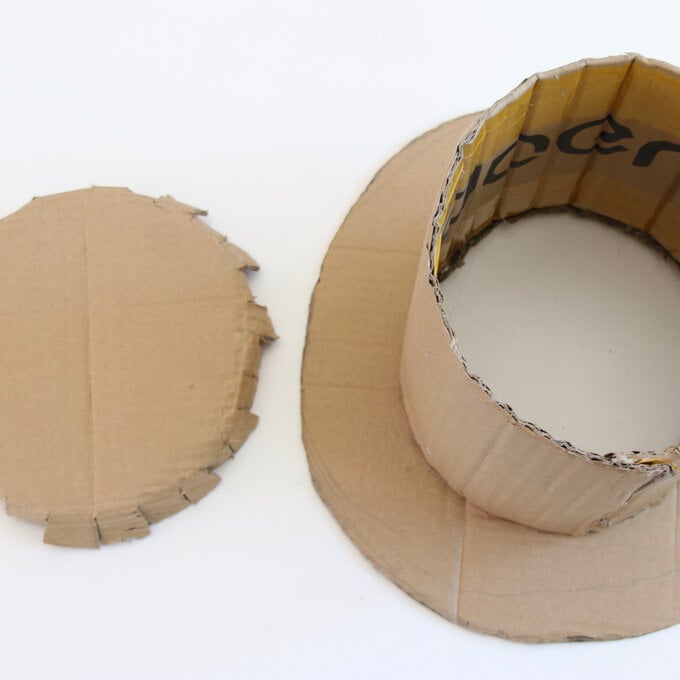
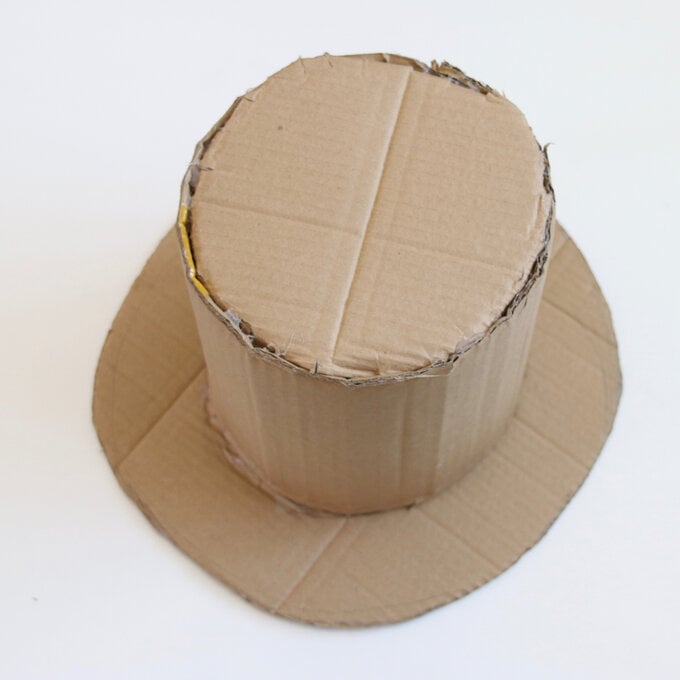
Draw around the top of the hat to create another circle, then create tabs as before by adding a circle that is 2cm bigger. Cut the tabs and glue or tape inside the top of the hat.
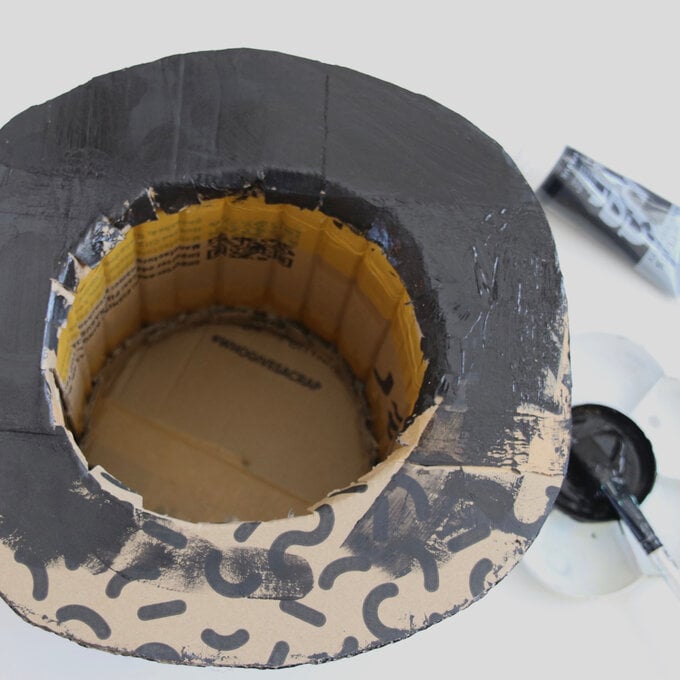
Paint the hat black. Once dry, add a strip of gold duck tape around the top of the rim to finish.
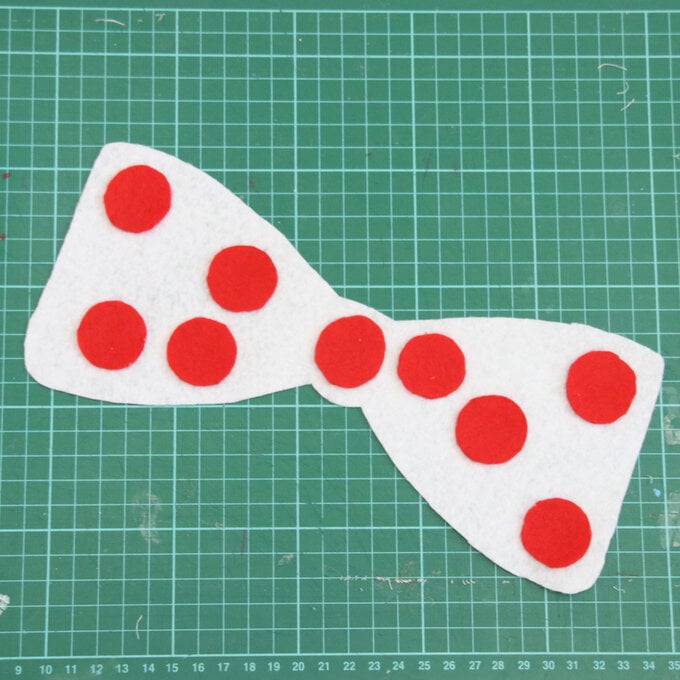
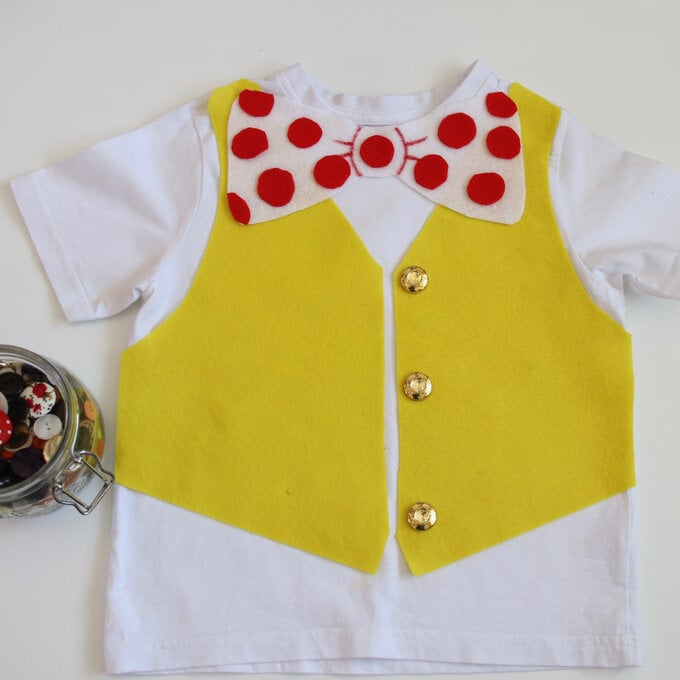
Use the template to cut a bow tie shape from a sheet of white felt. Cut circles from red felt and glue to the bow tie. Add definition with a red permanent pen.
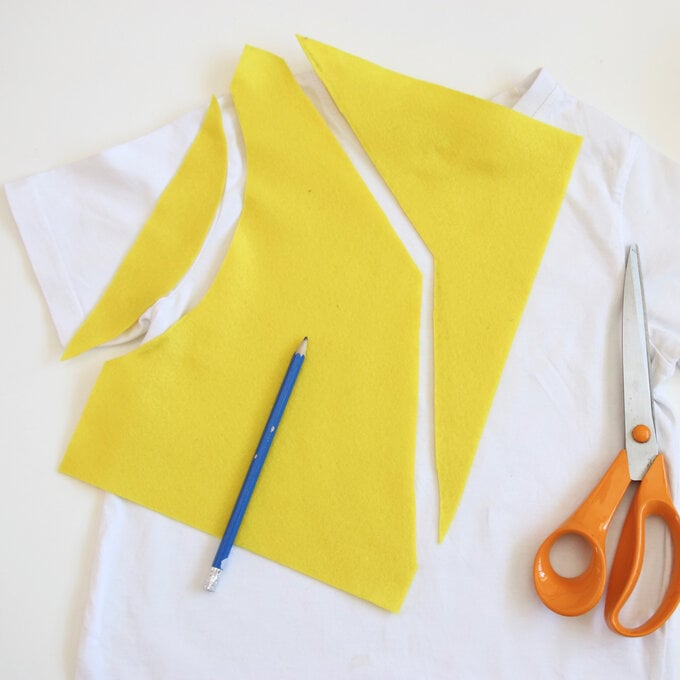
To make the waistcoat, layout a plain white t-shirt. Place a piece of yellow felt on top, with one corner going over the top shoulder, and another corner overlapping the side. Use the photo as a guide to draw half waistcoat shape in pencil, then cut out.
Use the waistcoat piece as a template to cut another, then use double sided tape (which should be fairly easy to remove) to attach the felt to the t shirt. Trim any excess. Tape the bow tie to the top of the t-shirt in the same way.
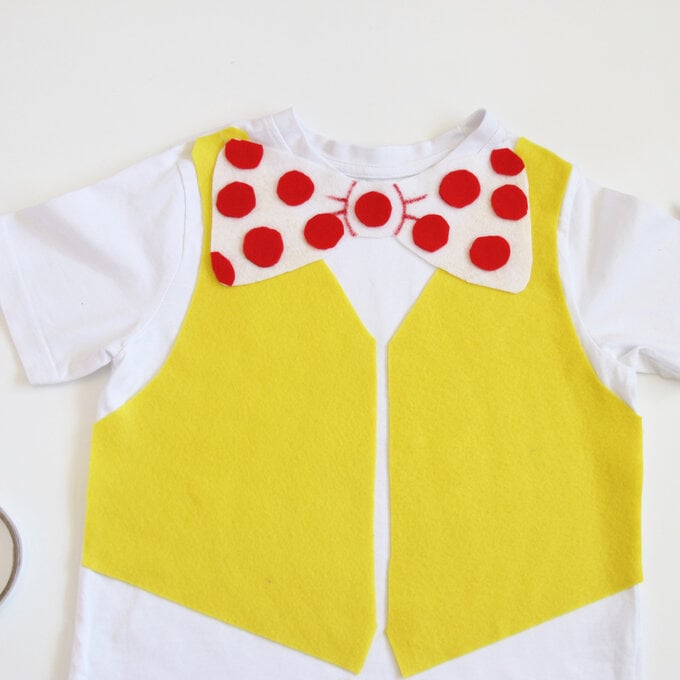
Glue gold buttons to one side of the waistcoat, spacing them out evenly.
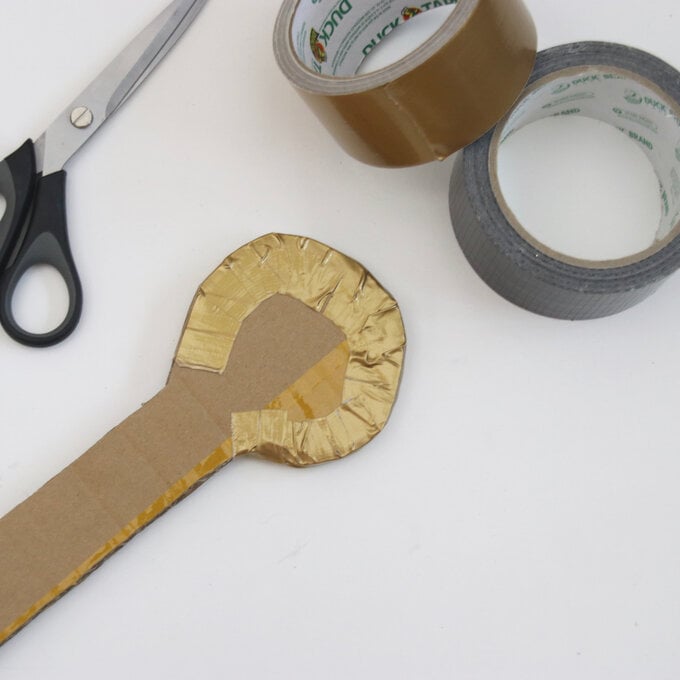
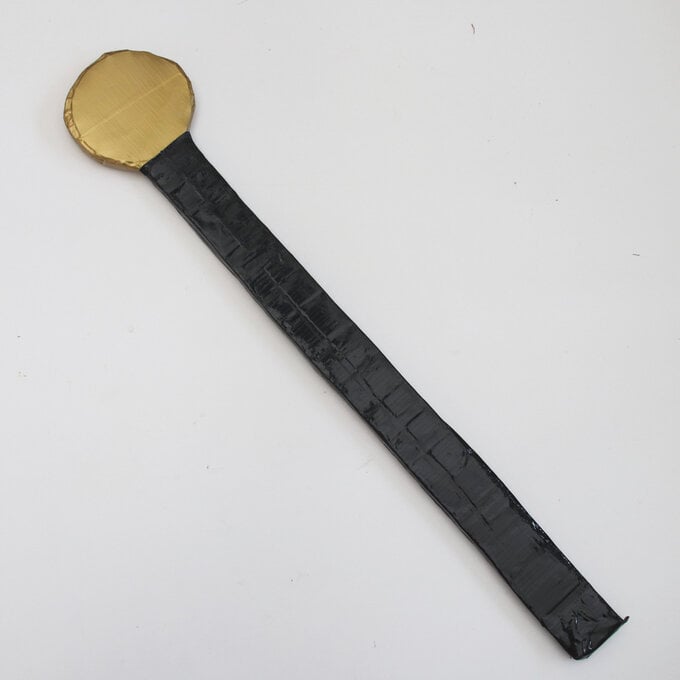
For the cane, cut out a 5cm x 45cm strip of corrugated card with a 9cm circle at the end. Use it as a template to make another, then glue together.
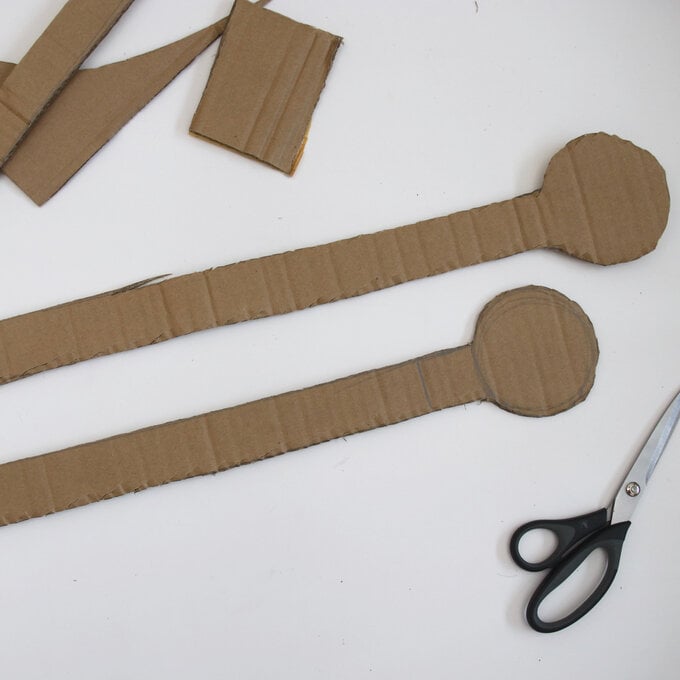
Cover the cane with duck tape, with gold for the circle and black for the stick. For a neat finish, cover the edges first, then the front and back.
