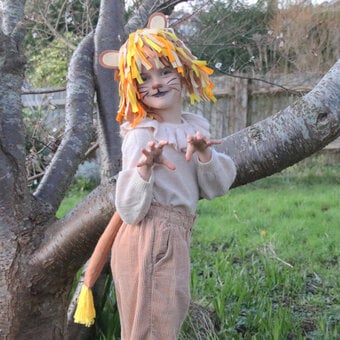
How to Crochet a Witches Hat Headband
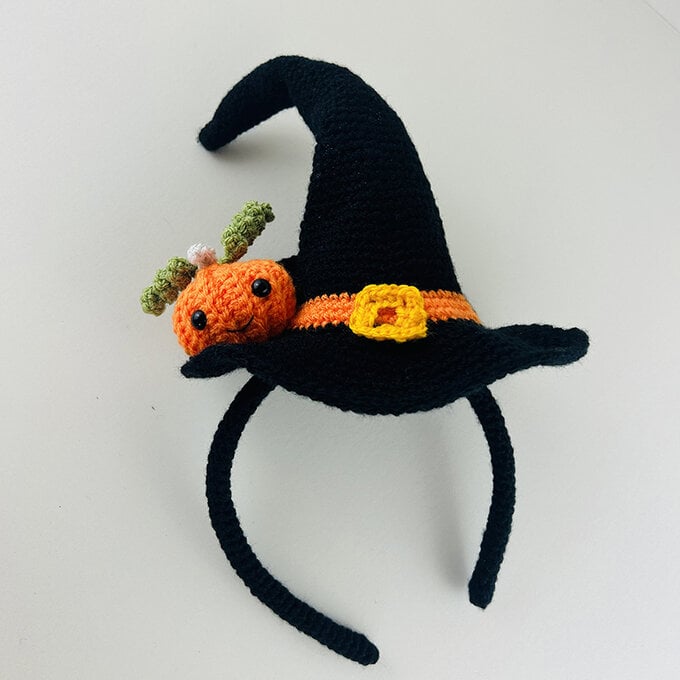
Crochet this cute Witches hat headband for your little one this Halloween, complete with a cheeky pumpkin perched on the brim. It’s a wickedly fun way to finish off a Halloween outfit and perfect for a spot of magical Trick or Treating.
Pattern by Hobbycraft Artisan Suzanne Springall
You will need
Subtotal
Is $ 3.49
Subtotal
Is $ 3.49
Subtotal
Is $ 3.49
Subtotal
Is $ 3.49
Subtotal
Is $ 3.49
KnitcraftEveryday D.K in:
Black x2 balls
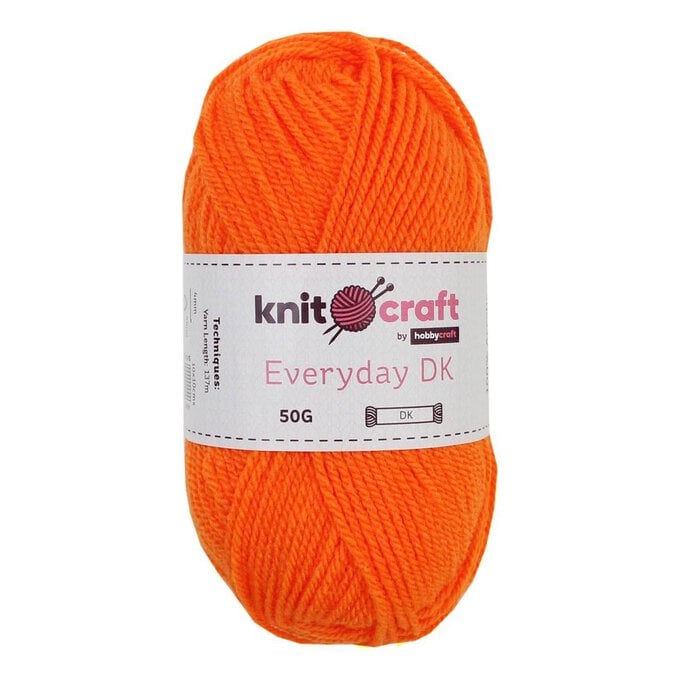
Orange x 1
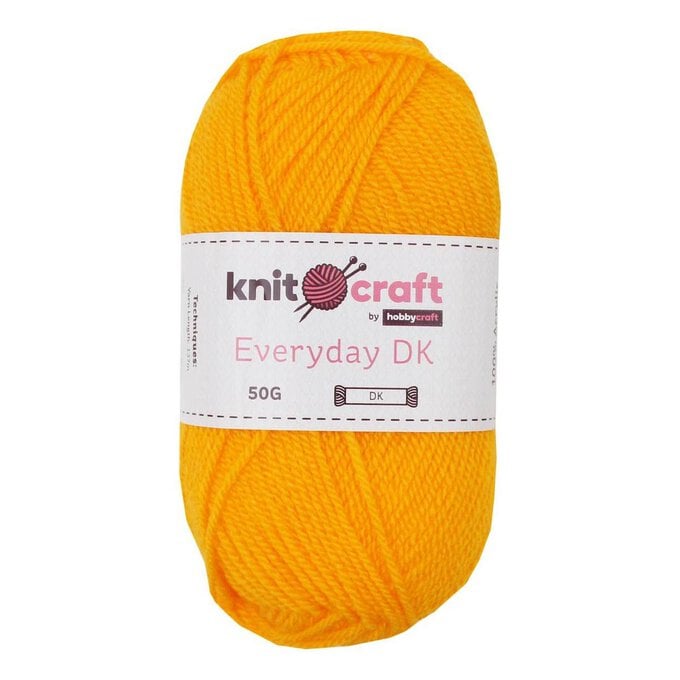
Golden Yellow x 1
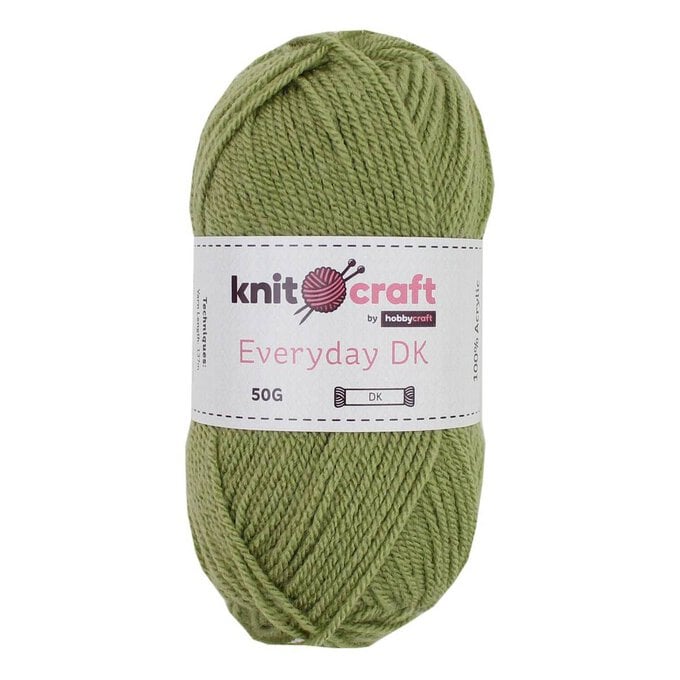
Pistachio x 1
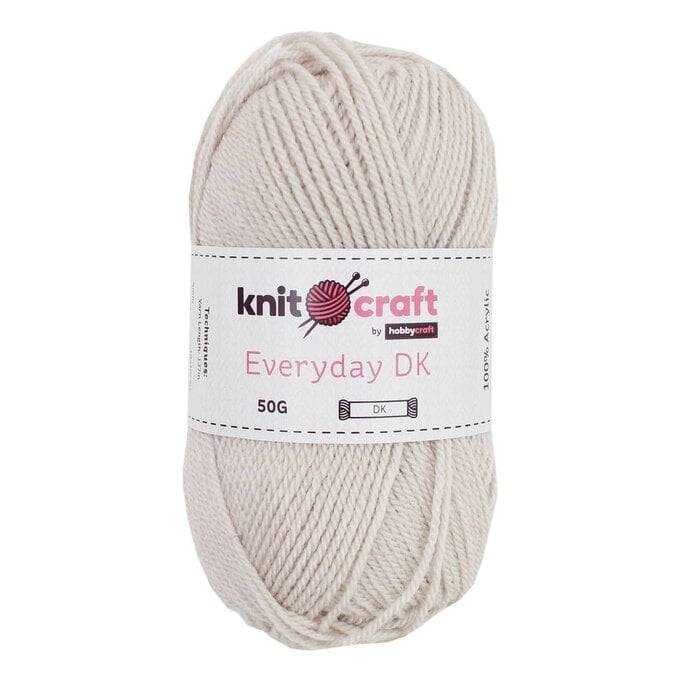
Beige x 1
3.5mm Crochet Hook
2 x 6mm Safety Eyes
Toy stuffing
Plain child’s headband without teeth
Black embroidery floss
Darning needle

Abbreviations (UK terms)
MR – Magic Ring
DC – Double Crochet
Inc – Increase
YO – Yarn Over
FLO – Front Loop Only
BLO – Back Loop Only
() – round brackets indicate the number of stitches in each round/ row.
Pattern Notes
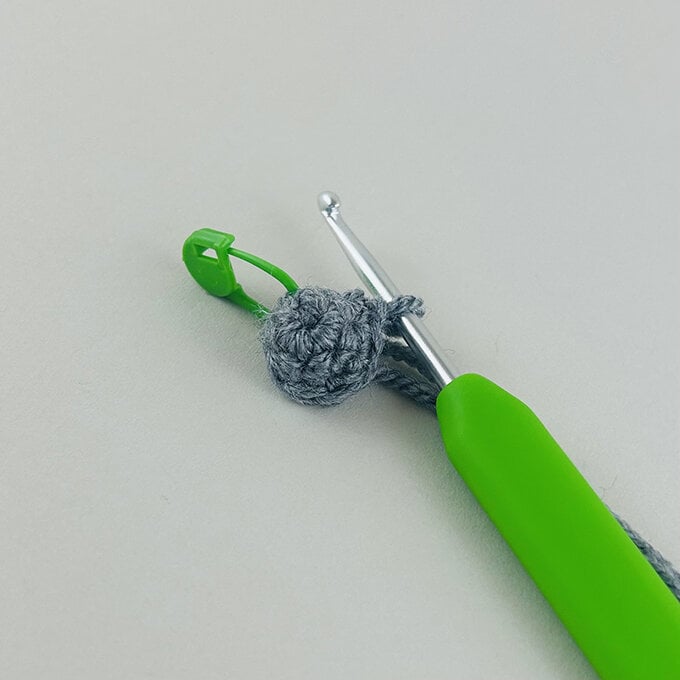
Witches Hat - This pattern is crocheted in continuous rounds. The increases are staggered on each round to make them less visible. For clarity, the first two images are shown in grey.
Rnd 1: In black, DC6 into a MR (6)
Rnd2: [DC5, dc2 into next st] (7)
Place a stitch marker in the first stitch of the round to keep track of the beginning of each round. The stitch marker is moved up on every round.
Start by increasing one stitch on every round to make the pointed tip of the hat.
Rnd 3: DC3, dc2 into next st, DC3 (8)
Rnd 4:DC7, dc2 into next st (9)
Rnd 5: DC4, dc2 into nex st, DC4 (10)
Rnd 6: DC9, dc2 into next st (11)
Rnd 7: DC5, DC2 into next st, DC5 (12)
As the hat begins to widen, continue with increases on every other row.
Rnd 8: DC12
Rnd 9: DC2 into next st, DC11 (13)
Rnd 10: DC13
Rnd 11: DC6, DC2 into next st, DC6 (14)
Rnd 12: DC14
Rnd 13: DC13, DC2 into next st (15)
Rnd 14: DC15
Place a stitch marker in the back of the hat on row 14. This where the first bend in the hat will be.
Rnd 15: DC7, DC2 into next st, DC7 (16)
Rnd 16: DC16
Rnd 17: DC15, DC2 into next st (17)
Rnd 18: DC17
Rnd 19: DC8, DC2 into next st, DC8 (18)
Rnd 20: DC18
Rnd 21: DC17, DC2 into next st (19)
Rnd 22: DC19
Rnd 23: DC9, DC2 into next st, DC9 (20)
Rnd 24: DC20
Rnd 25: DC10, DC2 into next st, DC9 (21)
Rnd 26: DC21
Rnd 27: DC10, DC2 into next st, DC10 (22)
Rnd 28: DC22
The pattern now continues with two increases on every other round.
Rnd 29: DC5, DC2 into next st, DC10 (24)
Rnd 30: DC24
Rnd 31: DC11, DC2 into next st, DC11, DC2 into next st (26)
Rnd 32: DC26
Rnd 33: DC6, DC2 into next st, DC12, DC2 into next st DC6 (28)
Rnd 34: DC28
Place a stitch marker in row 34. This where the second bend in the hat will be.
Rnd 35: DC13, DC2 into next st, DC13, DC2 into next st (30)
Rnd 36: DC30
Rnd 37: DC7, DC2 into next st, DC14, DC2 into next st, DC7 (32)
Rnd 38: DC32
Rnd 39: DC15, DC2 into next st, DC15, DC2 into next st (34)
Rnd 40: DC34
Rnd 41: DC8, DC2 into next st, DC16, DC2 into next st, DC8 (36)
Rnd 42: DC36
Rnd 43: DC17, DC2 into next st, DC17, DC2 into next st (38)
Rnd 44: DC9, DC2 into next st, Dc18, DC2 into next st, DC9 (40)
Rnd 45: DC19, DC2 into next st, DC19, DC2 into next st (42)
Rnd 46: Dc10, DC2 into next st, DC20, DC2 into next st, DC10 (44)
Rnd 47: DC21, DC2 into next st, DC21, DC2 into next st, (46)
Rnd 48: DC11, DC2 into next st, DC22, DC2 into next st, DC11 (48)
Rnd 49: DC23, DC2into next st, DC23, DC2 into next st (50)
Change to orange on the last YO of row 49. Do not cut the black yarn.
Rnd 50: DC12, DC2 into next st, DC24, DC2 into next st, DC12 (52)
Rnd 51: DC25, DC2 into next st, DC25, DC2 into next st (54)
Rnd 52: DC13, DC2 into next st, DC26, DC2 into next st, DC13 (56)
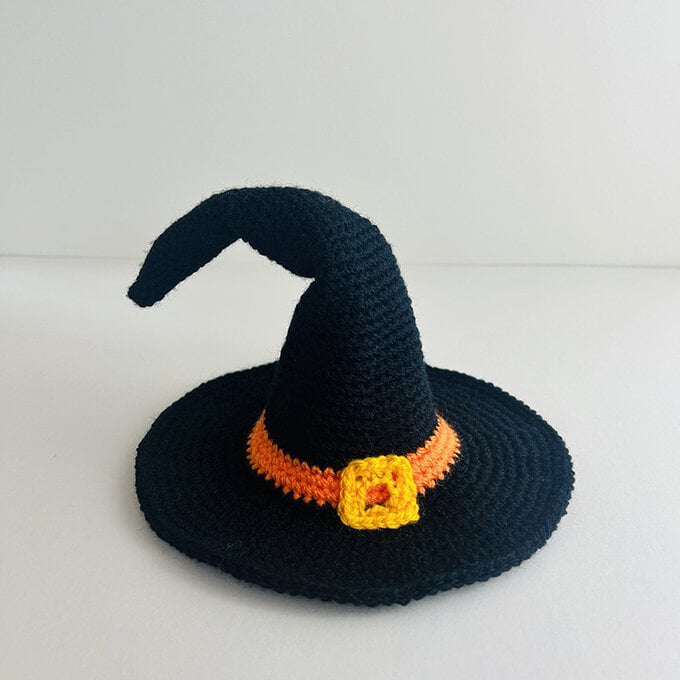
Change back to black yarn on the last YO of round 52. Fasten off the orange yarn. Lightly stuff the top section of the hat and bend the tip over towards the back. Lightly stuff the second section of the hat and bend towards the back again.
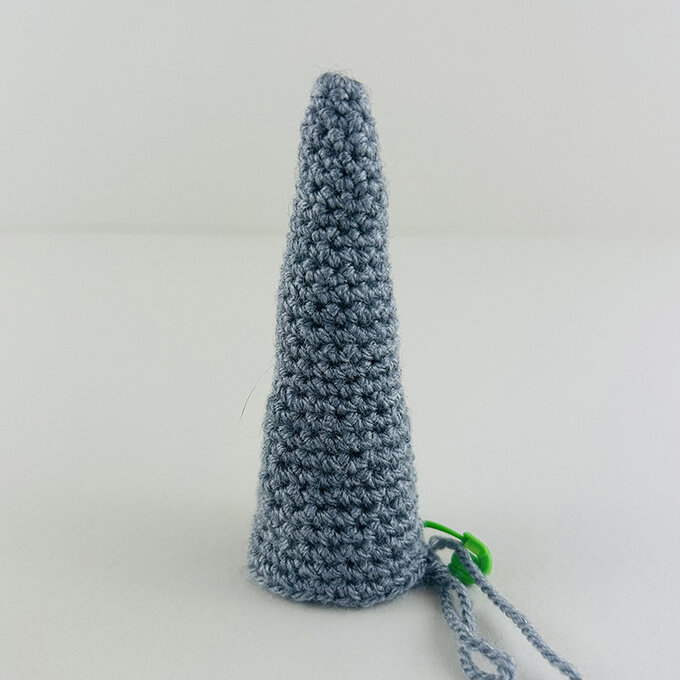
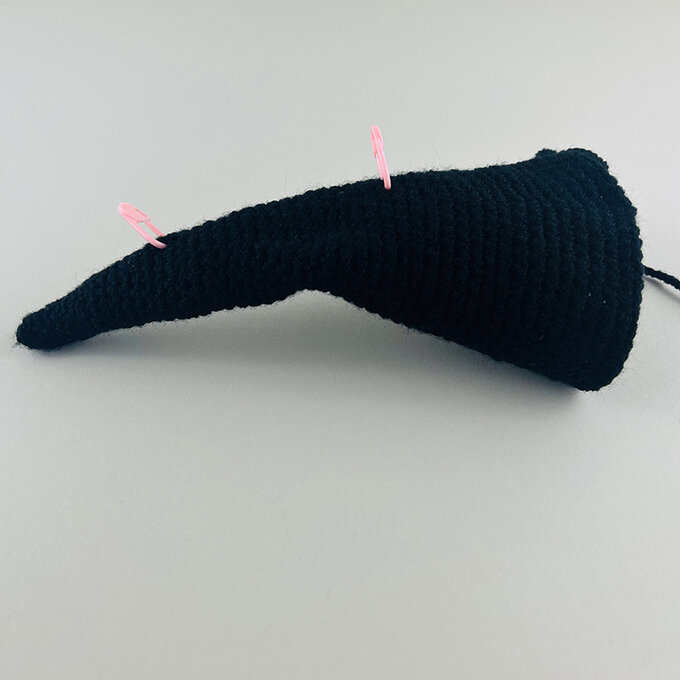
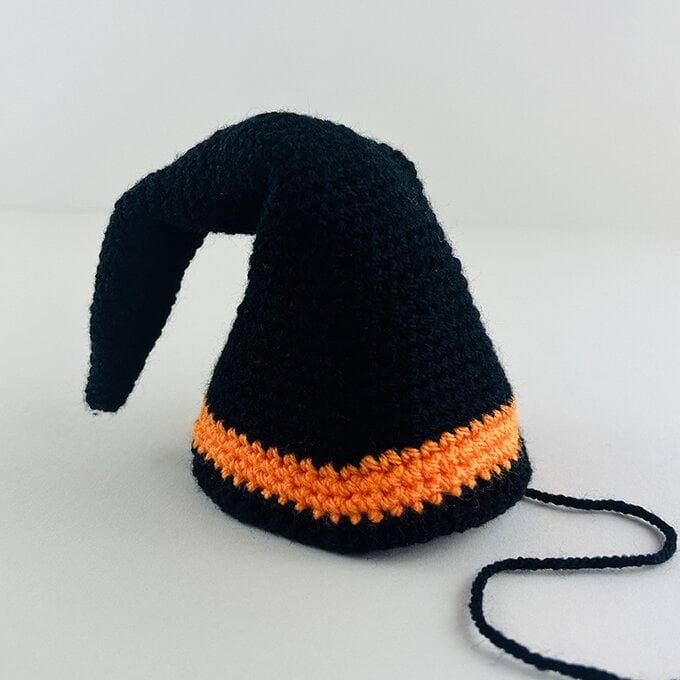
Rnd 53: DC56
Rnd 54: DC56 in the FLO
Rnd 55: (DC, DC2 into next st) 28 times (84)
Rnds 56-58: DC84
Rnd 59: (DC2, DC2 into next st) 28 times, DC (112)
Rnds 60-62 DC112
Slip st into the first stitch of the next round. Fasten off.
Lightly stuff the bottom section of the hat.
Hat Base
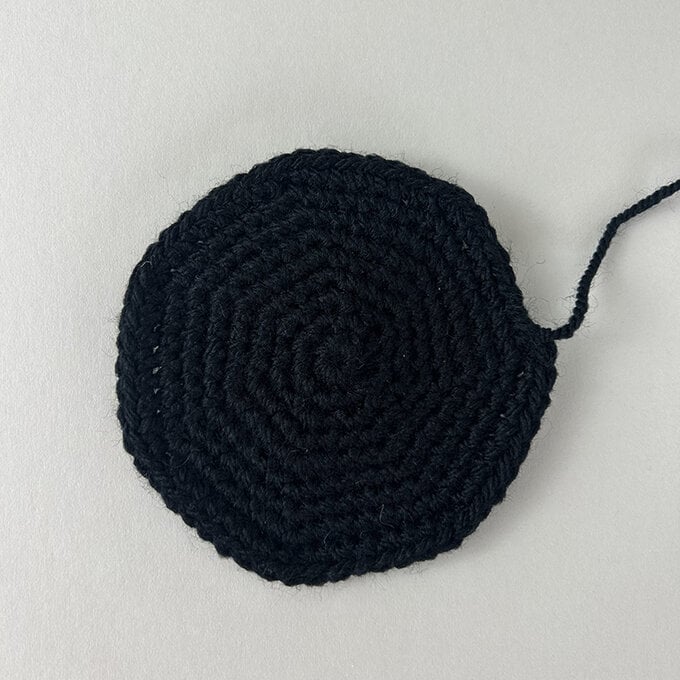
The hat base is a flat circle which will be sewn to the bottom of the cone section of the hat.
Rnd 1: Using black yarn, DC8 into a MR.
Rnd 2: (DC2 into next st) 8 times (16)
Rnd 3: (DC, DC2 into next st) 8 times (24)
Rnd 4: (DC2, DC2 into next st ) 8 times (32)
Rnd 5: (DC3, DC2 into next st) 8 times (40)
Rnd 6: (DC4, DC2 into next st) 8 times (48)
Rnd 7: (DC5, DC2 into next st) 8 times (56)
Rnd 8: DC56
Slip st into the next stitch and fasten off leaving a long tail. Sew the base of the hat to the inside edge of the hat top using the Back loops of R54
Golden Buckle
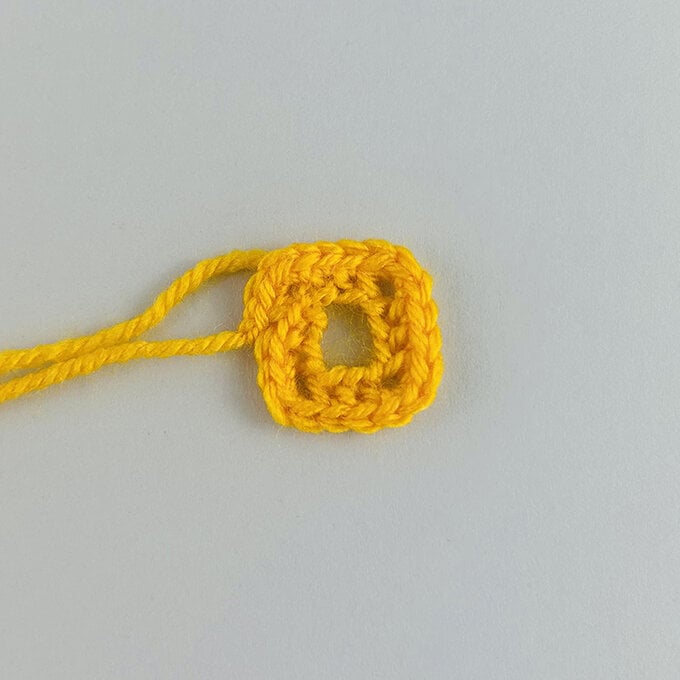
Using gold yarn, Ch12. Join with a slip stitch making sure not to twist the chain and Ch1. DC into the base of the same stitch with the Ch1 and then DC into the next stitch.
Rnd 1: (DC3, DC, DC) 3 times, DC3 Slip st into the top of the first DC and fasten off. Using the long tail end, sew the buckle to the front of the hat.
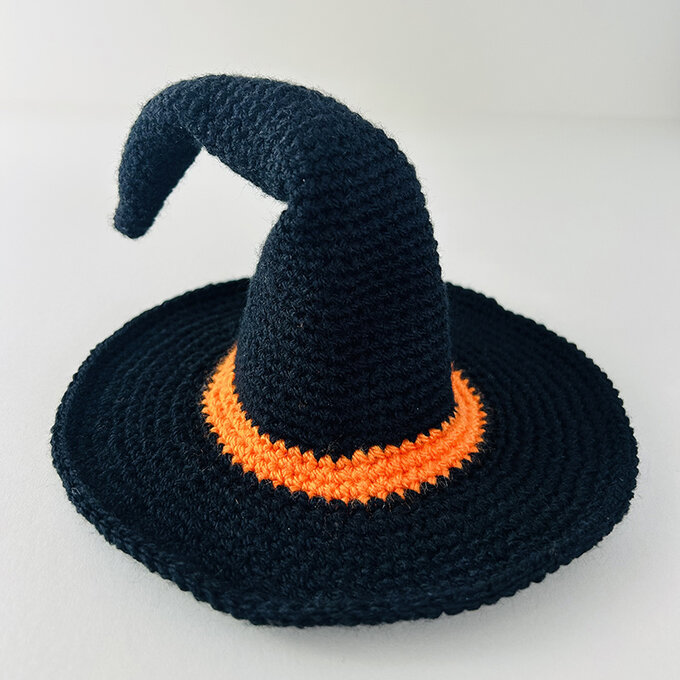
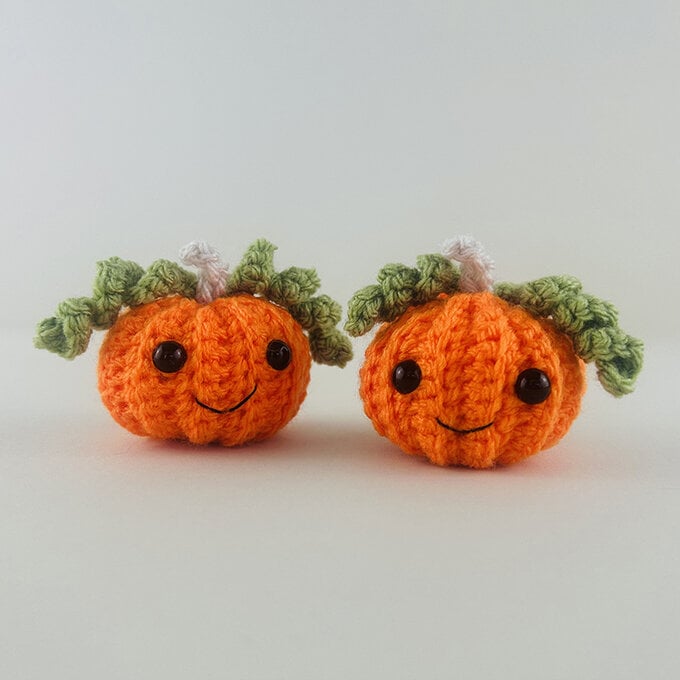
Mini Pumpkin
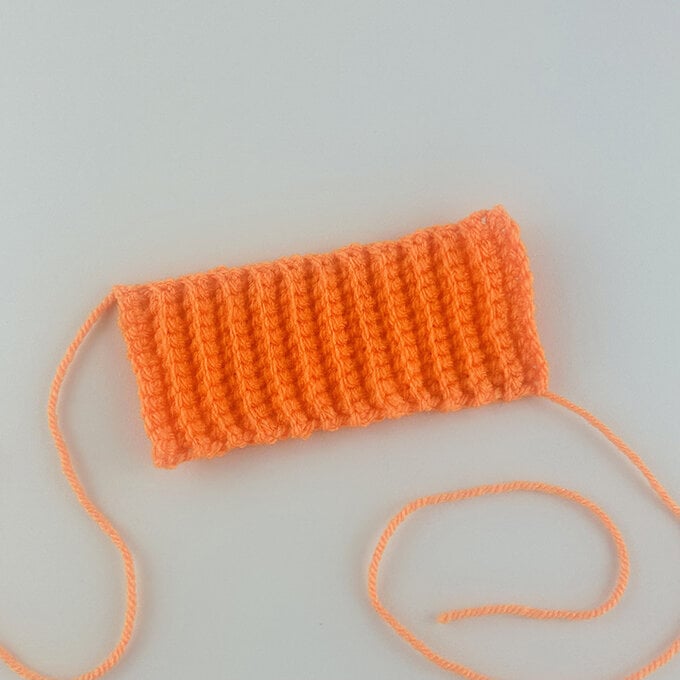
The pumpkin is worked in rows.
Using Orange yarn, Ch13.
Leave a long tail which can be used to sew the side and bottom seams together.
Row 1: DC into the second loop from the hook. DC11, ch1 and turn.
Rows 2-25: DC11 into the BLO, ch1, turn.
With right sides facing, sew the two short ends together using backstitch.
Continue to sew a running stitch around one of the long edges and gather to form the bottom of the pumpkin.
Close the hole with a few stitches from side to side and secure the yarn.
Turn the pumpkin right side out and stuff firmly.
Ensuring the seam is at the back, place the safety eyes halfway down the front of the pumpkin, making sure to leave two ridges between them. If you prefer, the eyes can be embroidered using 2 strands of embroidery floss.
Sew a running stitch around the top edge of the pumpkin and gather. Close the hole with a few stitches from side to side and secure the yarn. Pass the end of the yarn through to the bottom of the pumpkin and cut (leaving the end hidden inside the pumpkin).
Using two strands of black embroidery floss, embroider the mouth 3 stitches below the eyes.
Stalk
Using beige yarn and leaving a long tail, Ch5.
DC into the second loop from the hook and continue to DC into the next 4 stitches.
Fasten the yarn off leaving a long length.
Draw the ends one at a time through the centre of the pumpkin, secure and cut, leaving the ends hidden inside the pumpkin.
Tendrils (make 2)
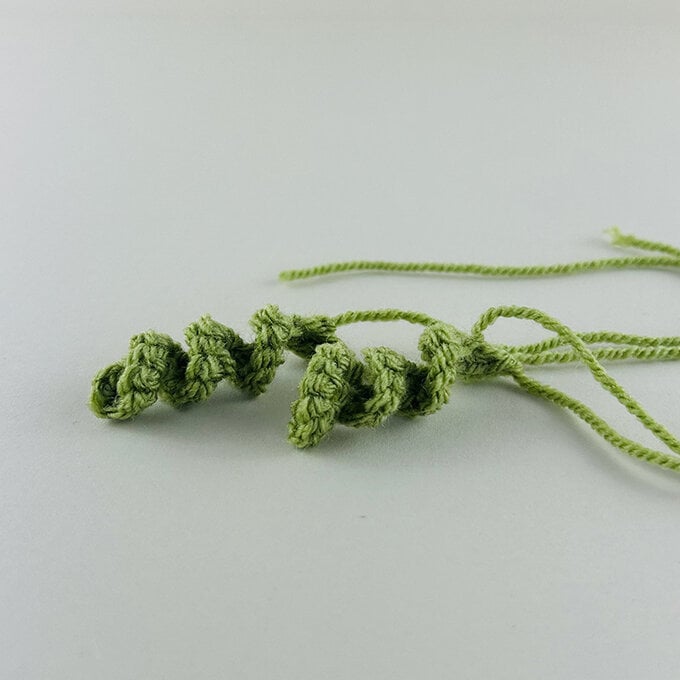
Using pistachio yarn, Ch 12.
Starting with second loop from the hook, DC3 times into each stitch to form a spiral. Fasten the tendrils to either side of the top of the pumpkin using the same method as the stalk.
Covered Headband
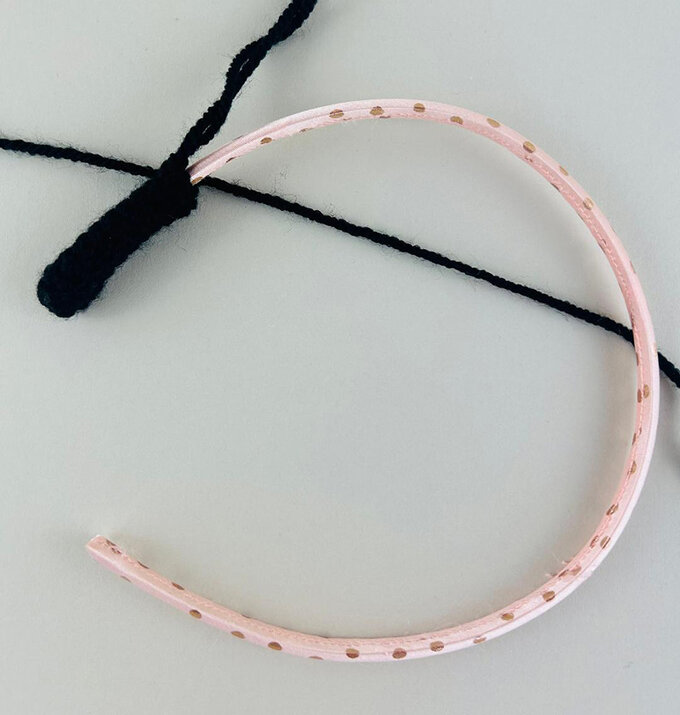
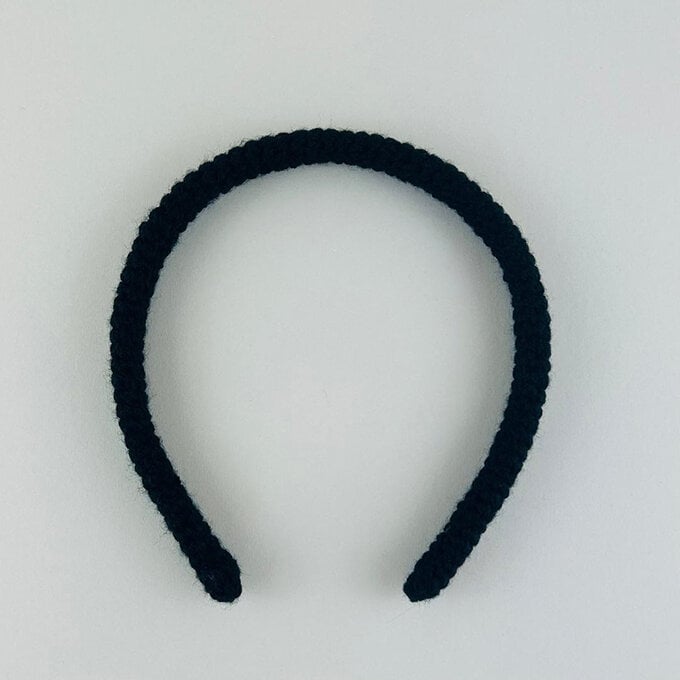
The headband pattern is worked in a continuous spiral and is designed to fit a child’s narrow headband. You will need to increase the number of stitches for a wider band. Ensure the headband has no teeth so the cover can be slipped onto it.
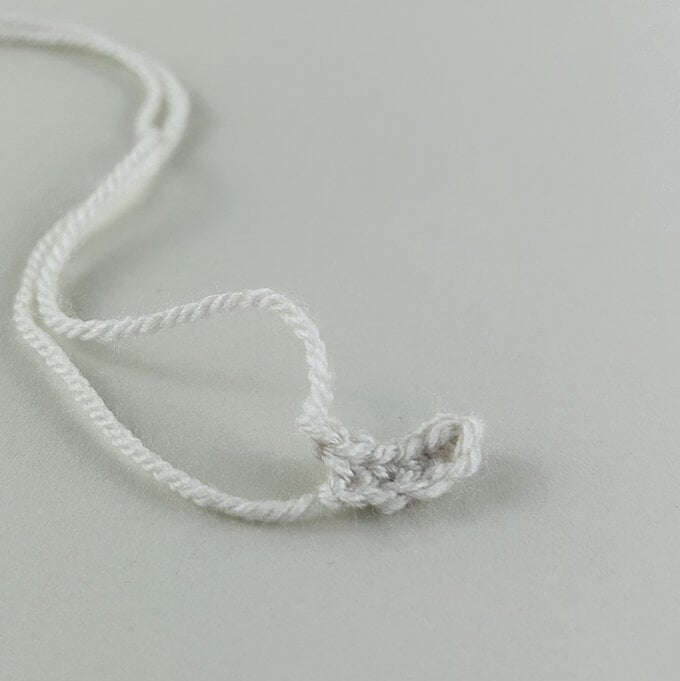
DC6 into a MR. Join with a slip stitch.
Rnd 1: DC6
Continue to DC into each stitch until the cover is long enough to slip over the entire length of the headband. Oversew the edge of the headband to secure it.
Assembly
Place the hat onto the headband, slightly off to one side. Oversew the hat firmly onto the headband and secure the end. Using a hot glue gun, secure the pumpkin onto the brim of the hat.
