How to Crochet Mistletoe Triangles
Craft something a little different this Christmas! These crochet mistletoe triangles are a great way to transform your tree in style, adding beautiful detail to your décor with a touch of tradition. This is a great project to use up left over yarn from your stash and create a personalised decoration.
Follow along with the simple crochet tutorial to recreate the adorable handmade Christmas decorations.
Project and instructions by Lindsey Newns.
Discover more projects by this maker:
How to Make Macramé Christmas Trees
How to Make Wrapped Letters with Yarn
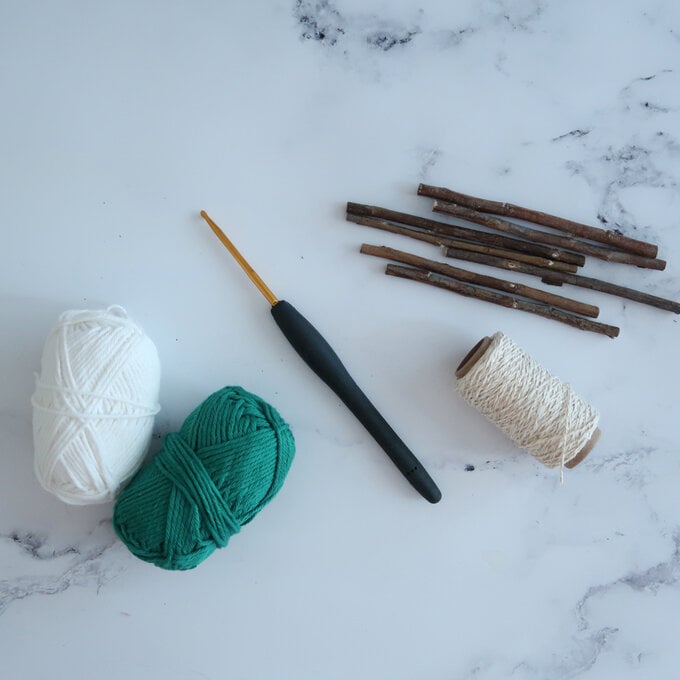
You will need
Subtotal
Is $ 5.49
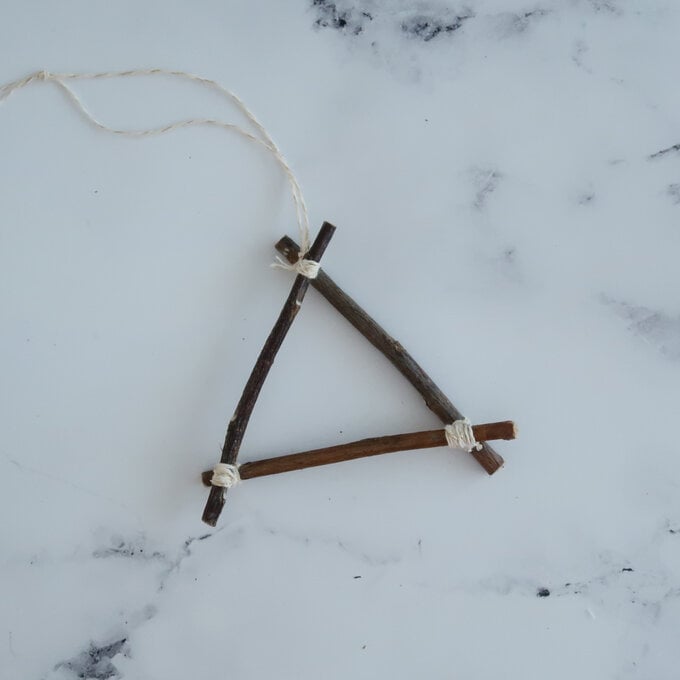
Use 3 x 10cm long wooden stick to create a triangle. Bind the sticks together using thin twine or string, until the triangle is secure.
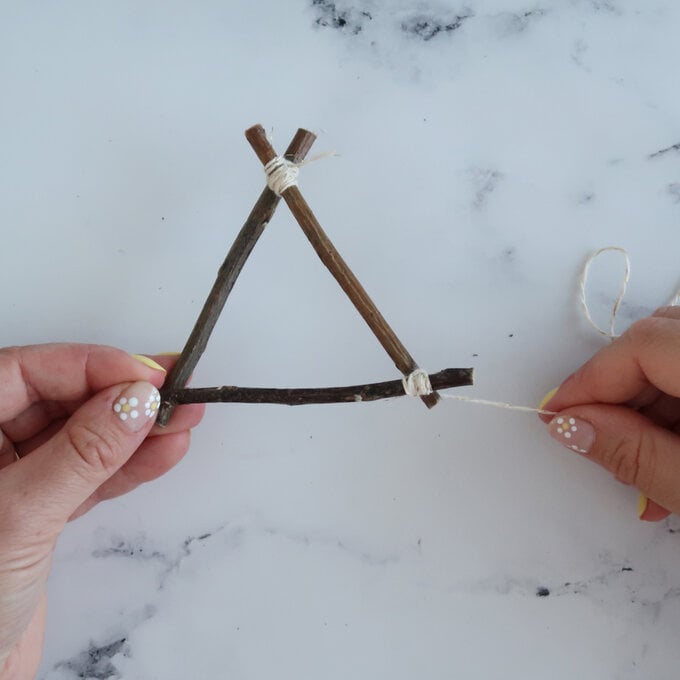
Cut a 20cm piece of twine and use it to create and hanging loop by tying it to one point on the triangle.
Using a 3mm hook and green yarn, chain 9.
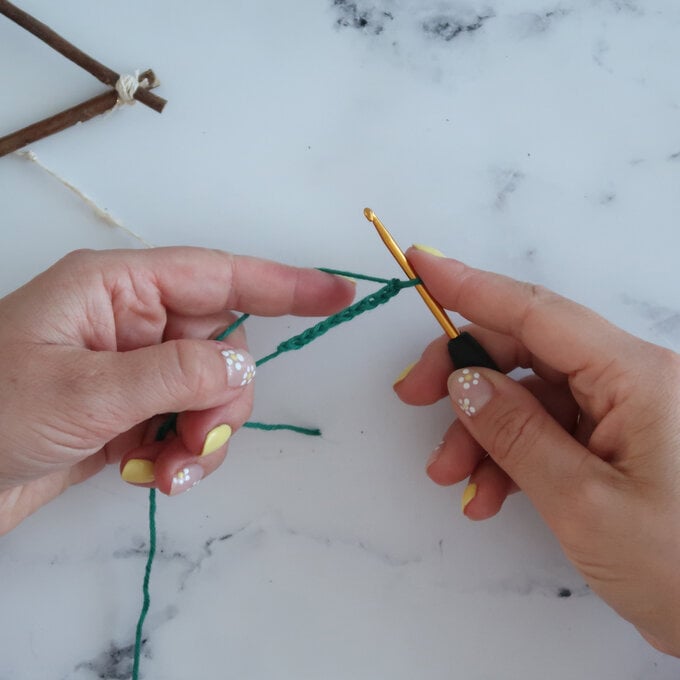
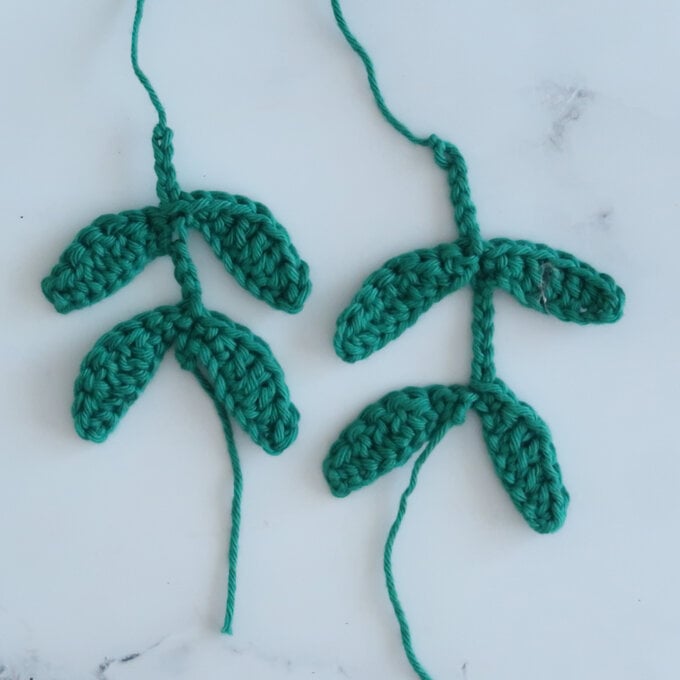
Starting in the 2nd chain from the hook, 1dc, 1htr, 3tr, 1htr, 1dc, ss into the last ch. Leaf 1 formed.
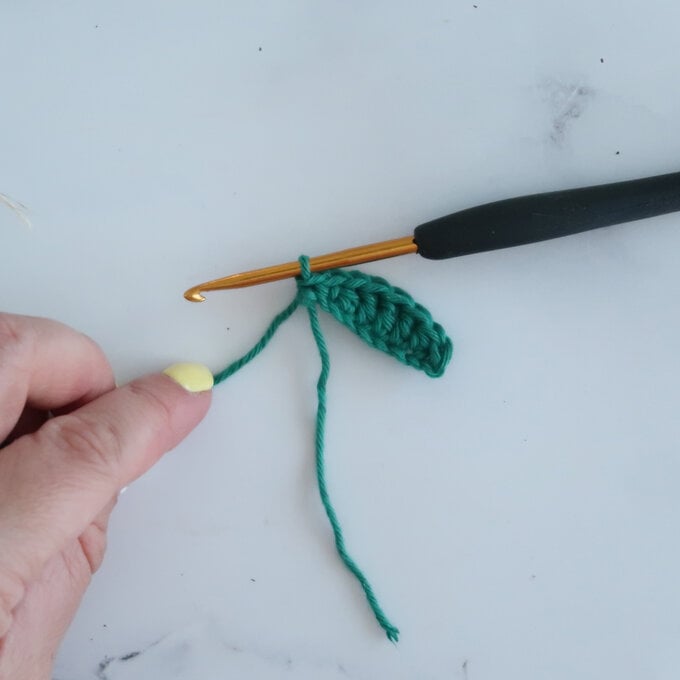
Chain 9.
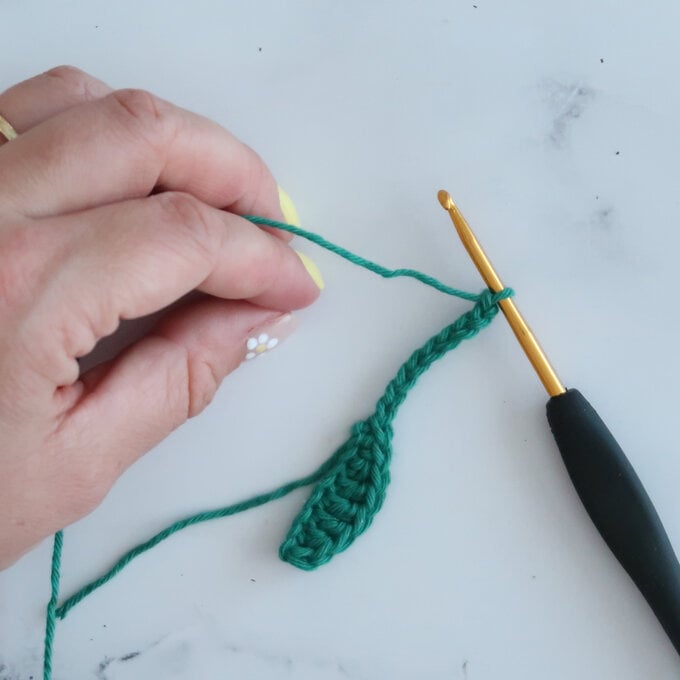
Starting in the 2nd chain from the hook, 1dc, 1htr, 3tr, 1htr, 1dc, ss into the last ch, then twist the leaf so that it sits the same way as the first leaf, with the flat chain and the curved top in the same position, and ss into the last ss from the first leaf. Leaf 2 formed.
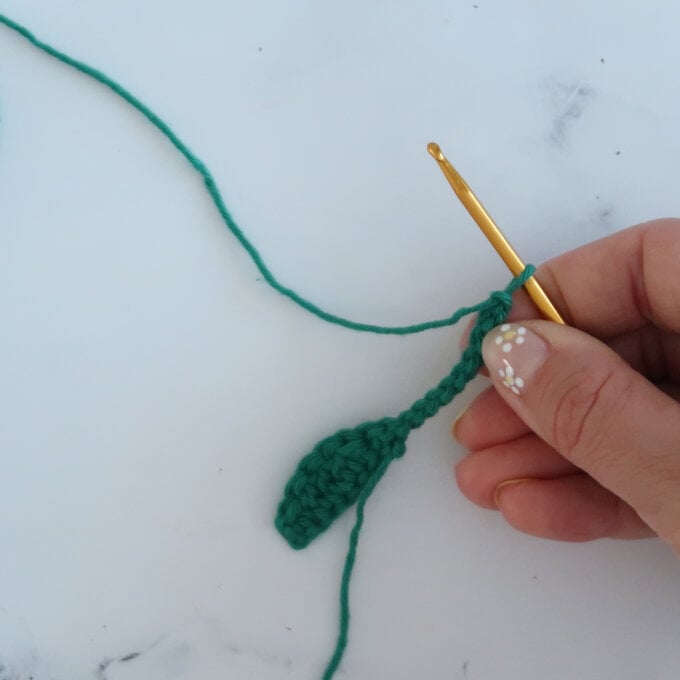
Chain 5
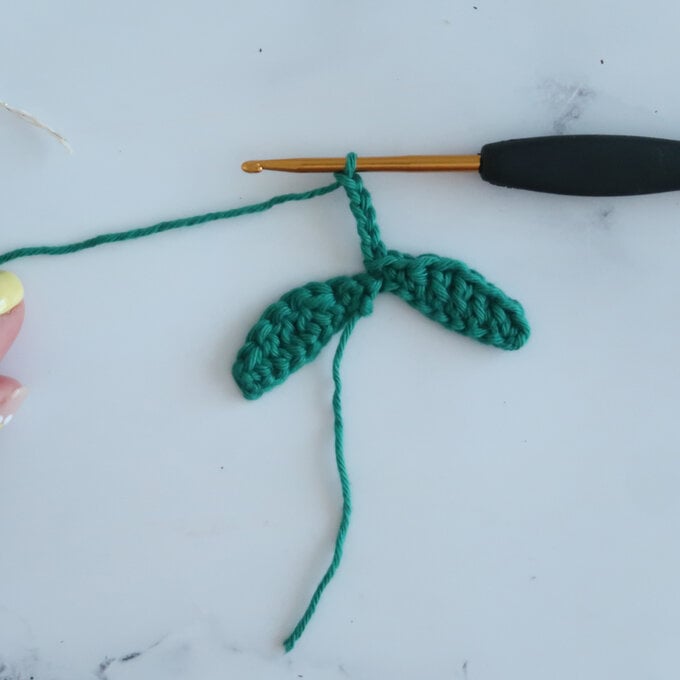
Repeat steps 3-4 to create a 3rd leaf
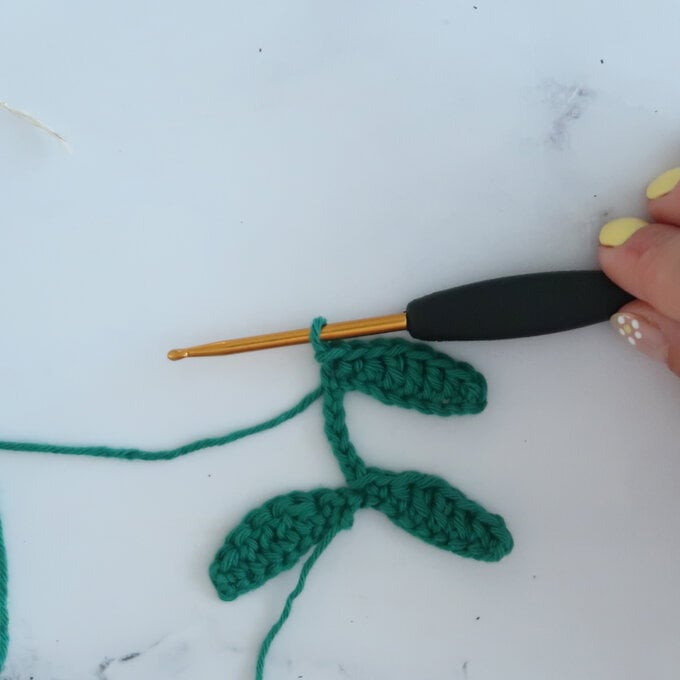
Repeat steps 5-6 to create a 4th leaf, then chain 5, cut yarn leaving a long 15cm tail, and fasten off with a ss.
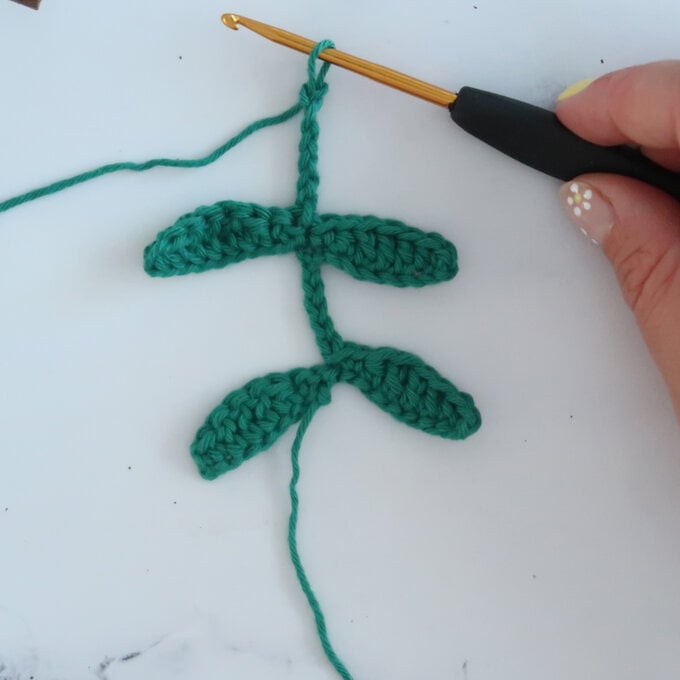
If you are creating more than one mistletoe triangle, vary up the length of the chain in between the leaves, and at the top of the leaves, to create visual interest. Use either ch3 or ch5 when working Step 7 and Step 9.
Using a 3mm hook and white yarn, create a magic loop and work 6dc into the loop.
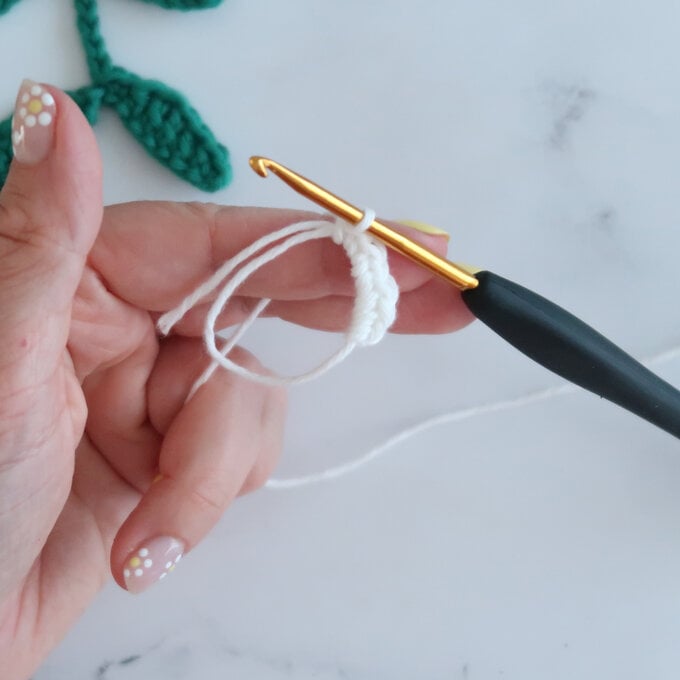
Pull the magic loop closed. (6sts)
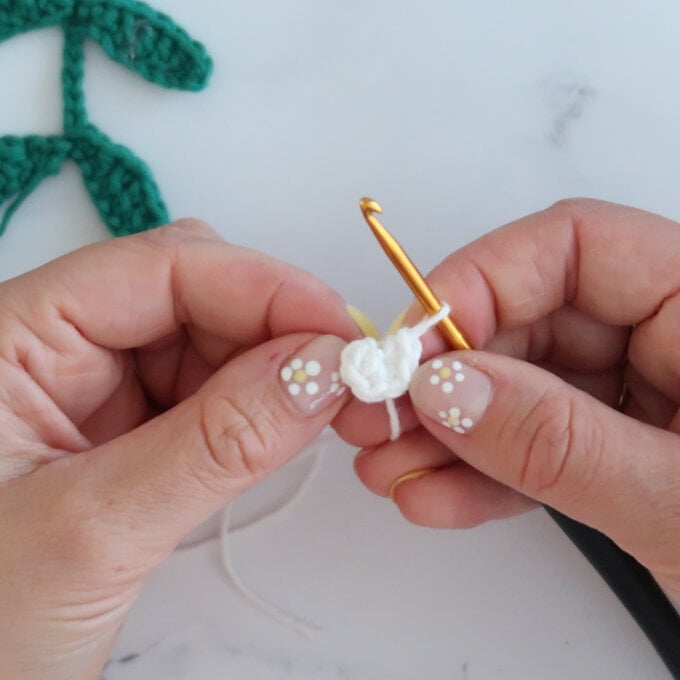
Working directly into the top of the previous stitches without turning or joining, work 2dc into each of the 6dc sts. (12sts)
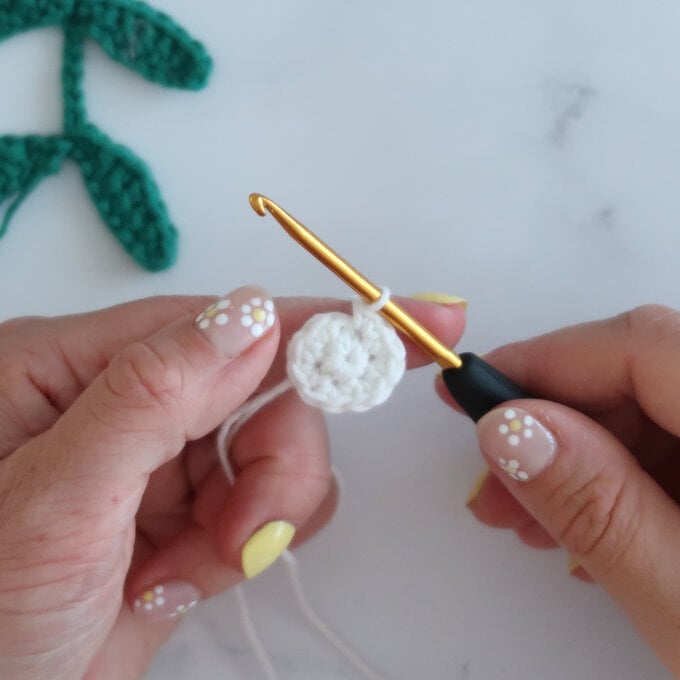
Work 6dc2tog (6sts). Cut yarn leaving a long 15cm tail and fasten off with a ss. Thread the yarn needle with the end of the yarn, then sew in and out around the 6sts remaining, then pull yarn to close the gap and form a berry. Sew in the tail end of yarn to secure, but do not cut short.
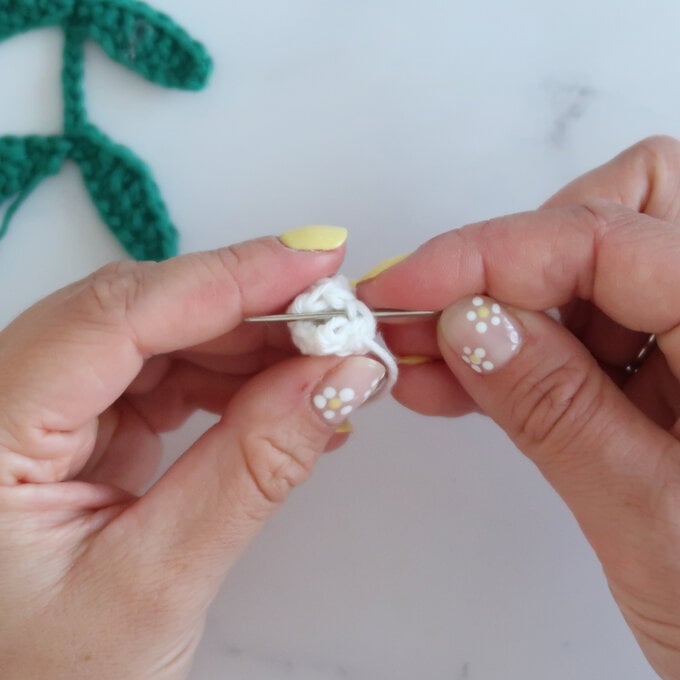
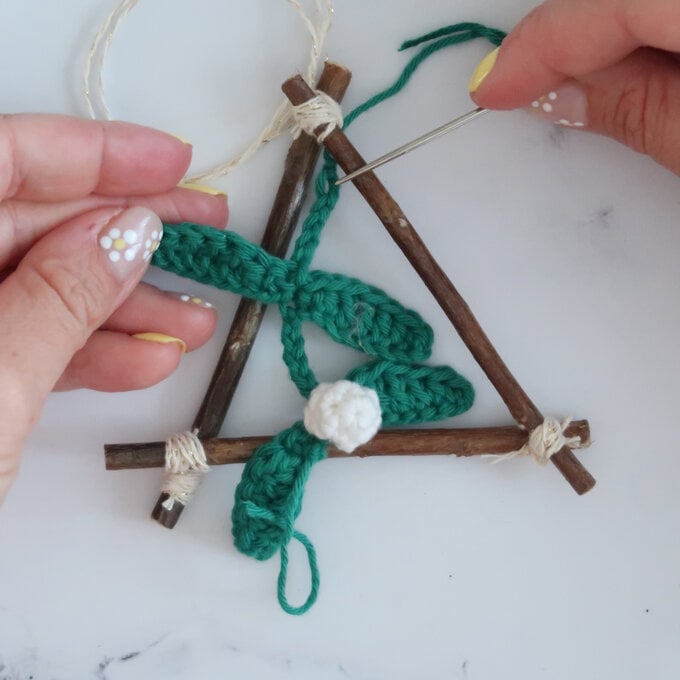
Use the long tail end to sew 1 berry in the centre of a pair of mistletoe leaves per triangle.
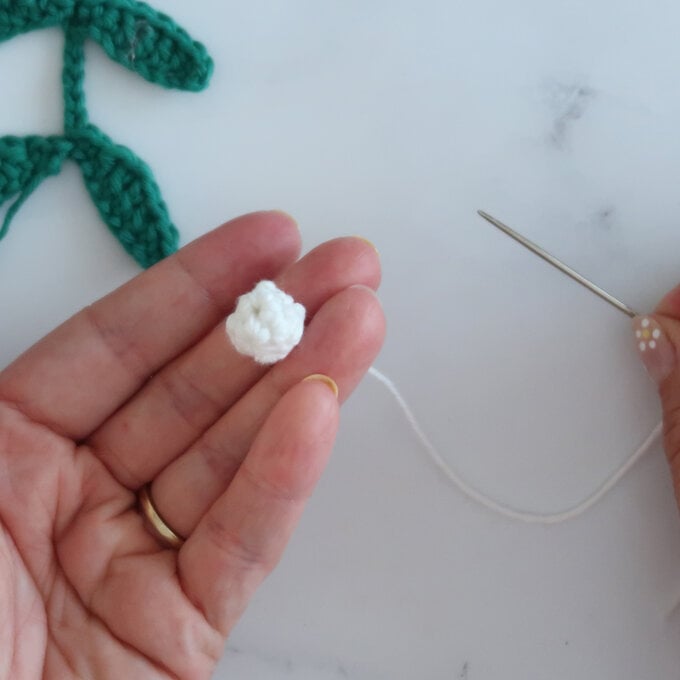
Use the long tail of the green yarn to sew the mistletoe leaves and berry around the top point of the triangle to secure it, and allow the crochet mistletoe to hang down across the front of the triangle.
