How to Make Multi-Coloured Crochet Easter Eggs
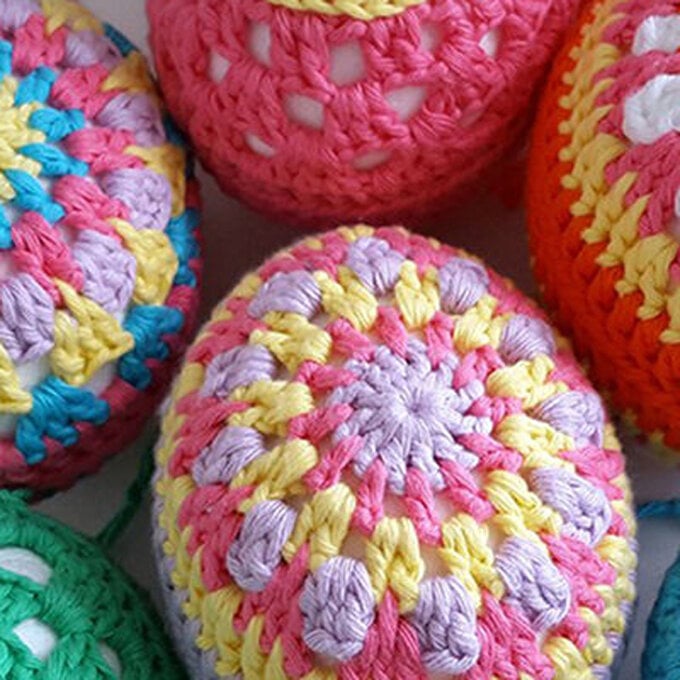
Love making granny squares? Why not try making a granny square egg this Easter.
Pattern designed by Maria
You will need
Subtotal
Is $ 4.49
Subtotal
Is $ 5.49
Subtotal
Is $ 3.49 , was $ 7.49
Subtotal
Is $ 6.49
You Will Need
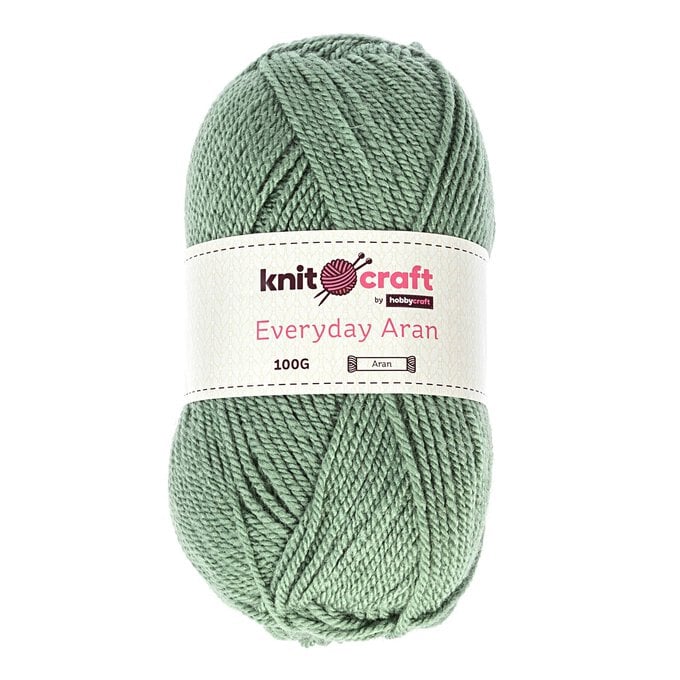
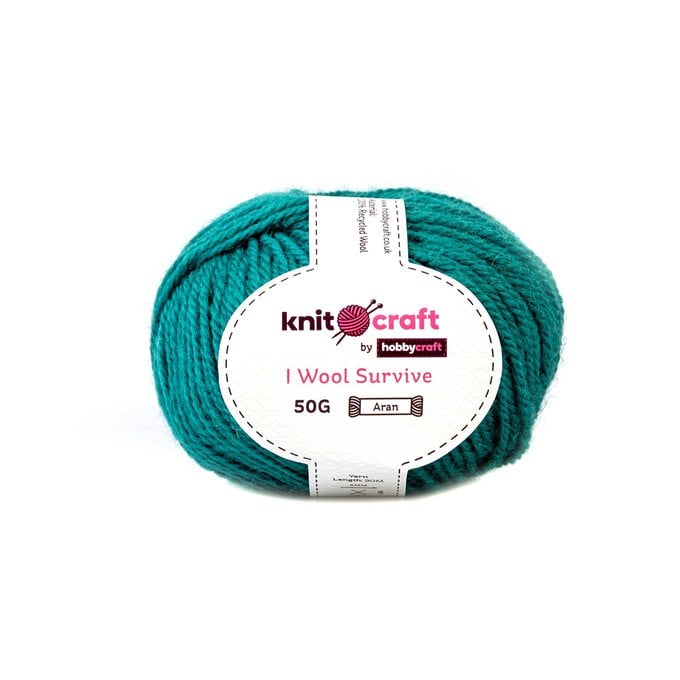
* Cotton DK Yarn in Various Spring Colours
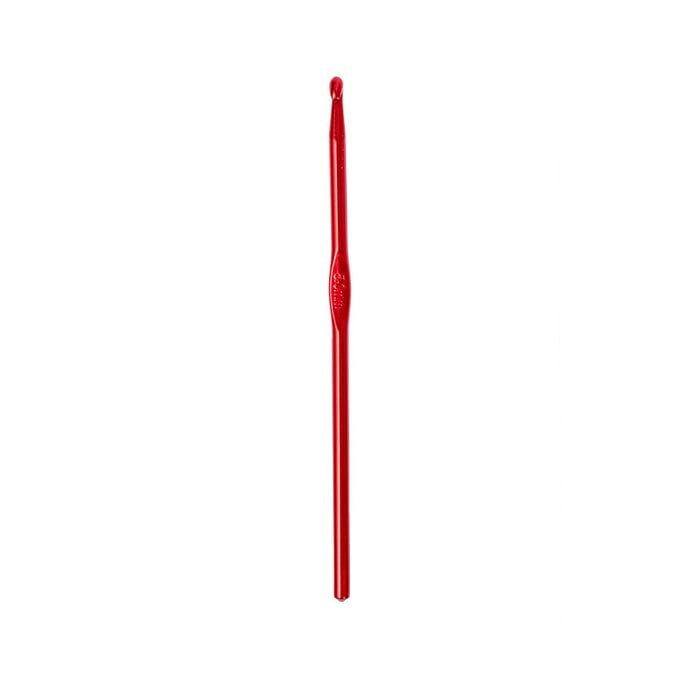
* 5mm Crochet Hook
* Polystyrene Eggs
* Scissors
Abbreviations
Ch - chain
Tr - treble crochet
Htr - half treble crochet
Dtr - double treble crochet
Slst - slip stitch
Stsp - stitch space (the space between stitches)
Sk - skip
St/s - stitch/es
Sp - space
FO - fasten off (fasten and cut yarn, weave in ends)
SP-2 - spike stitch over two rows. For the purposes of this pattern this is a treble which, instead of going into the row you're working into, goes into the row below that, into the stitch space between a set of two trebles in R3. This creates a long treble stitch.
Notes
To make the pattern simpler to follow, I have not specified the chains that count as initial stitches. The first stitch of each round is to be made with chains:
Tr - 3ch
Htr - 2ch
Or a standing stitch: Wrap your yarn around your hook to create an initial loop (you can use a slip knot to secure it), then work the stitch as normal.
How To Make
Make Two
R1: Create a magic ring, 12tr into ring, sl st into 1st st, FO. (12 tr)
R2: (New colour) [htr, ch1] into each st sp, sl st into 1st st, FO. (12 htr between 12 ch1 sp)
R3: (New colour) [2tr, ch1] into each ch1 sp, sl st into 1st st, FO. (12 sets of 2tr between 12 ch1 sp)
R4: (New colour) [3tr, ch1] into each ch1 sp, sl st into 1st st, FO. (12 sets of 3tr between 12 ch1 sp)
R5: (New colour) [tr, SP-2, tr, ch1] into each ch1 sp, sl st into 1st st, FO. (12 sets of (tr, SP-2, tr) between 12 ch1 sp)
R6: (New colour) [2tr into ch1 sp, tr into next 2 st sp] around, sl st into 1st st, FO. (48 tr)
R7: (New colour) Start in 1st tr st from any (2tr into ch1 sp) from R6: 23tr, 4dtr, tr into remaining sts around, sl st into 1st st, FO. (44 tr, 4 dtr)
Alternative Final Two Rounds (Used in the egg featuring sky blue – this gives more of a patterned effect on R6, but also shows more of the polystyrene egg. Which you try depends on your preference, or give them both a go!)
R6: (New colour) [3tr, ch1] into each ch1 sp, sl st into 1st st, FO. (12 sets of 3tr between 12 ch1 sp)
R7: (New colour) [2tr into ch1 sp, tr into next 2 st sp] 5 times, [tr, dtr] into ch1 sp, dtr into next 2 st sp, [dtr, tr] into ch1 sp, tr into next 2 st sp, [2tr into ch1 sp, tr into next 2 st sp] around, sl st into 1st st, FO. (44 tr 4 dtr)
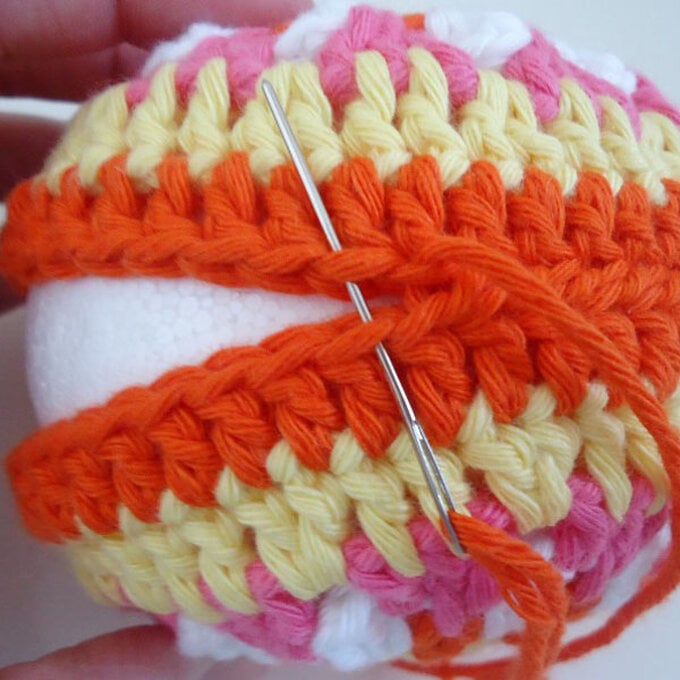
Position both halves around the polystyrene egg, ensuring the 4dtr on each half are at the pointed top of the egg. Cut a length of yarn and sew together through the outside loop of each stitch of the final row of both halves, leaving an end long enough to create a hanging loop at the start and finish of your sewing. Knot your ends together close to the egg to secure your stitching, then knot them at the top to create a hanging loop.
Your colourful crochet egg is complete!
