How to Prepare a Punch Needle Frame
Preparing a frame for punch needle projects is easy to do and allows you to create lots of different sized canvases to suit all your projects. The most important thing when setting up your frame is to make sure your fabric is as tight as possible so you can enjoy the punch needle process.
Follow a few simple steps and you'll be ready to get creative with your punch needle!
Project and instructions by Caroline Jane Creative.
You will need
Subtotal
Is $ 7.49
Subtotal
Is $ 15.00
Subtotal
Is $ 25.00
Subtotal
Is N/A
Out of stock
Subtotal
Is $ 0.49 , was $ 1.49
Out of stock
How to make
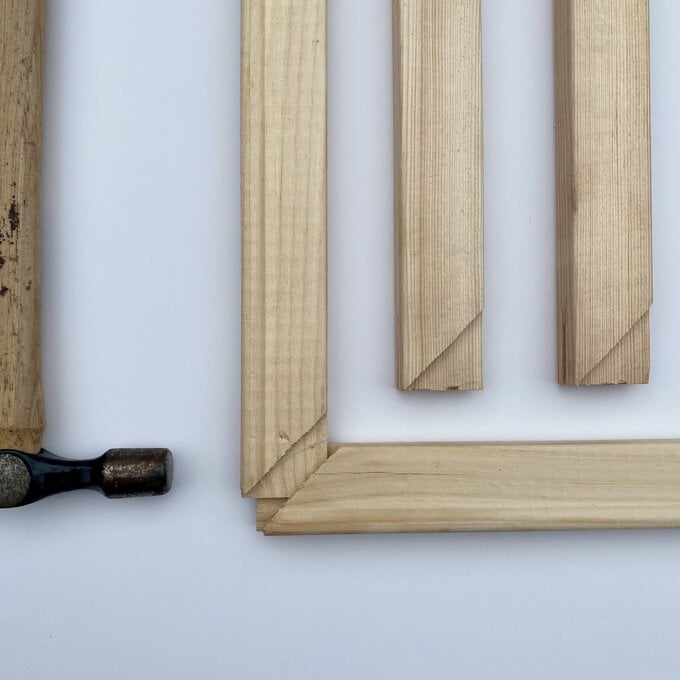
Slot the 4 sections of the stretcher bars together to create a rectangle. Tap the interlocking pieces gently with a hammer so it's a snug fit.
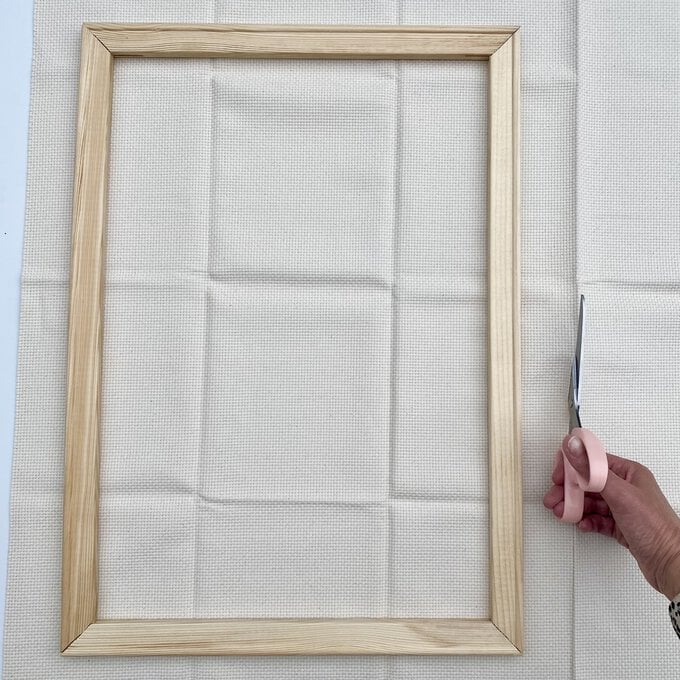
Lay the foundation fabric flat, place the frame on top with the ridged side facing up. Cut the fabric so you have a margin of about 2” of fabric around the edge. Don't worry about the creases, these will be stretched flat.
You will now staple the fabric to the frame. Start at the bottom middle section of the frame. Fold about 1” of the fabric.
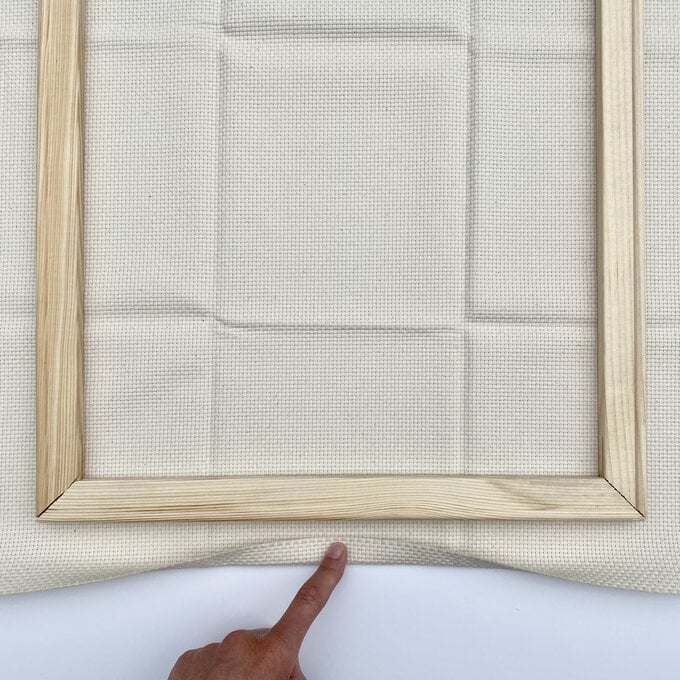
Fold the same section again so the double fold overlaps the frame.
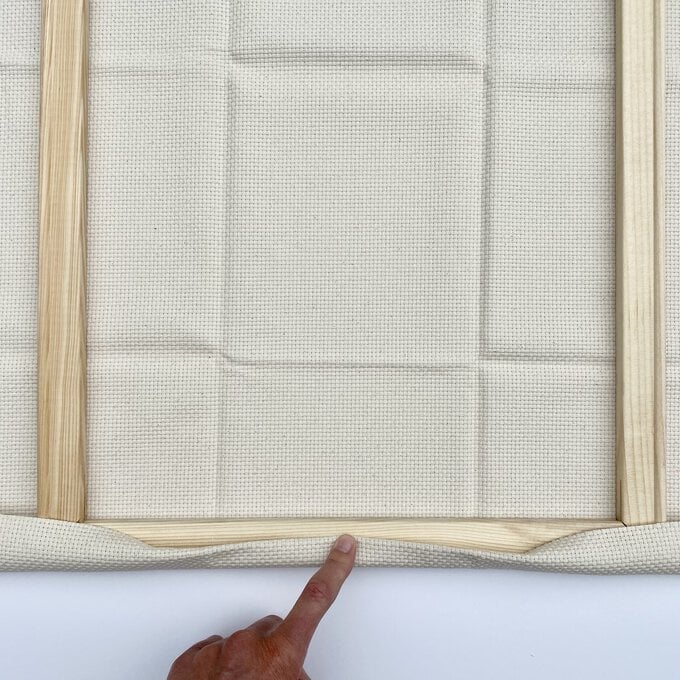
Staple the fabric onto the frame.
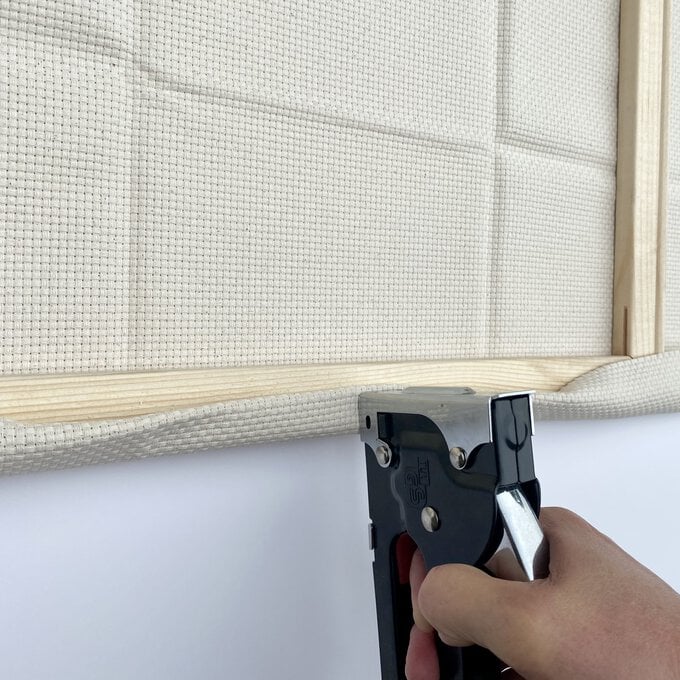
Directly opposite your first staple, fold about 1” of the fabric as before.
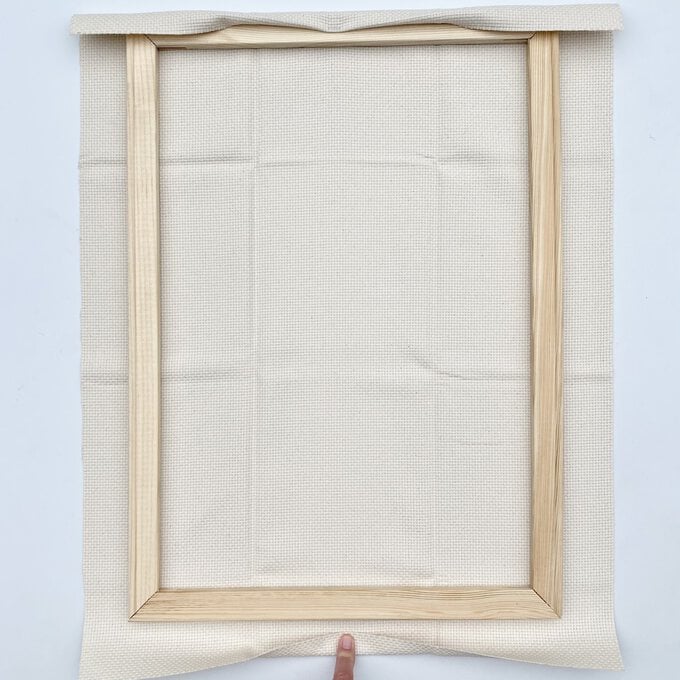
Fold it again, this time pulling the fabric to stretch it tight from the first staple. Staple this section. Try to pull the fabric so it is 'drum tight'.
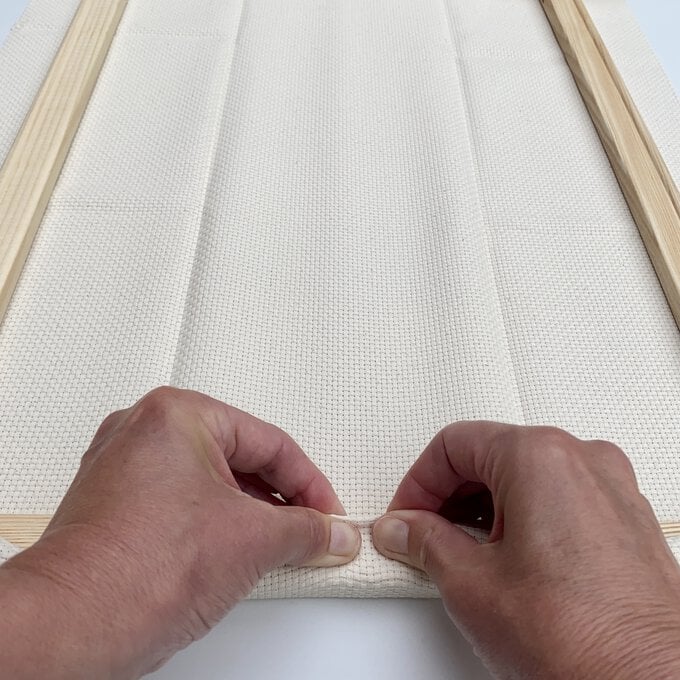
On one long side, fold the fabric twice and staple as before. Don't stretch the fabric at this point.
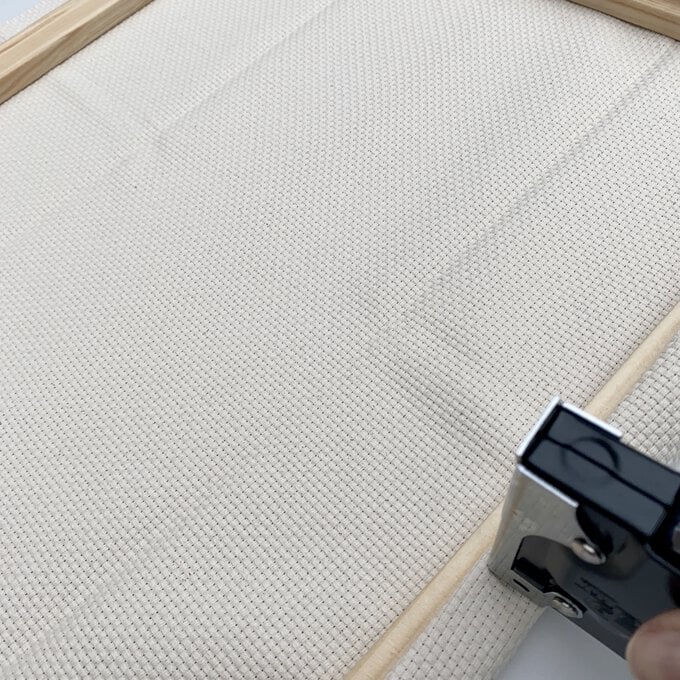
On the opposite long side, fold the fabric twice, but this time pull and stretch the fabric. Staple. You will now have one staple in the centre of each side.
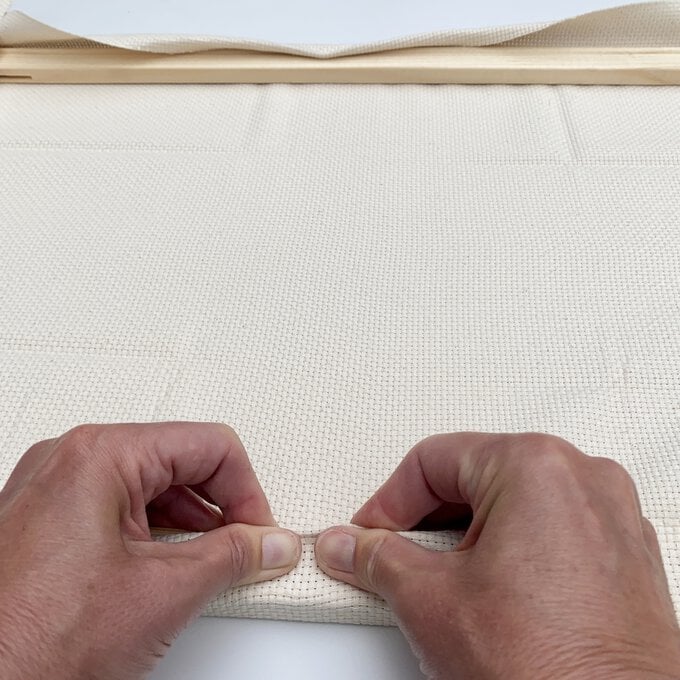
Half way between one of the staples and a corner, stretch the fabric and staple it onto the frame. Directly opposite, stretch and staple the fabric as before. Repeat this on all sides. The fabric should now be getting tight.
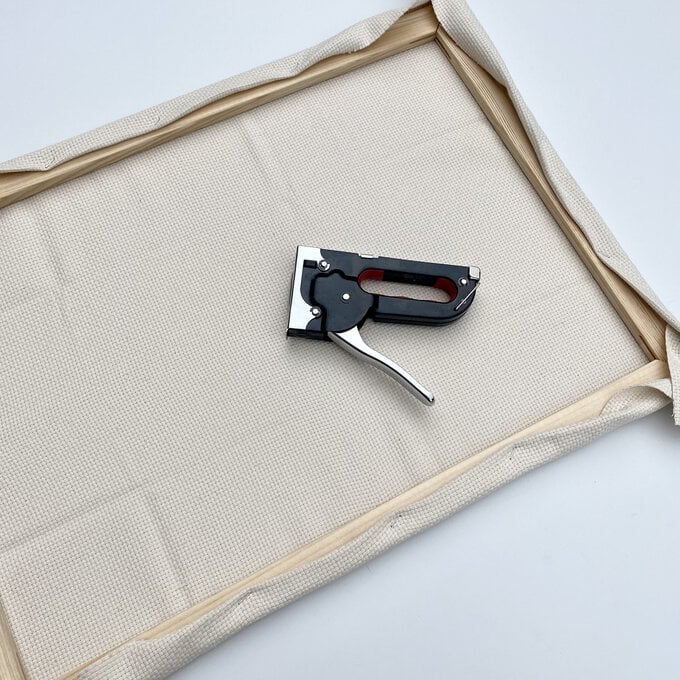
Continue working around the frame, stretching the fabric, placing a staple on one side and then directly on the opposite. Leave the corners at this point. Work at even intervals until you have staples all around your frame about 1” apart.
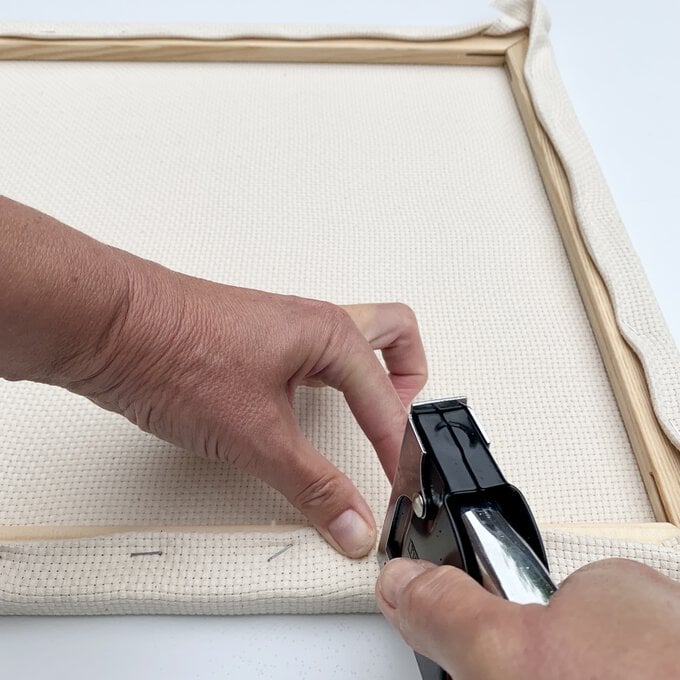
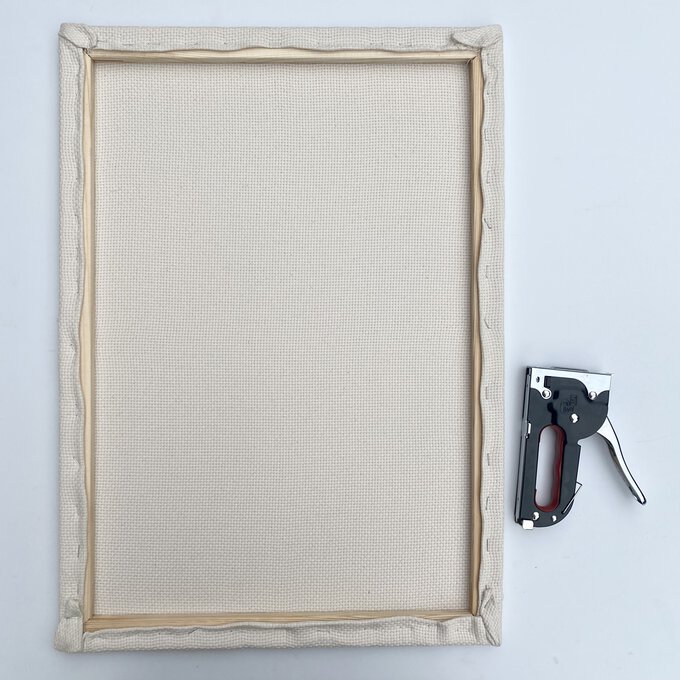
To finish, tuck the fabric in at the corners and secure them with 1 or 2 staples.
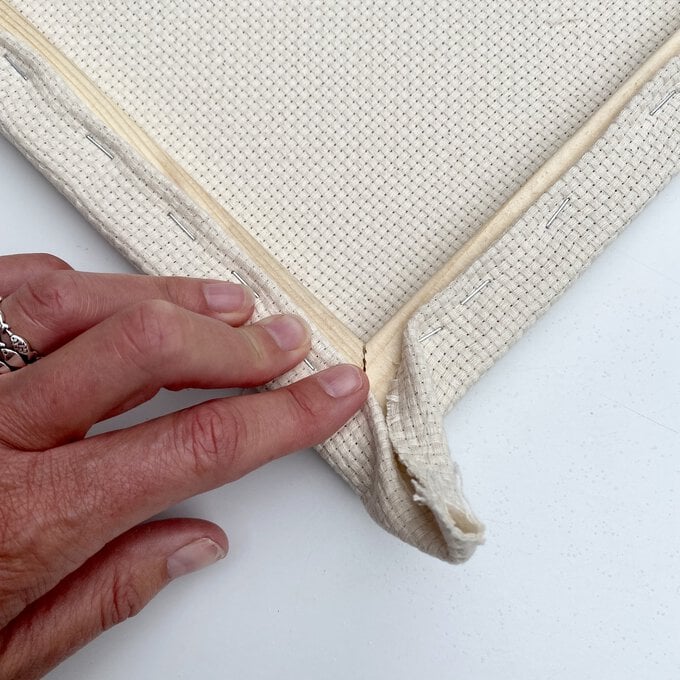
The fabric should now be stretched with evenly placed staples and feel 'drum tight'. Your frame is now ready to punch!
