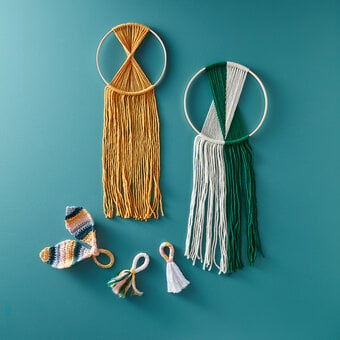
How to Make Abstract Punch Needle Hoop Art
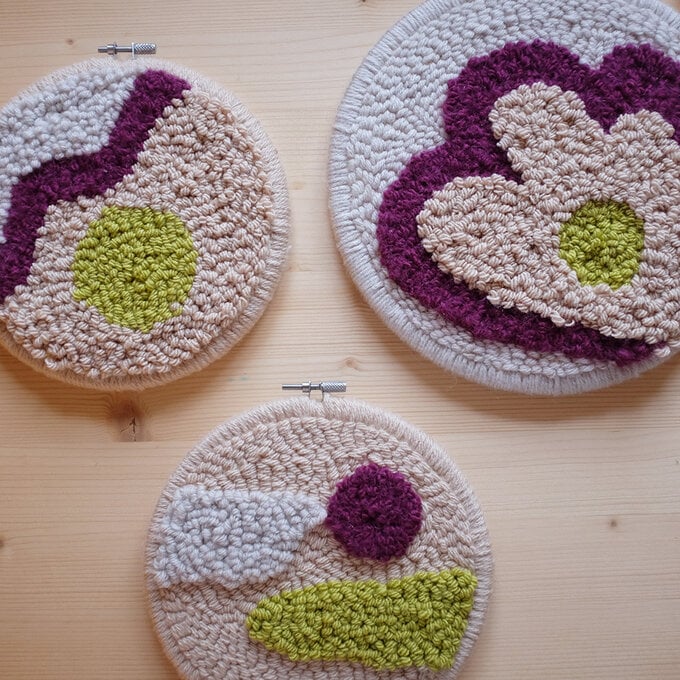
Create a collection of punch needle hoop art, perfect for hanging together in your home. It'll beautifully complement home décor, adding texture and a unique abstract feature to any room.
This project is perfect if you're new to punch needle and want to have a go but aren't sure where to start. The tutorial also shows you how to create texture with a few simple tricks.
Project and instructions by @peasandneedles.
You will need
Subtotal
Is $ 14.00
Subtotal
Is $ 4.49
Subtotal
Is $ 11.00
Subtotal
Is $ 7.49
Subtotal
Is $ 7.49
Subtotal
Is $ 25.00
How to make
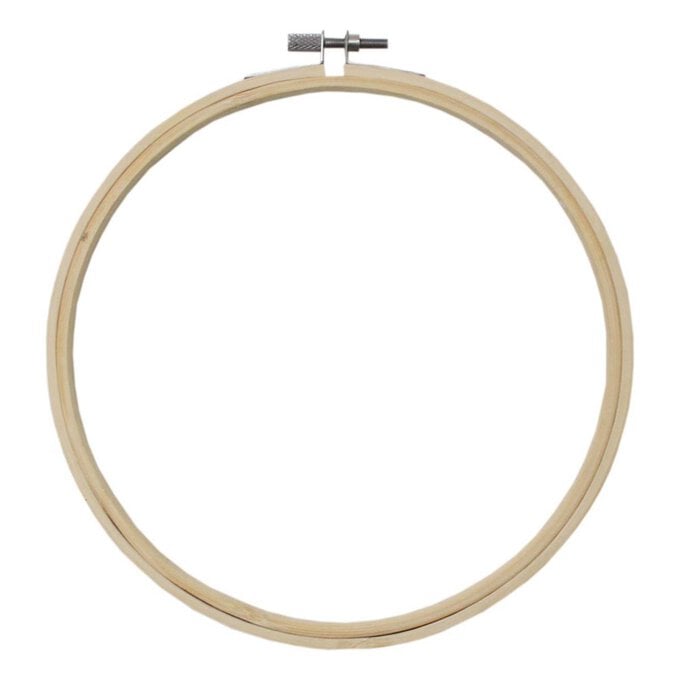
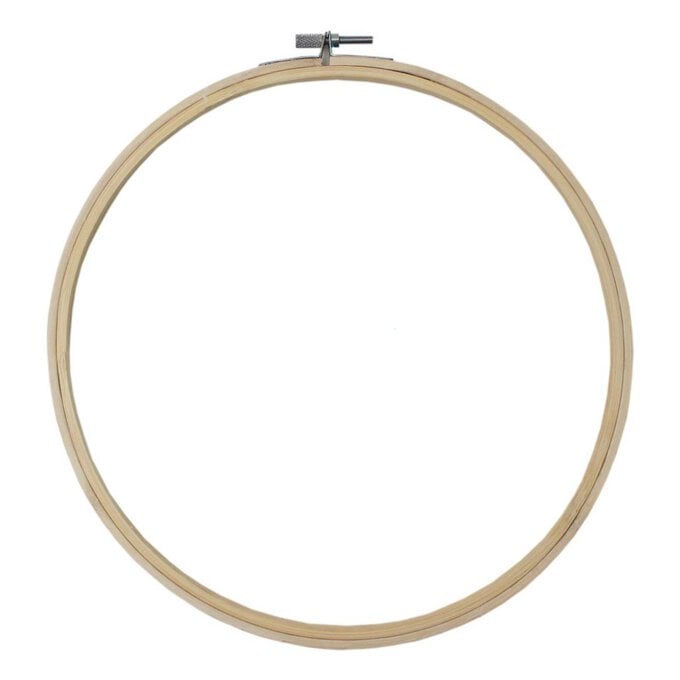
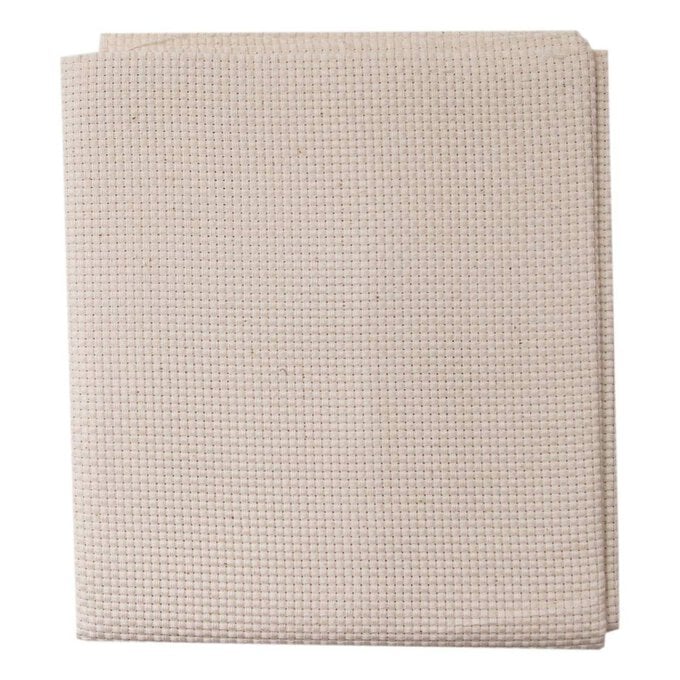
To start you will need to cut your monks cloth so it is 10cm bigger than your embroidery hoops. Undo the embroidery hoops by twisting the metal bar at the top of the hoop.
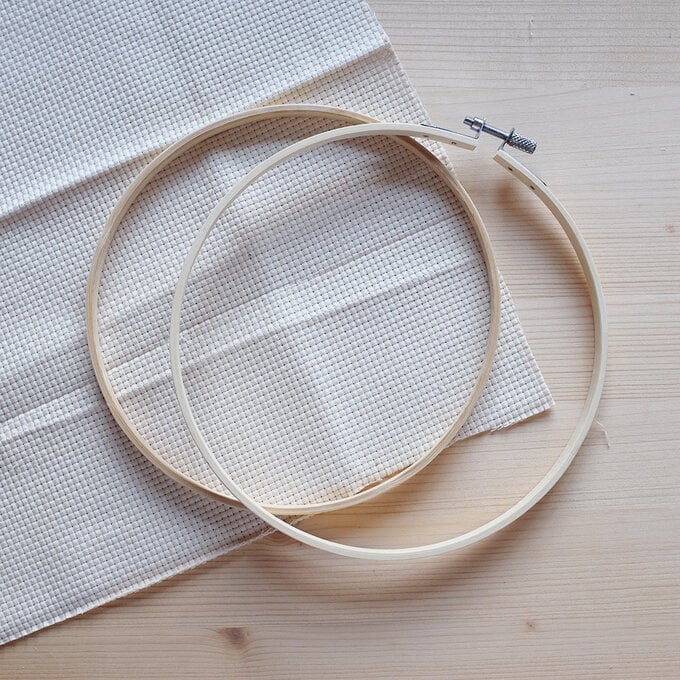
Place the plain ring under the monks cloth. Place the ring with the metal bar over the top.
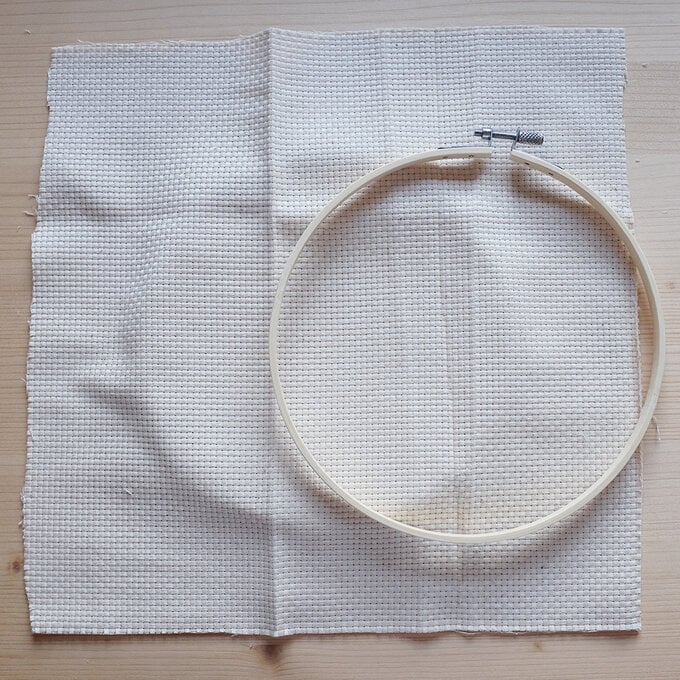
Push the ring down and fasten the metal bar by twisting it as hard as you can. You will want your fabric to be as tight as possible, this will make it easier when it comes to the punch needle.
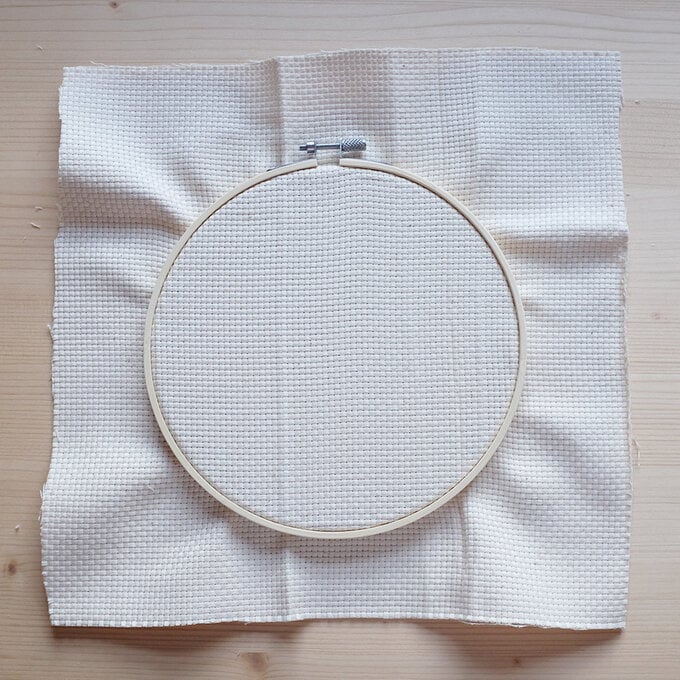
Stretch the monks cloth in all 3 embroidery hoops. The fabric will be nice and tight, a bit like a drum.
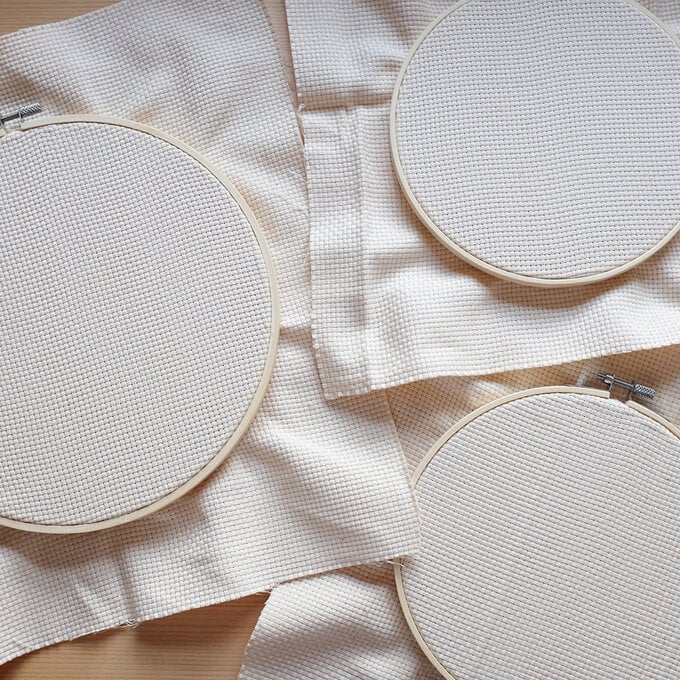
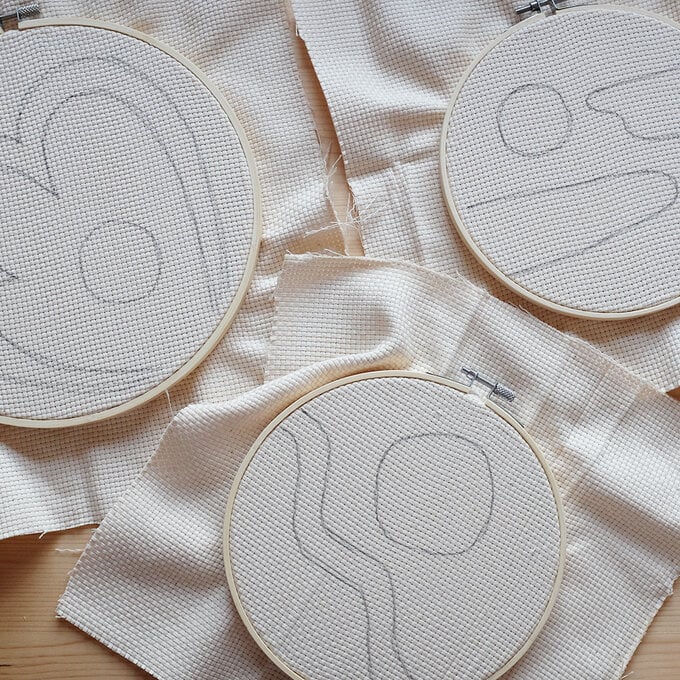
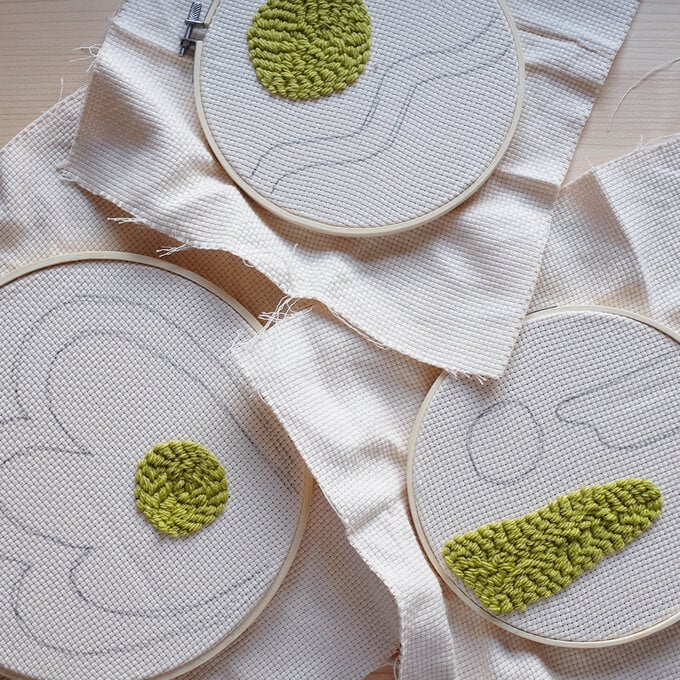
Print off the templates and trace onto your fabric. With your scissors cut out the design and place behind the fabric. If you are finding it hard to see the design hold it up to the window.
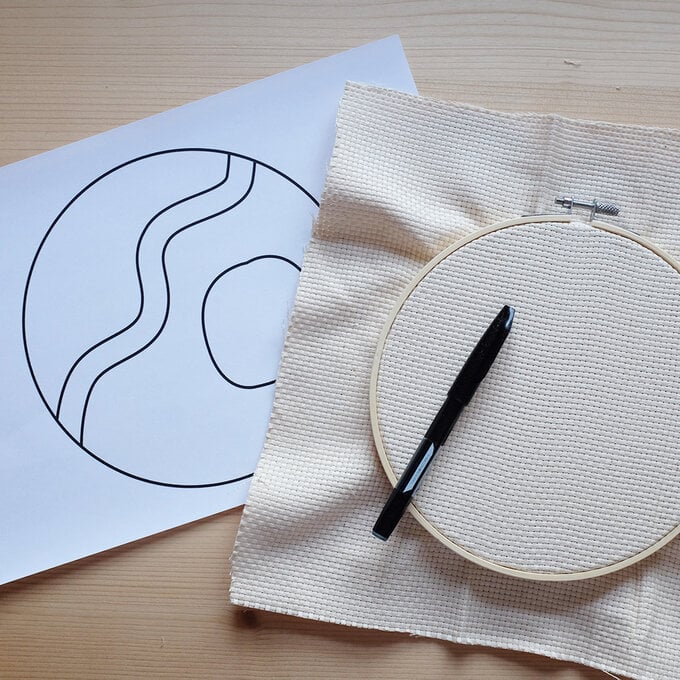
If you don't have a printer you can draw them freehand straight onto the stretched fabric.
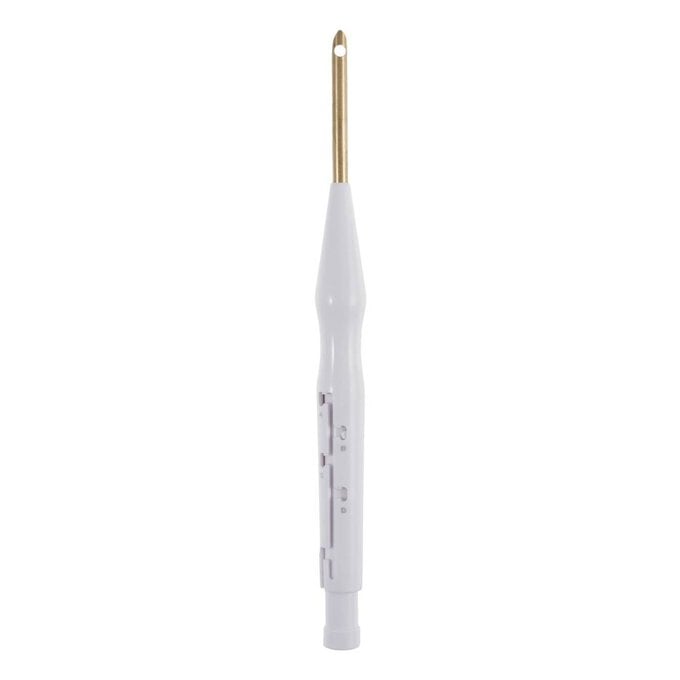
To use your punch needle, insert the yarn threader into the punch needle from the tip. Push it through until the metal loop pokes out the other side.
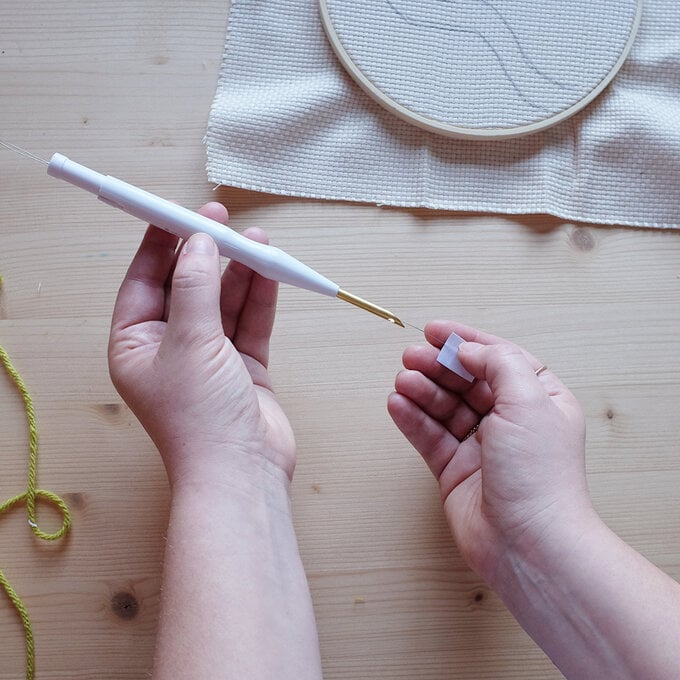
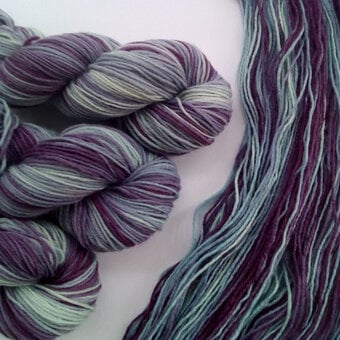
Insert your wool into the metal loop.
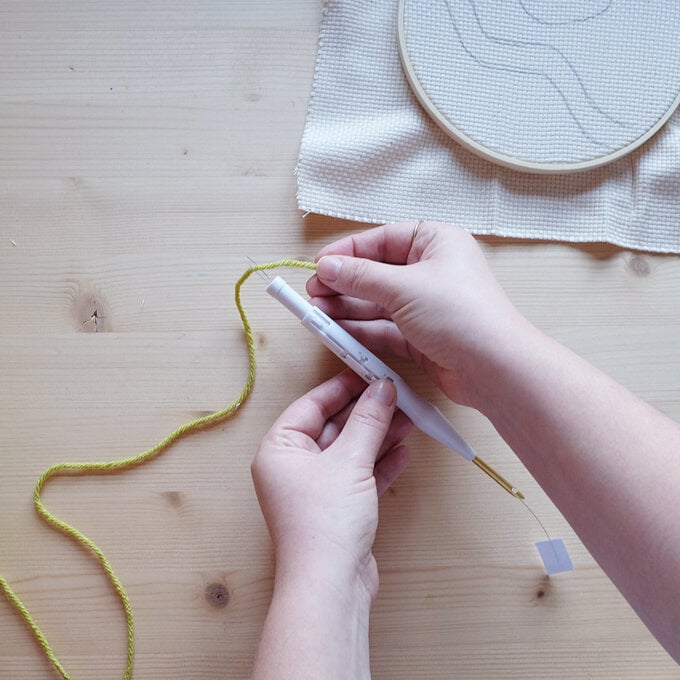
Pull the threader back out of the needle, the yarn will follow and the yarn tail will pop out. Remove the yarn threader.
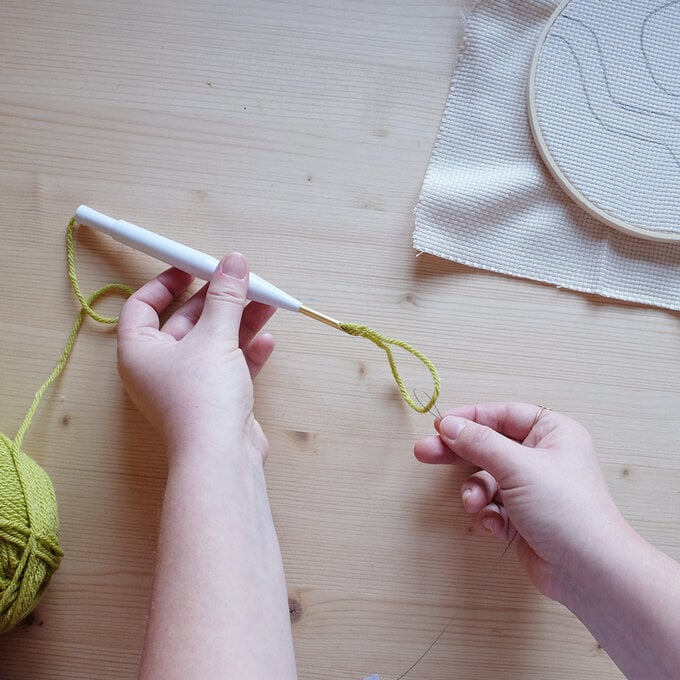
Poke the yarn tail back through the eye at the top of the needle as shown. Pull your yarn through so you have about 10cm showing. This is a really important step and if missed the loops will not form in your work. Adjust the needle so it is on setting C.
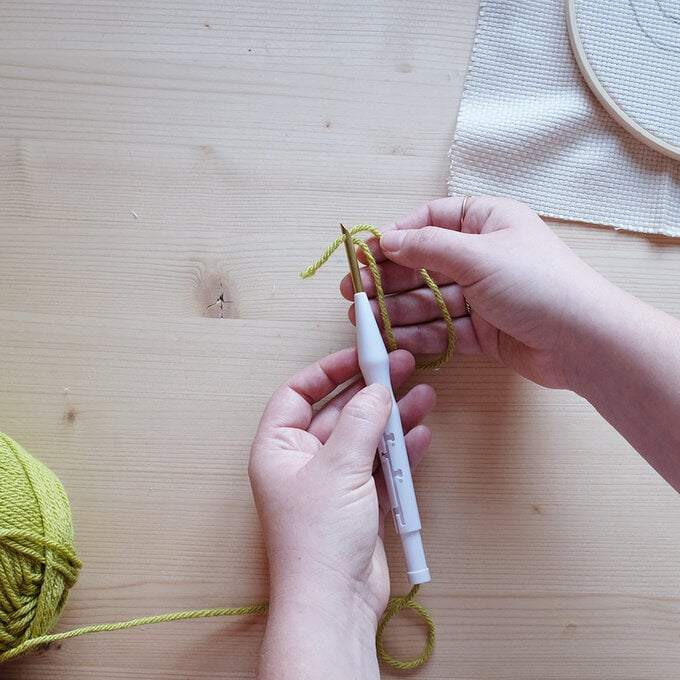
Thread your needle puncher making sure that the wool is threaded through the hole at the top of the needle and coming out the back. This is important as the loops will not stay otherwise.
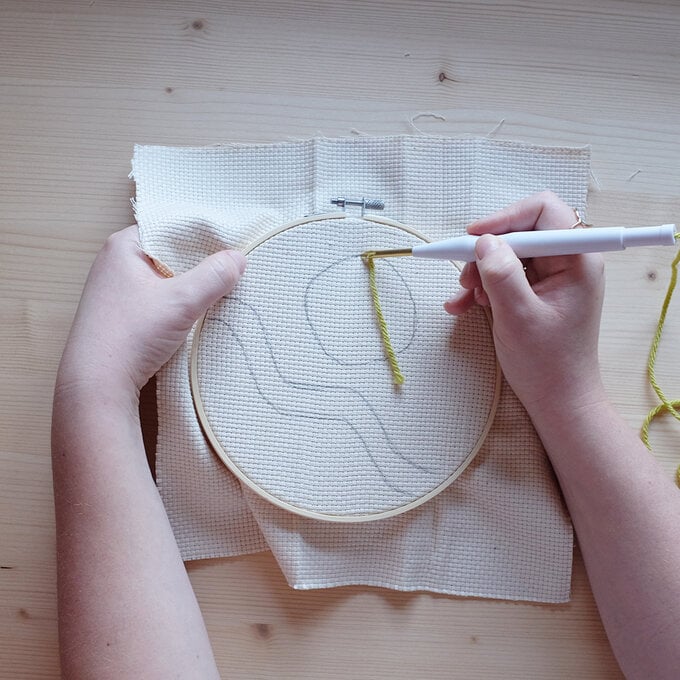
Take the needle and punch down into the fabric until the handle meets the fabric.
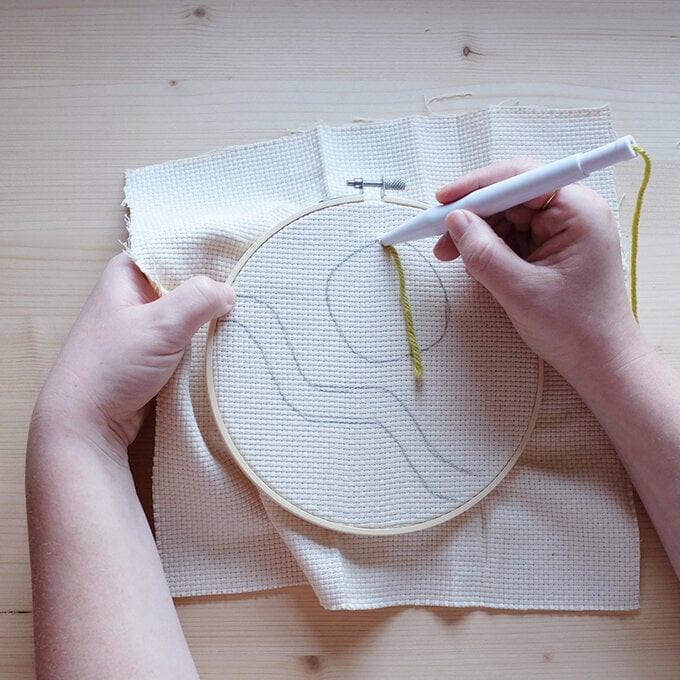
Bring the needle back out and move along roughly 4mm. Be sure to not bring the needle out too far as you will pull the looped wool out. Move your needle along making small running stitches.
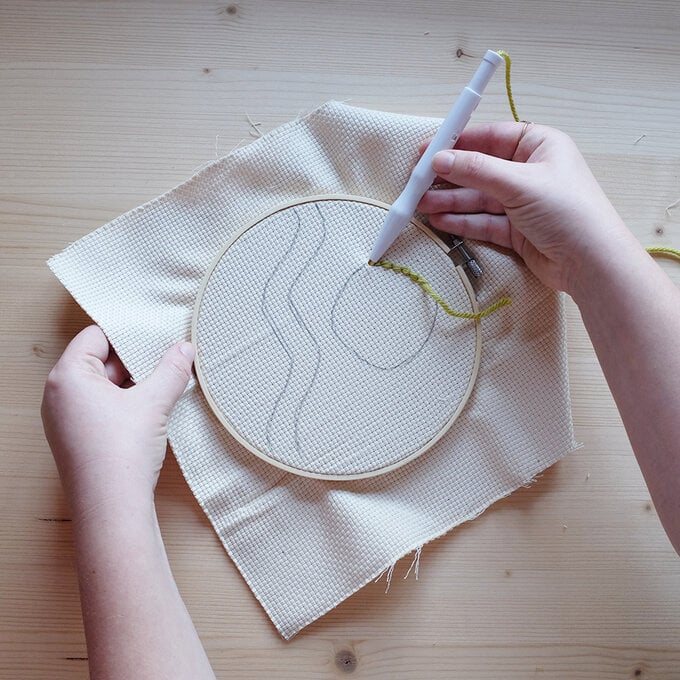
Once you are finished with your stitches, gently pull the punch needle away from the fabric, making sure you catch the yarn with the other hand.
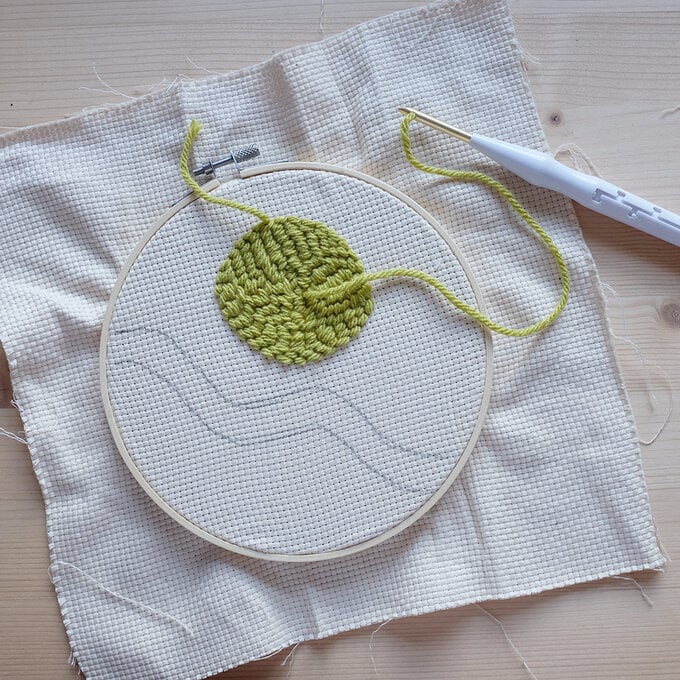
Leaving a 10cm length on the 'front' of your work, cut the yarn. Thread the yarn tail onto your wool needle.
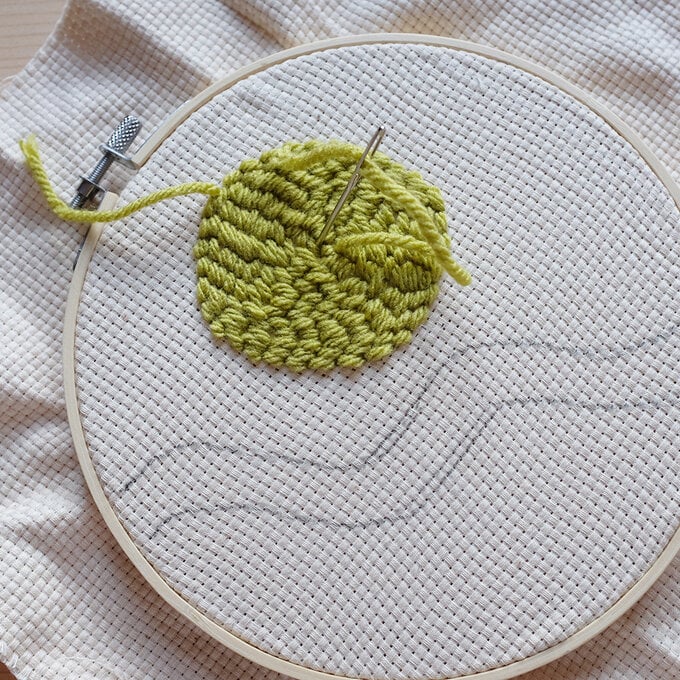
Poke your needle thorough the centre of one of your stitches, pull your needle out the other side (the 'back' of your work). The yarn tail should now be anchored as it is 'squished' inside the stitch.
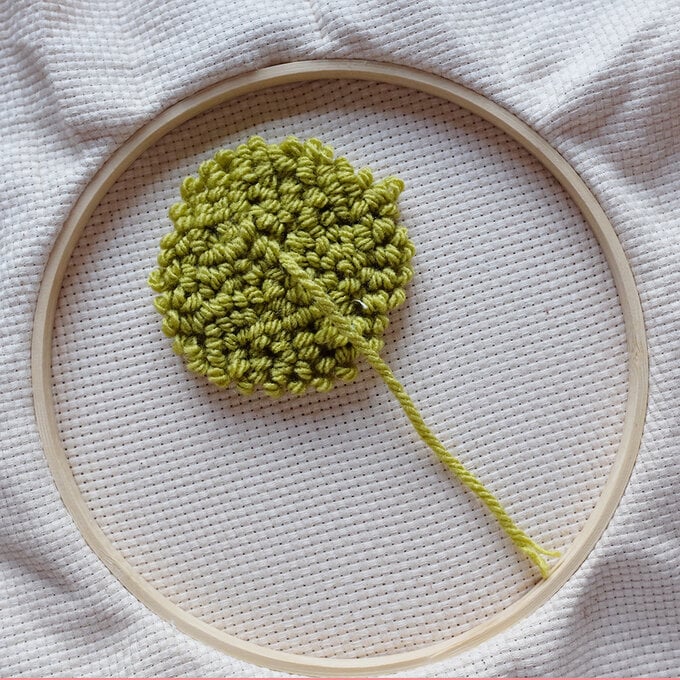
Cut off the excess yarn flush against the loops on the 'back' of your design.
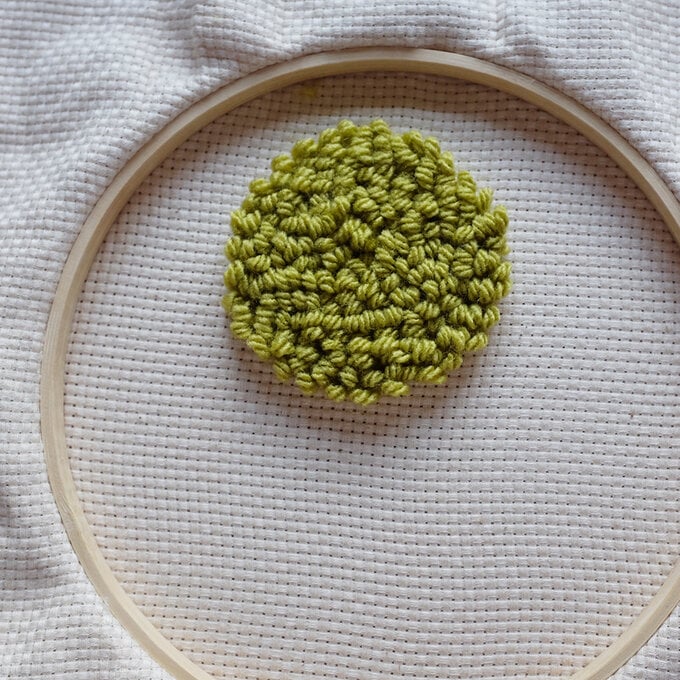
Repeat the above steps with all the green sections. This will save you time taking the wool out of the needle each time.
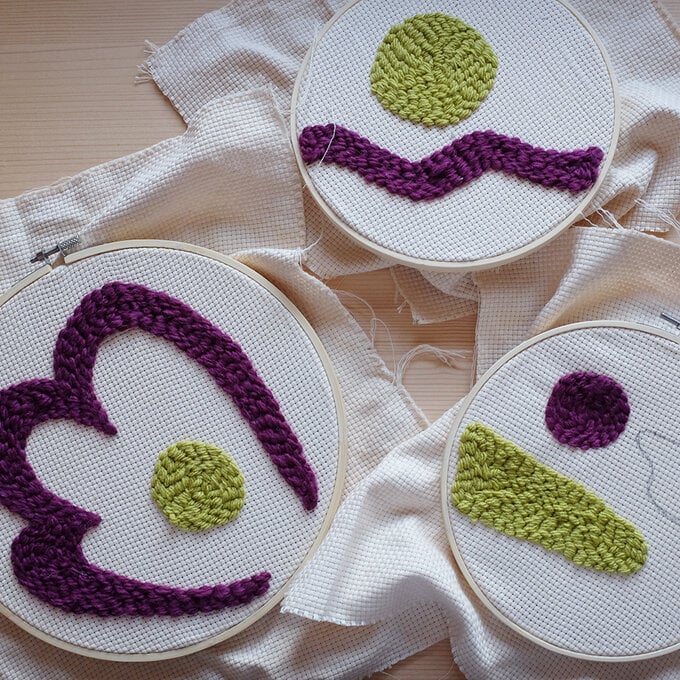
Repeat the above steps with all the purple sections.
To add some texture to the flower design, adjust the needle to setting D. Once you have punched this section you will notice the loops are longer than the purple and green sections.
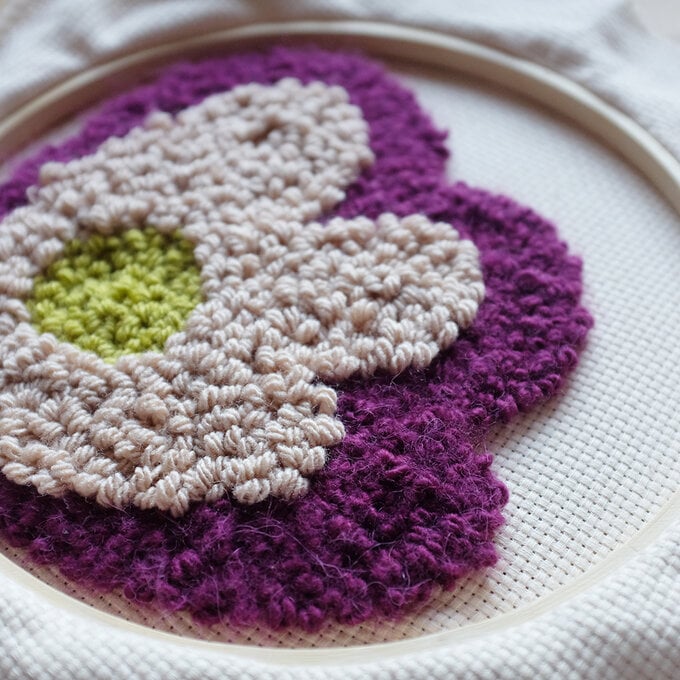
To add more detail, remove the fabric from the hoop and turn over. This time you will stitch on the 'front' of your design. This will mean the embroidery stitches will form you background. This will make the loop sections really stand out.
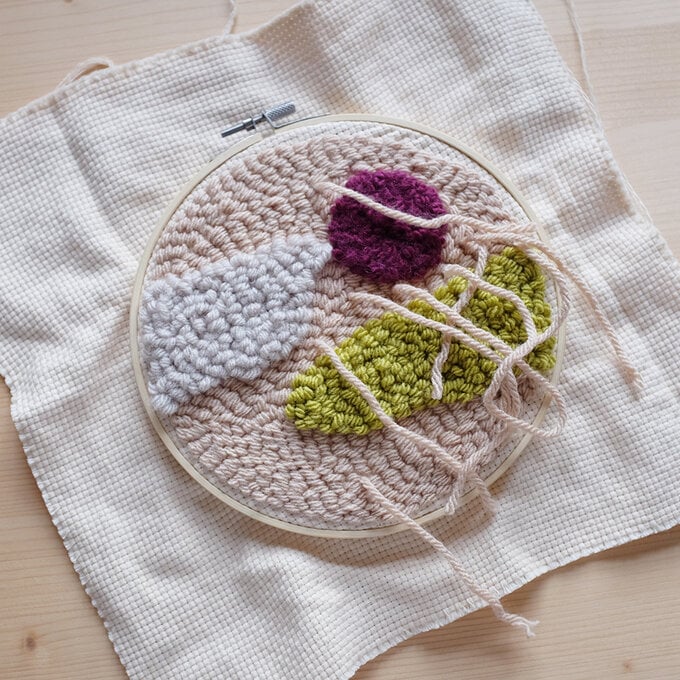
If you want to keep to all loops just keep stitching on the one side, when you turn it over your design will look like this.
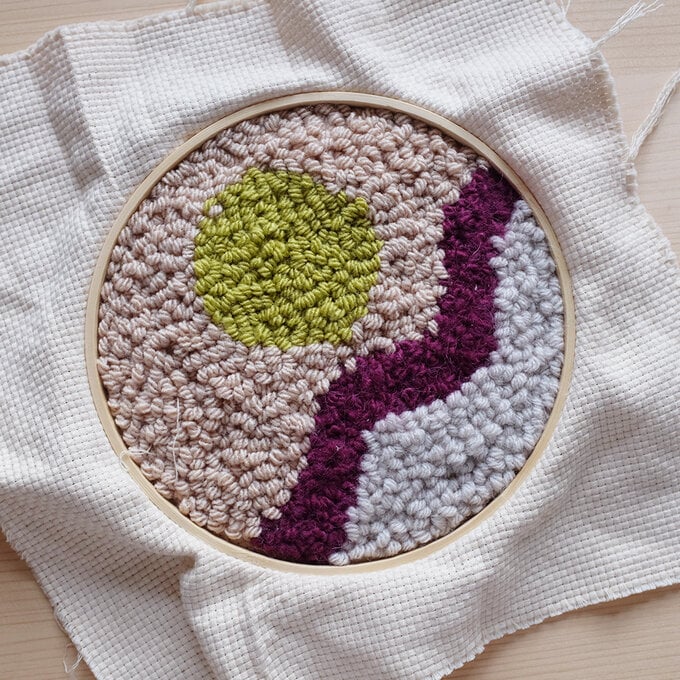
Once finished, take the fabric out of the hoop and turn over. This will help make your loops and designs stand out.
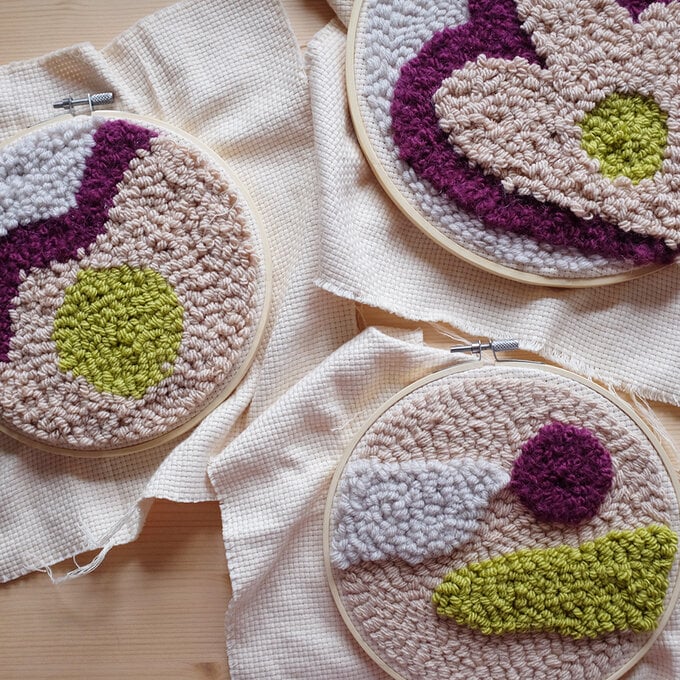
If you notice that some of your lines are a little messy, use the tip of your punch needle to separate the loops, this will help to create a clean line.
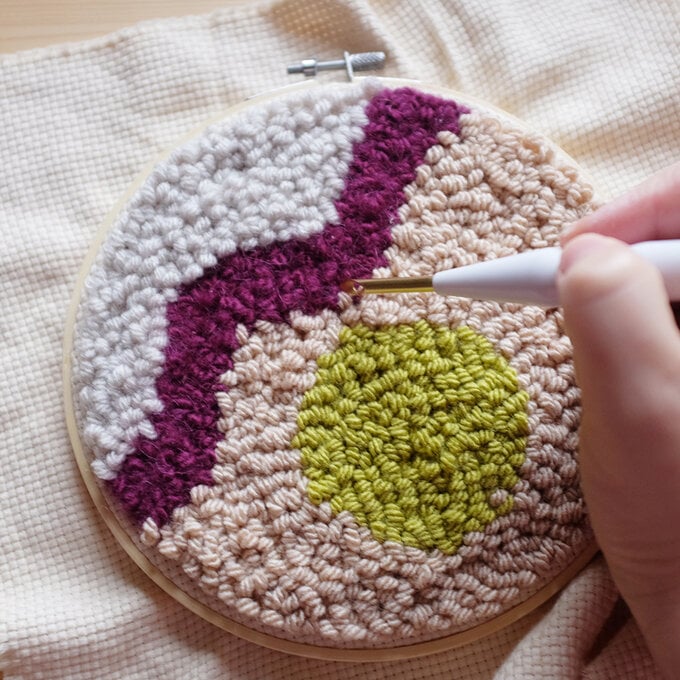
To bind the hoops, trim your fabric so you have 1cm all the way around.
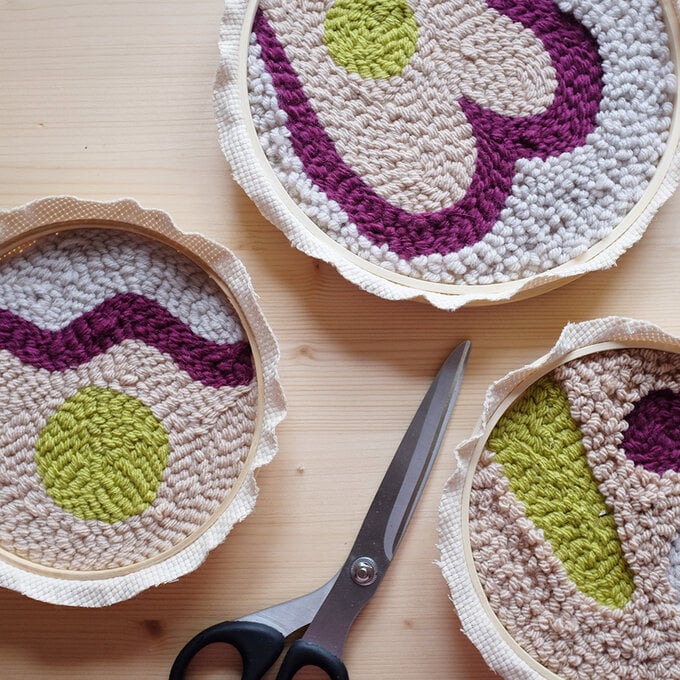
Thread your wool needle with the wool that matches the background. I have doubled up my wool so it's a little quicker to sew. Tie a knot in the end thread from the back. Keep sewing around the wooden hoop, catching the fabric as you go. This will create a lovely neat finish.
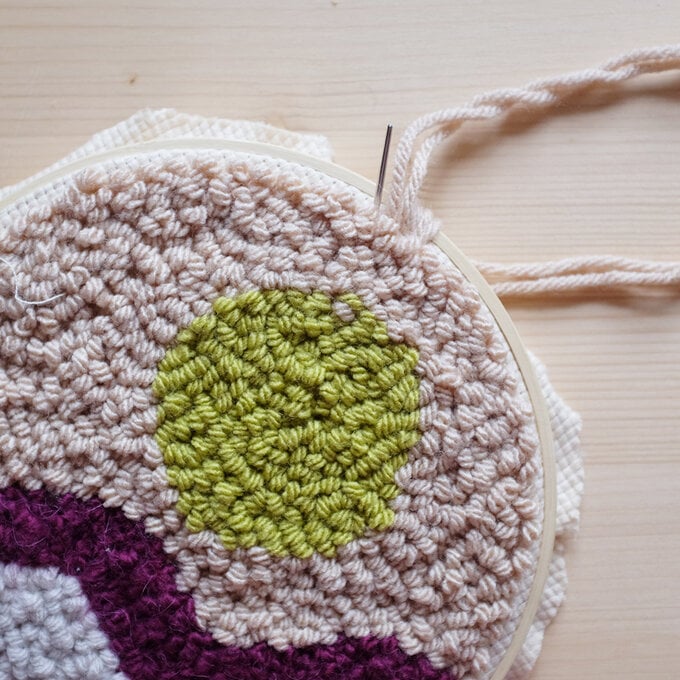
Once you have bound all your hoops they are ready to hang.
