How to Make a Valentine's Scrapbook Layout
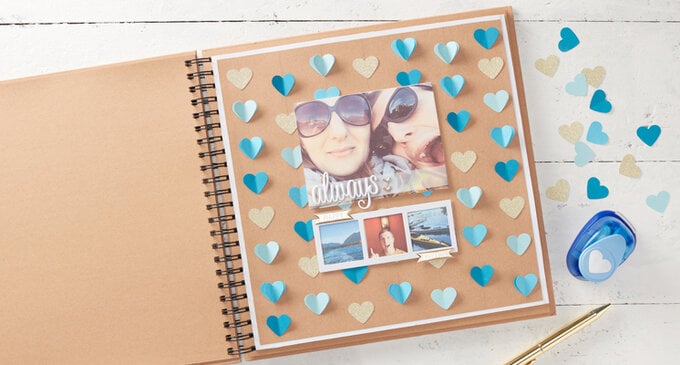
Cherish memories of adventures gone by with that someone special in your life, with this super-simple Valentine's scrapbook layout - it would even look great displayed in a box frame. We've opted for a 12 x 12" layout, however the design can easily be tweaked to fit an 8 x 8" page, simply use a smaller craft punch and reduce the size of your images.
You will need
Subtotal
Is $ 15.00 , was $ 20.00
Subtotal
Is $ 6.49
How to make
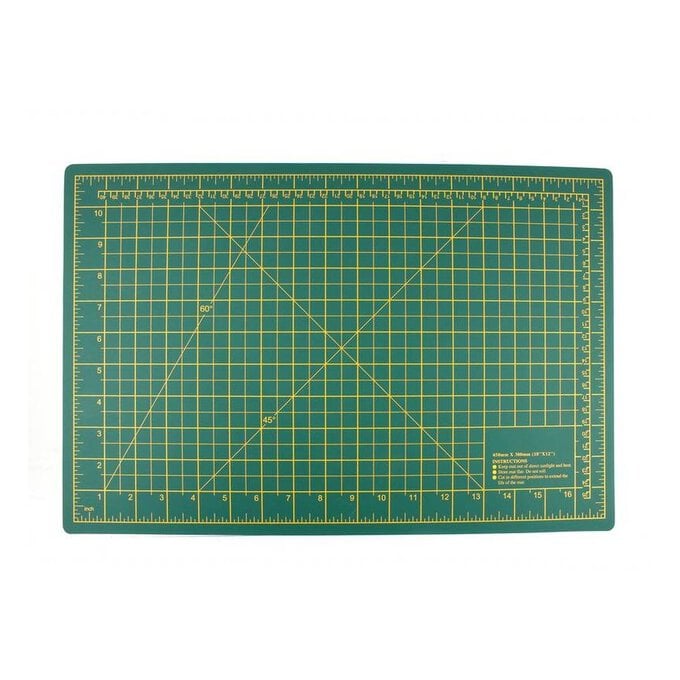
Remove a page from the scrapbook and trim to 27.5cm square. Place the sheet onto a cutting mat, at the 2, 6, 10, 14, 18, 22 and 26cm marks draw a vertical line to the top of the page with a pencil and ruler.
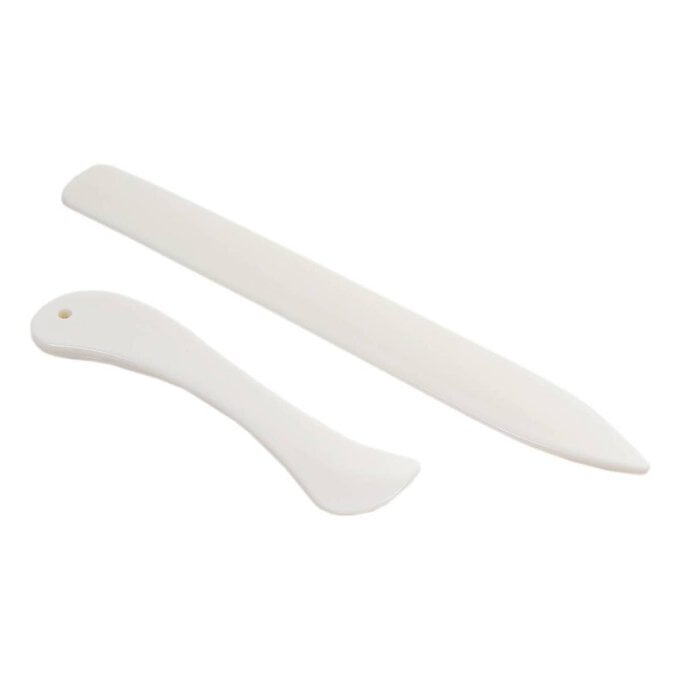
Punch a selection of hearts from gold glitter, and three different colours of blue (light, medium and dark) card. Fold each blue heart in half using a paper creaser to ensure nice crisp folds.
Position the hearts on top of the pencil drawn lines. Once happy with the layout secure each in place using a glue stick to secure the gold hearts and a glue pen along the fold on the blue shapes. Once the hearts are secure, use the glue pen once more to secure additional matching hearts on top of the light and medium blue shapes.
Select one main image for your layout and print 13.5 x 10cm. Secure a strip of vellum along the bottom of the image and add the 'always' sentiment along with two gold chevrons.
To create the film strip, trim a 13.5 x 5cm rectangle from white card stock, then cut three identical 4cm square apertures and add images behind.
Secure the images centrally to the layout with foam pads, then add the 'happy' and 'together' sentiment stickers.
Mount the layout onto a 28.5cm square sheet of white cardstock, then add into your scrapbook – we used foam tape to create a little extra dimension.
