How to Embroider: Beginner Stitch Guide
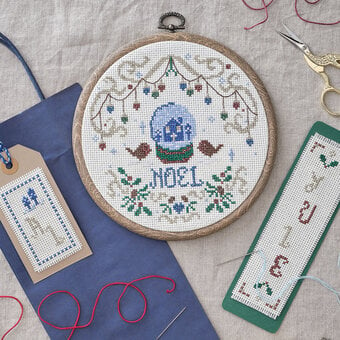
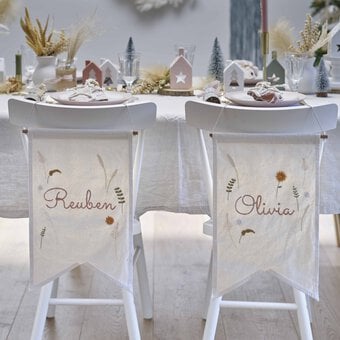
A classic craft that's easily customised to suit your every idea, embroidery helps you create works of art one stitch at a time. From personalised patches for clothing and accessories to unique gifts and home décor, embroidered designs will add stunning decorative detail to anything you choose.
Embroidery is also a fantastic way to enjoy mindful crafting, with endless projects that are certain to aid your concentration and help you relax.
With a few starter stitches, you'll be able to start creating stunning embroidery work.
Project by Katherine Lucy Creates
You will need
Subtotal
Is $ 7.49
Subtotal
Is $ 4.49
Subtotal
Is $ 2.49
Subtotal
Is $ 2.49
Subtotal
Is $ 2.49
Subtotal
Is $ 12.00
Subtotal
Is $ 12.00
Subtotal
Is $ 96.00
How to make
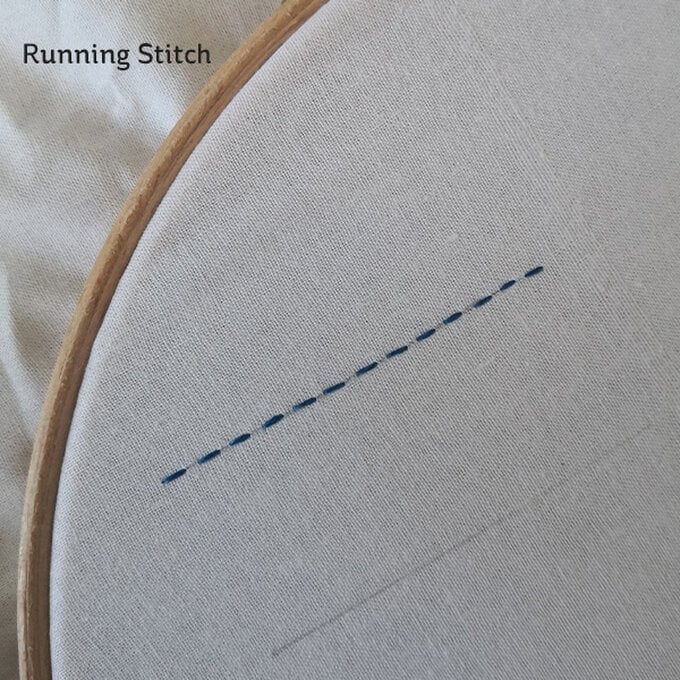
Take the needle in and out along the line being stitched. Keep the stitch length even on the top, short stitches on the back will make the front stitches closer together and vice versa.
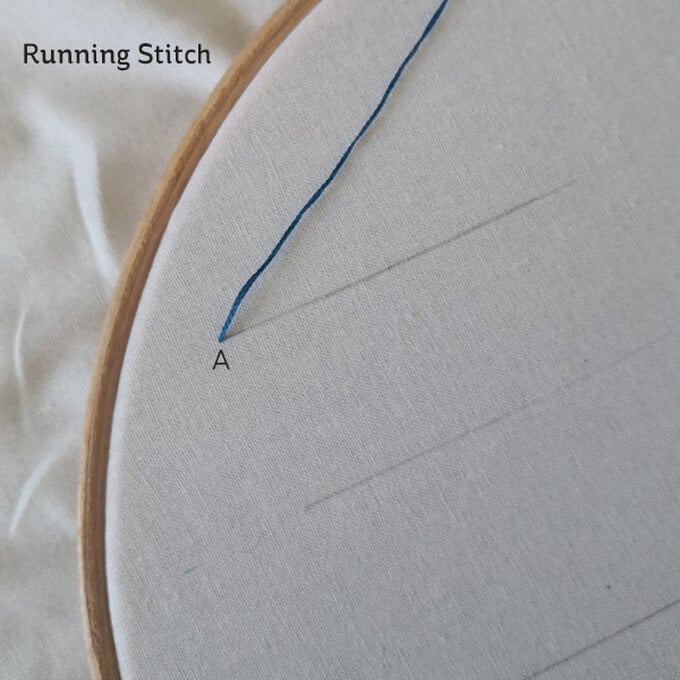
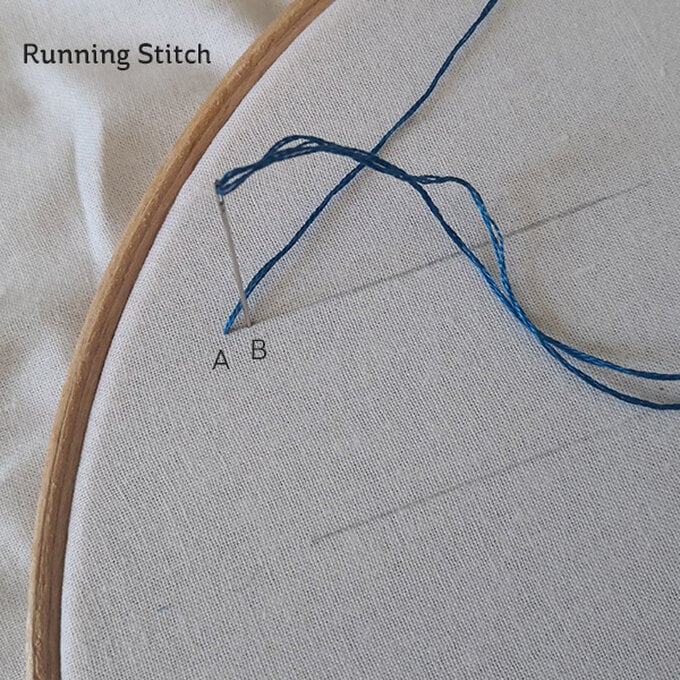
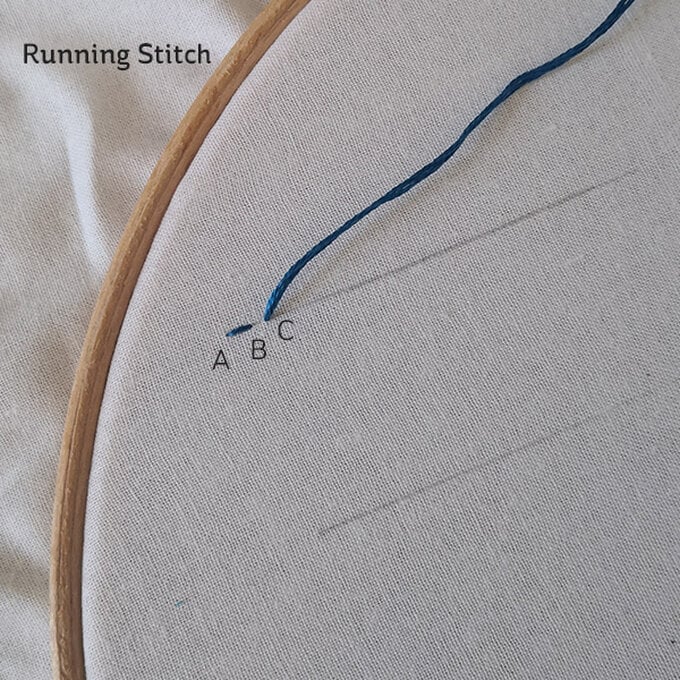
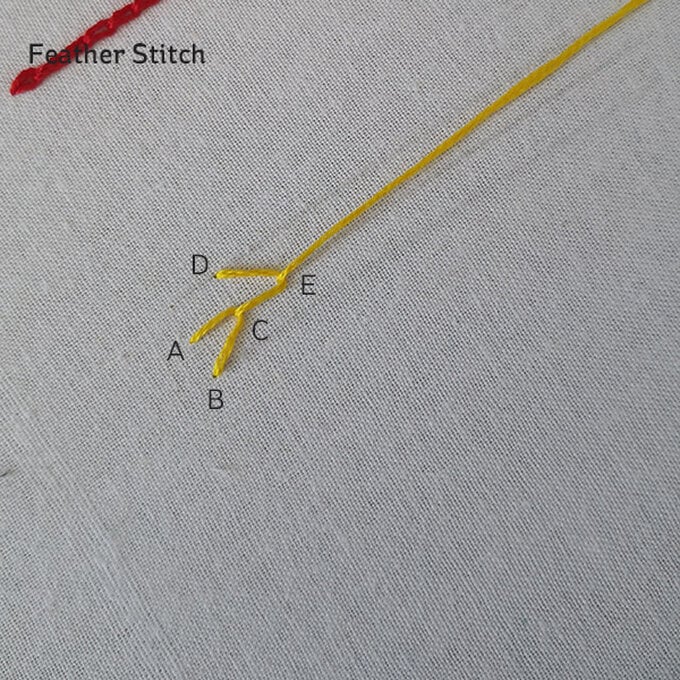
Work from right to left, bring the needle out at A. Insert the needle at B and come out at C. Insert the needle at A again and come out at D. Repeat the sequence to continue, keeping an even stitch length.
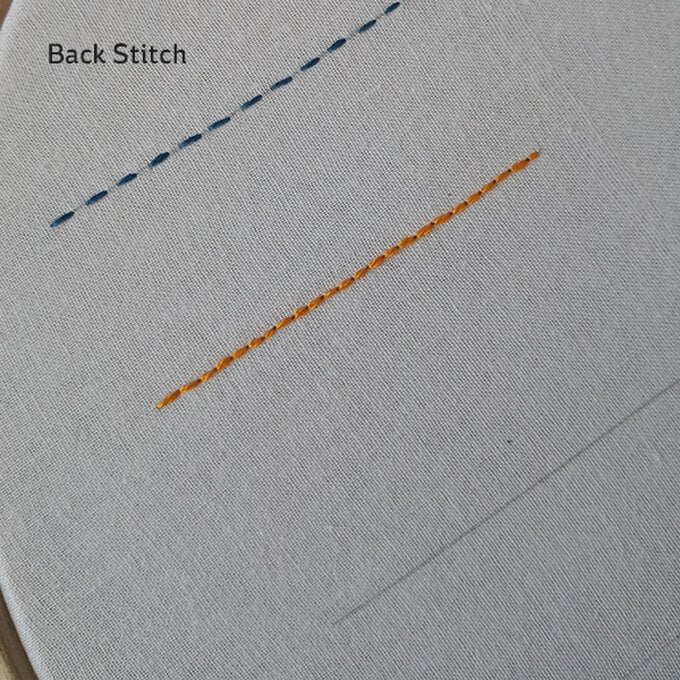
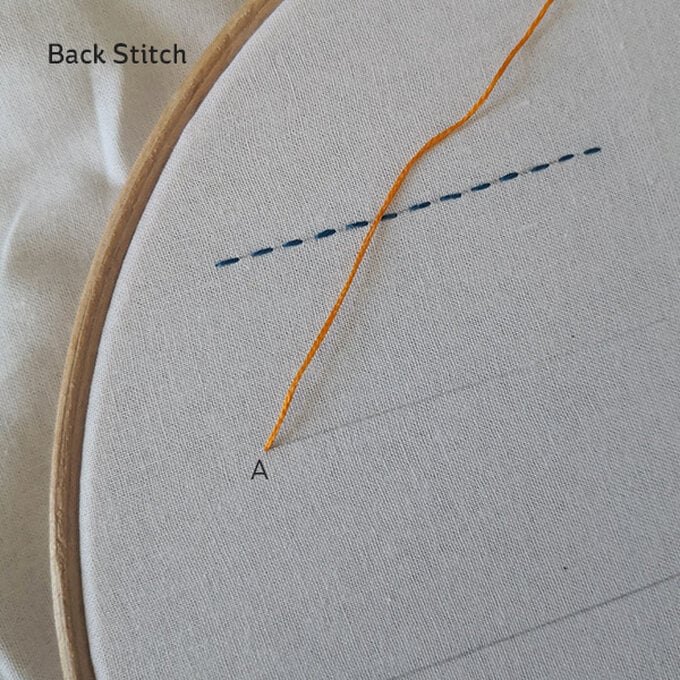
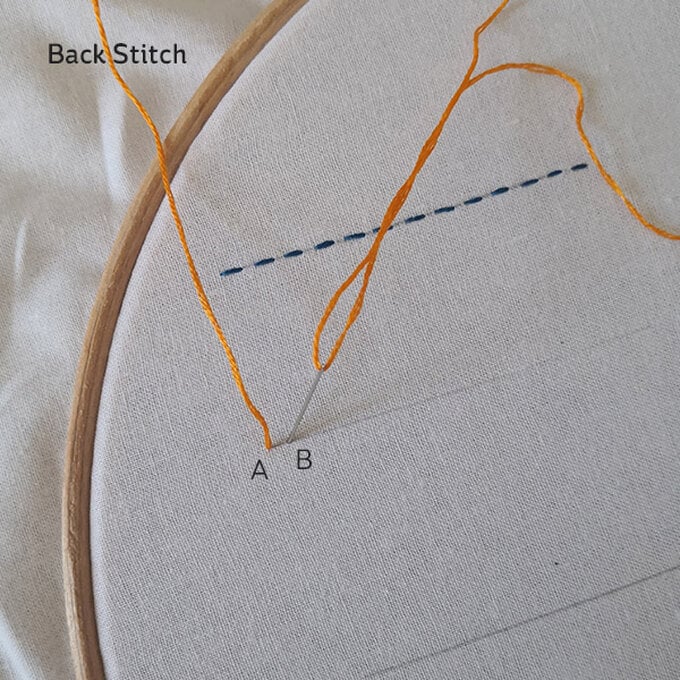
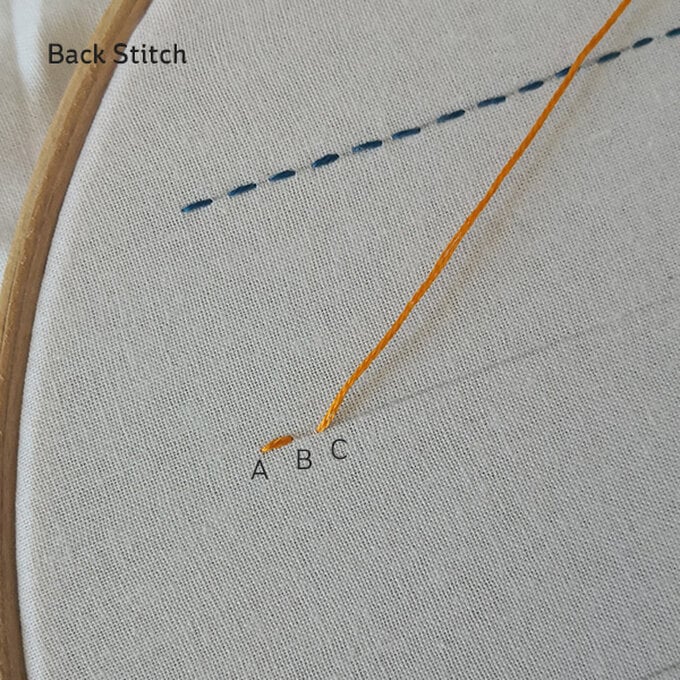
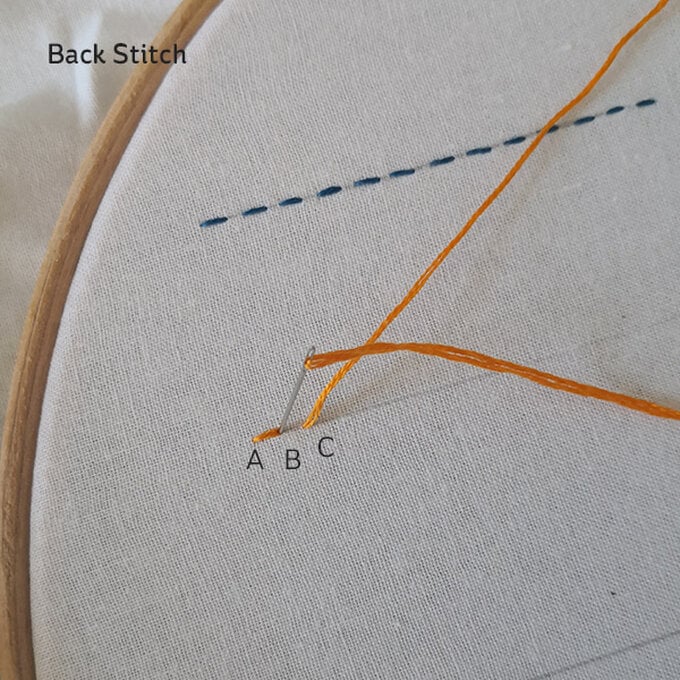
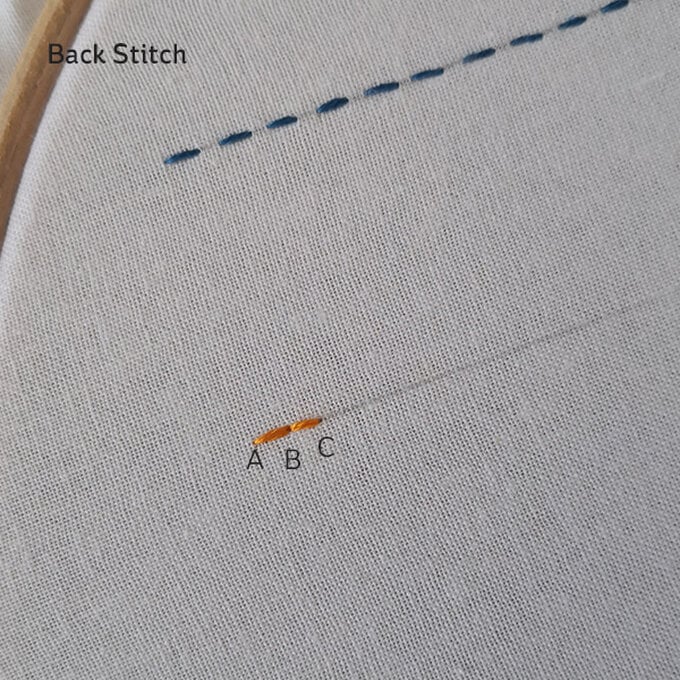
Working from left to right, bring the needle up at A and down at B. Bring the needle out at in the middle, splitting the stitch in the middle. Insert the needle at C and repeat to continue.
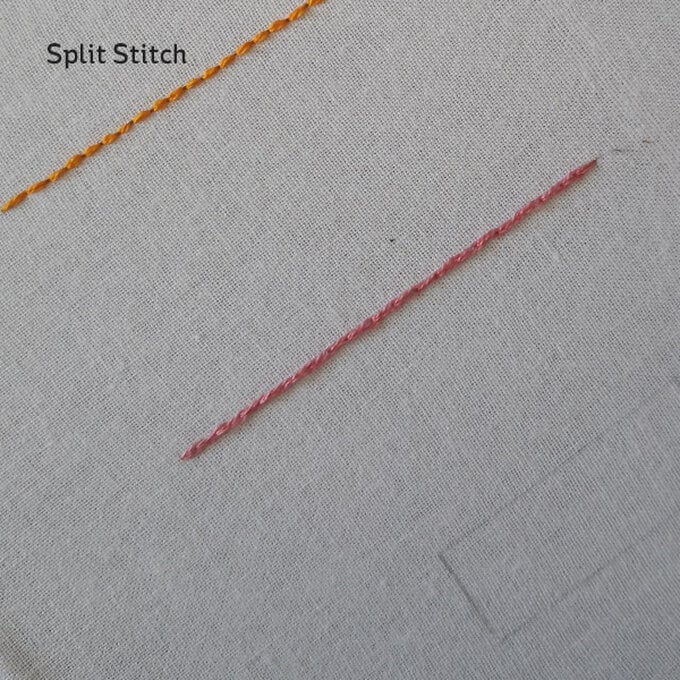
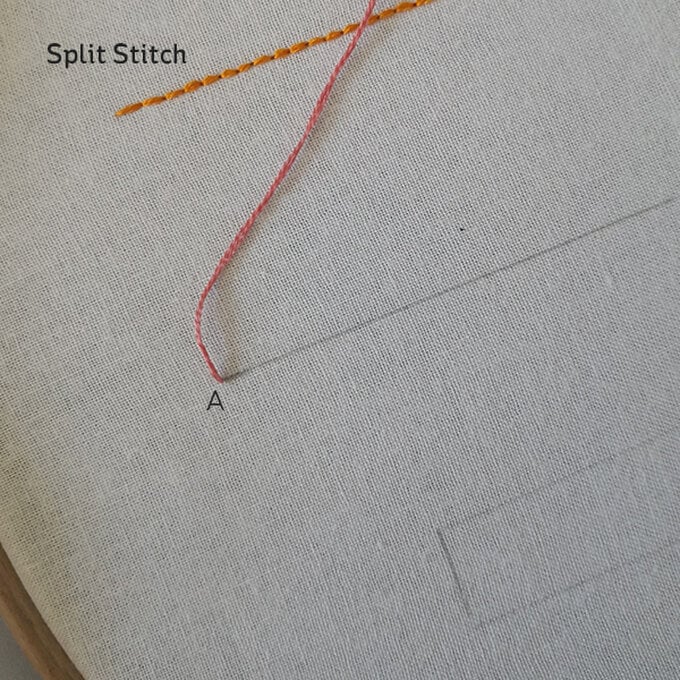
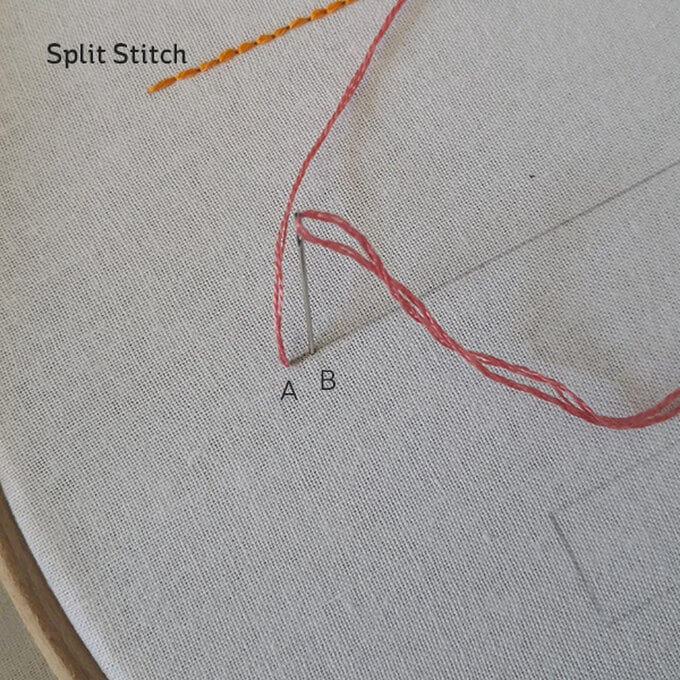
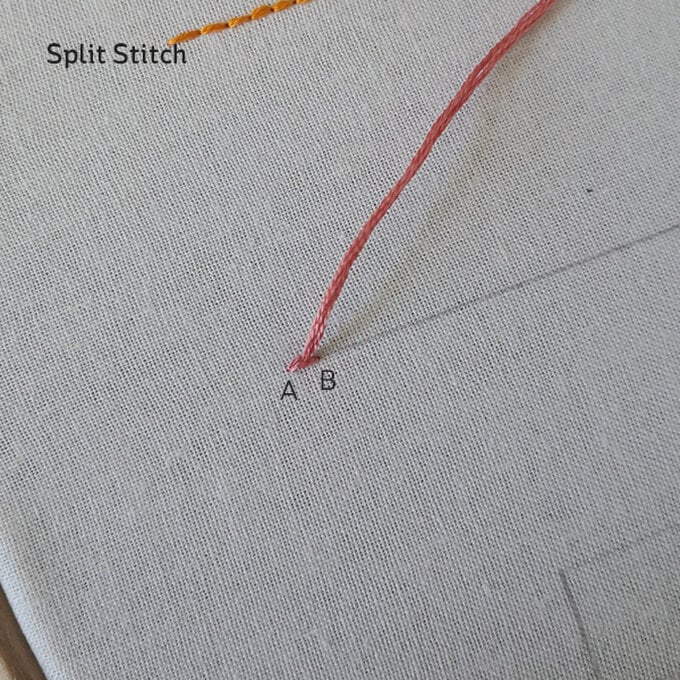
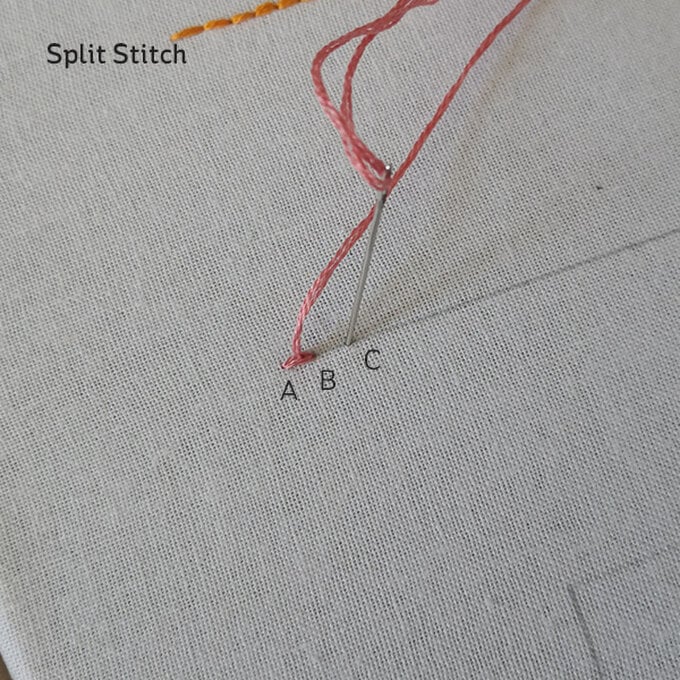
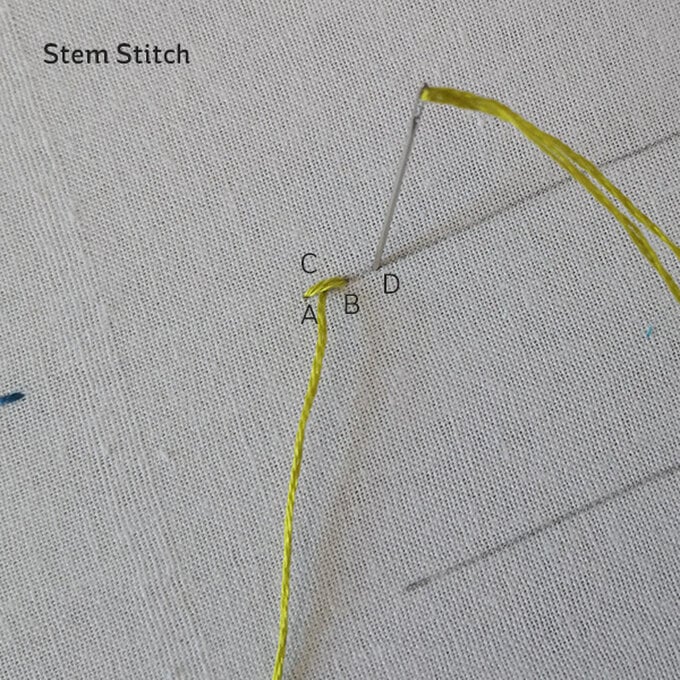
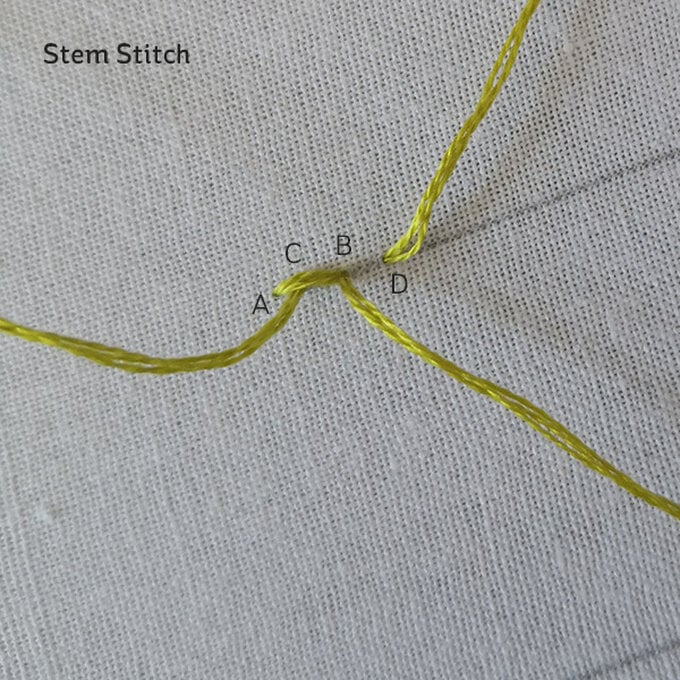
Work from left to right and keep the thread below the line of stitching. Bring the needle out at A, insert at B and come out again at C, about halfway back towards A. Insert the needle at D and come back out at B, keeping an even stitch length. Repeat the sequence to continue, keeping an even stitch length.
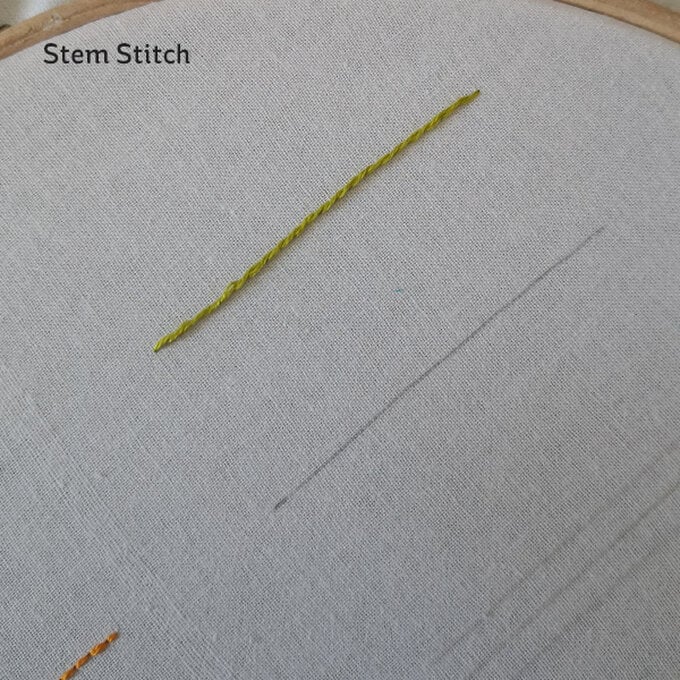
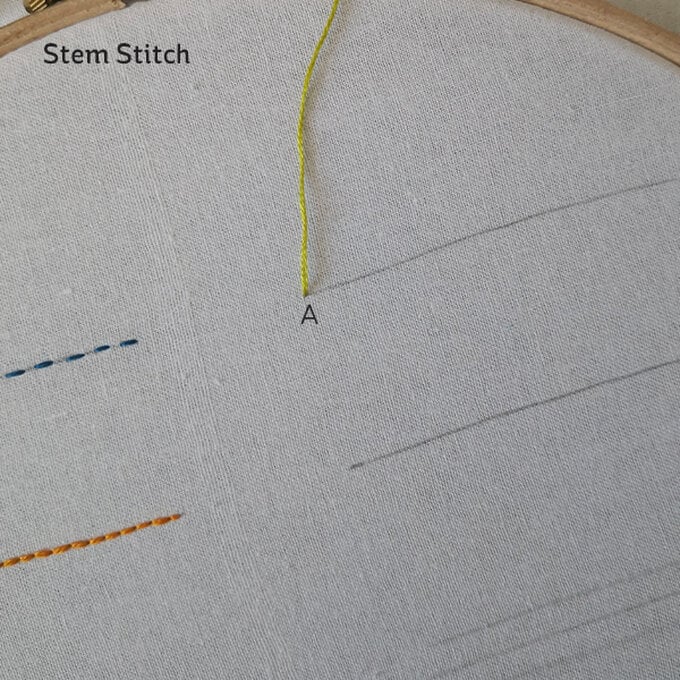
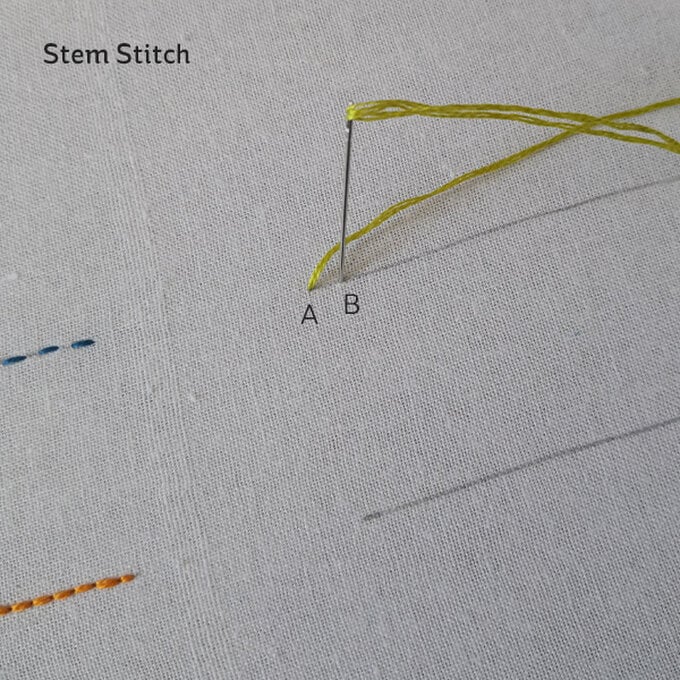
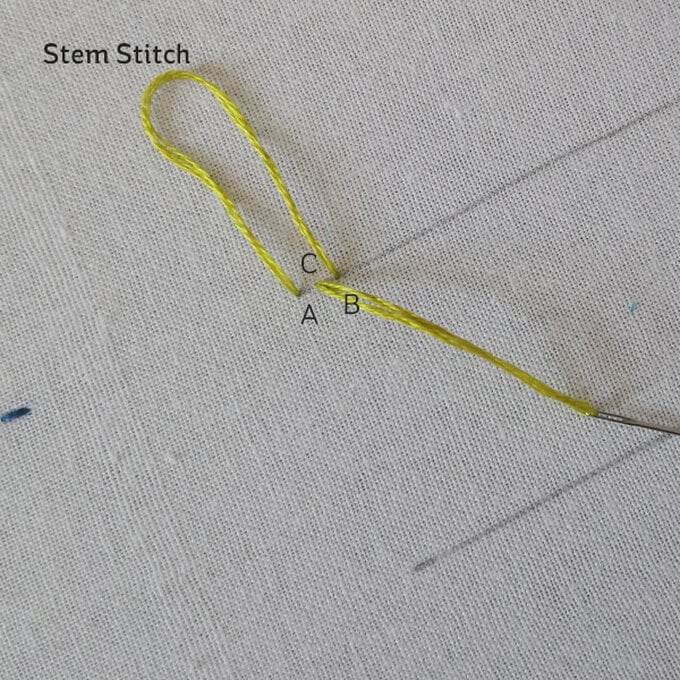
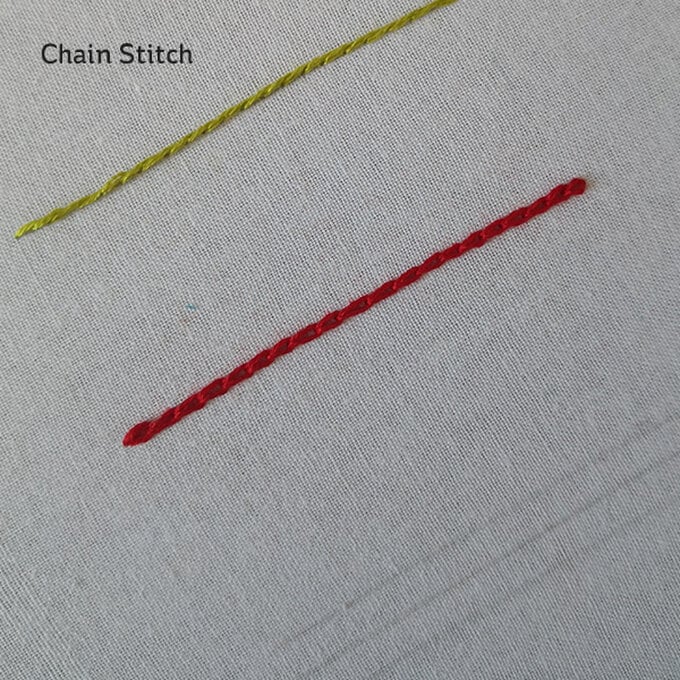
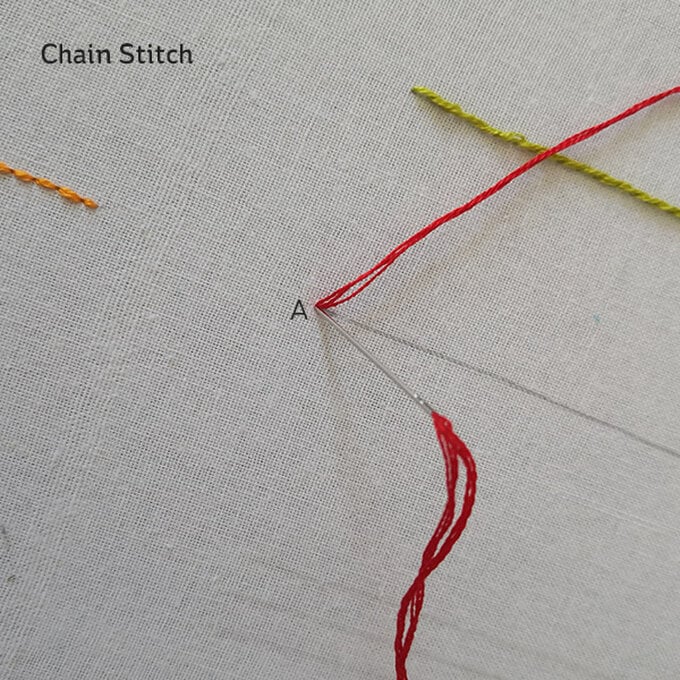
Bring the needle up at A at the top of the line and insert it in the same place. Hold the thread under the needle and come out below at B. Pull gently. Re-insert the needle at B in the same hole and repeat, coming up at C with the thread under the needle. Each loop will be held in place by the next. Tie the last loop in place by working a tiny stitch over the bottom loop.
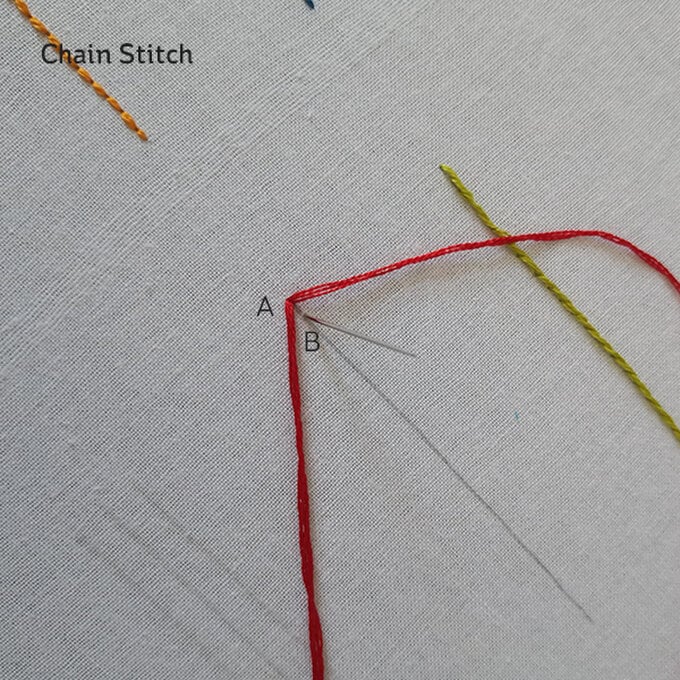
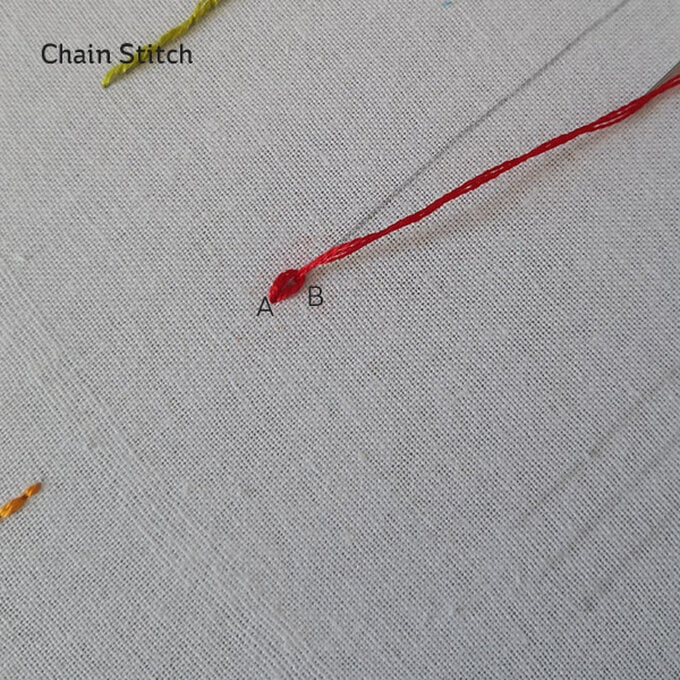
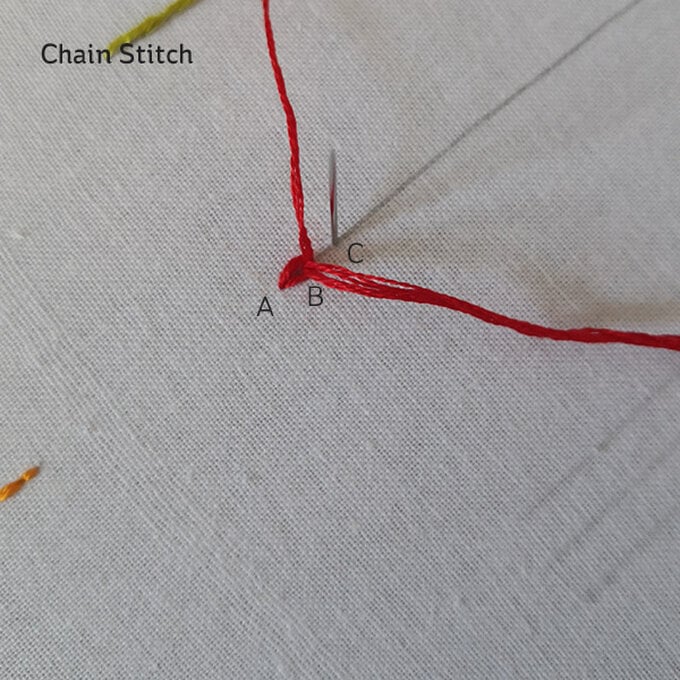
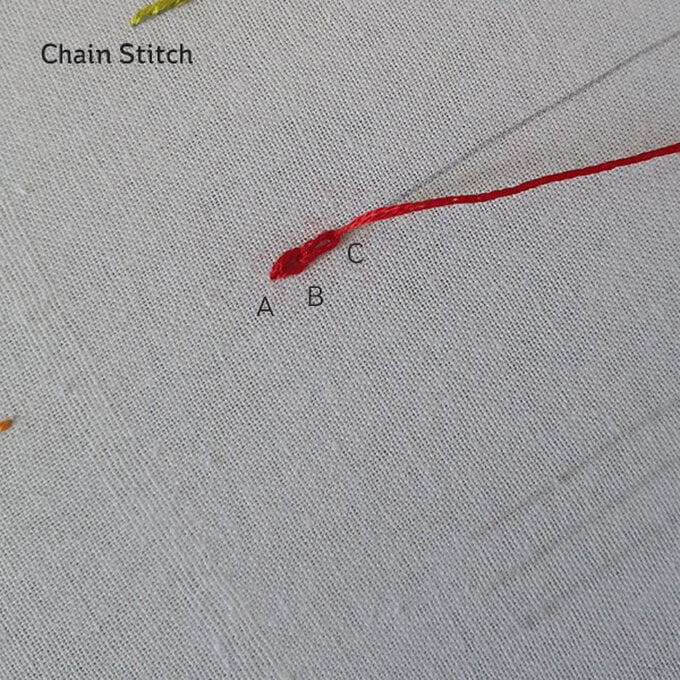
Draw three guide lines. Bring the needle out at A (centre line) and insert at B. Leave the thread loose and bring out at C, catching the thread. Insert at D and bring out again at E, catching the loose thread again. Repeat these steps.
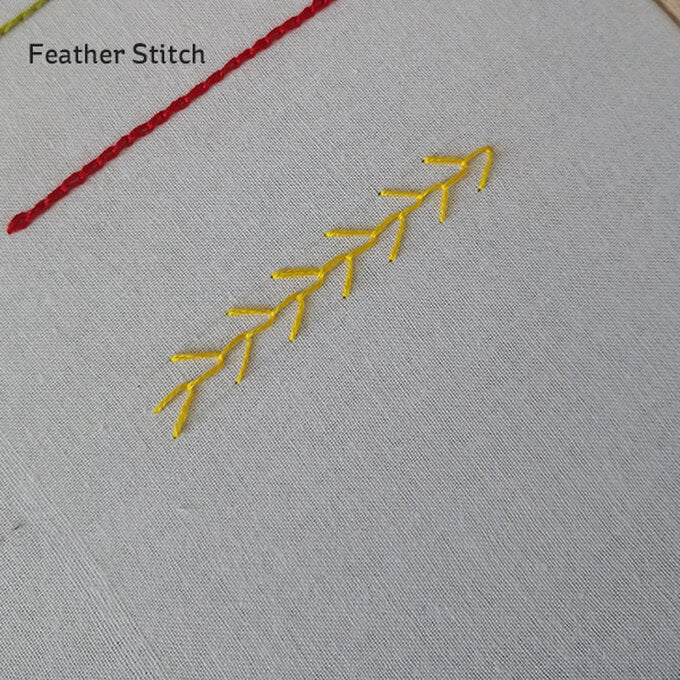
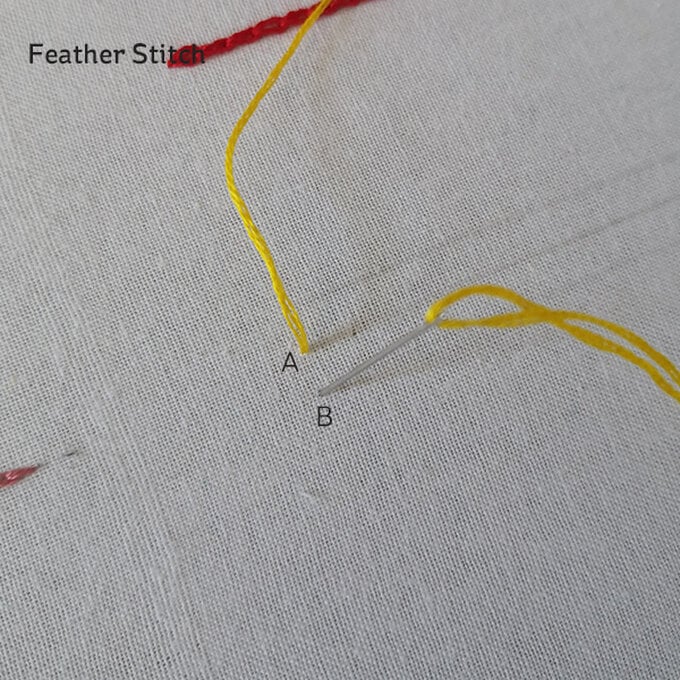
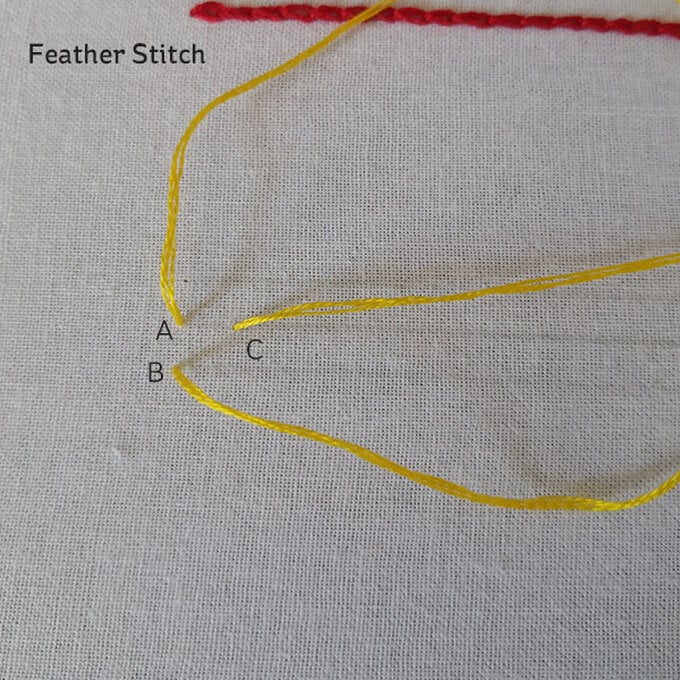
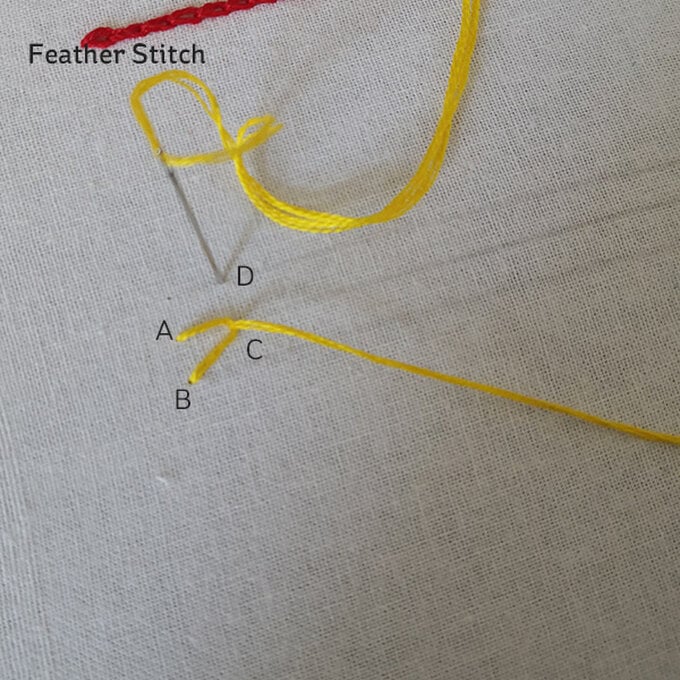
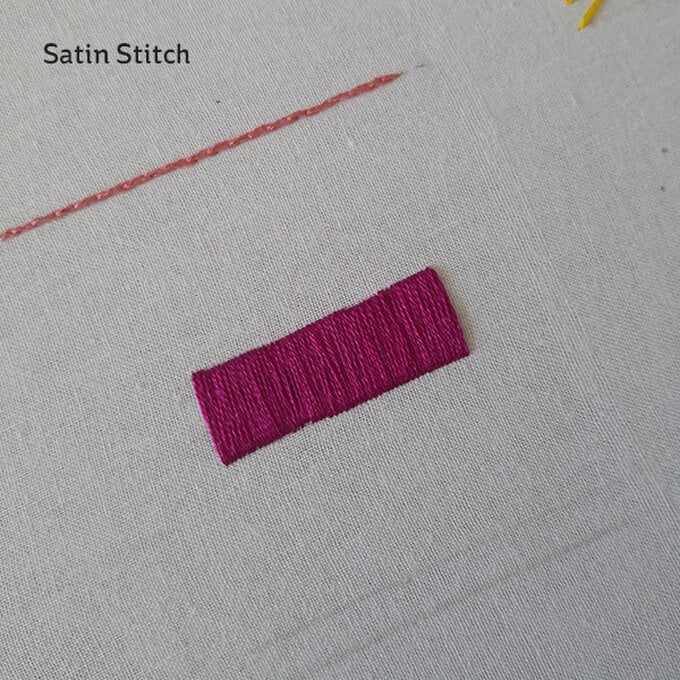
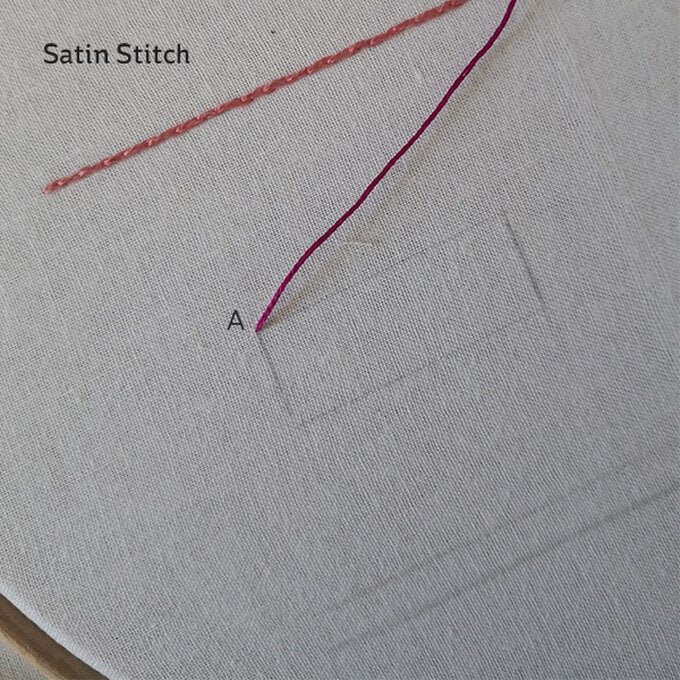
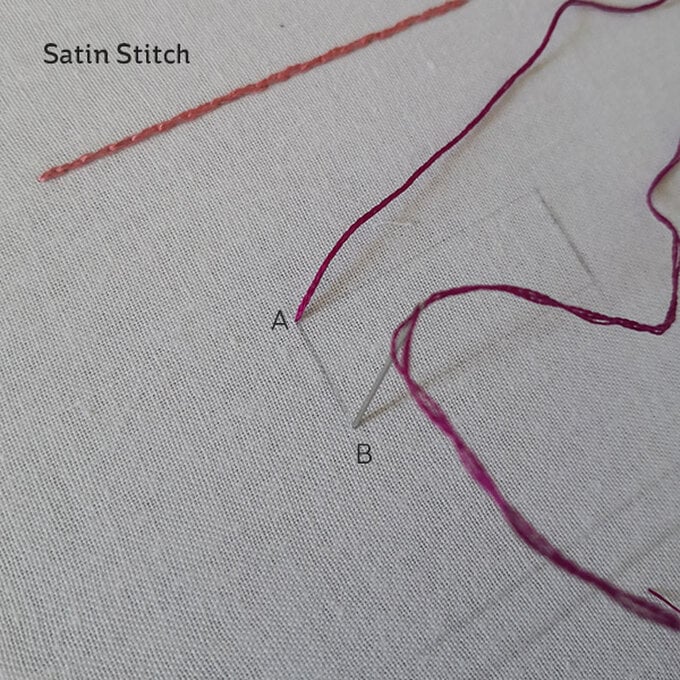
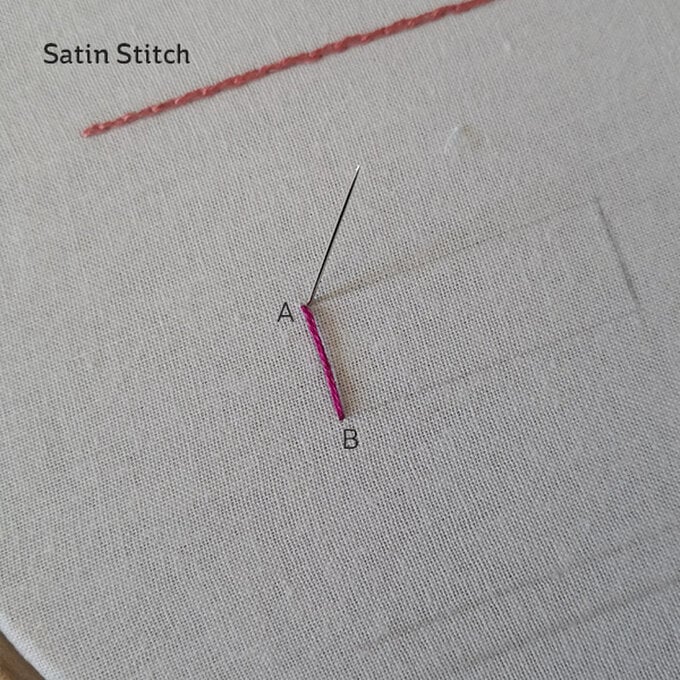
Bring the needle out at A and insert at B. Bring it out again as close as possible to A, pulling the thread across the back smoothly. Insert as close as possible to B. Continue keeping the front and back smooth and the edges even.
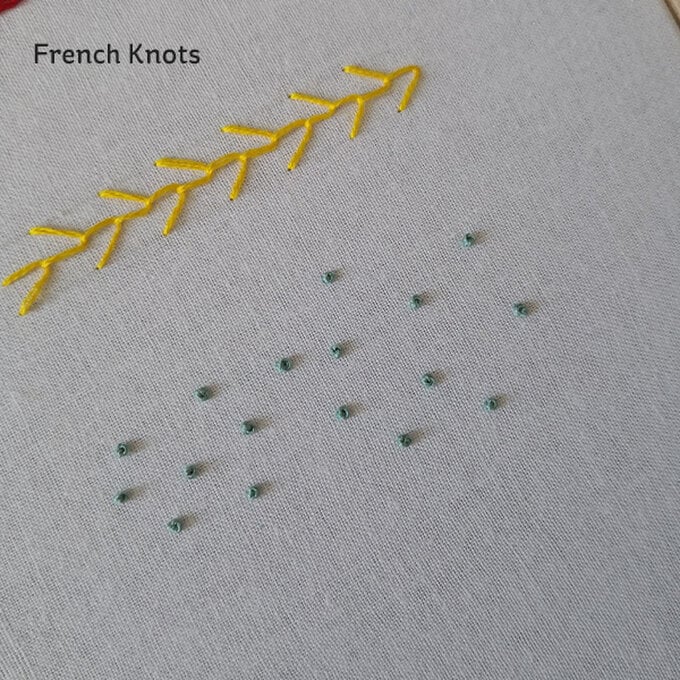
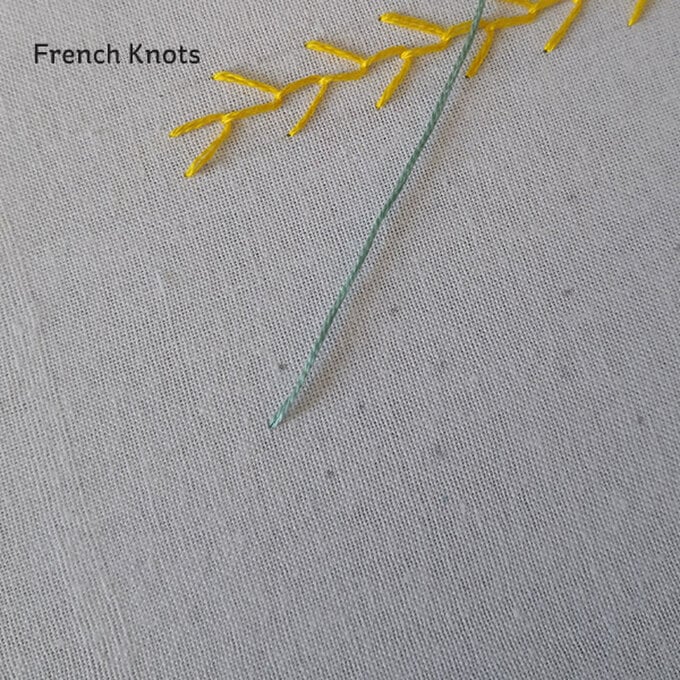
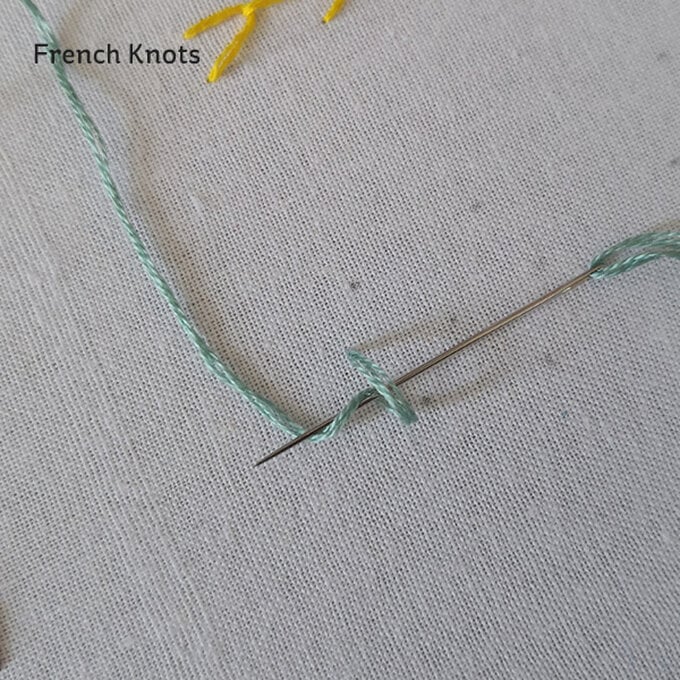
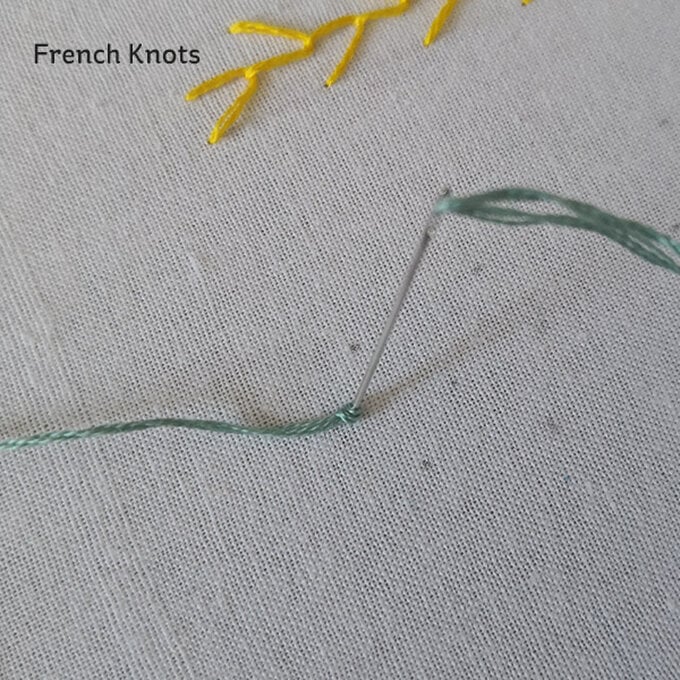
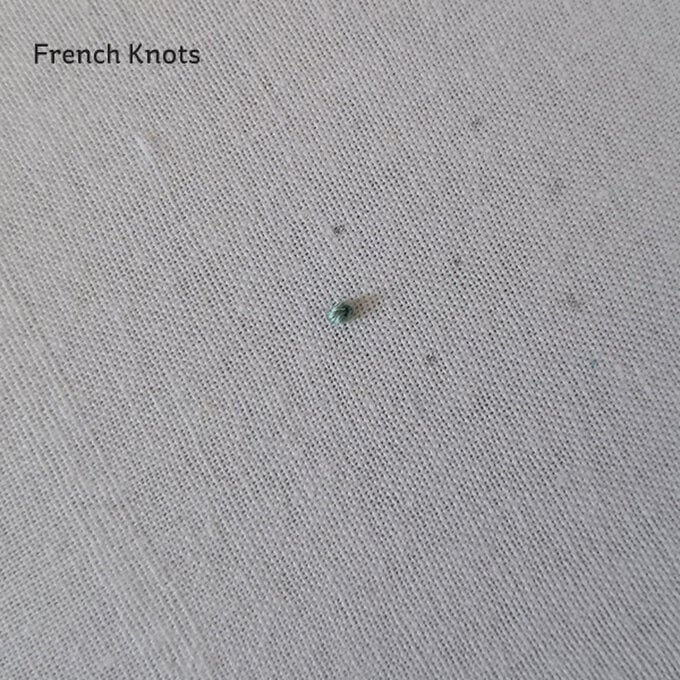
Bring the needle through where the knot is wanted. Wrap the thread twice around the needle. Pull the wraps tight against the fabric and insert the needle back at A. Hold the knot against the fabric and take the thread through to the back. To work a closely spaced group, take the needle to the next position and repeat.
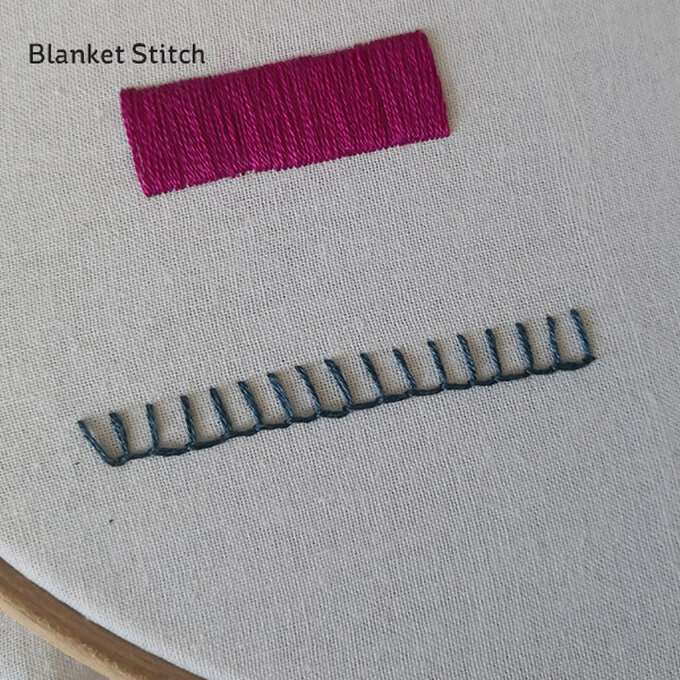
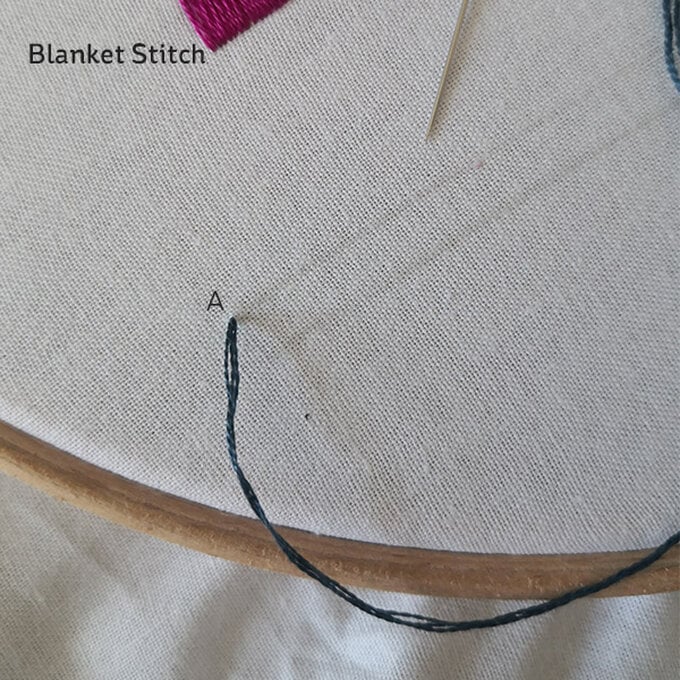
Bring the needle out at A, moving slightly to the right insert the needle at B and come our at C, looping the thread under the needle. Repeat, keeping the gap between the stitches even.
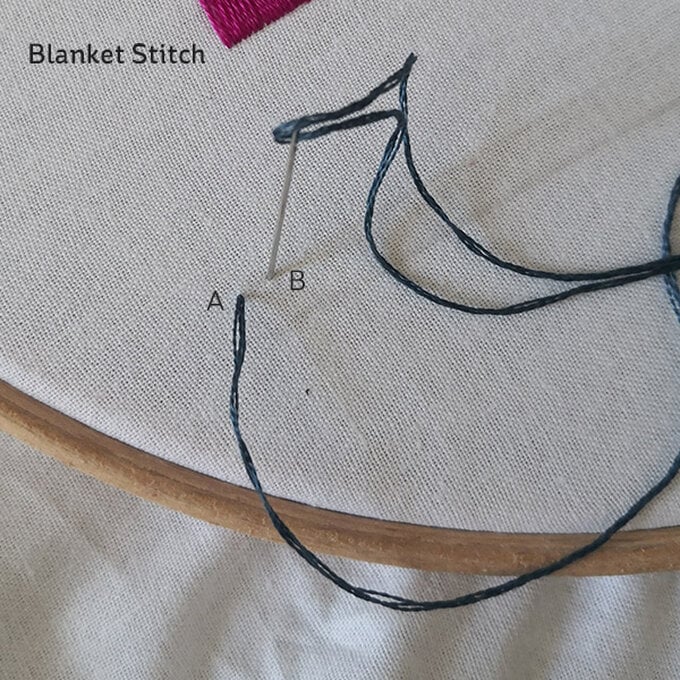
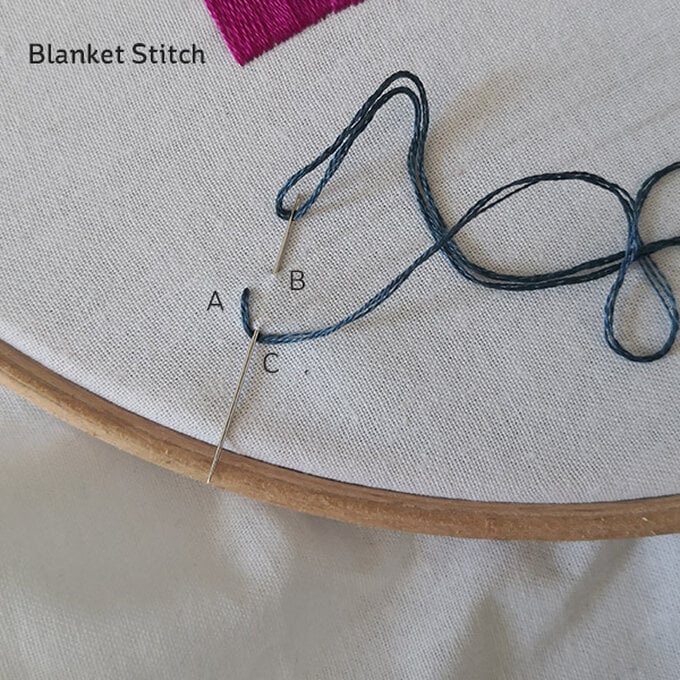
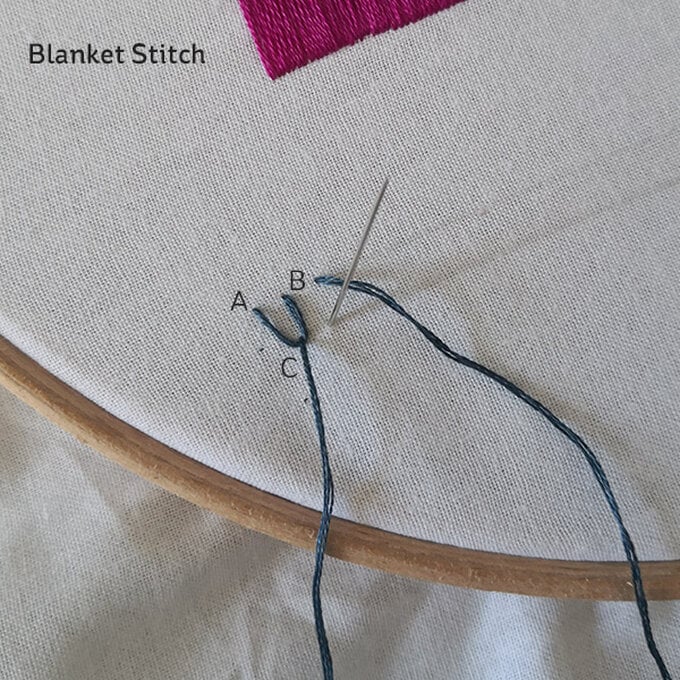
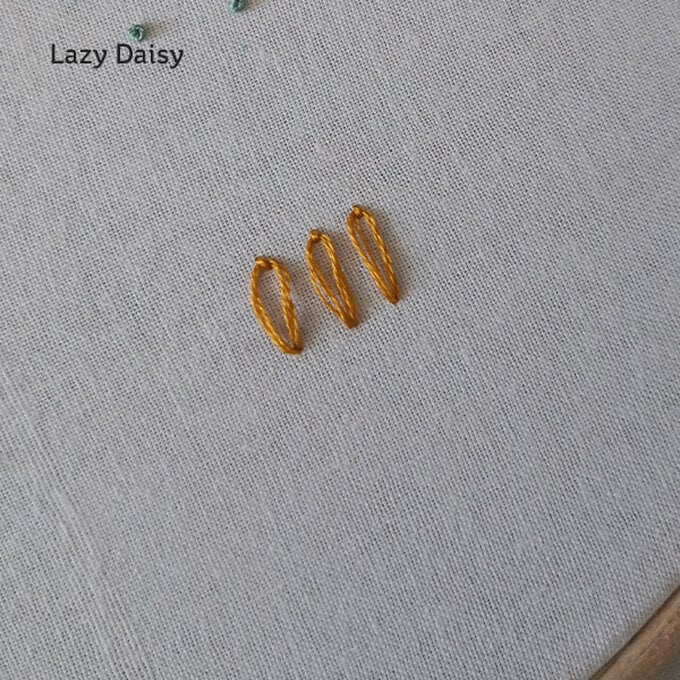
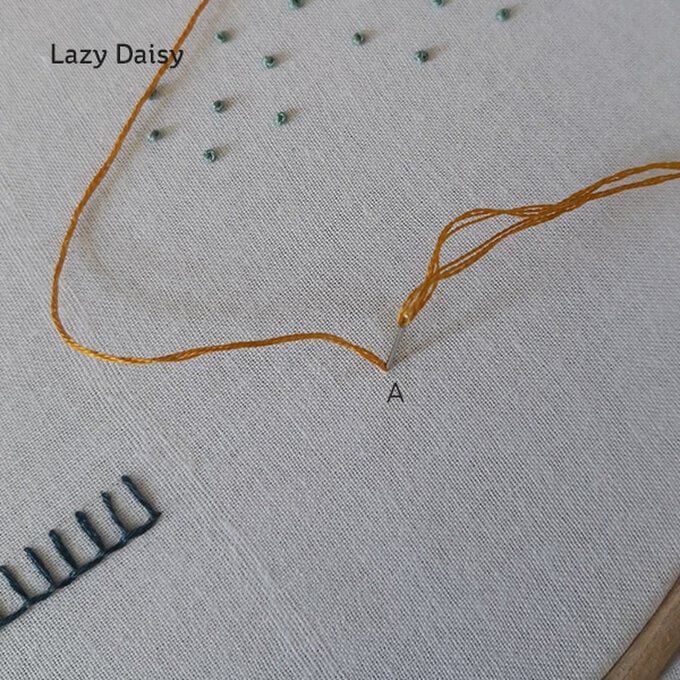
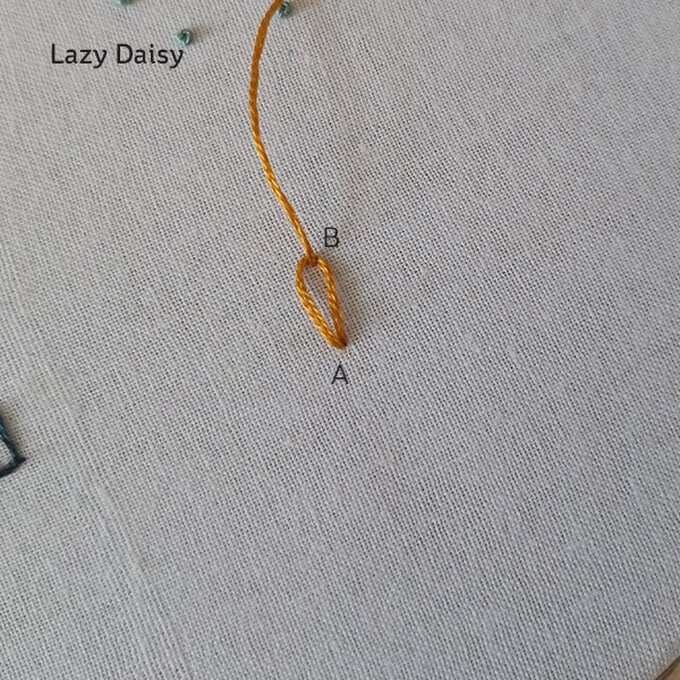
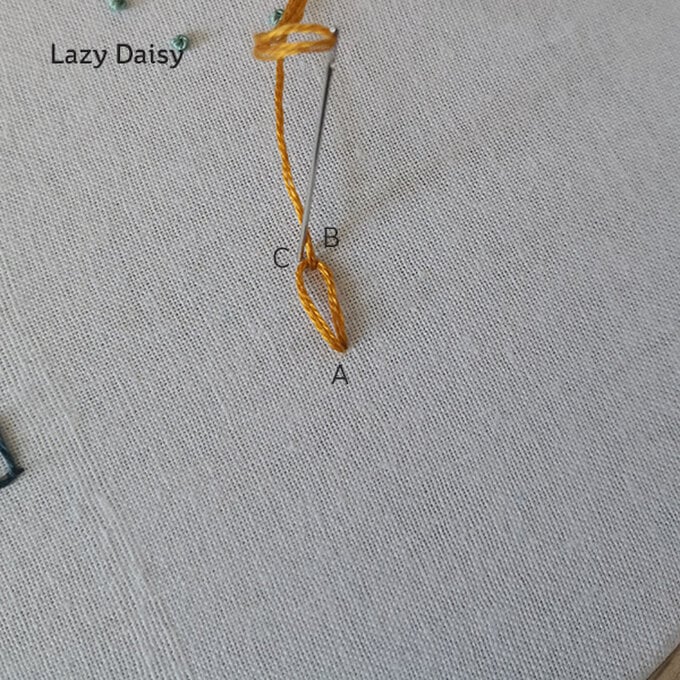
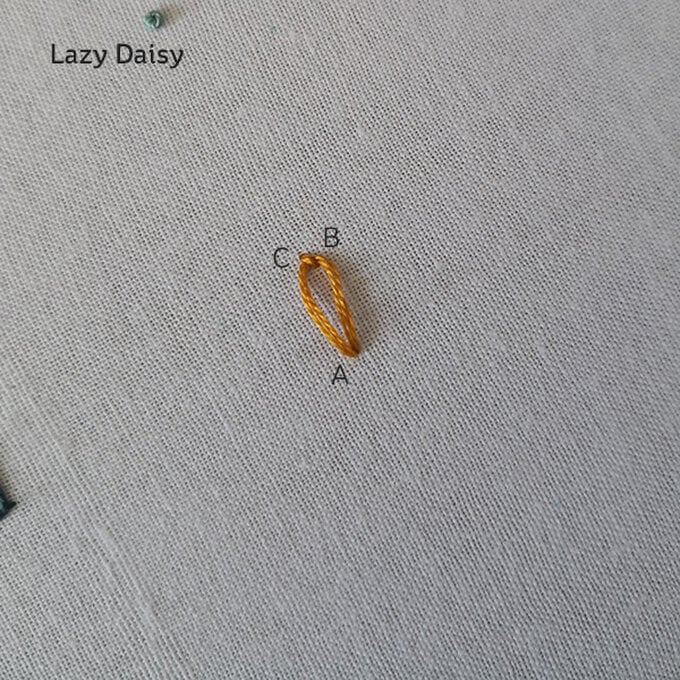
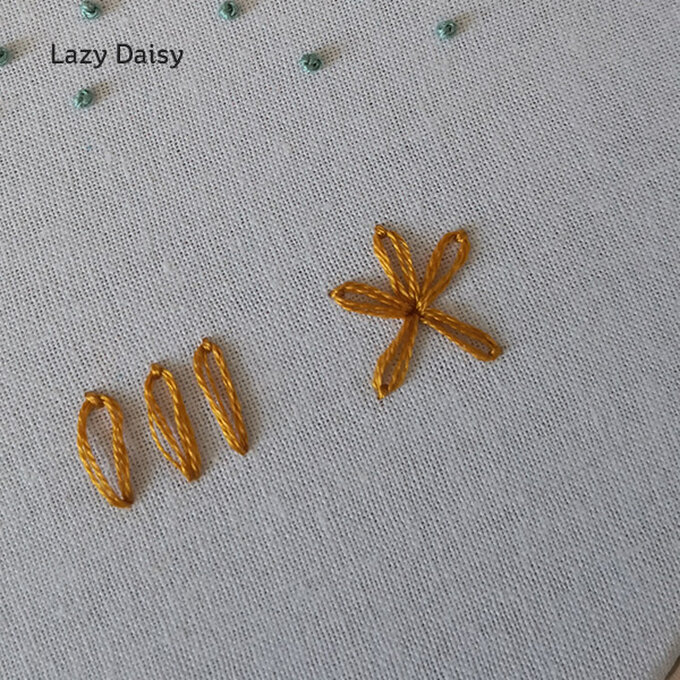
Bring the needle out at A and insert back through as close as you can next to it. Keep a loop and bring the thread up at B and back through at C. This stitch is perfect for creating flowers and petals!
