How to Sew a Fat Quarter Envelope Clutch Bag
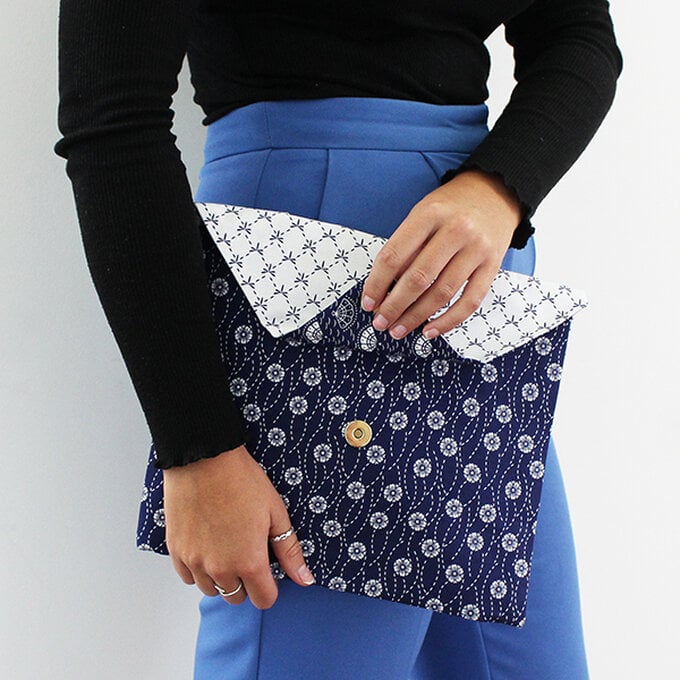
Create a classic wardrobe staple by transforming a pack of fat quarters into this super chic envelope clutch. Use a magnetic popper to take for a make that looks just like you've bought it off of the shelf!
Use fat quarters of your choice to make a personalised and unique accessory that would make the perfect gift.
You will need
Subtotal
Is $ 37.00
Out of stock
Subtotal
Is $ 7.49
Subtotal
Is $ 27.00
Subtotal
Is $ 132.00
How to make
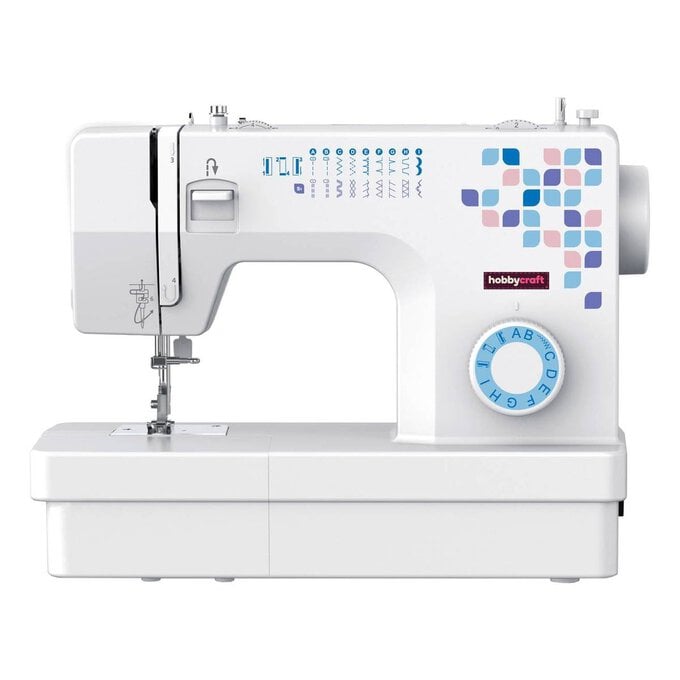
* Sewing Machine
* Dressmaking Scissors/Rotary Cutter (and Cutting Mat)
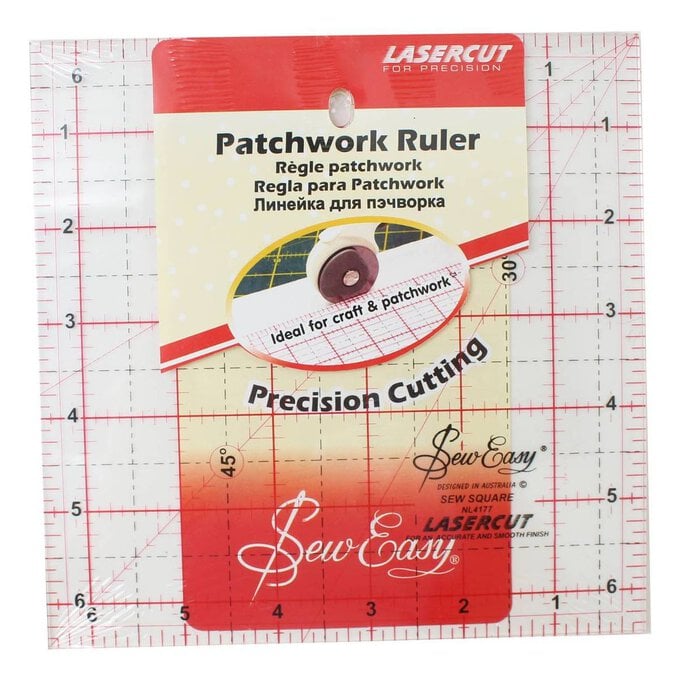
* Patchwork Ruler
* Sewing Kit
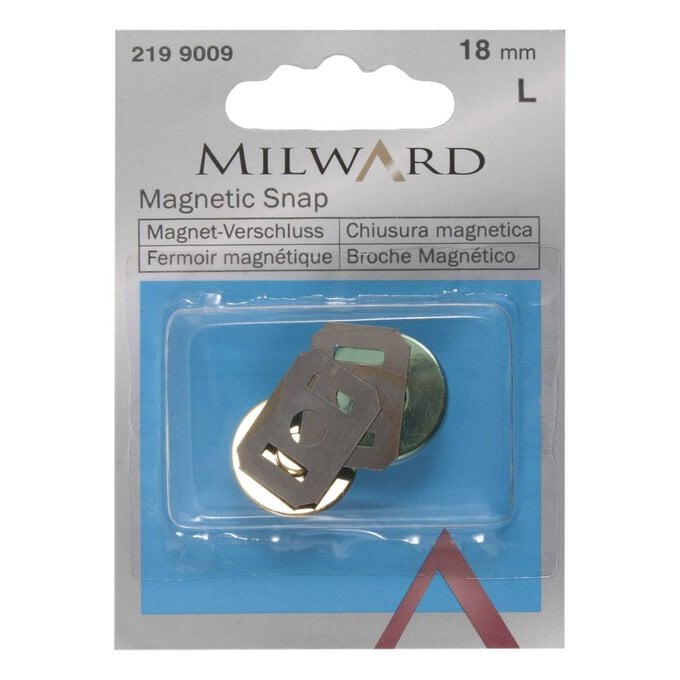
* Magnetic Snaps (2 pieces)
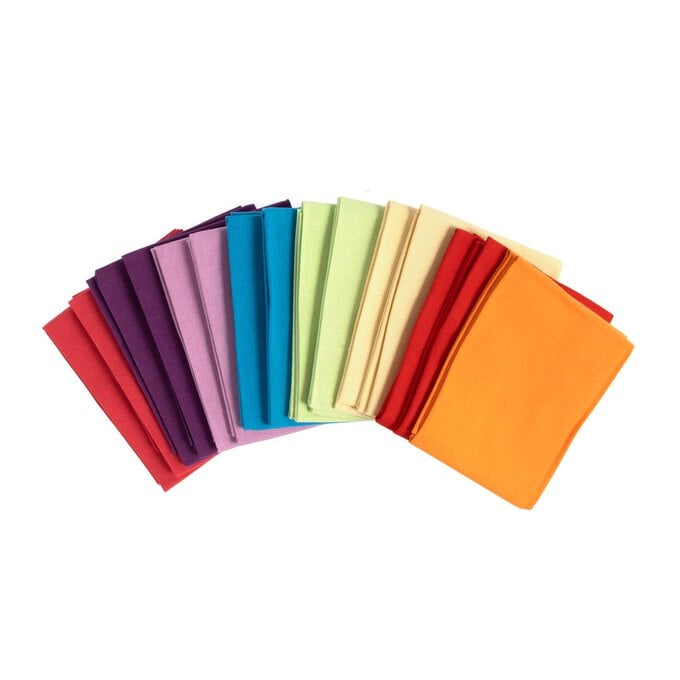
* Fat Quarters

Wash and iron the fabric. Cut four 13.5″ x 14″ pieces from the different fat quarters.
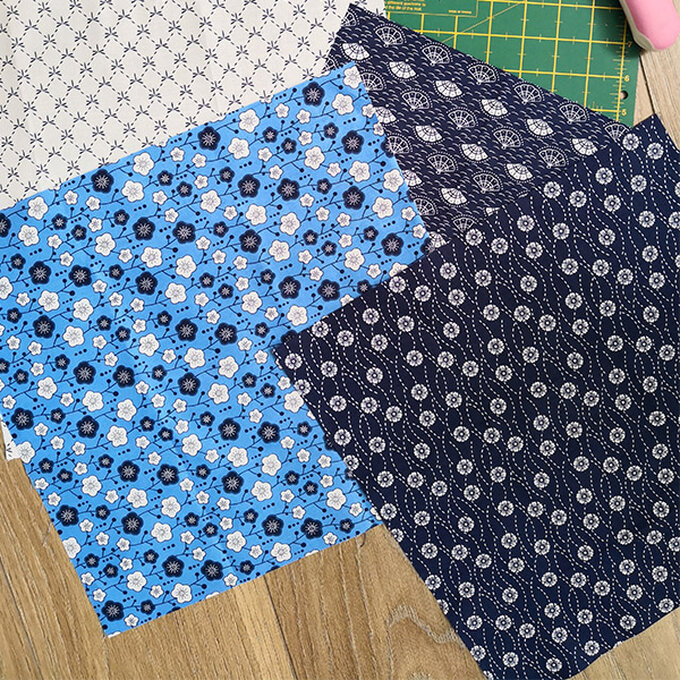
Right sides together, pin two of the square pieces together and sew with a 1cm seam allowance. Repeat for the second set of square pieces. Press this seams well. Measure up 19.5″ and pin at the edge.
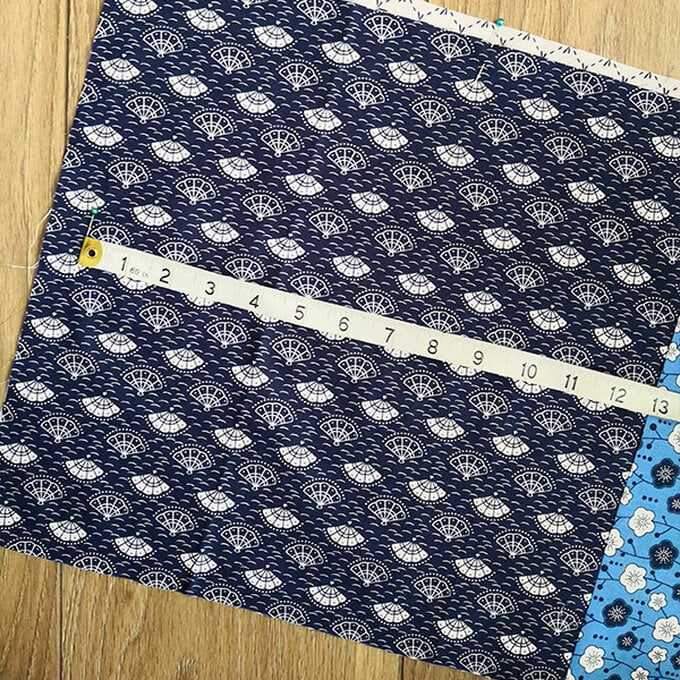
Right sides together, fold the piece in half, measure up 26.5″ and pin in the centre. Cut diagonally from top pin to the side pin, using a ruler/pattern master, cutting mat and rotary cutter. Repeat for the other piece.
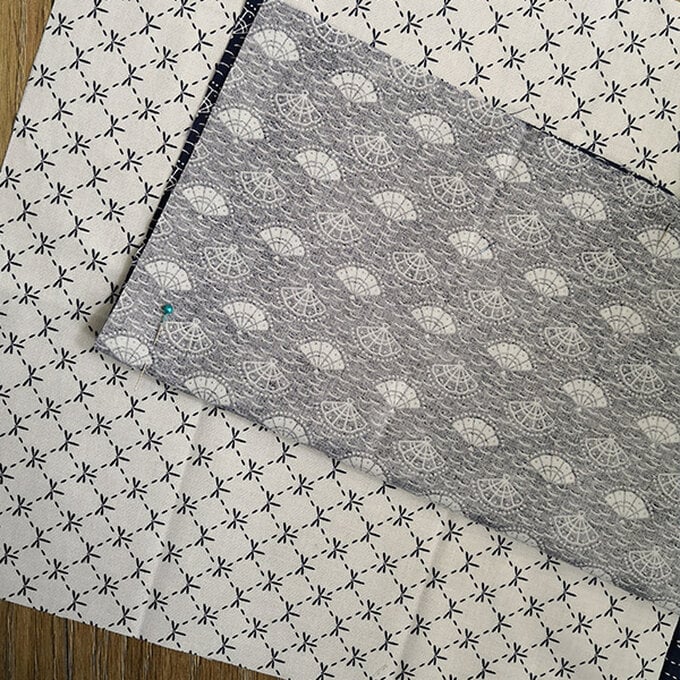
Cut two pieces of iron on interfacing to fit the two pieces. Iron onto the wrong side of the fabric and take out your magnetic snaps.
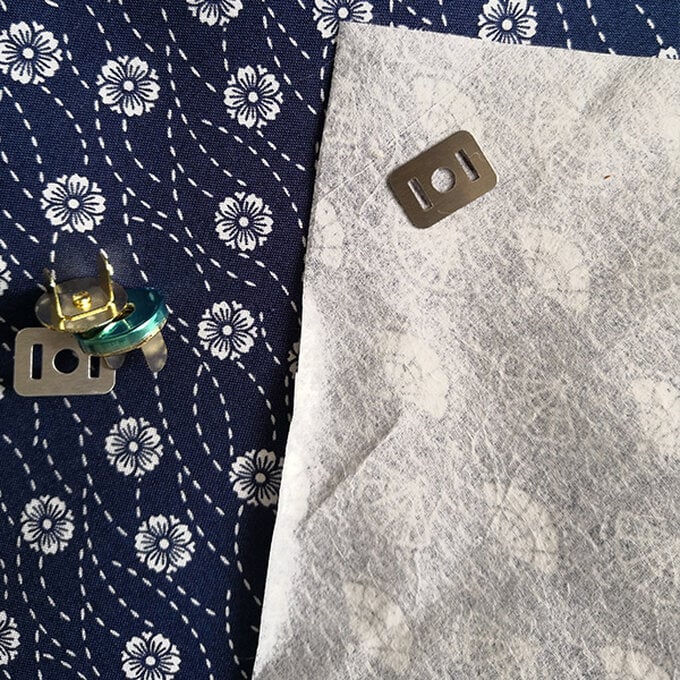
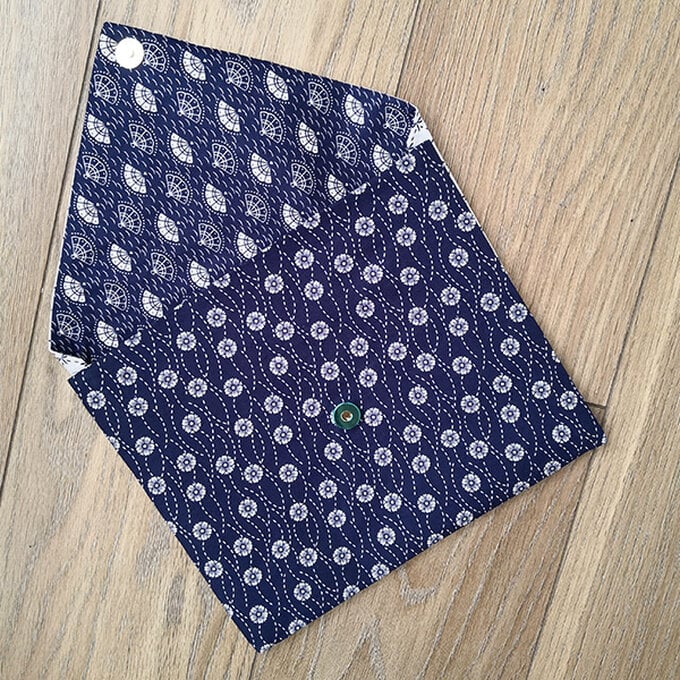
Using the backing as a guide, mark onto the interfacing where the magnetic snap pieces should go. The base of the magnetic snap should attach to the base of the top fabric and the top of the magnetic snap should attach to the top of the lining fabric (approx 2cm from the point). Use a seam ripper to make the holes for the snaps to go through at attach.
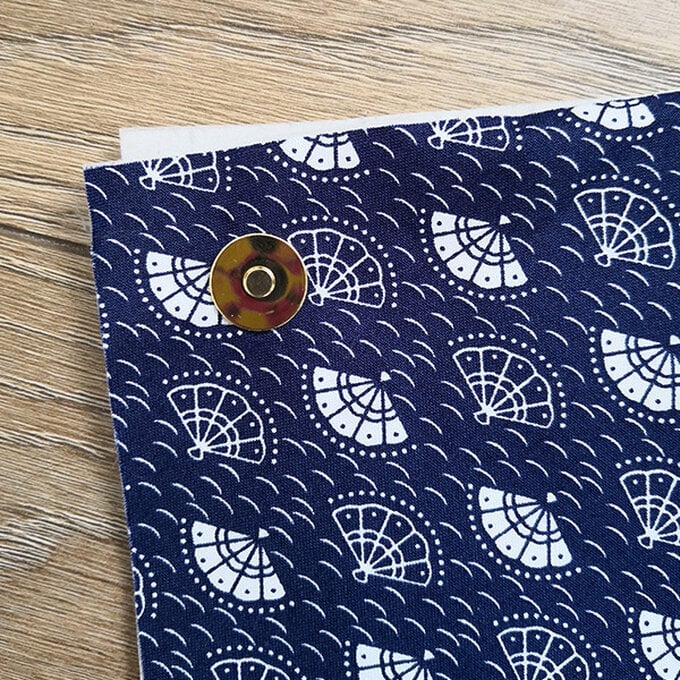
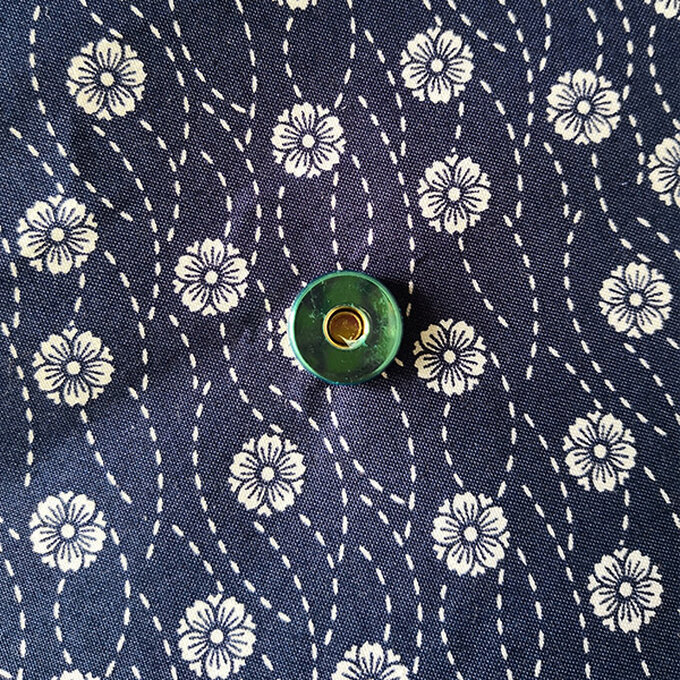
Right sides together, pin and sew the bag pieces together, leaving a gap for turning through on one of the straight edges.
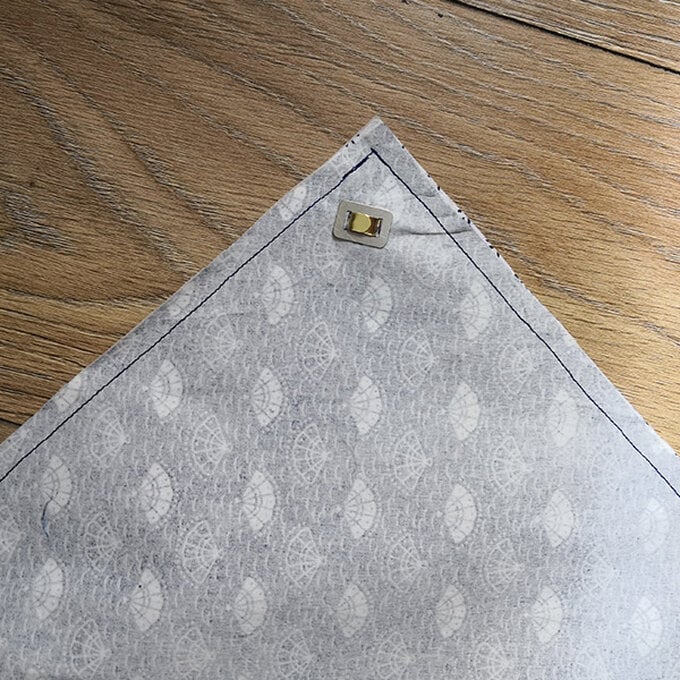
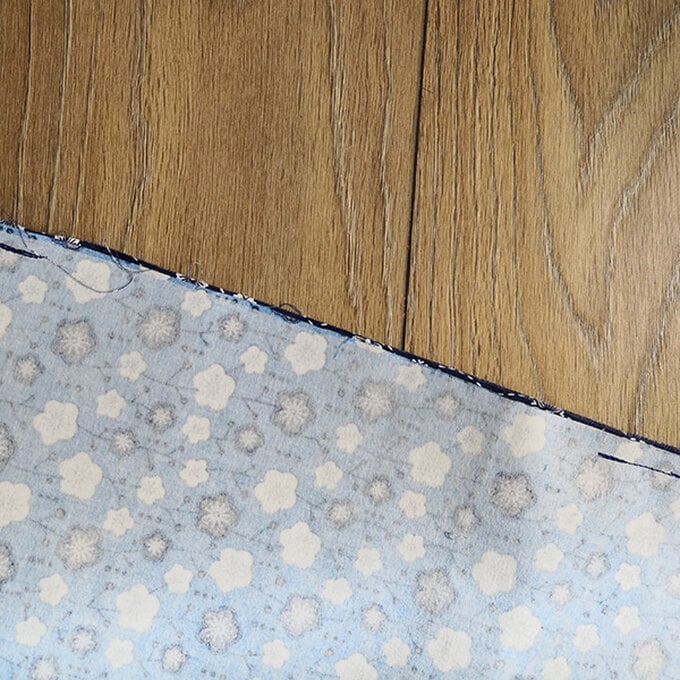
Trim the pointed edges and turn through, using a chop stick to help with the points.
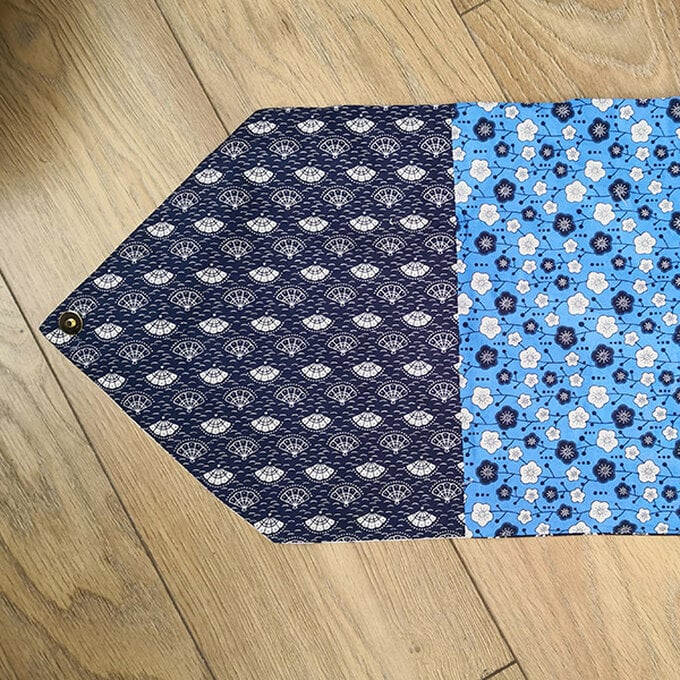
Press down the gap you left for turning.
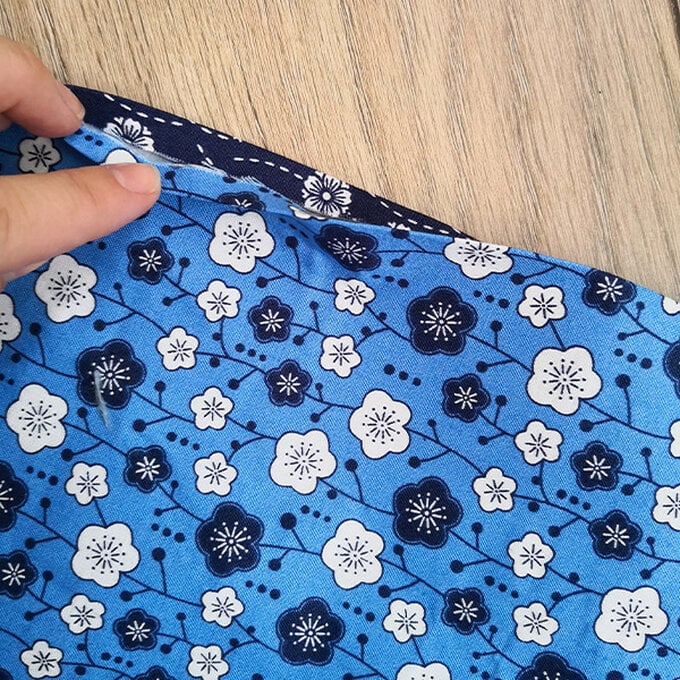
With right sides together, fold up the base of the bag so that it creates the envelope shape. Pin and sew with a 1cm seam allowance, making sure you sew up the gap you left.
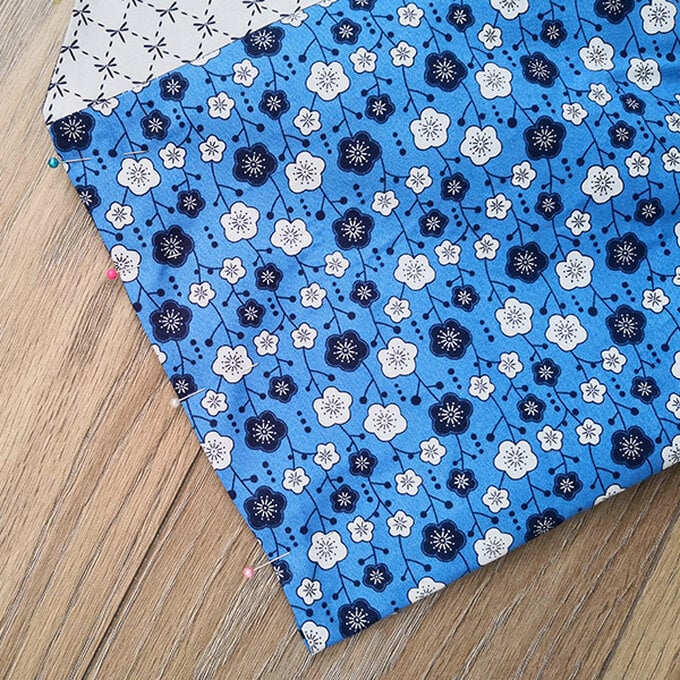
Turn the bag the right way round and press well.
