How to Sew a Fat Quarter Bento Bag
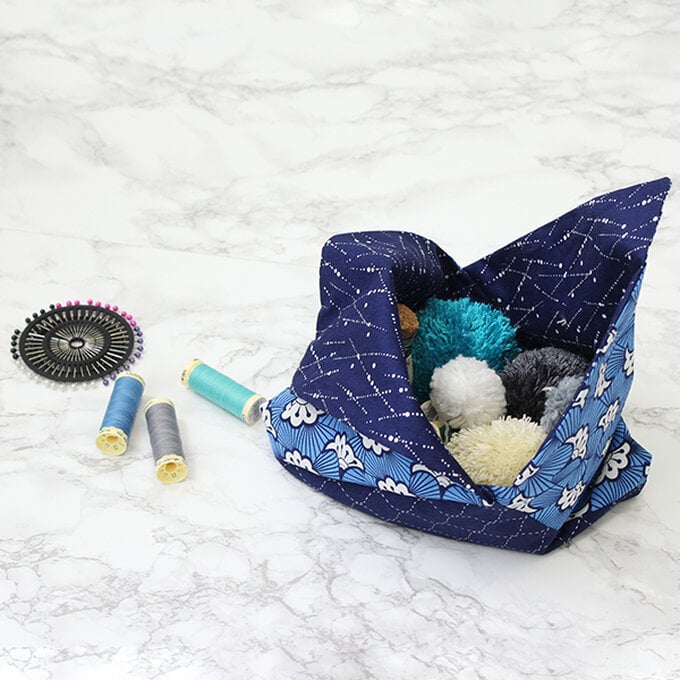
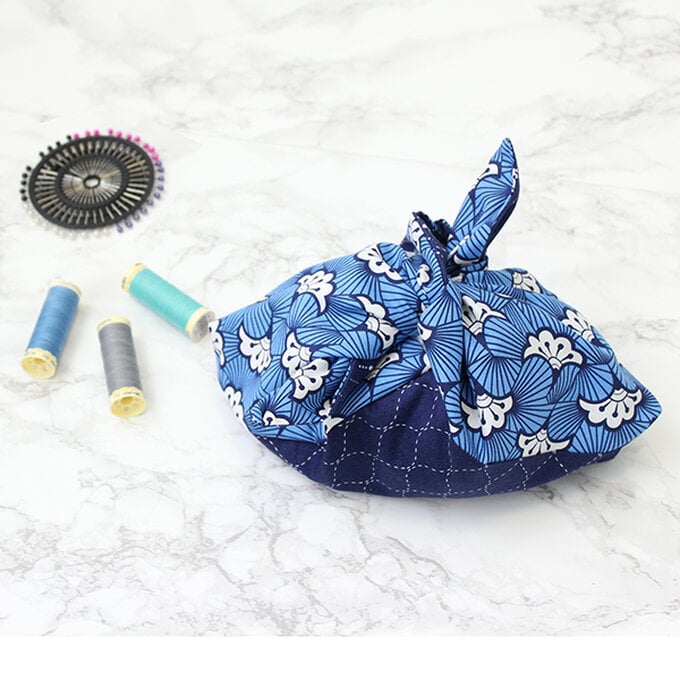
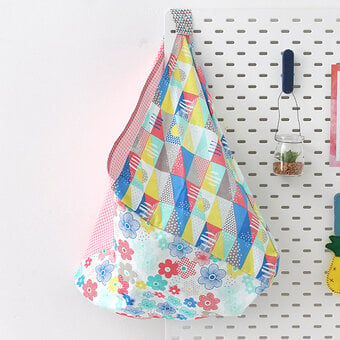
Bento bags are a style of bag hailing from Japan, sometimes called market bags, triangle bags, or origami bags. These easy-to-sew bags are perfect for keeping knit projects secure, taking to the shops to replace plastic or paper vegetable bags, or even as reusable gift wrap!
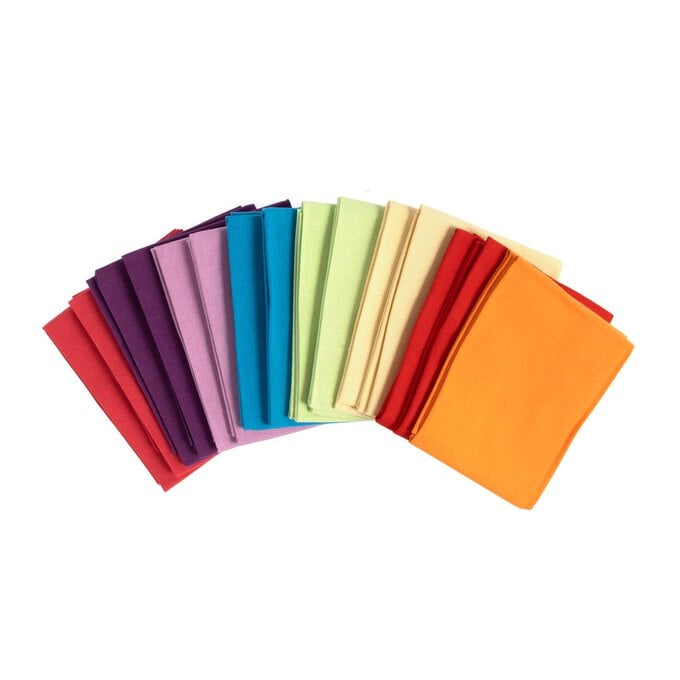
This project can be created in any patterened fat quarters you like! So get creative and follow the tutorial below to find out how to make your own.
You will need
Subtotal
Is $ 38.00
Out of stock
Subtotal
Is $ 27.00
Subtotal
Is $ 23.00
Subtotal
Is $ 133.00
How to make
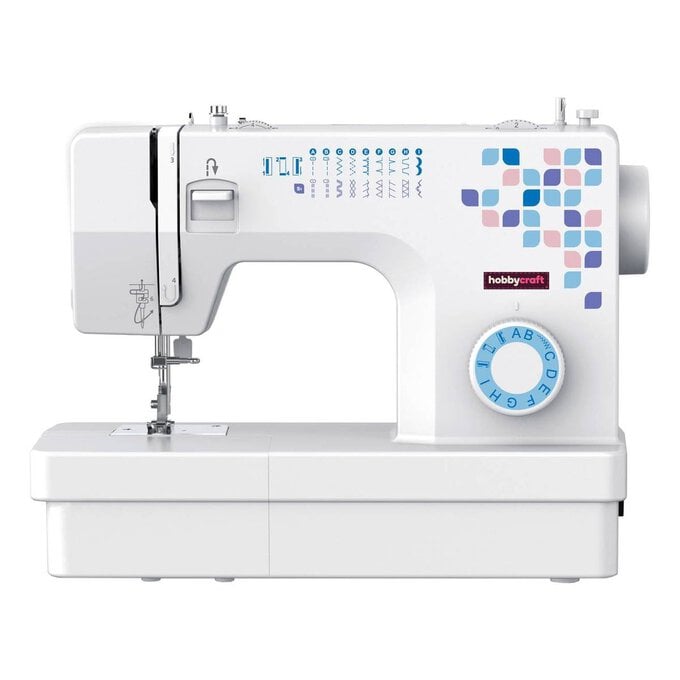
* Sewing Machine
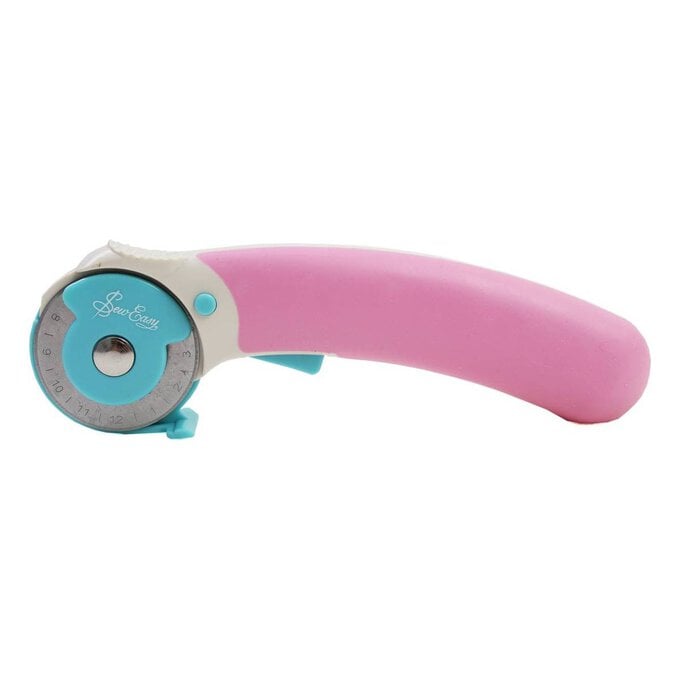
* Dressmaking Scissors/Rotary Cutter (and Cutting Mat)
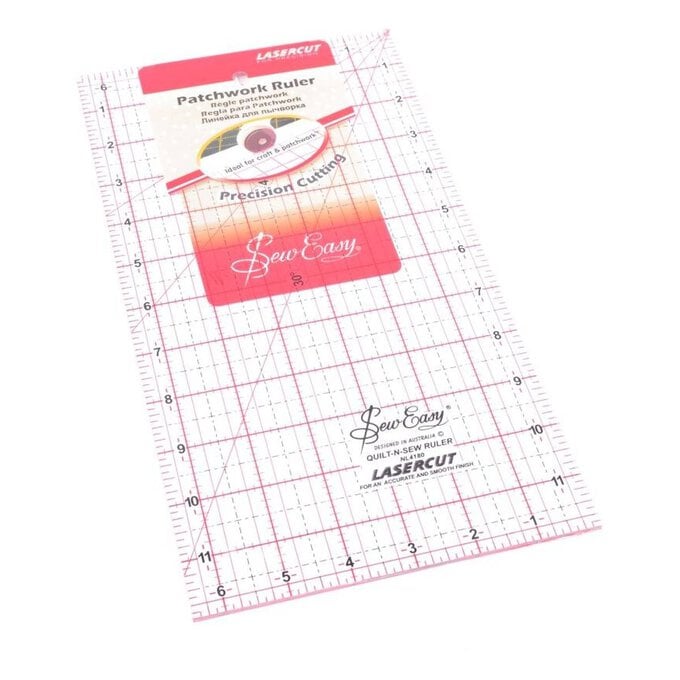
* Patchwork Quilting Ruler
* Sewing Kit
* Pencil
* Fat Quarters

Wash and Iron the Fabric.
Three 9″ x 9″ Squares for the outside of the bag from two different fat quarters
One 9″ x 18″ Rectangle and one 9″ x 9″ Square for the lining from one fat quarter
This will make a medium sized Bento bag, for a smaller version work to the sizes 7″ x 21″ or for a larger version, 10″ x 30″.
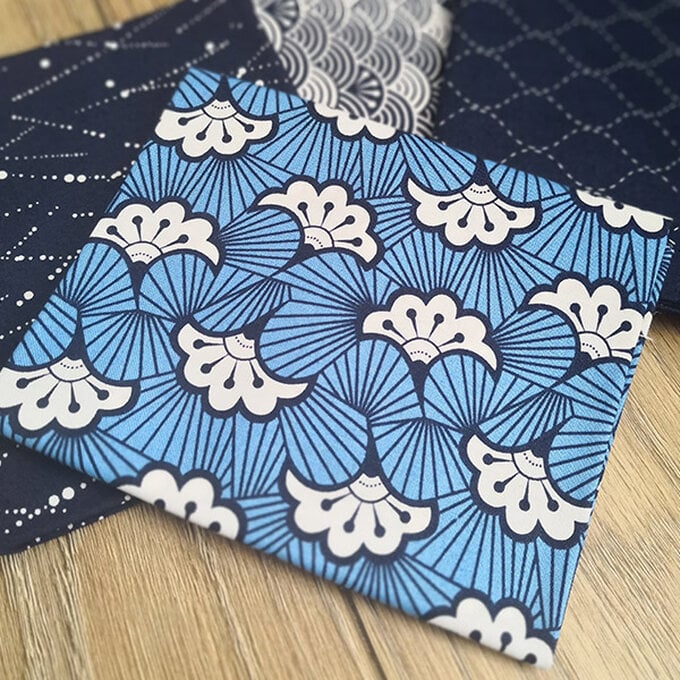
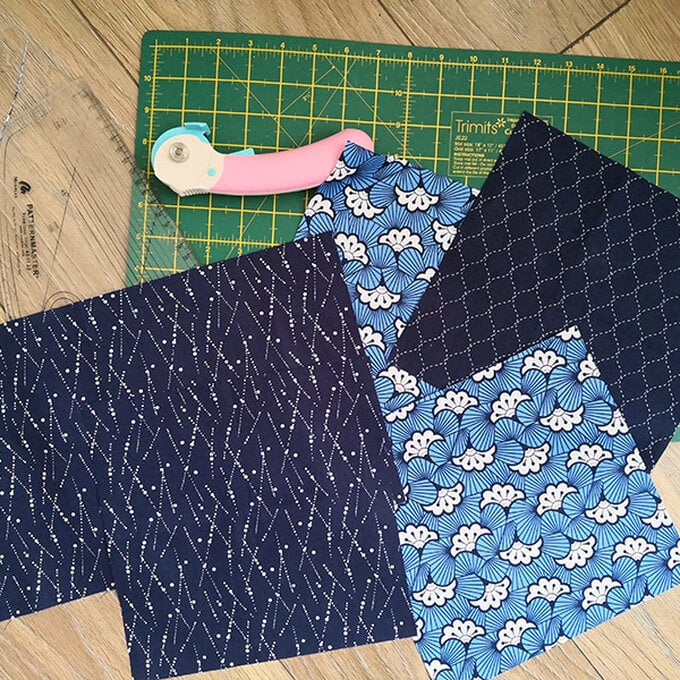
Right sides together, pin the square pieces together and sew with a 1cm seam allowance. Press this seam and for an optional extra you can add a decorative zig zag stitch across it. Repeat to attach the lining square to the lining rectangle.
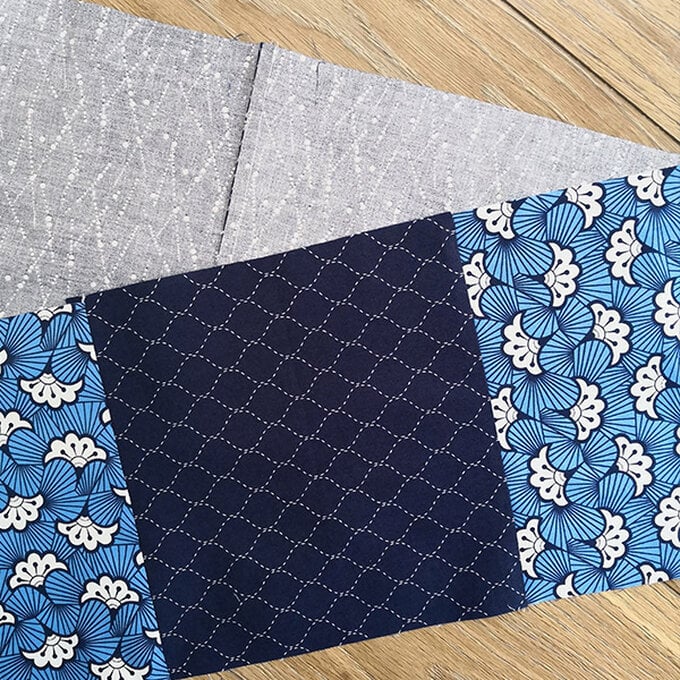
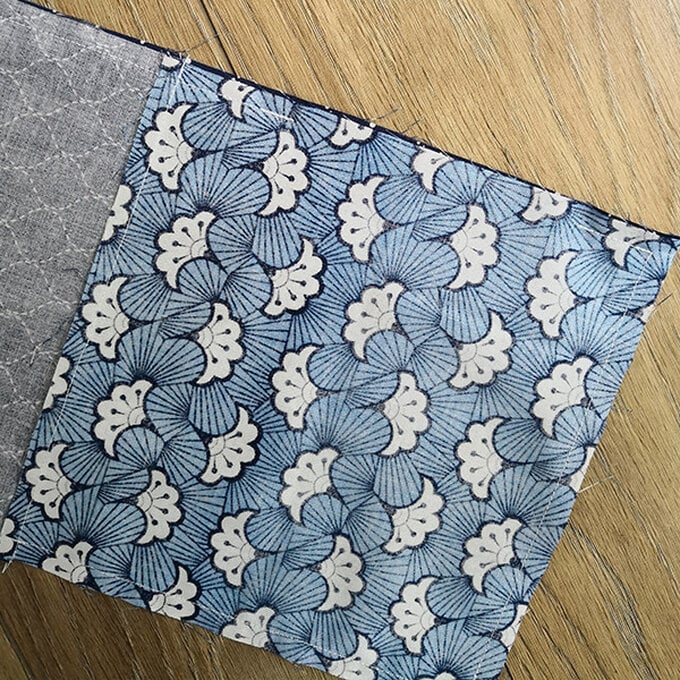
Place the sewn together pieces and the lining right sides together, pin and sew around the edge with a 1cm seam allowance, leaving a gap for turning through near the right corner on one of the long edges.
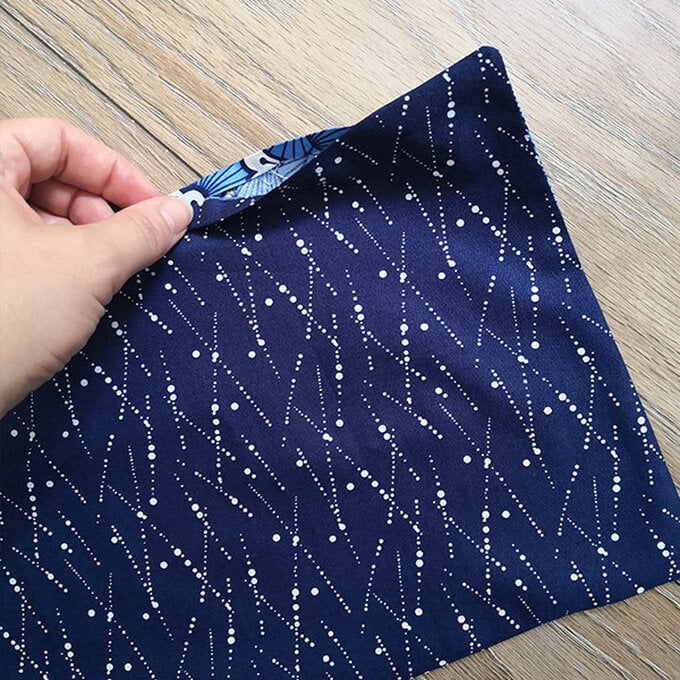
Press and trim the corners and any excess seam allowance. Turn through and press the piece well, use a chopstick to help the corner points. Also press down the gap you left for turning.
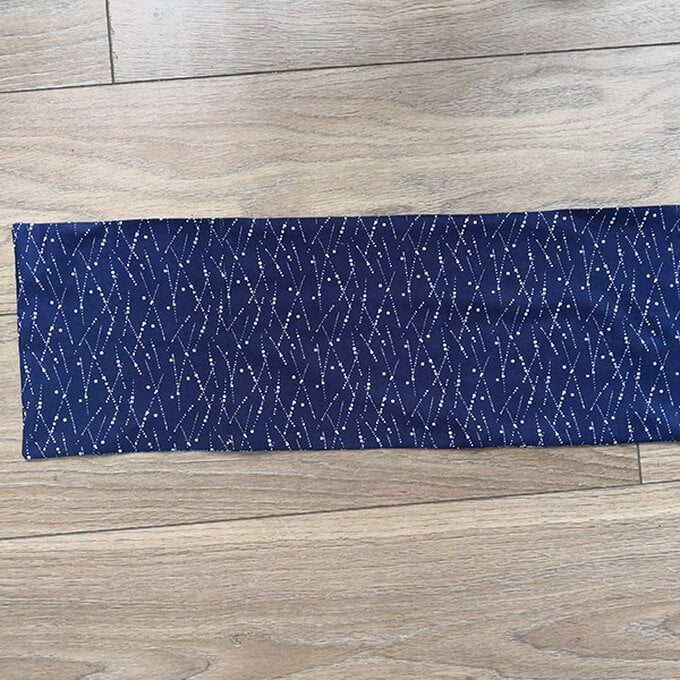
Lay onto a flat surface with the gap top left.
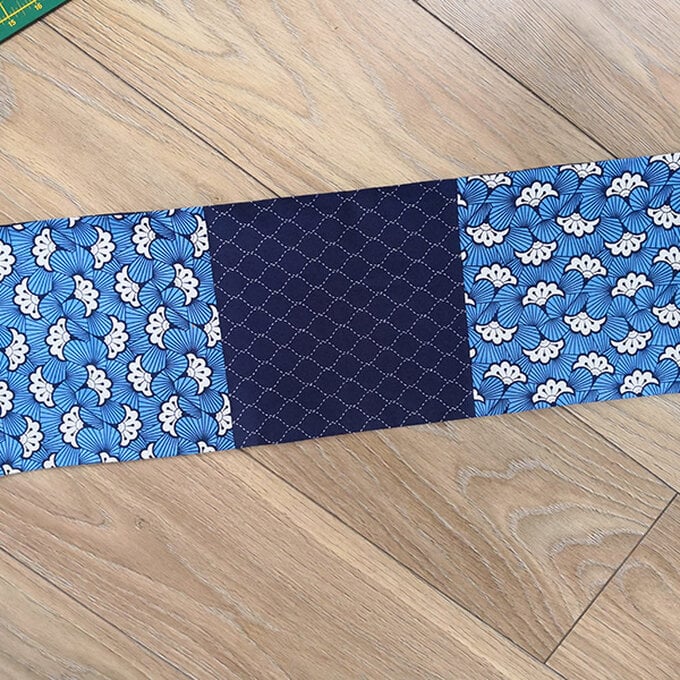
Take the third segment on the left of the piece, and fold it so that the corner matches up to the other fold. Pin, making sure you'll enclose the gap when you sew. Sew across (from A to B), securing the stitching at either end with a reverse and leaving a 0.5cm seam allowance.
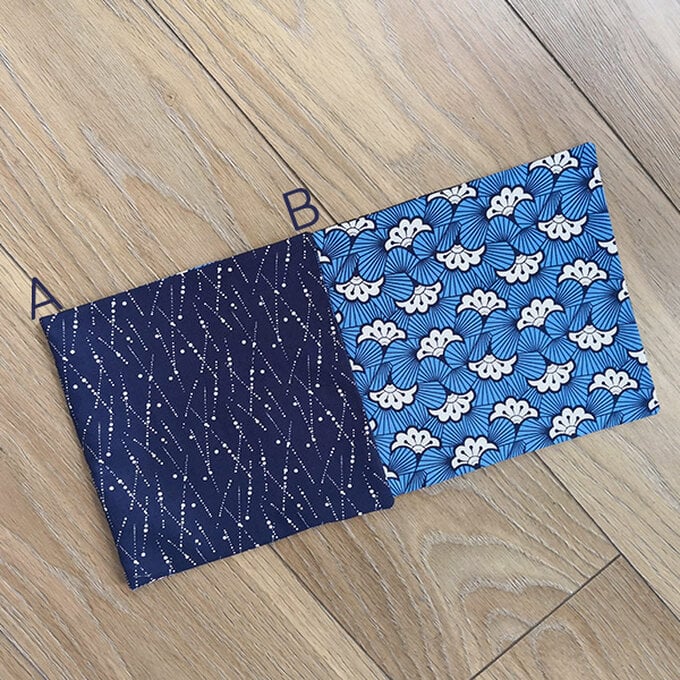
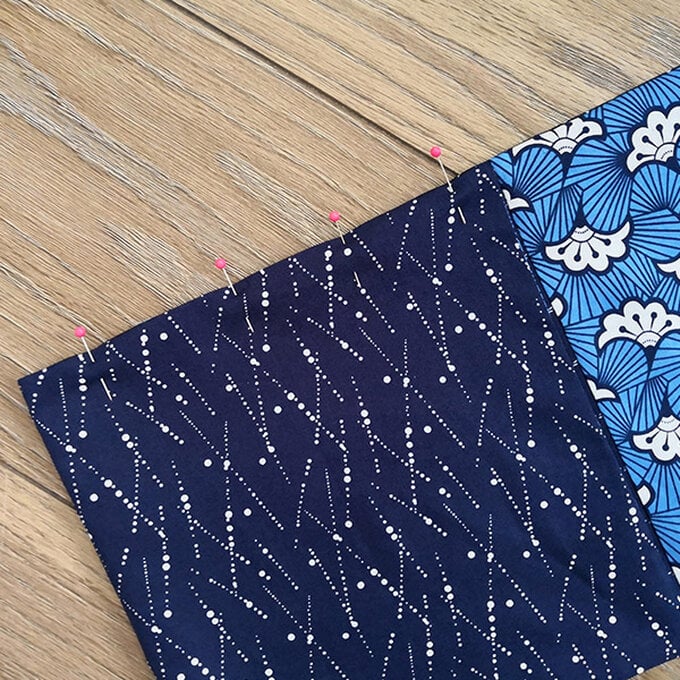
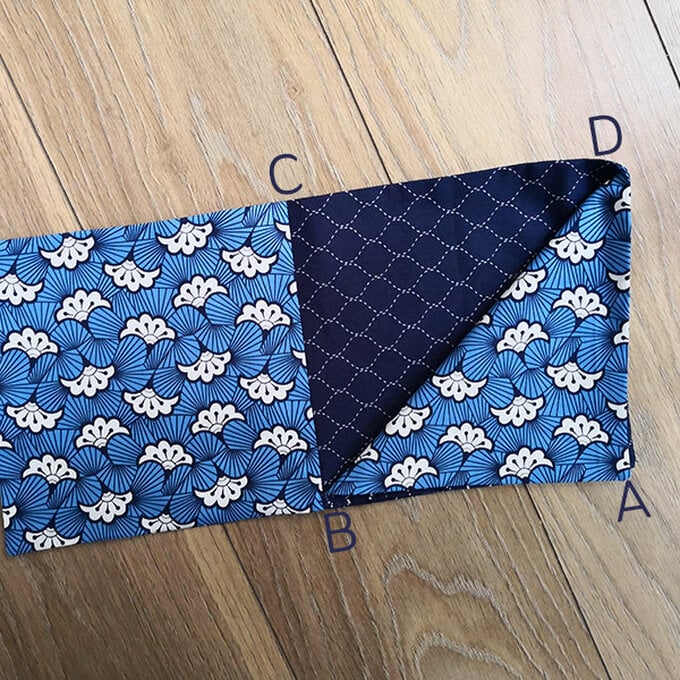
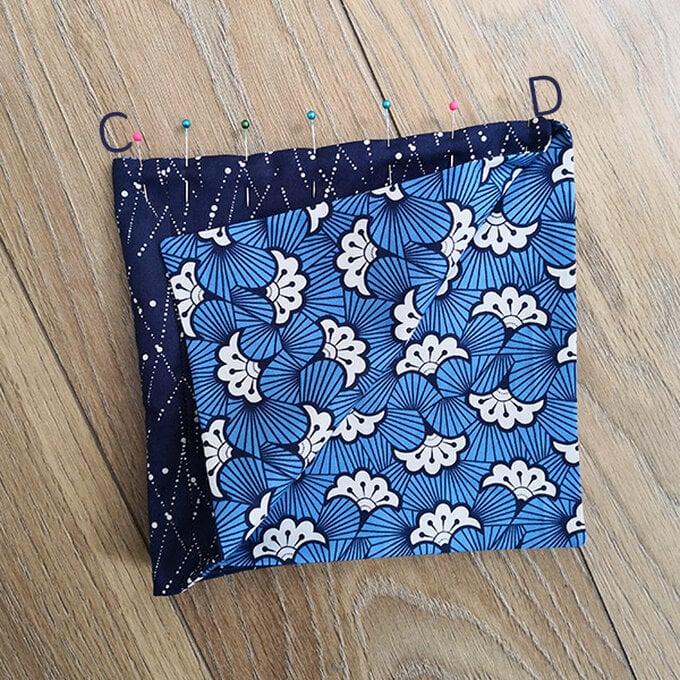
The bag should now look like this, press well.
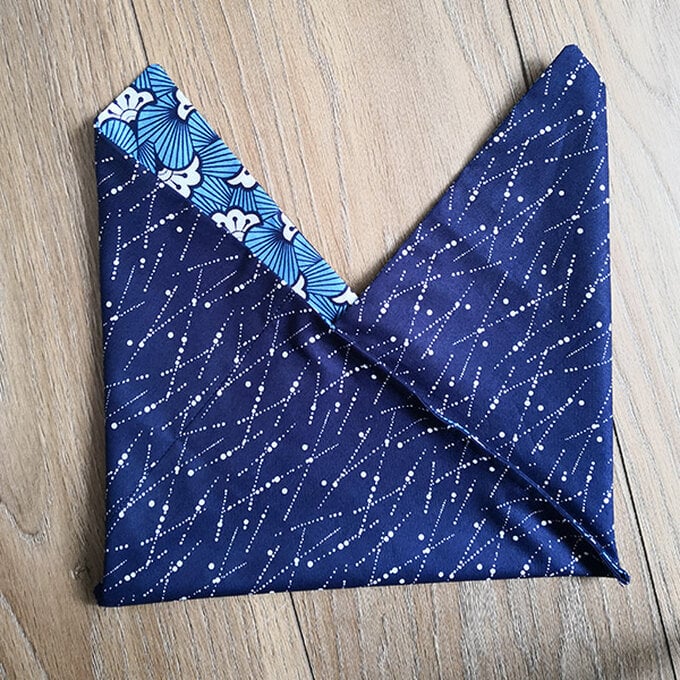
To create the square corners, sew across approx 2cm up from the point and trim.
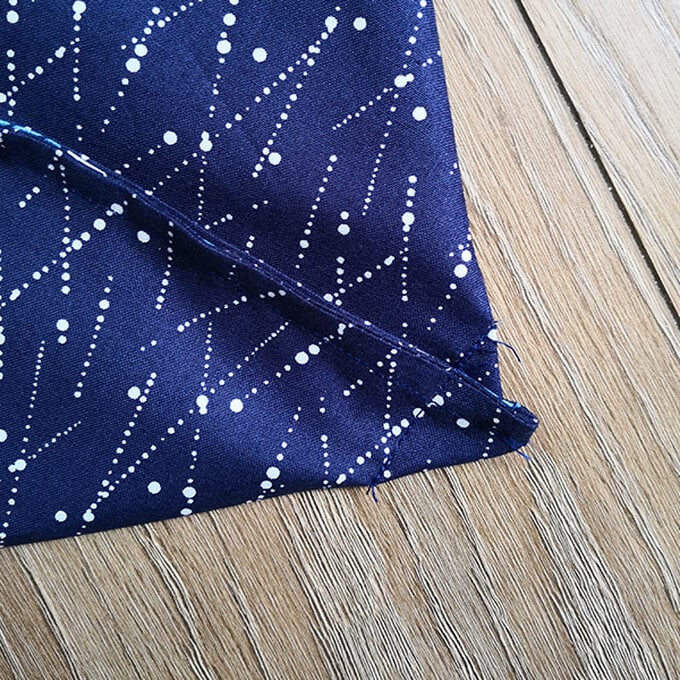
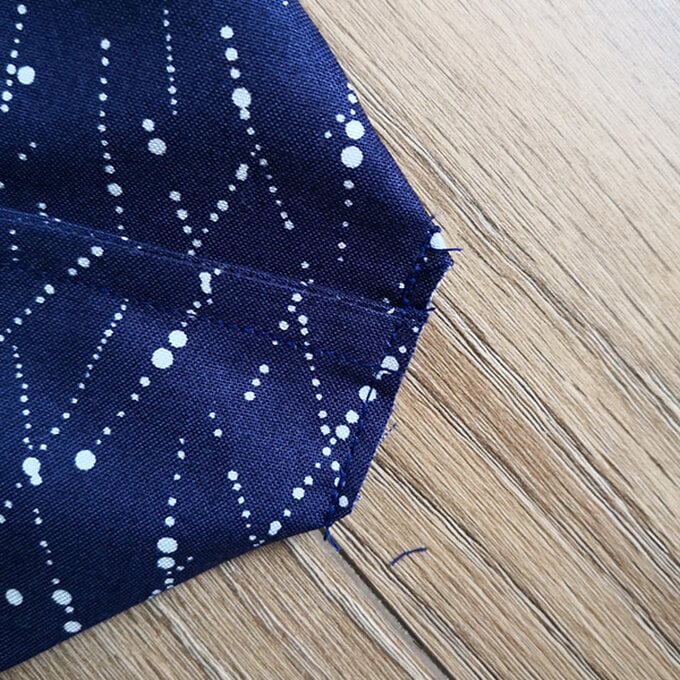
Turn the bag the correct way round and press again.
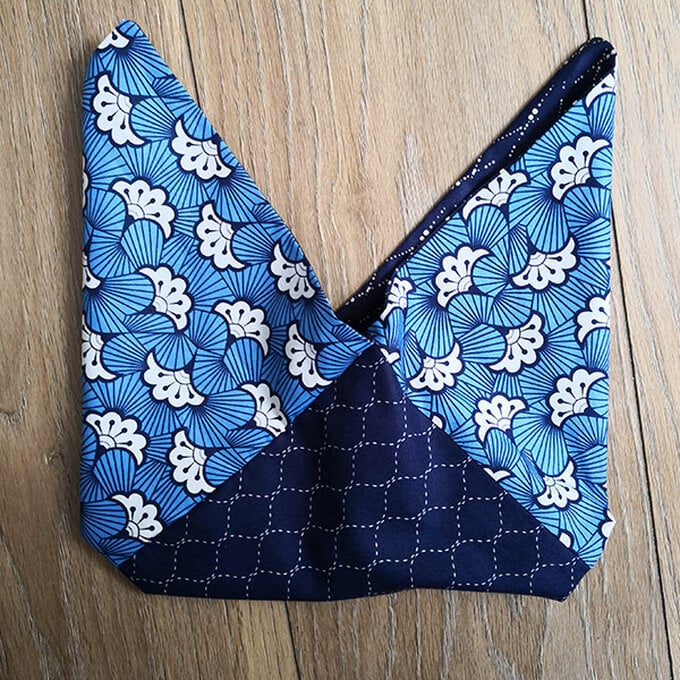
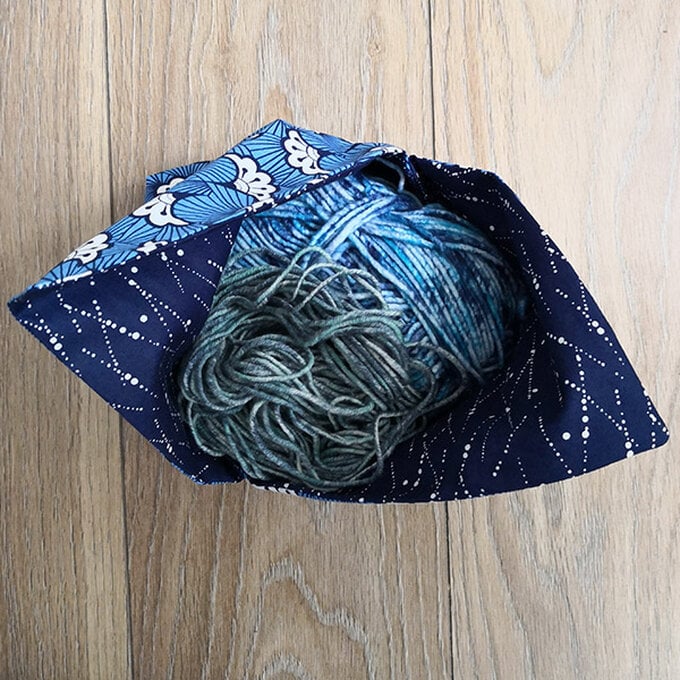
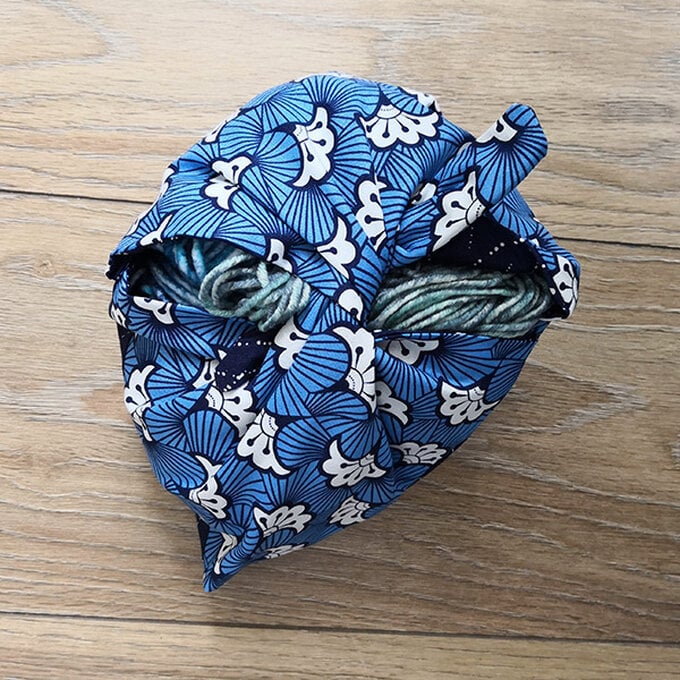
You can now add yarn or other trinkets to you bag and simply tie a knot to close.
