Silhouette: How to Make an Acrylic Sign
Create an elegant acrylic sign for your next special event with the help of your Silhouette machine!
Ideal for beginners, this project will walk you through how to add a personalized touch to your décor in just a few steps.
Unlock your creativity through the use of your digital crafting machine!
You will need
Subtotal
Is $ 2.49 , was $ 4.49
Subtotal
Is $ 12.00
Subtotal
Is $ 5.49
Subtotal
Is $ 2.49 , was $ 4.49
Out of stock
Subtotal
Is $ 2.49 , was $ 4.49
You Will Need
* A Silhouette Cameo 4 Machine
* Silhouette Studio Software
* A Standard Grip Cutting Mat
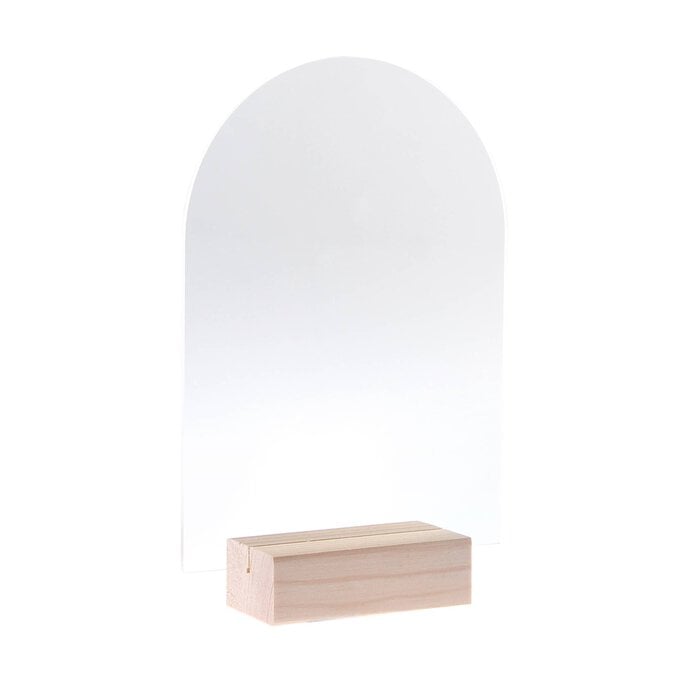
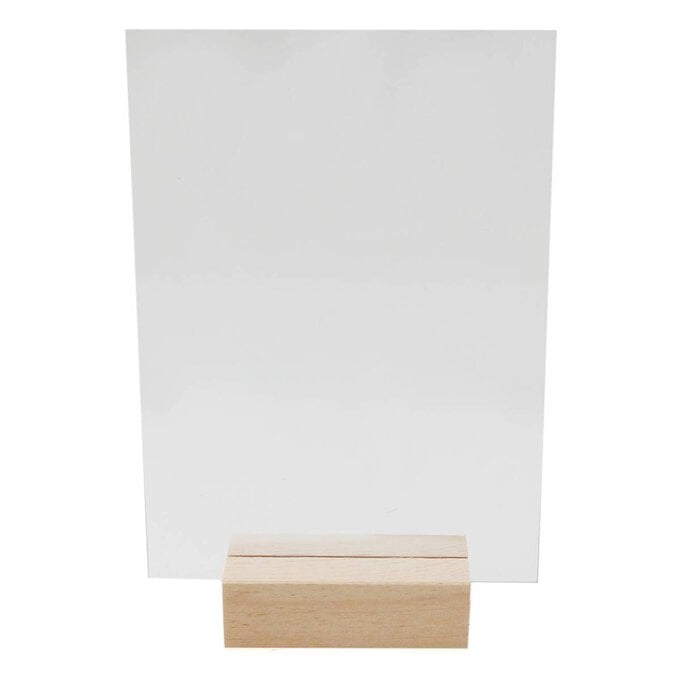
* An Acrylic Sign
* A Silhouette Pink Vinyl
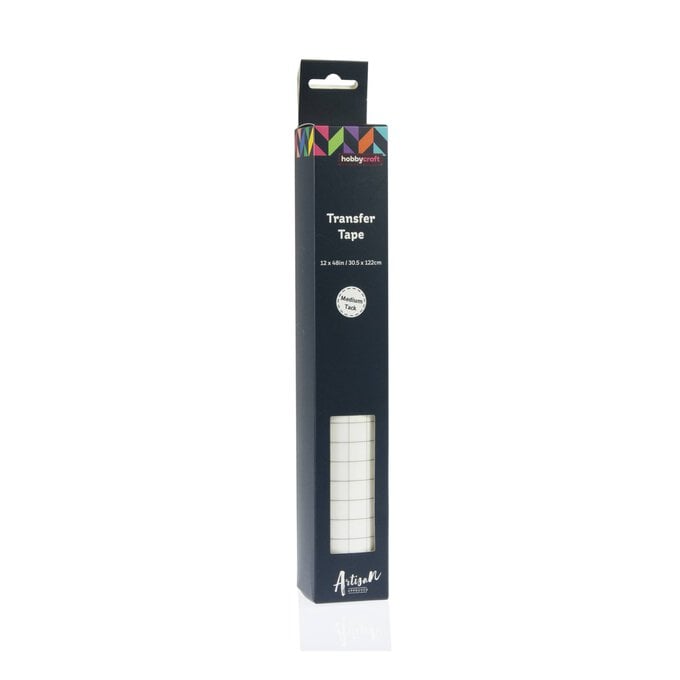
* Transfer Tape
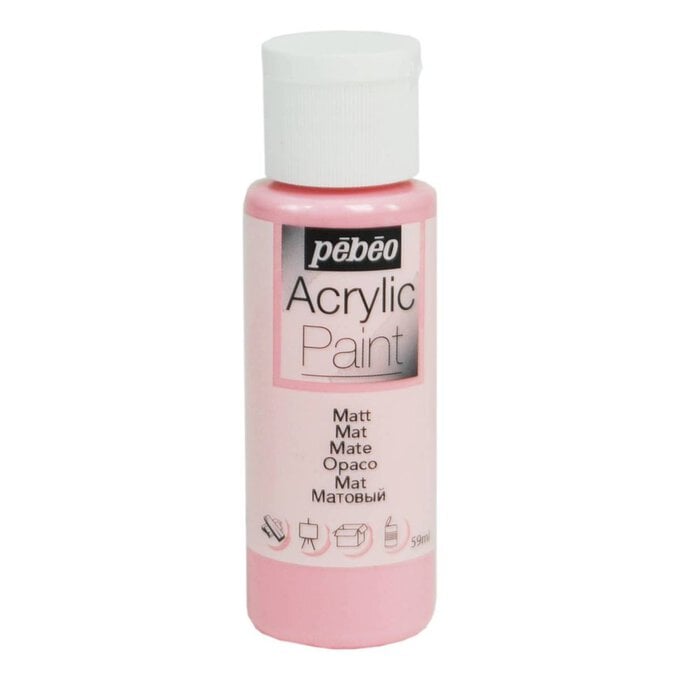
* Pink Acrylic Paint


To curve text, draw a circle and double click on the text box to see a green surround with a double pointed arrow in the corner.
Using the double pointed arrow, move the text around the circle and the text will snap in to a curved position to match the circle.


Apply your vinyl to the mat and send your design to the machine.
Select “Vinyl, Glossy” as your cut setting.

Load your mat into your machine and cut the design.
Once cut, weed your design.


Craft with us at our workshops


Related Products