How to Make Floral Fillable Love Letters
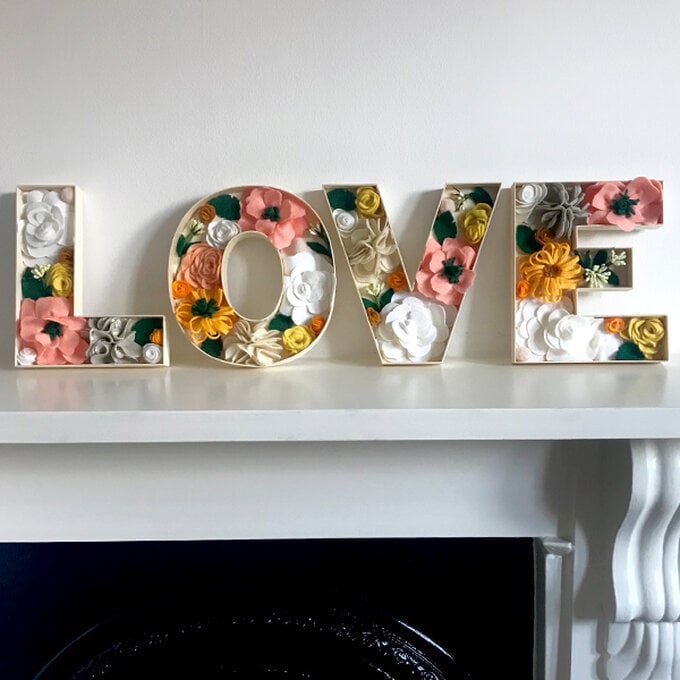
What better decoration for a wedding then four powerful letters that perfectly describe the union between two people? Perfect to create as part of your home décor, or for an exciting event, this step-by-step guide will show you how easy it is to craft wonderful flowers from felt. You'll then be able to fill these letters with felt flowers to create the perfect decorations for welcoming wedding guests.
Project and instructions by Ilaria Harris
You will need
Subtotal
Is $ 3.49
Subtotal
Is $ 10.00
Subtotal
Is $ 9.49
Subtotal
Is $ 9.49
Subtotal
Is $ 9.49
Subtotal
Is $ 9.49
Subtotal
Is $ 9.49
How to make
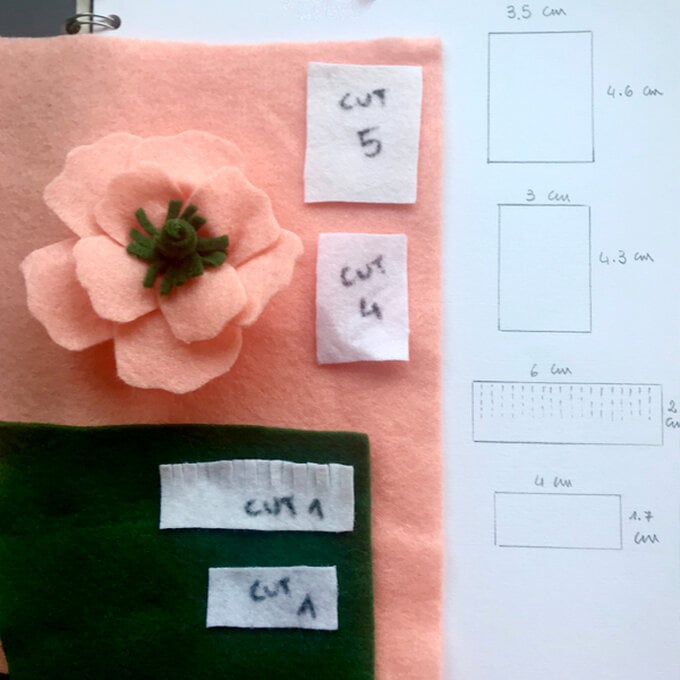
Make your own template for the flowers. Draw around the template onto the coloured felt. Cut five big petals. I did 3.5 cm x 4.6 cm. Cut four small petals, mine were 3 cm x 4.3 cm. For the centre of the flowers cut one 6 cm x 2 cm and one 4 cm x 1.7cm (see photo).
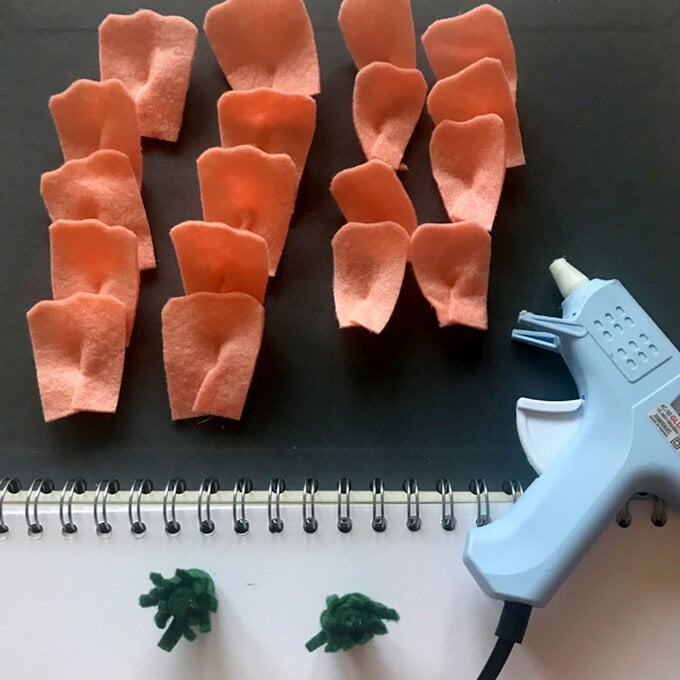
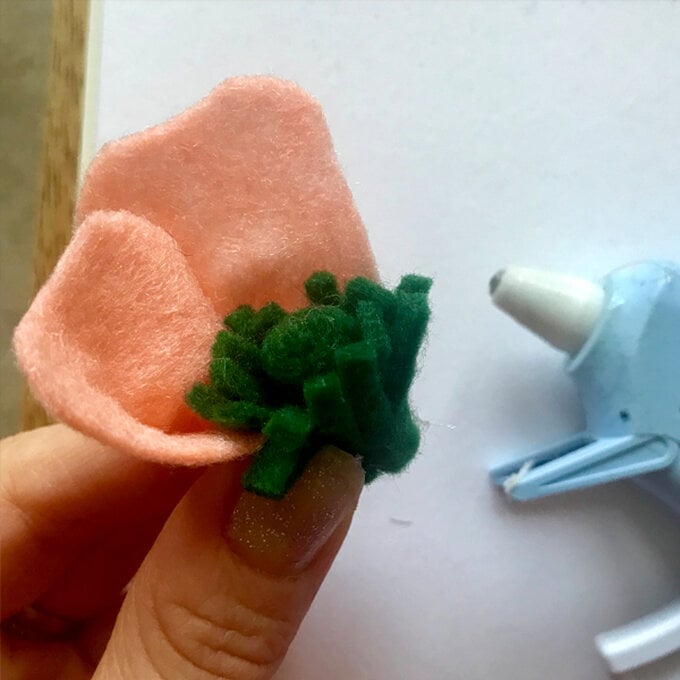
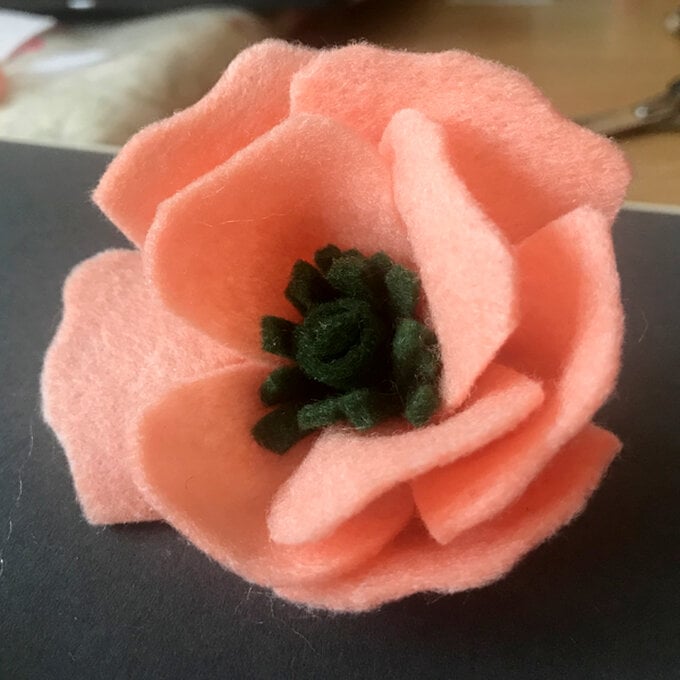
Once you have completed all the petals, glue them all to the centre bottom edge around the green centre. Continue adding the petals, carefully spacing and layering them.
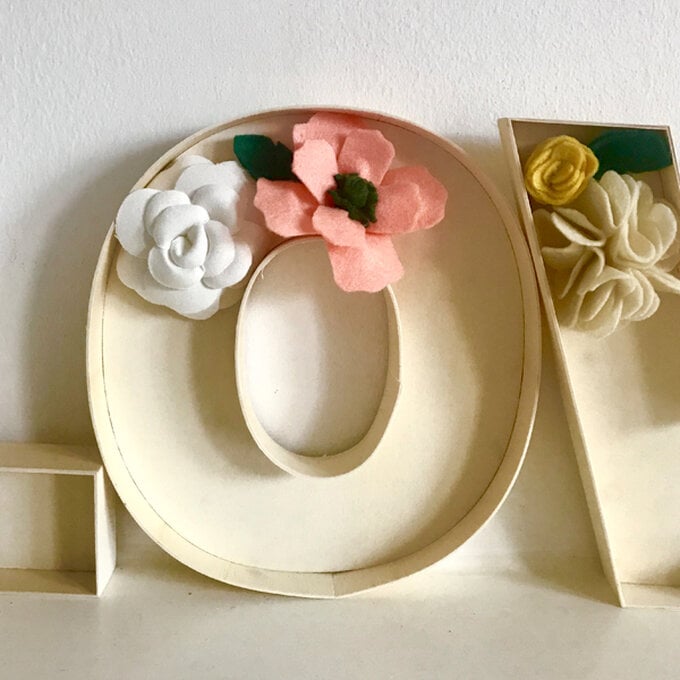
Now you are ready to glue the finished felt flowers to the inside of the letters so that you can fill up the shapes. Check that the different colours are distributed to form your desired pattern.
Make your own template. I used the bottom of a round jar. Cut a small hole in the centre with your scissors. Then start cutting in a wavy line from the centre, forming semi-circles all the way around in a spiral until you reach the end.
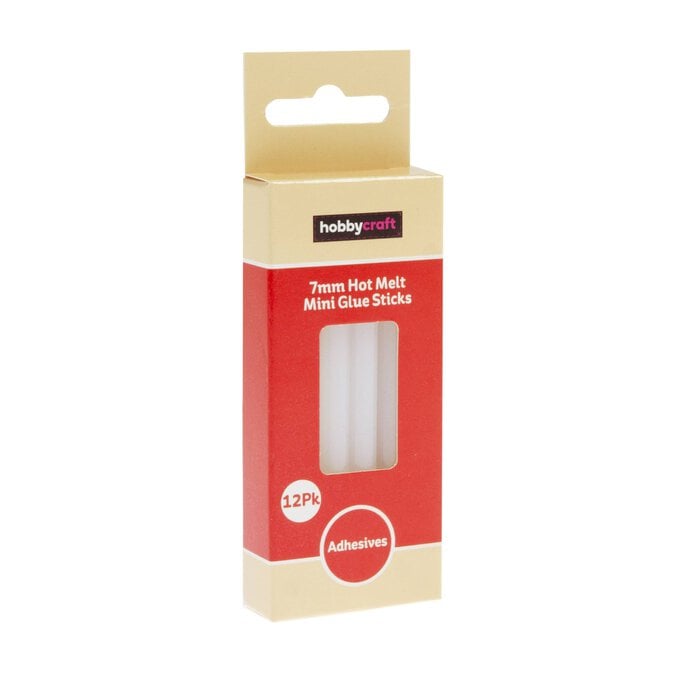
Put a line of hot glue along the bottom edge of the spiral from the centre out. Then carefully roll the spiral on itself while gluing, placing new lines of hot glue as you secure and until you obtain the full rose.
Glue the rose into the fillable letters.
Cut a leaf shape into the green felt. Trim the leaves into different shapes.
Put a small line of hot glue at the base of the leaf and pinch together.
Glue the leaf behind the rose or anemone while fixing the flowers into the fillable letters.
Continue to fill your letters. Play around with the pattern and layout of the different flowers. Try to create a balance in colour and shape. Once you are happy, glue further to secure it. Now your letters are ready to welcome your guests! And after the big day, you can keep them forever after!
