How to Make a Valentine's Waterfall Card
Get ready to impress someone special with this Valentine's Day waterfall card. Perfect for beginner papercrafters, this quick and easy design can be made with just a few basic crafting supplies.
This Valentine's Day card is certain to make a big and bold impact as it uses all of the wonderful colours of the rainbow!
Project and instructions by Sue Smith.
Discover more projects from Sue Smith here
You will need
Subtotal
Is $ 4.49
Subtotal
Is $ 2.49
You will also need:
* A craft knife - available in store only
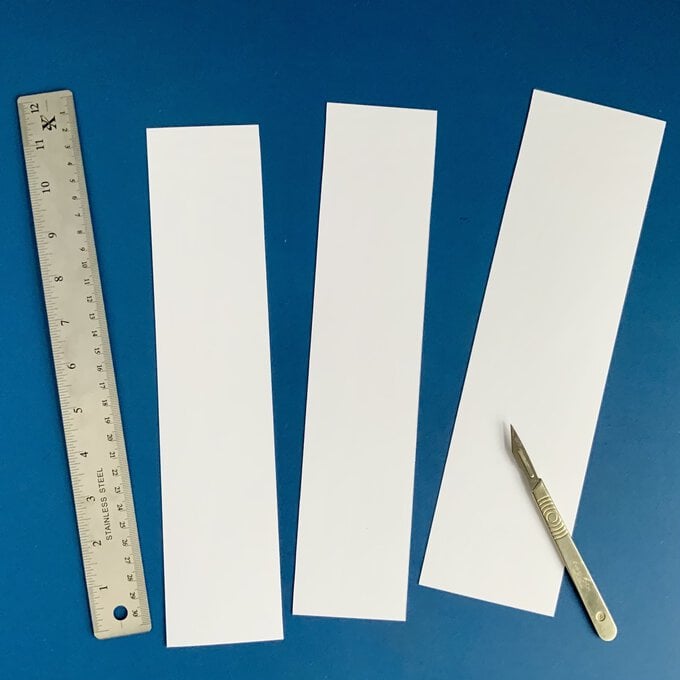
Begin by cutting up an A4 sheet of smooth white card. Measuring in from the long edge, mark and trim a strip 65 mm wide.
Repeat to cut another identical strip.
Keep the last remaining wider strip for later.
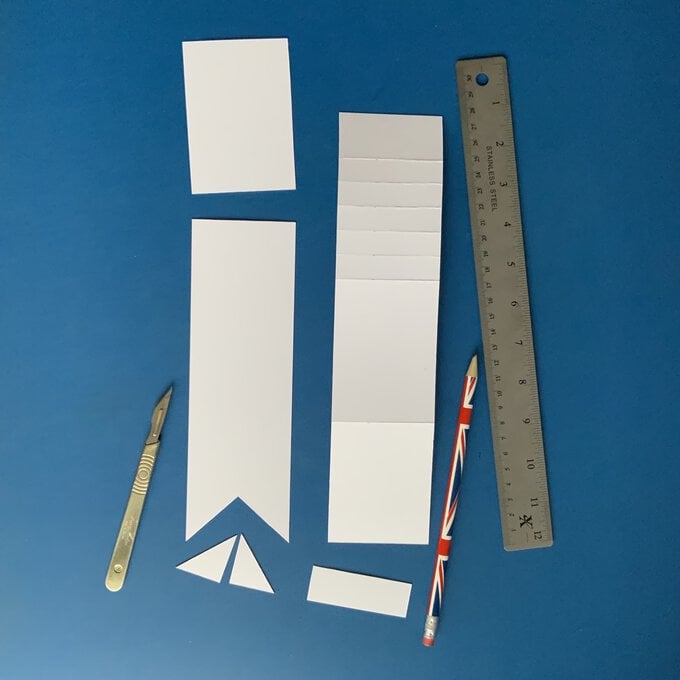
Prepare the first strip, by measuring 90 mm from the top edge, and cut this section off. Make a fishtail banner at the bottom end, by measuring 27 mm up, centrally from the bottom edge. Use this point to cut diagonally to both bottom corners.
Prepare the second strip, by measuring seven horizontal fold lines with a pencil. The first line is 30 mm down from the top edge. Next, measure another five lines 15 mm apart, down from the first line. Measure a seventh line 90 mm down from the sixth line.
Use a craft knife to lightly score along all seven lines, cutting the top surface of the cardstock. Mountain fold all seven lines.
Then cut a section off from the bottom, measuring 90 mm from the seventh fold line.
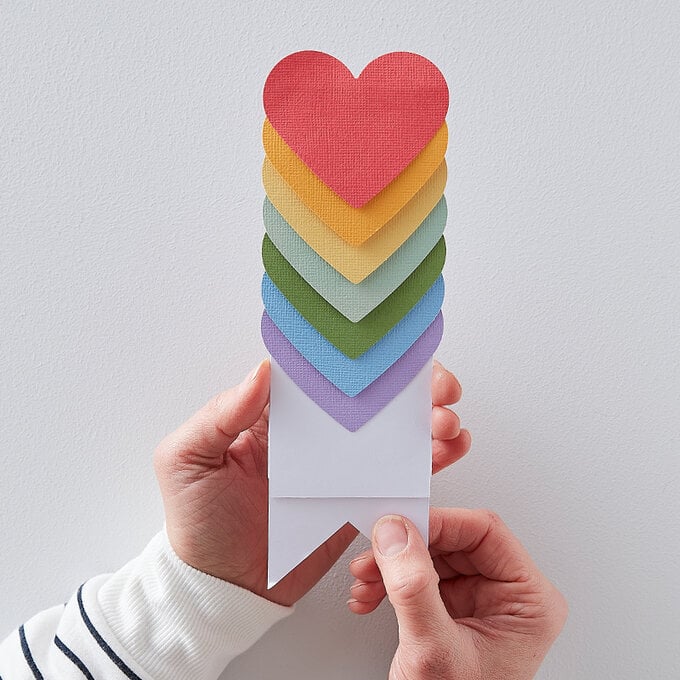
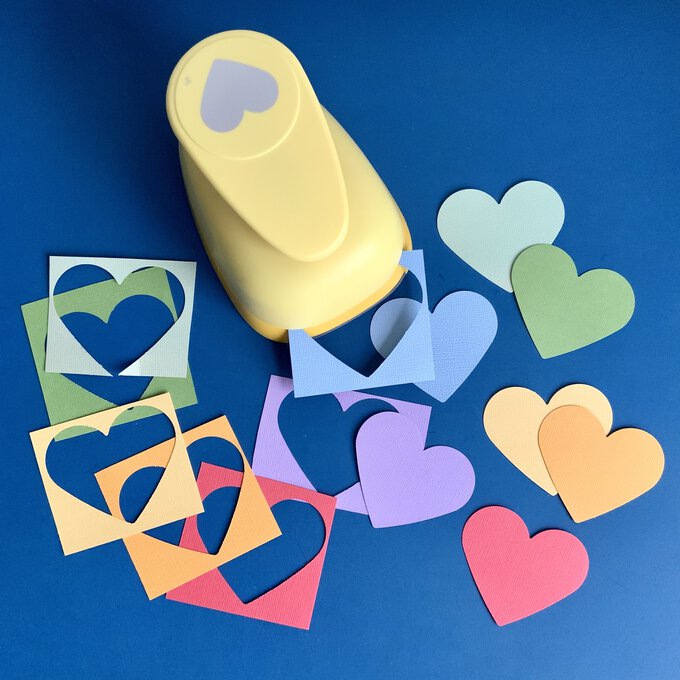
Use the heart punch to cut seven rainbow-coloured hearts from textured cardstock. Cut from a red, a dark yellow, a light yellow, a pale sage green, a darker grass green, a pale blue, and also a lilac-coloured sheet.
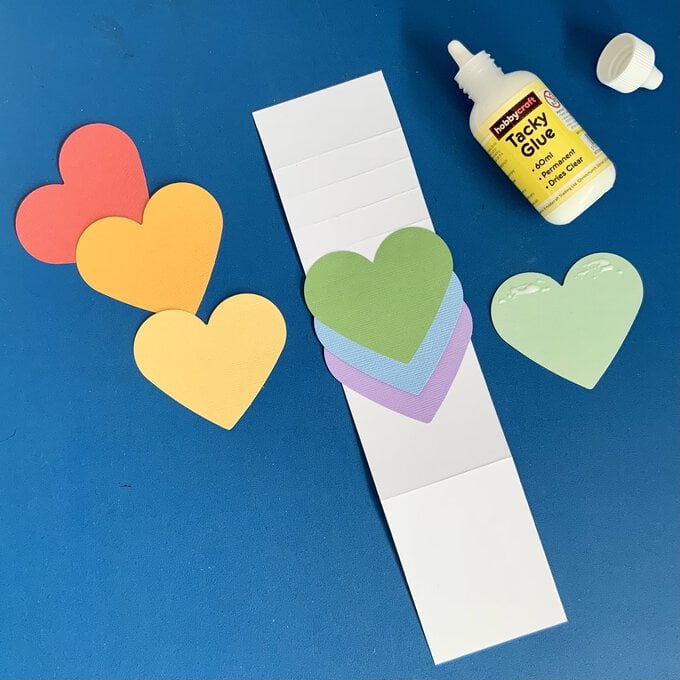
Starting with the lilac heart, add a small amount of tacky glue to the very top area of the underside. Fix centrally in place, just below the sixth fold line.
Add tacky glue in the same way to the pale blue heart and fix centrally just below the fifth fold line.
Repeat for the darker grass green heart, fixing in place just below the fourth fold line.
Continue to glue down the pale sage green heart, the light-yellow heart, and the dark yellow heart.
Fold back the top section. Add a thin line of glue across the middle of the red heart on the reverse again and place it on top of the dark yellow heart, hiding any white card showing.
Create a band measuring 115 mm x 30 mm from the spare piece of white card. Score with a craft knife and fold a line 20 mm in from both ends to make gluing tabs.
Turn over the front heart design and apply tacky glue to the folded section at the top of the card. Fix in place the other prepared strip to create the back of the card. Line both pieces up perfectly.
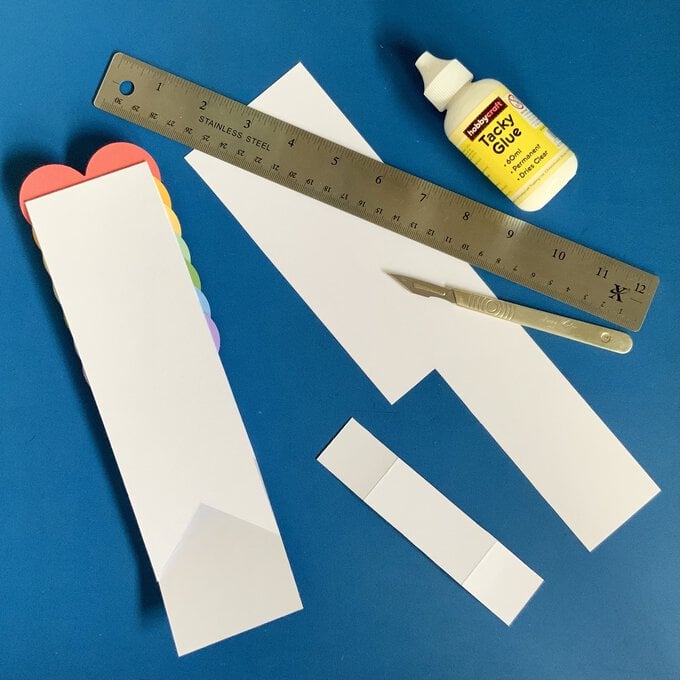
Open the back of the card, and slide under the band just below the seventh fold line. Use this as a guide to cut away a slim notch both sides. This will help house the folded gluing tabs of the band.
Apply glue to the inside of the tabs, folding down to fix in place. Then apply more glue on top of the tabs, and all over the bottom section. Fold this bottom section up and fix in place.
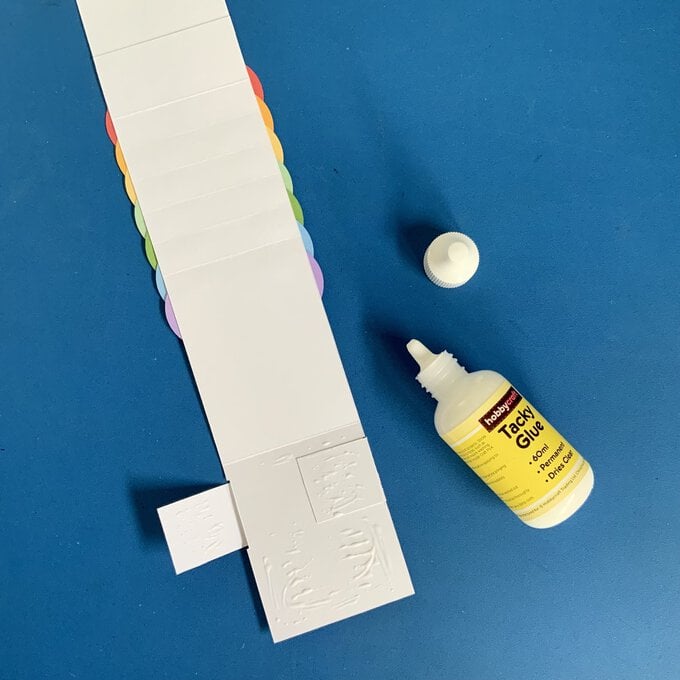
Once the glue has dried completely, fold the back of the card closed, and gently slide the fishtail end under the band piece. The construction of the card is now complete.
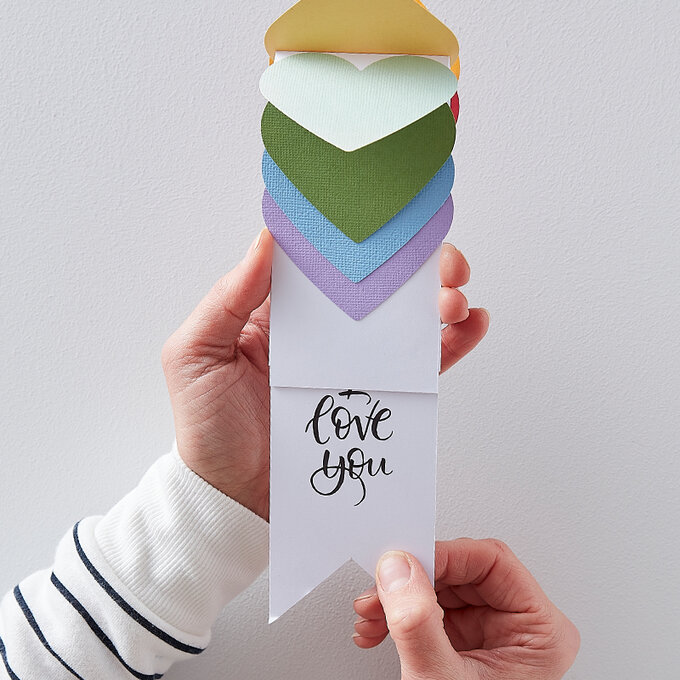
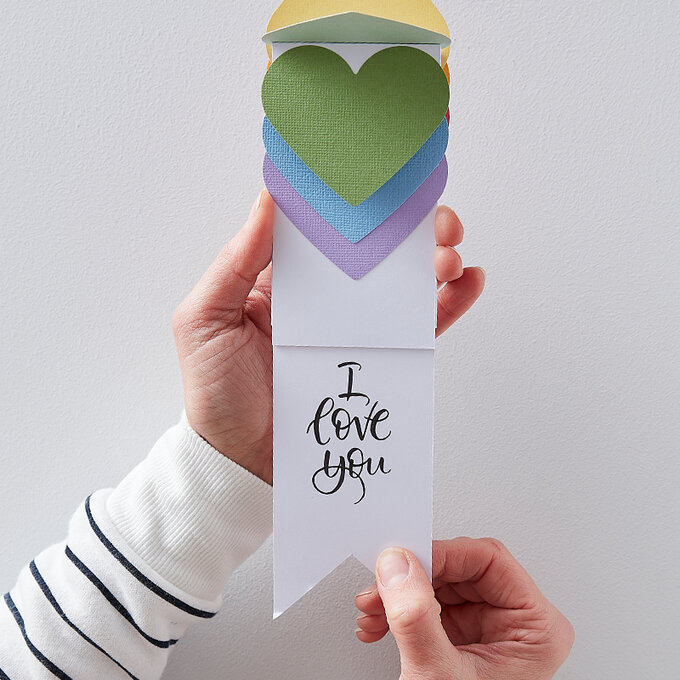
Lastly, brush letter a hidden sentiment on the fishtail panel when the card is open. Sketch the words in pencil first to make sure the lettering is completely hidden when the card is closed. Use the second thickest brush pen to hand letter the sentiment.
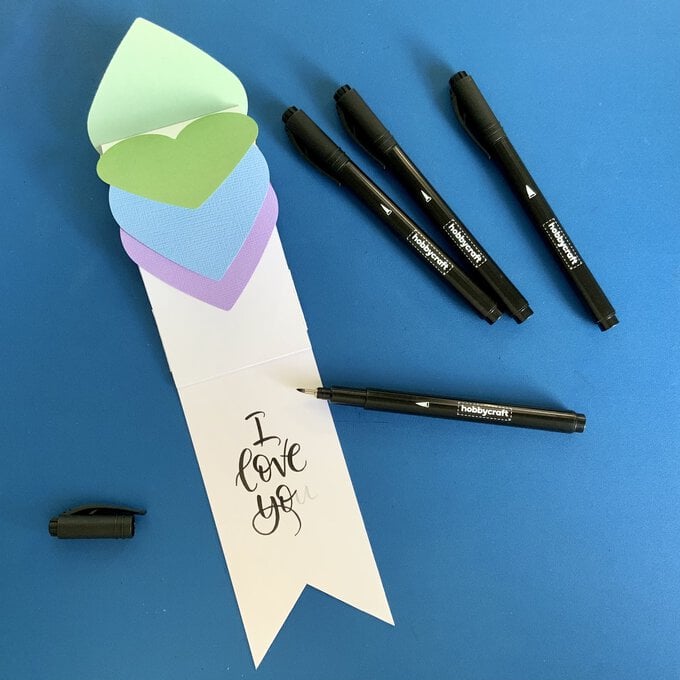
The Valentine's Day waterfall card is now complete.
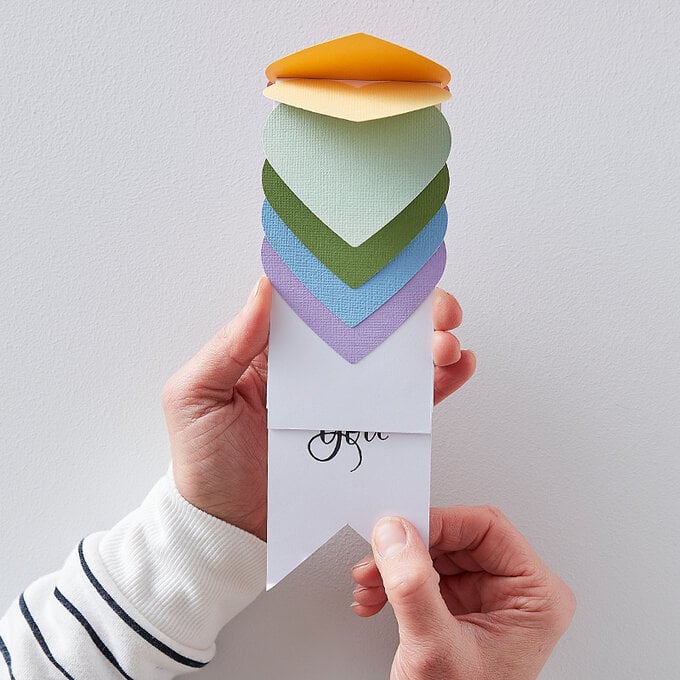
To open the card, hold the back of the card behind the hearts with one hand, whilst gently pulling down the fishtail end with the other hand. The hearts will then turn back on themselves revealing the last lilac heart. As the card is closed by pushing up the fishtail end, the hearts will tumble back down in a waterfall effect.
