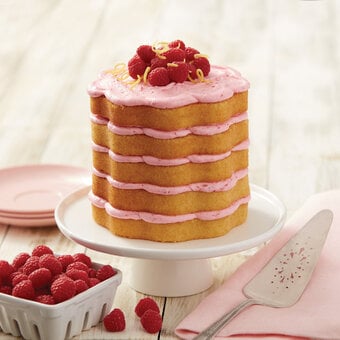
Get Started In Cake Decorating
Transform simple bakes into memorable showstoppers with a few simple cake decorating techniques!
Whether you're new to sugarcraft or you're already a baking whizz, you'll be mastering cake decoration in no time with handy tips and mouth-watering icing inspiration.
There's no better way to get started in cake decorating than with one of our superb workshops!
Tool Guide
Subtotal
Is $ 8.49
Subtotal
Is $ 11.00
Subtotal
Is $ 7.49
Subtotal
Is $ 11.00
Get Started In Cake Decorating
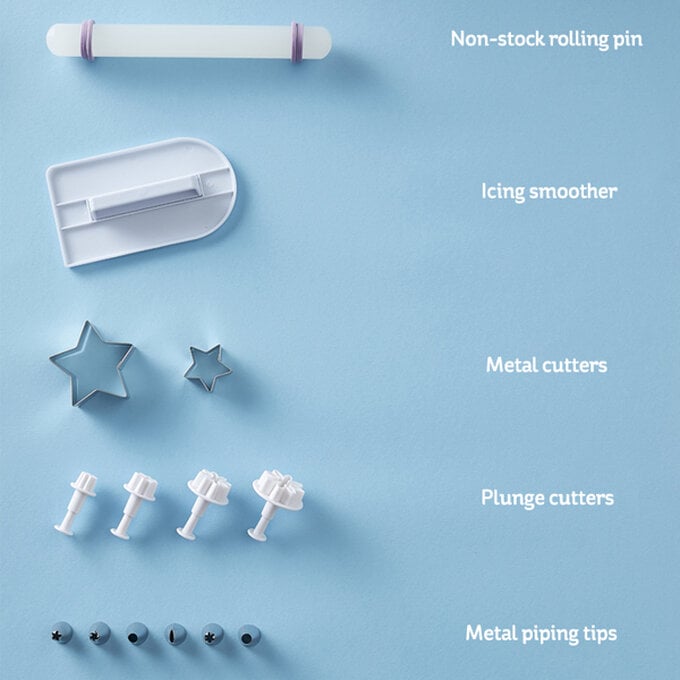
Achieve professional results every time with our range of essential tools and accessories.
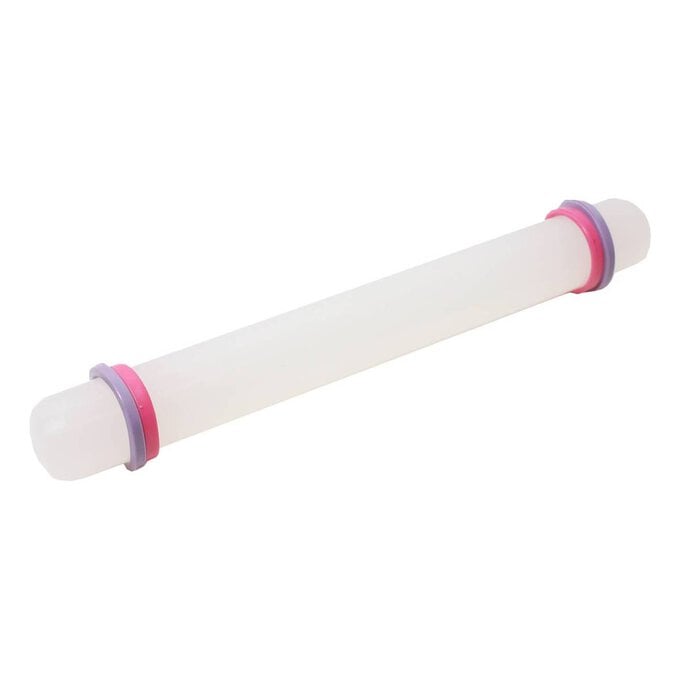
Non-Stick Rolling Pin: A non-stick rolling pin is an essential for rolling out your icing, ready to cut and shape.
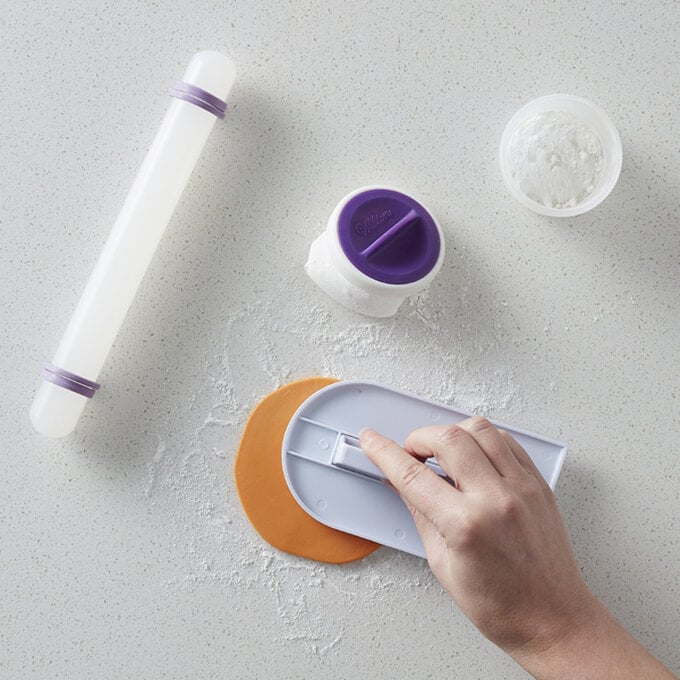
Icing Smoother: Smooth your icing over effortlessly with a quality icing smoother! It’s ideal for buttercream and more and leaves a professional finish.
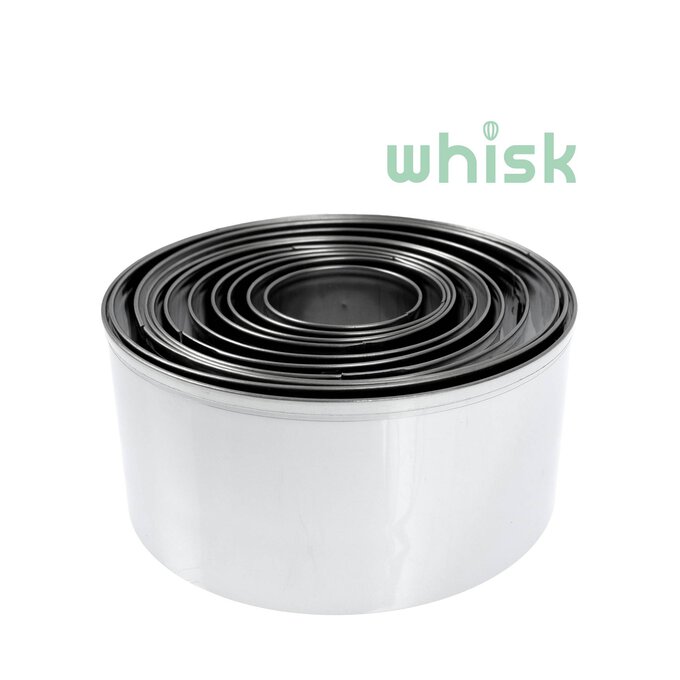
Metal Cutters: Choose the perfect shape from our range of cookie cutters, ideal for cutting dough and icing so that your designs are smooth and neat.
Plunge Cutters: These cutters are ideal for use with sugarpaste (rolled fondant), gumpaste and marzipan. Simply cut out your shape, push down the plunger cutter and eject!
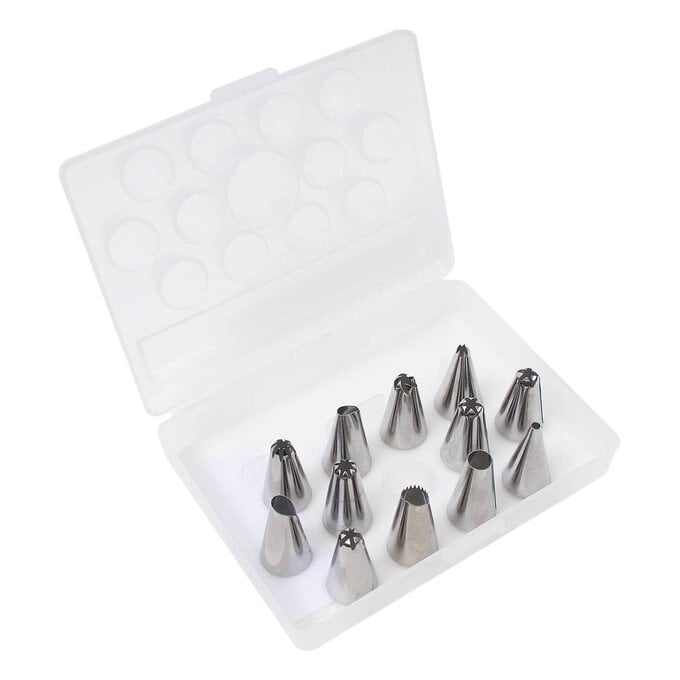
Metal Piping Tips: The range of metal tips available allow you to create a variety of piping effects. When used with piping bags, they allow you to add beautiful detail to every cake.
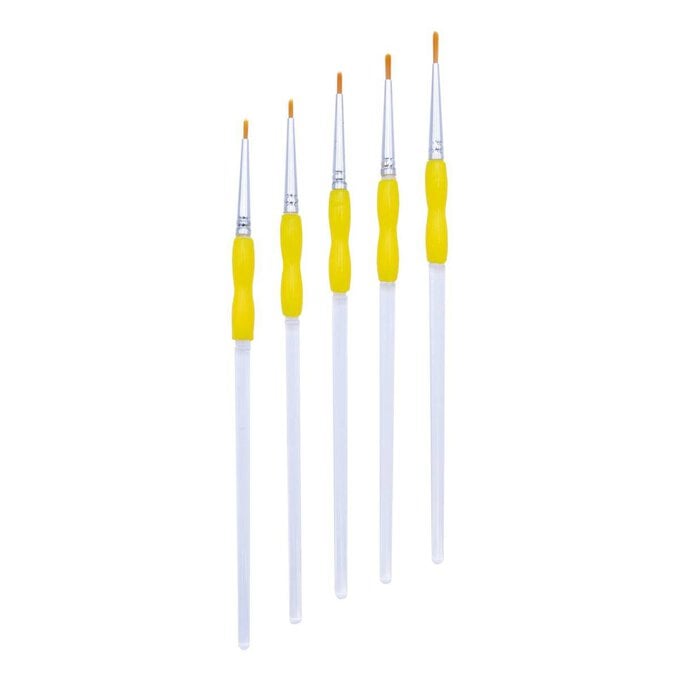
Decorating Brushes: With varying shapes and thicknesses, each of these food-safe brushes will help you accomplish a variety of effects for your cake decorating designs!
Follow along with our simple step-by-step to practice making charming cake toppers that look as good as they taste.
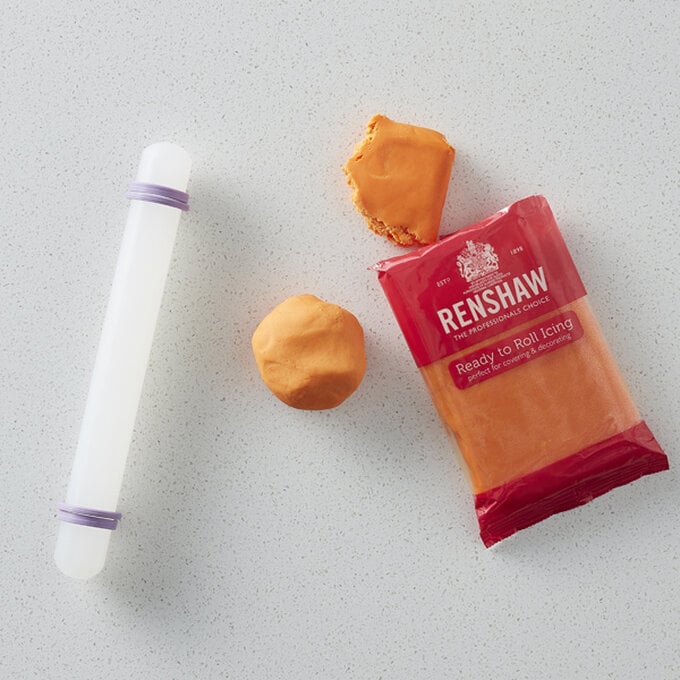
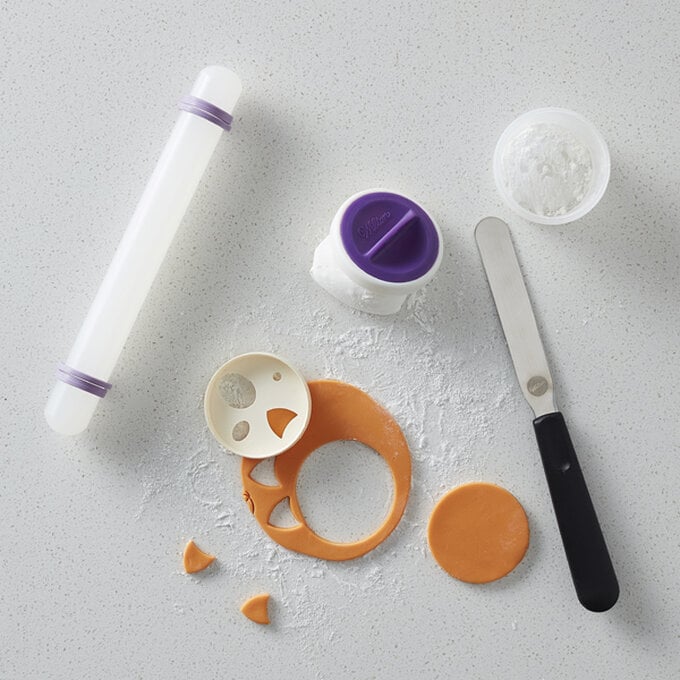
Step 1: On a clean, dry surface, knead your icing until pliable.
Step 2: Smooth out surface to achieve a shine. Use a rolling pin with rings to produce the right thickness.
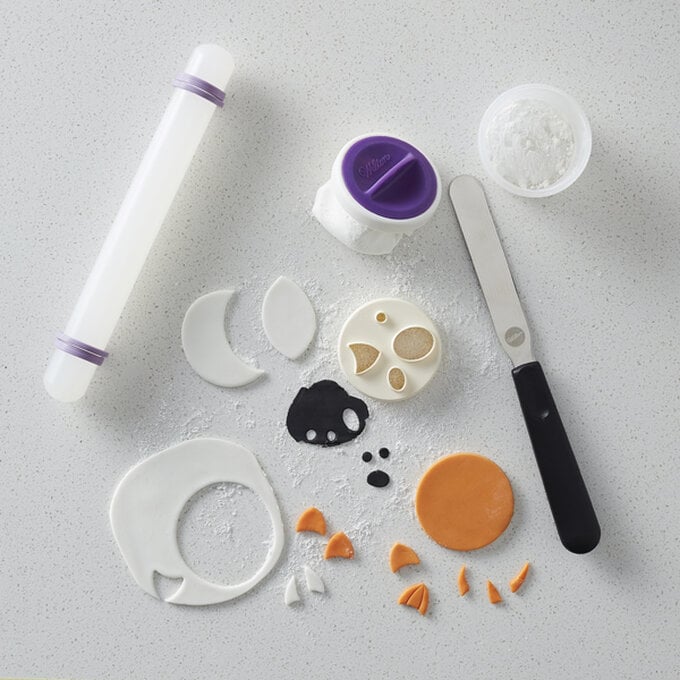
Step 3: Use the Mix N Match face cutter to make the desired shapes for your designs.
Step 4: Repeat the steps above for all of the colours required for design.
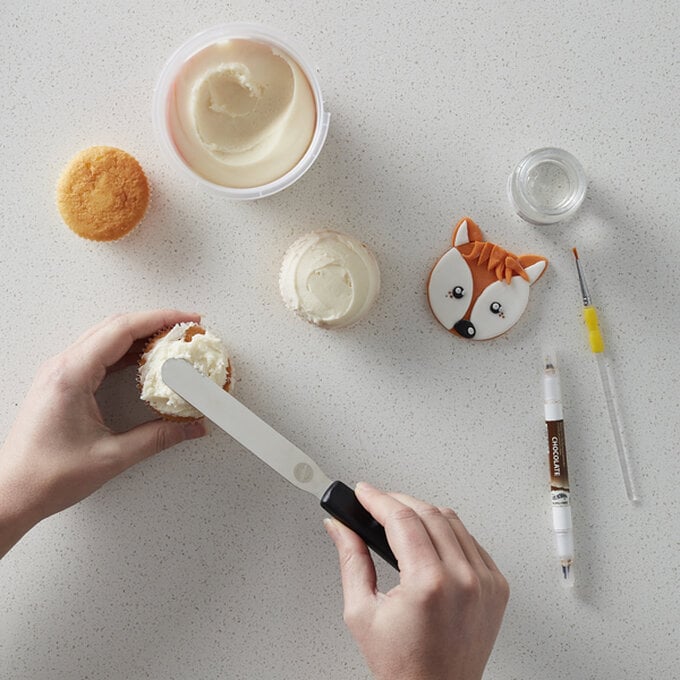
Step 5: Smooth icing over your cupcake with a palette knife and glue all elements together using a paintbrush.
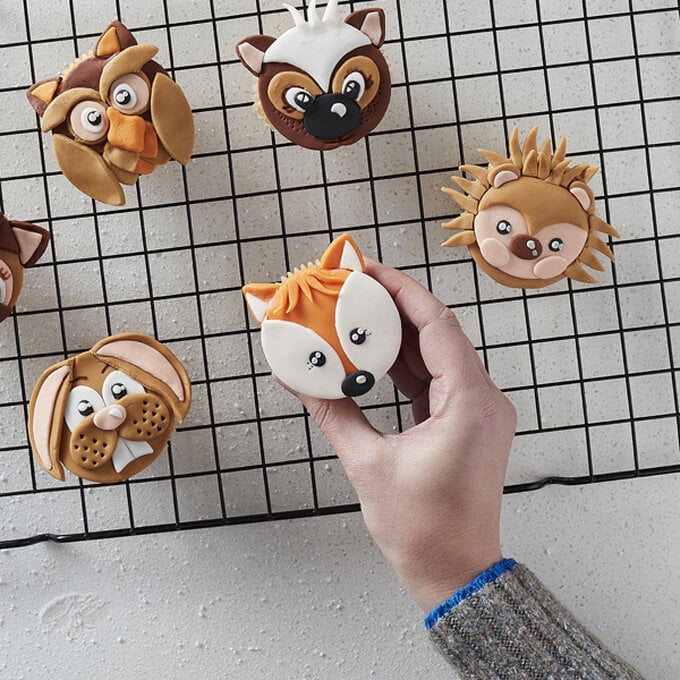
Step 6: Now get creative and see what other design you can create!
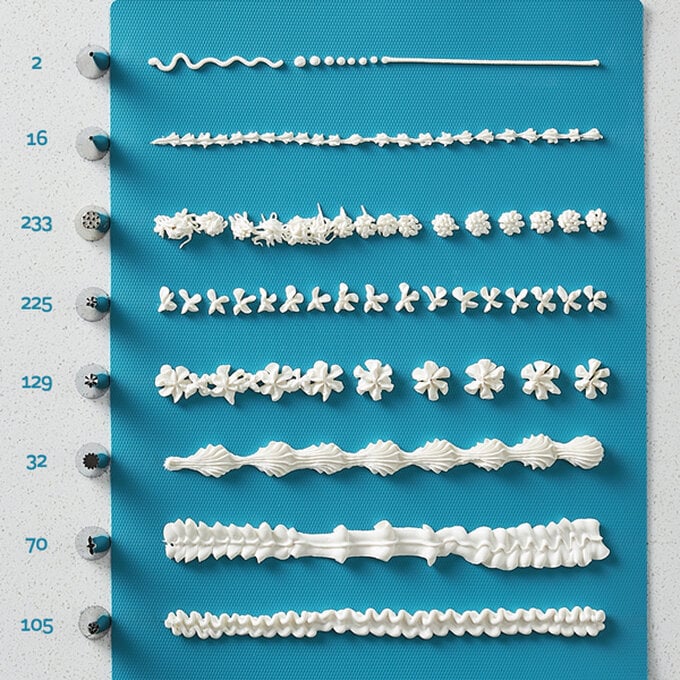
Each decorating tip creates a unique effect, from floral flourishes to smooth lines and dots!
Experiment to discover the perfect one for your application.
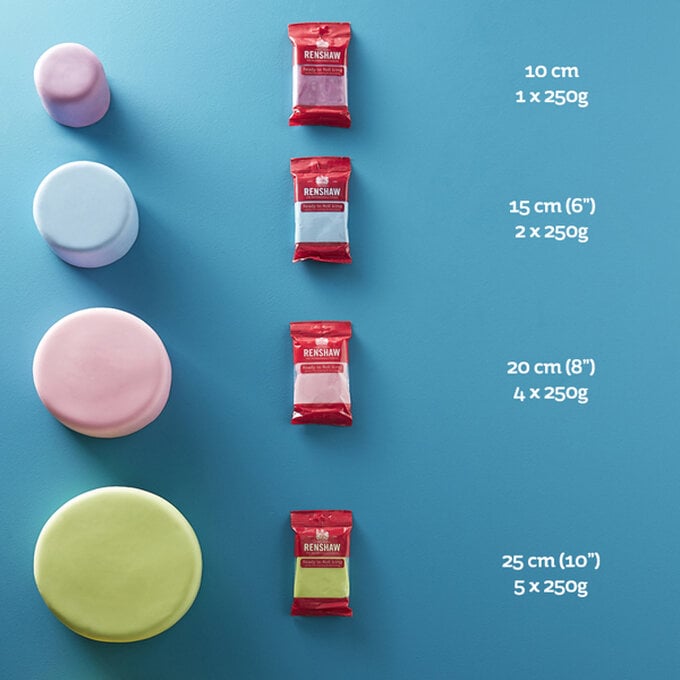
Our handy guide to Renshaw Ready-to-Roll is here to help you with your cake decorating prep!
10cm = 1 x 250g
15cm(6") = 2 x 250g
20cm(8") = 4 x 250g
25cm(10") = 5 x 250g
30.5cm(12") = 7 x 250g
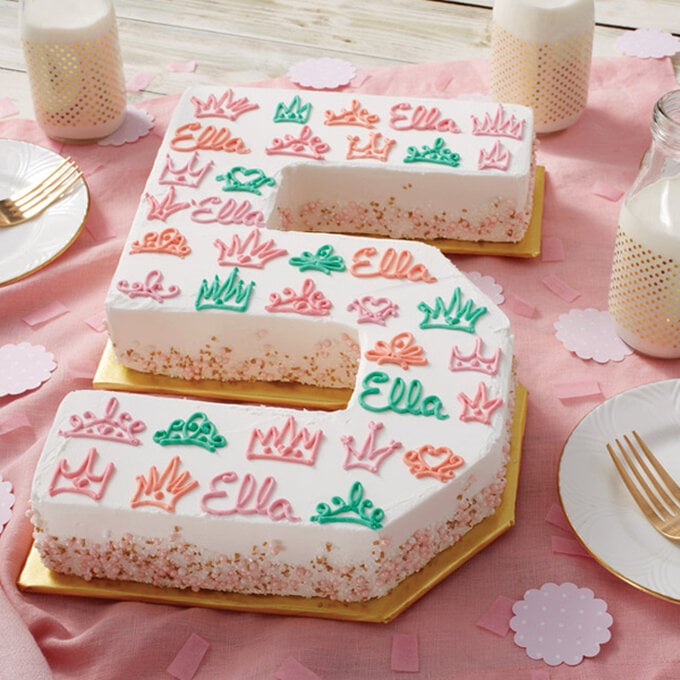
How to Make a Princess Number Cake
Decorated with colourful sprinkles and crowns, this birthday cake is sure to please royalty of all ages.
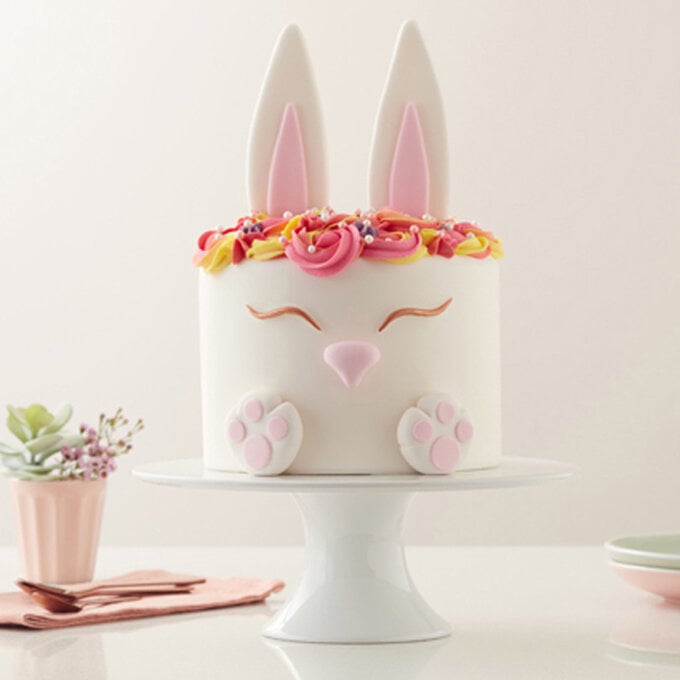
Take a look at this tutorial and learn how to decorate the most adorable bunny cake around!
How to Make a Funfetti Ice Cream Cake
Celebrate the beautiful and sunny weather by creating this showstopping and delicious ice cream-themed funfetti cake.
How to Bake a Lemon and Elderflower Cake
This is the perfect recipe to put your own spin on Harry and Meghan's lemon and elderflower cake.

Q - How do I remove air bubbles that get trapped in the Ready-to-roll icing?
When small amounts of air get trapped in your icing as you knead it, this can create an uneven finish. After kneading, it is best to locate any air bubbles that might've appeared and pierce them with a scriber. Once you've pierced the top of the air bubble, let the air out gently and then smooth the surface over with a smoother. You can then continue rolling your paste out. The sooner you spot and remove air bubbles, the better!
Q - How can I achieve an even finish for every cake?
When attempting to achieve an even finish, it's important that you are working with an even cake base to begin with. Ensure that your layers of sponge are level, without too much filling in between them, as this can cause the sponge to slide. Crumb coat the outside of the cake, if needed, and then put it in the fridge until it's chilled. You can then place the cake on the turntable and lay your icing over. Spread the coating around the top, and then work around the sides until you have your cake completely covered. To finish off with even results, simply use your scraper and make sure it is smoothed over.
Q - What should I do if my layers end up wobbly or uneven?
Carefully level the top as best you can, before taking the correct sized cake board and placing on top. You can then trim down the sides to make them level with the board at the top. Once you've done so, place the cake in the fridge until chilled before you cover with icing.
Q - How can I avoid cracks and marks?
Make sure to knead your icing so that it is pliable before using, and that the side you roll has a smooth surface. If not, it will be hard to pin out and will crack when placed on a cake. Small marks and cracks can be fixed by letting down some of the icing with water, until it becomes a paste. Make a piping bag with a no. 2 tube in and place the icing in the bag. Squeeze a little into the crack and smooth over with a slightly damp flat brush and allow it to dry. It may dry darker than the original colour, so be sure to avoid cracking beforehand if possible.
Q - How can I make sure that the filling cannot be seen through the icing?
This is most likely to happen when the icing is rolled too thinly. We recommend you roll out your icing to a 3-4mm thickness, which is best for a standard size cake (6-10 inches).

