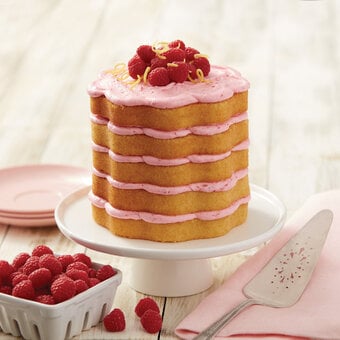
How to Make a Frog Cake
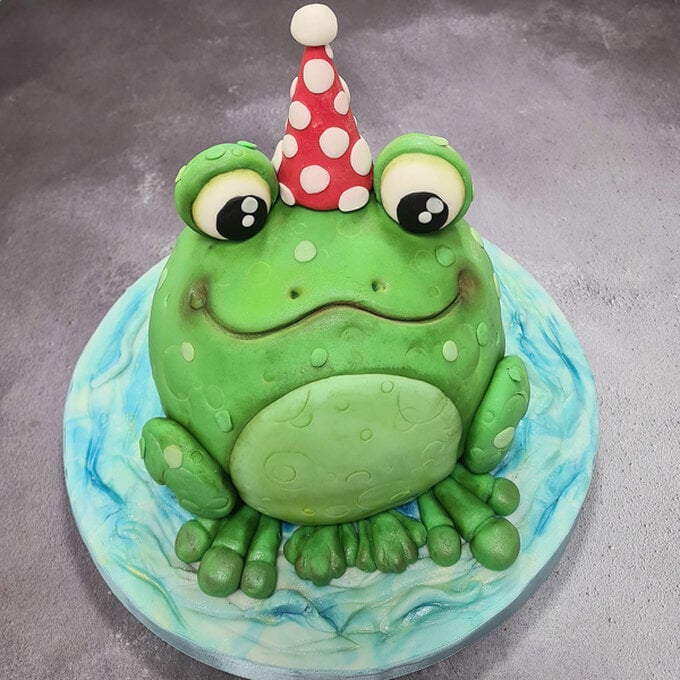
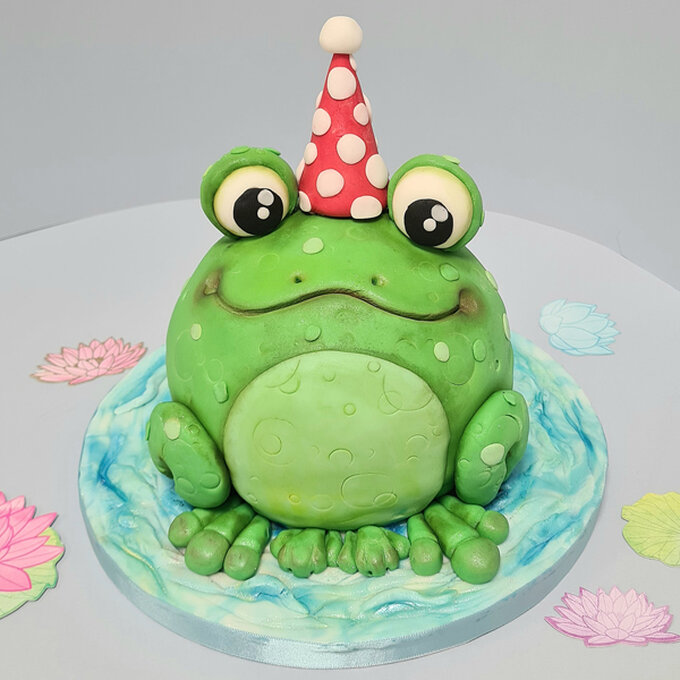
‘Hop’ on over here and learn how to create the most fantastic Frog cake with Hobbycraft Fondant Icing!
You can make it nice & simple or take your cake decorating skills to the next level with instructions on how to add superb detail and shading to your cake.
Project and instructions by Jacqui Kelly
You will need
Subtotal
Is $ 5.49
Out of stock
Subtotal
Is $ 26.00
Subtotal
Is $ 3.49
Subtotal
Is $ 8.49
How to make
* A 10” Silver Round Cake Drum
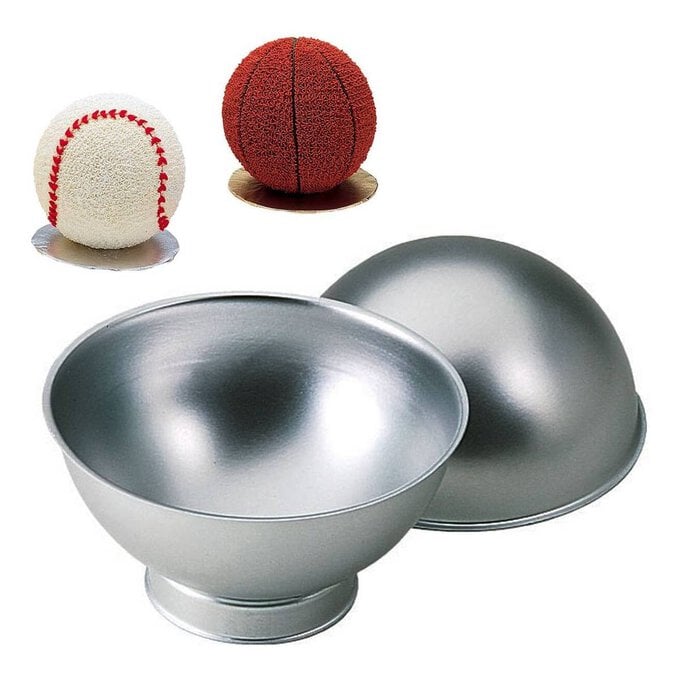
* Wilton Sports Ball Hemisphere Cake Tin 6”
* Renshaw Creamy Vanilla Frosting 400g
* PME – Cake Release
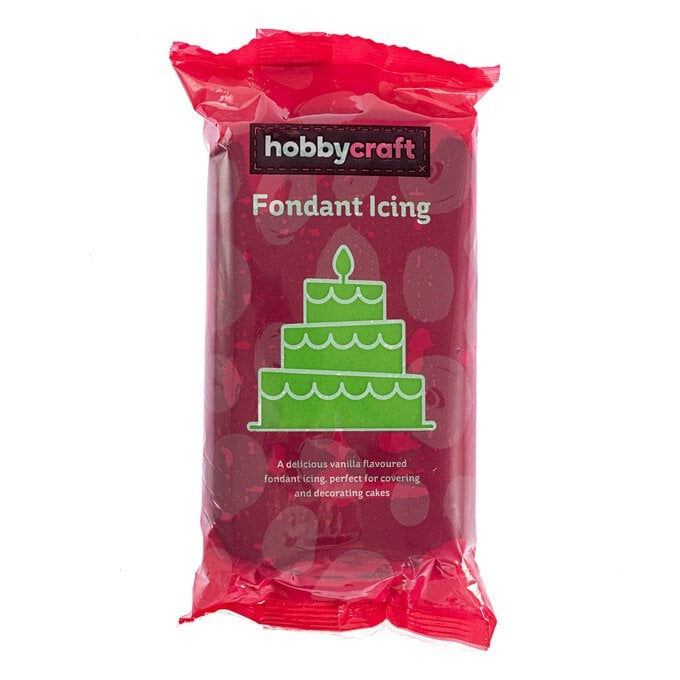
* Hobbycraft Fondant Green Icing
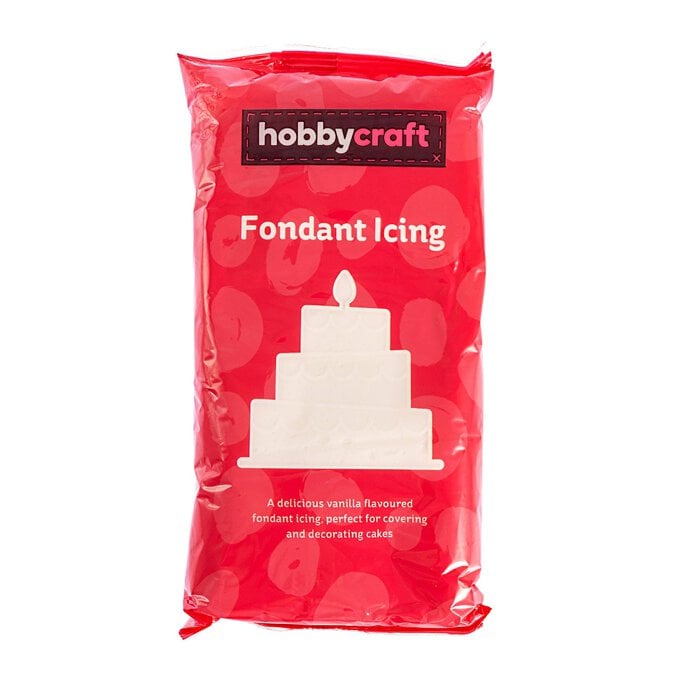
* Hobbycraft Fondant White Icing
* Hobbycraft Fondant Pale Blue Icing
* Hobbycraft Fondant Red Icing
* Rainbow Dust Black Double-Ended Edible Food Pen
* Edible Glue 60g
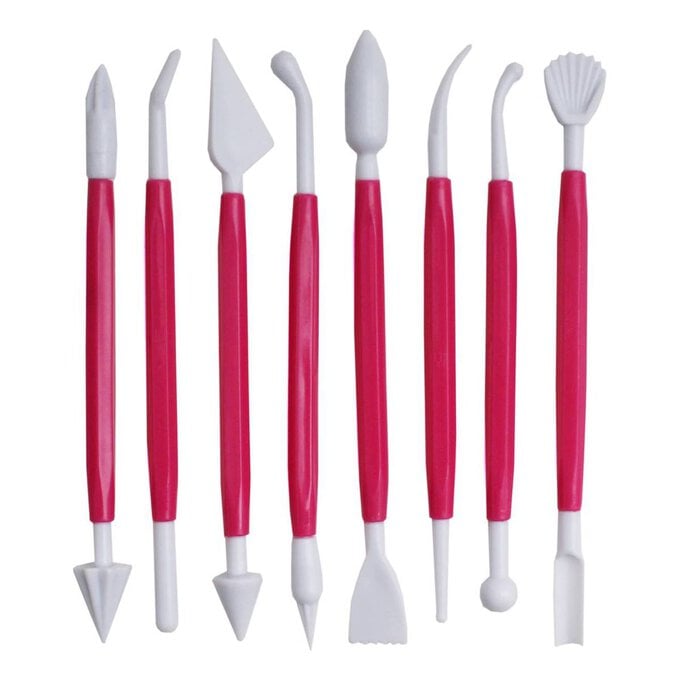
* Modelling Tools – 8 Pack

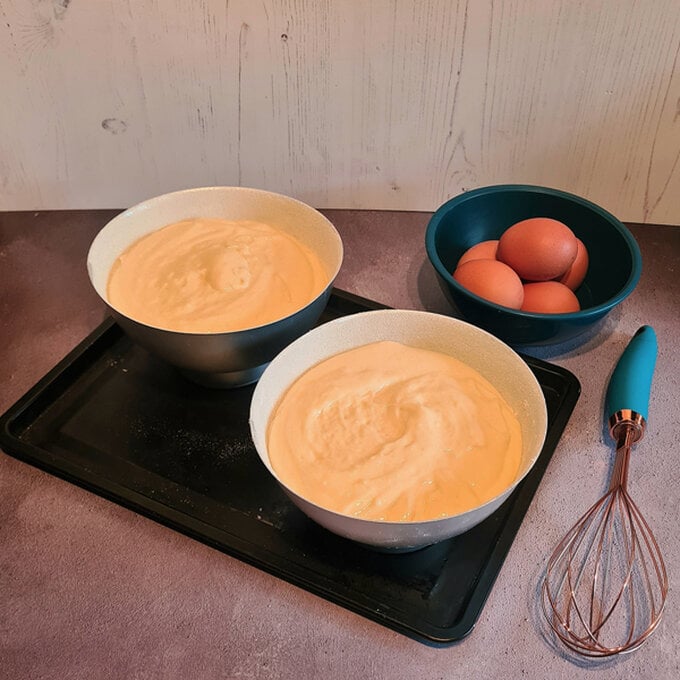
To begin, coat the inside of the ball tin with cake release or veg oil & flour.
Then, using a 3 egg scratch recipe or a box cake mix follow instructions and fill both halves of the tin.
Slide it gently into a preheated oven and bake to the recipe requirements.
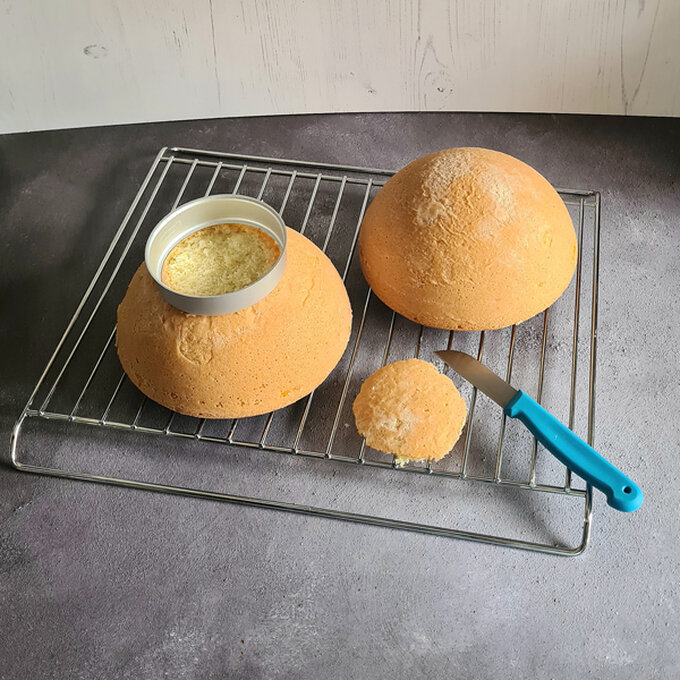
Leave the cake to cool in the tin for 10mins, then using the top edge of the tin as a guide, level the cake with a large knife.
Turn out the cakes and let them cool completely.
Using the cake tin ring as a guide, trim off the bottom of one side of the cake to create a stable base.
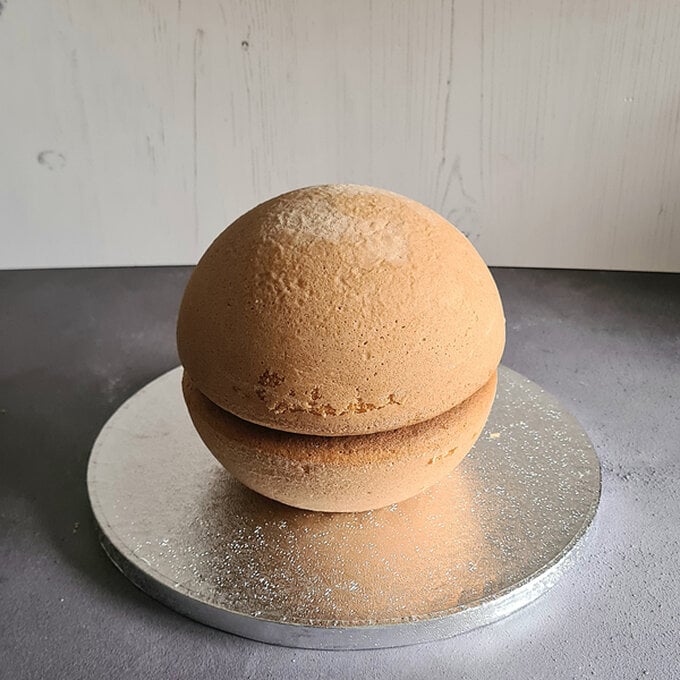
Fill in between the layers with jam and buttercream or whatever you desire.
Top Tip: If you want to add an inscription on the board later, just place the cake towards the back of the board leaving enough space at the front for your wording.
Next, coat the outside of the whole of the outside with frosting/buttercream. Don’t worry you don’t have to be very neat or smooth with this design.
Once complete, clean any excess frosting from the board.
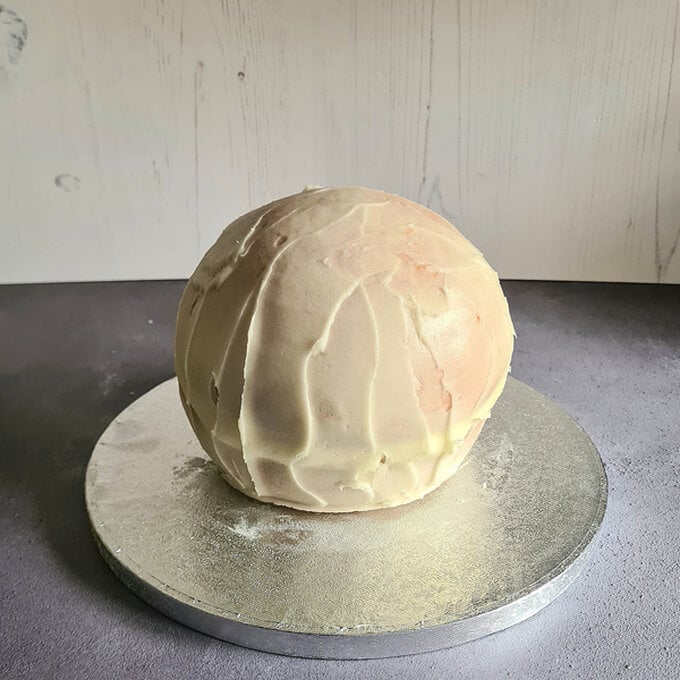
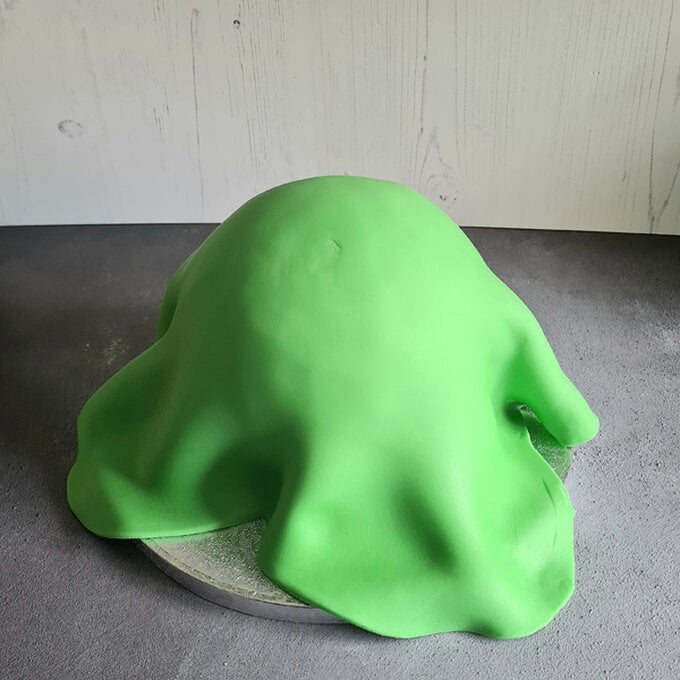
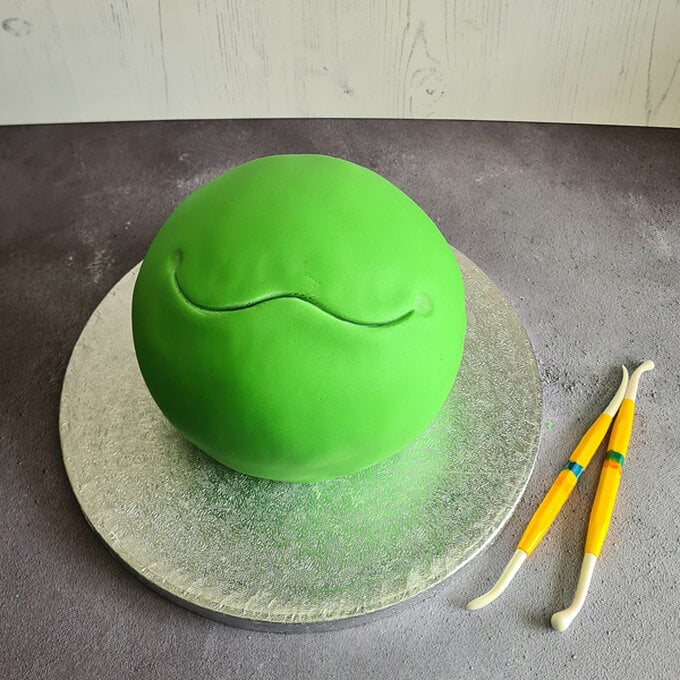
Next it's time to add your icing. Knead your fondant until the heat from your hands makes it soft, then roll it out into a big circle with a rolling pin until it's about 10mm thick (or the thickness of a £1 coin).
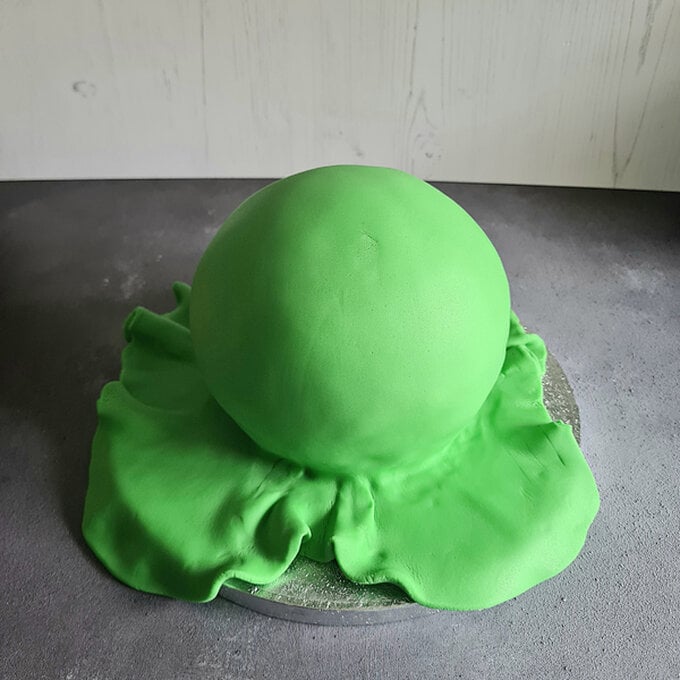
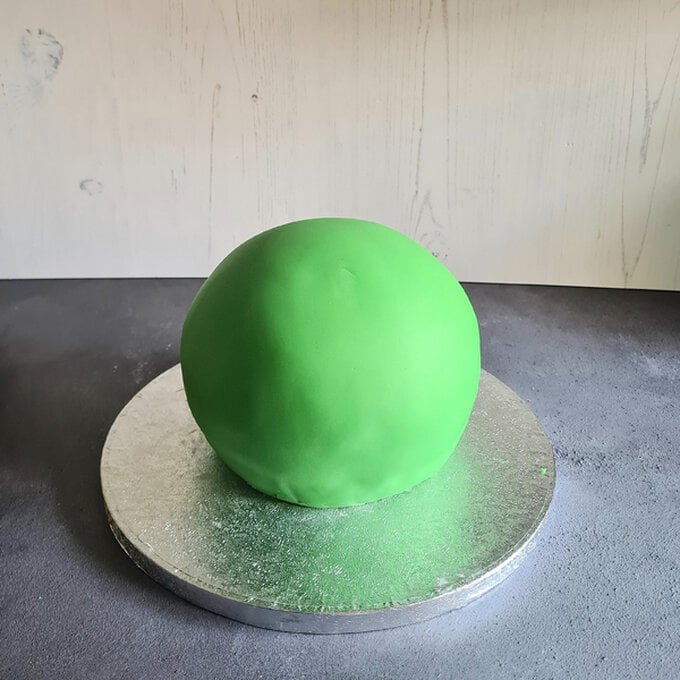
Drape the icing over the top of your cake like a table cloth. Then, starting from the top begin smoothing the paste down, lifting up the edges and smoothing it with your hands until it lies tightly around the cake.
Push in the edges at the bottom with your hands or a smoothing tool.
Trim away any excess paste with a sharp knife, and keep the spare paste as this will be used to make the frogs legs and feet.
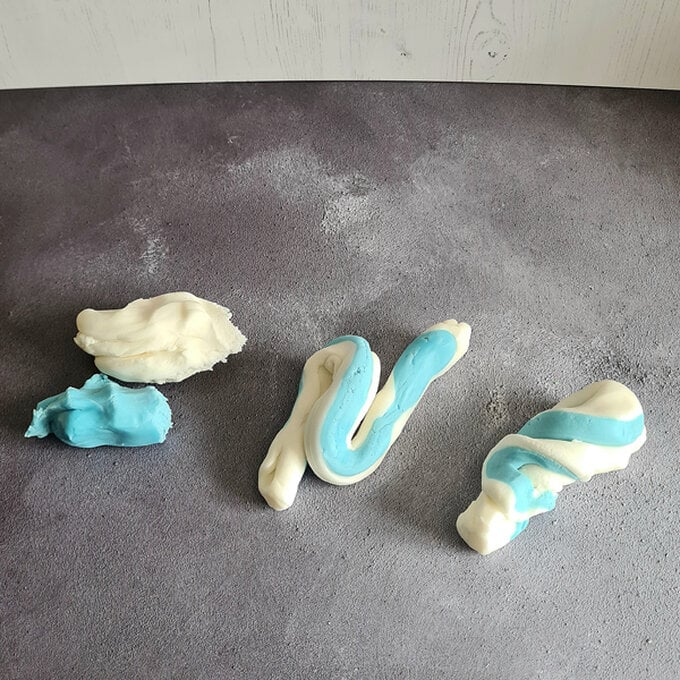
Roughly roll out your coloured paste into sausage shapes and twist them together, then roll again and twist again – repeat until you have a nice colour blend. When you roll out the marbled paste check both sides, as the underside might be a nicer pattern than the top.
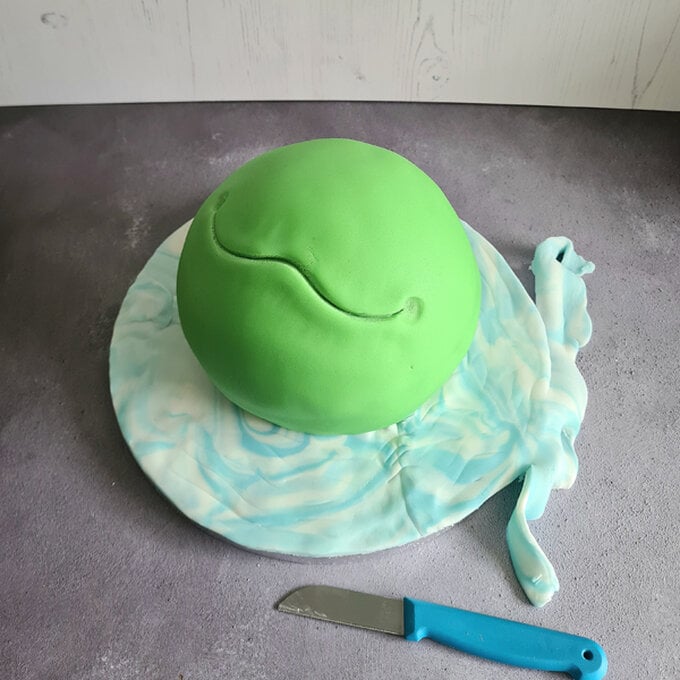
Brush on a little cooled boiled water or sugar glue to your board, and add sections of the paste, butting them together as you go.
Then, trim off any excess paste around the edge of the cake drum with a sharp knife.
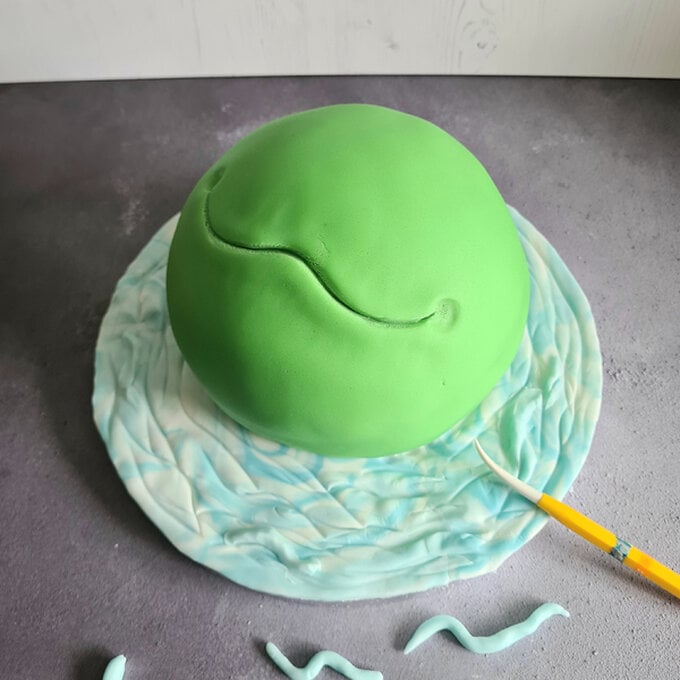
Don't worry if it looks a little messy at this stage. Using a Dresden tool or the wrong end of a paint brush, draw in some wavy water lines into the paste in a random design.
Then with the off cuts roll some different sized wavy sausages and sugar glue them over the board.
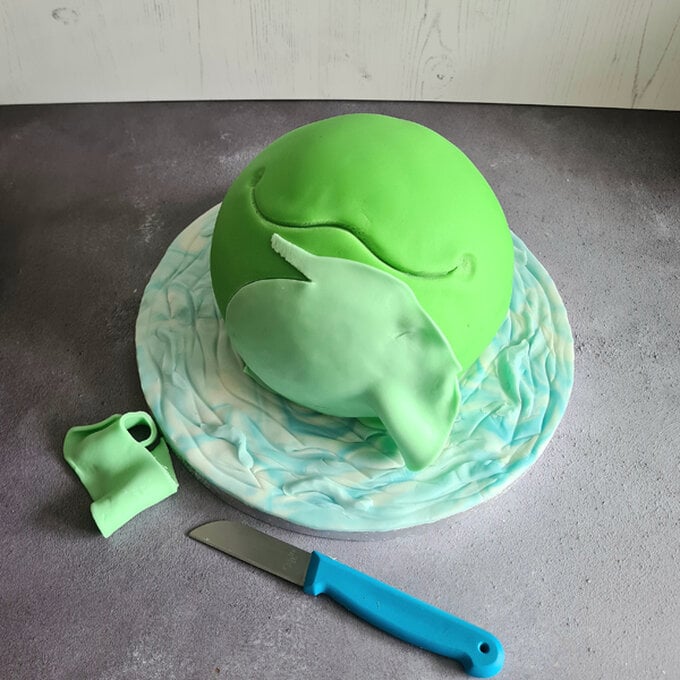
Now for the tummy – mix some of the green paste with some of the left over water (white & blue) that you used on the board.
Brush some sugar glue onto the cake where you want the tummy to be, and then stick on the paste.
Smooth the belly with your hand and then take a knife and cut through the paste pulling away the excess, leaving a lovely clean shape.
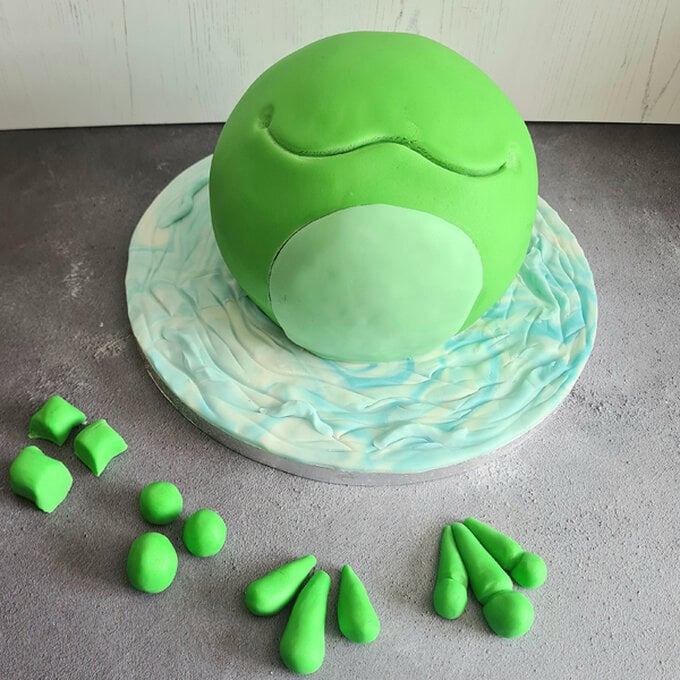
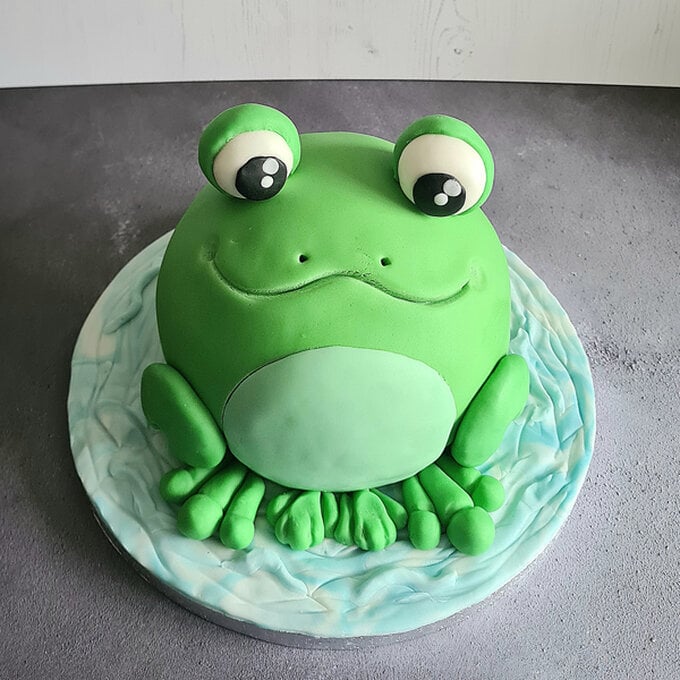
Knead the remaining green paste until it softens, then cut 1 large ball and 2 small balls for each of froggies 2 feet and then smaller sets of 3 for its hands.
Roll all the shapes into smooth balls, then rolling on one side of the ball create carrot shapes from all the balls.
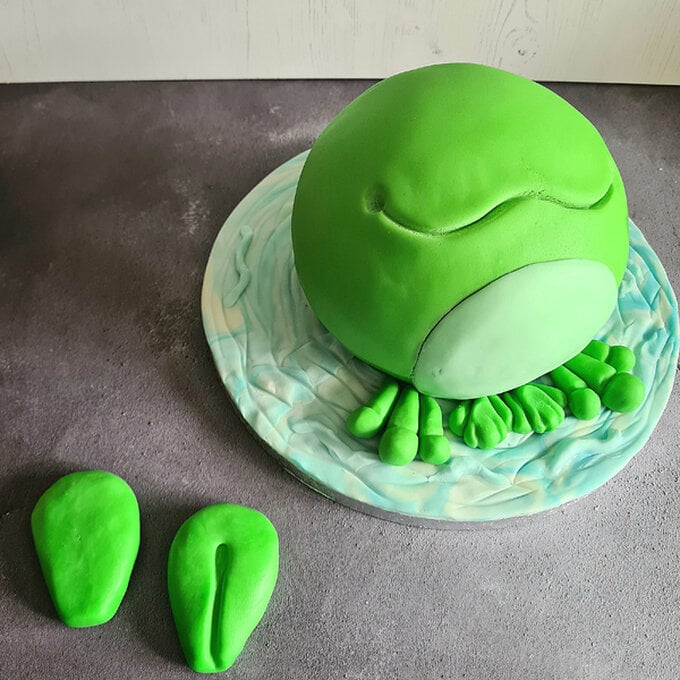
Indent in around the end with the Dresden tool and glue to the board. Don’t forget the frogs legs!!
Next roll two large carrot shapes and flatten them for it’s back legs, then glue to the sides of the cake
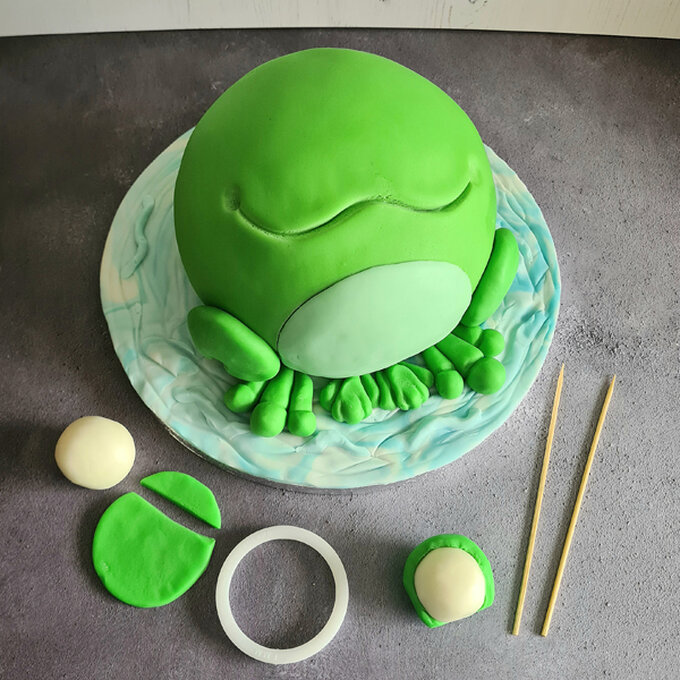
To make the frogs eyes, first roll two large balls of white paste.
Roll out some green paste and cut 2 circles that will be wrapped around the eyes. Trim off the bottom of the circles where they will be attached to the cake.
Push 2 skewers into the cake and add on the eyeballs at the top.
Next, you have two options for adding the detail to the eyes. You can cut 2 circles in black paste then add 2 little highlights in white or colour in 2 circles, leaving the highlights white and use a black edible pen.
You can now add 2 small indents for its nostrils.
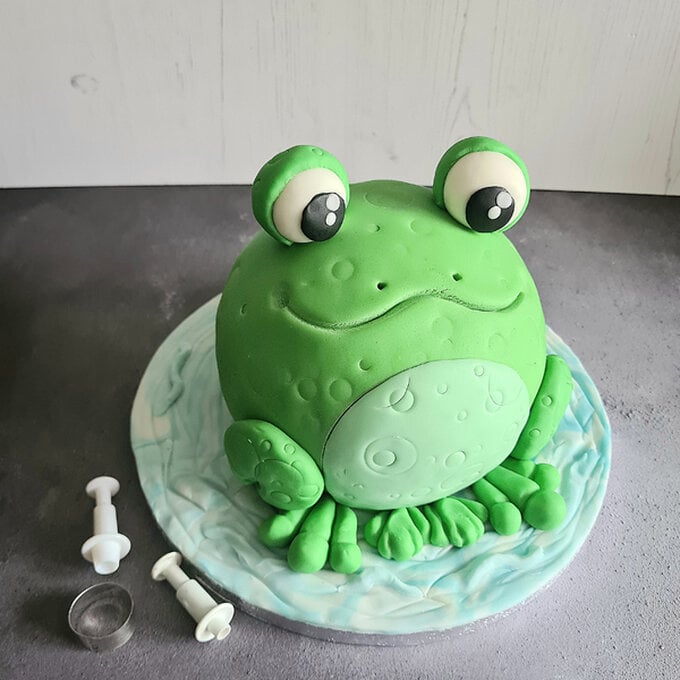
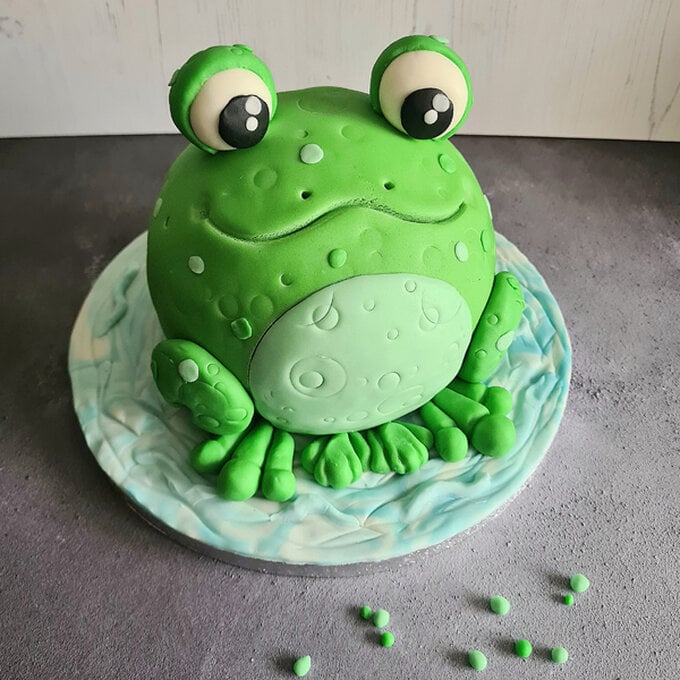
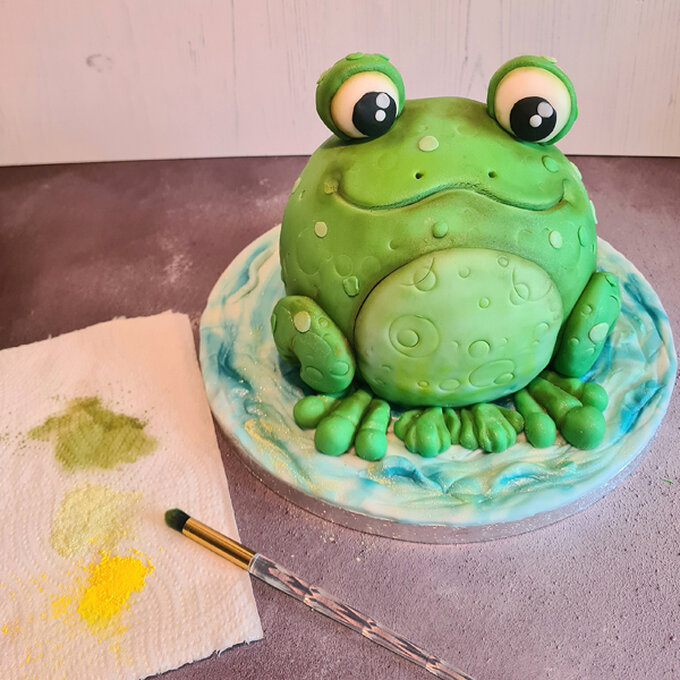
Now it's time to apply your dust. Using edible dust colours can really enhance your design and bring a cake to life in a few strokes.
Add depth & movement to the water with light and dark blue dusts.
Add shadows and highlights to the cake with yellows and greens.
Finally, apply a brush of red over the frogs toes as well as its mouth and cheeks.
As a final feature to add to your frog, we will create a red cone party hat.
Knead up some red paste until soft and roll it into a smooth ball. Then pressing down on one side of the ball only, keep rolling until you get a short, pointed carrot shape – you can either do this in your hands or lay it down on the worktop.
Roll some different sized small balls in white fondant, and brush on a little sugar glue and stick them in a random pattern.
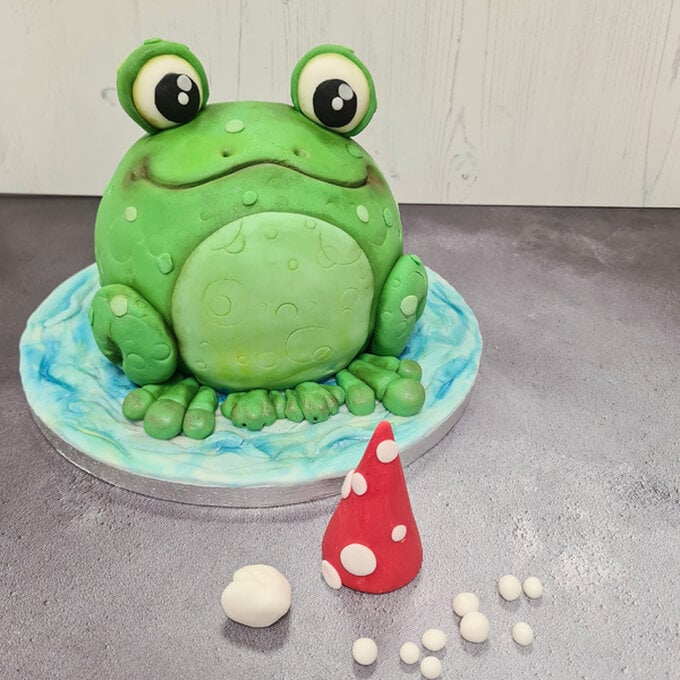
To finish, roll a larger pom-pom ball of paste that can be used for the top of the hat and then glue in place.
Then, glue the hat to its head and add some ribbon to the side edge of the cake drum to add that professional touch.
