How to Create Hand-Drawn Christmas Gift Wrap
Create your very own personalised Christmas gift wrap with this fun, festive lettering project. Write out your favourite Christmas quotes using simple hand lettering techniques, and add some festive motifs to lend some extra creativity to your Christmas wrapping.
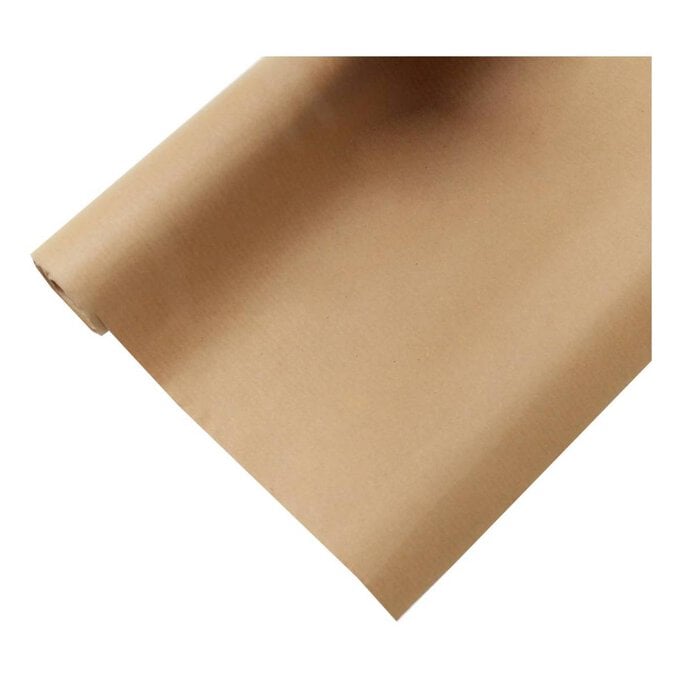
All you need are some marker pens and a kraft roll paper!
Project and instructions by Edlyl Asis
You will need
Subtotal
Is $ 18.00
Subtotal
Is $ 30.00
Subtotal
Is $ 5.49
Subtotal
Is $ 2.49
You Will Need
* Plain Wrapping Paper
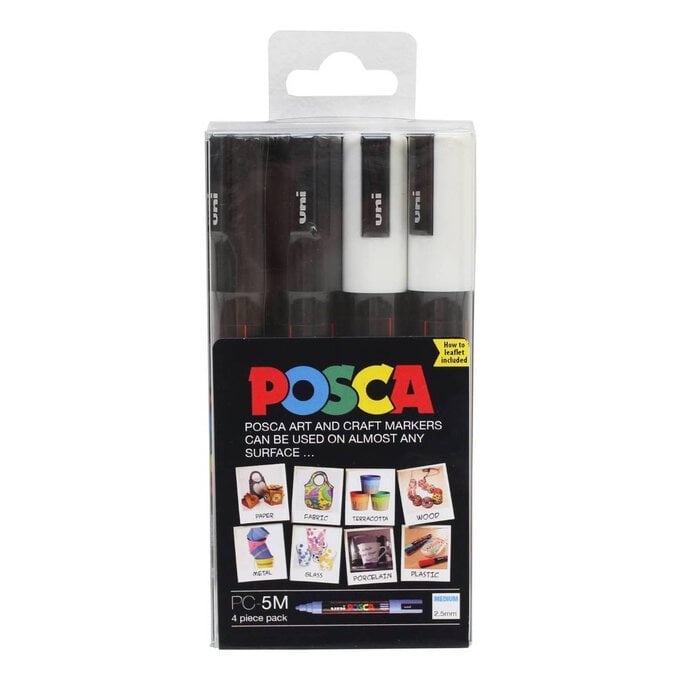
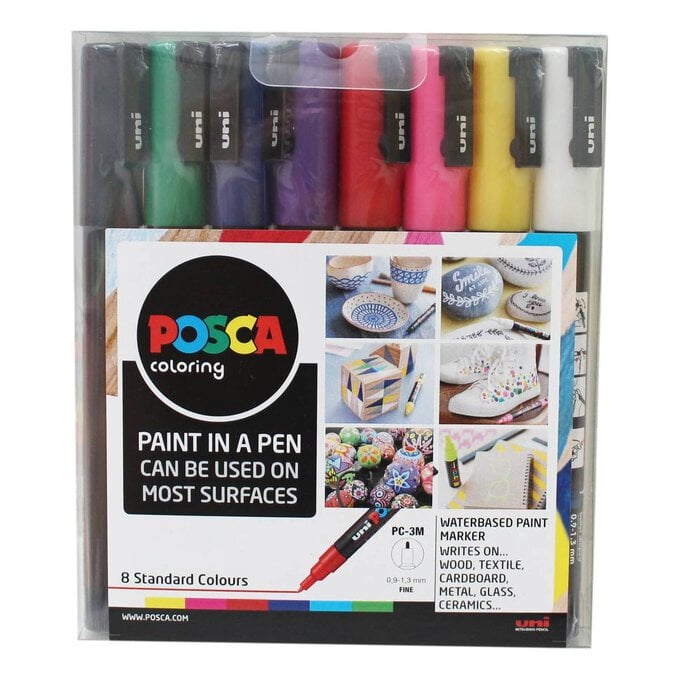
* Posca Pens
* Card in Festive Colours
* Hole Punch
* Pencil
How to make
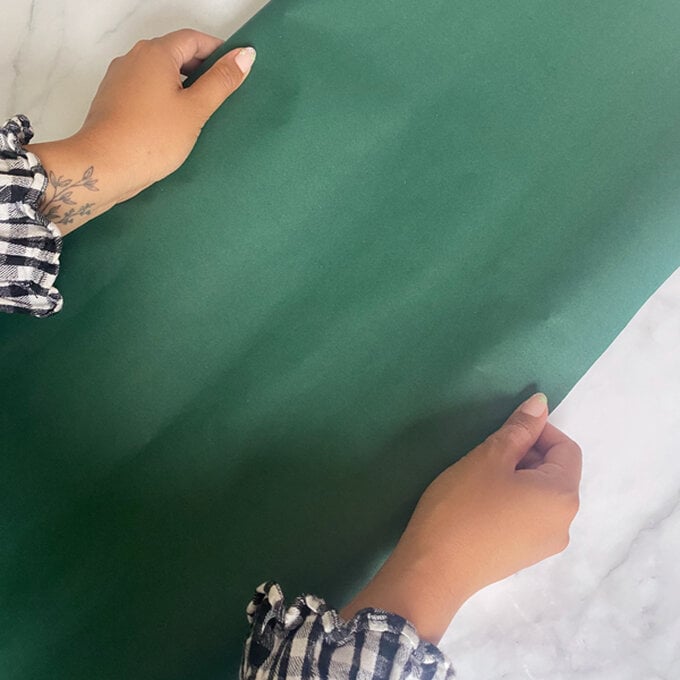
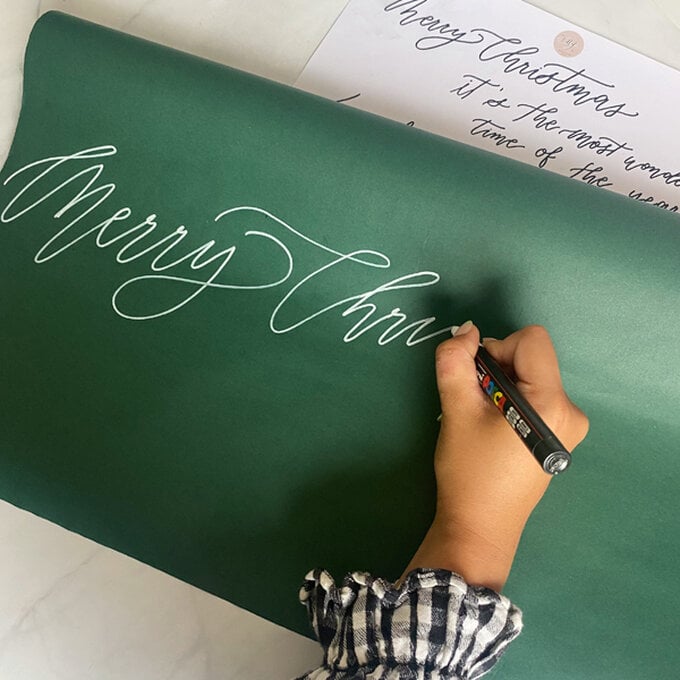
Roll out your kraft paper.
Make sure you have a spacious area to keep rolling your kraft paper and to compose your lettering.
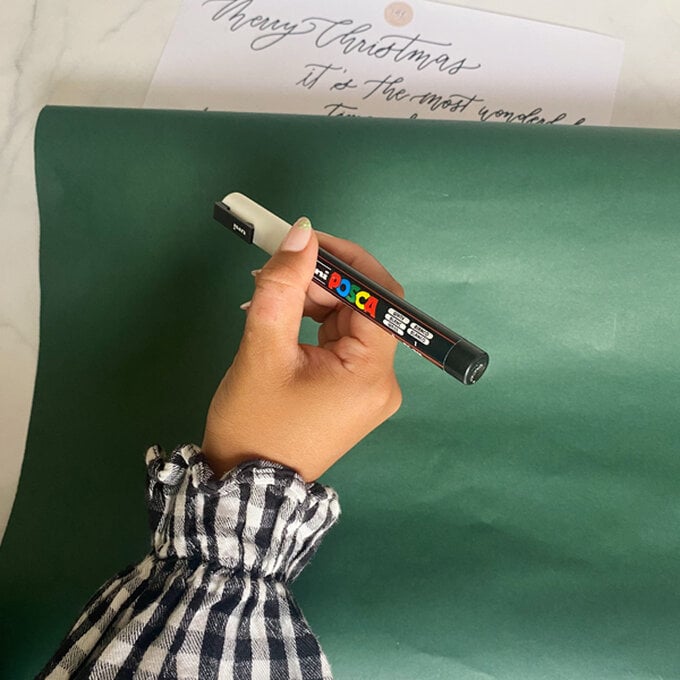
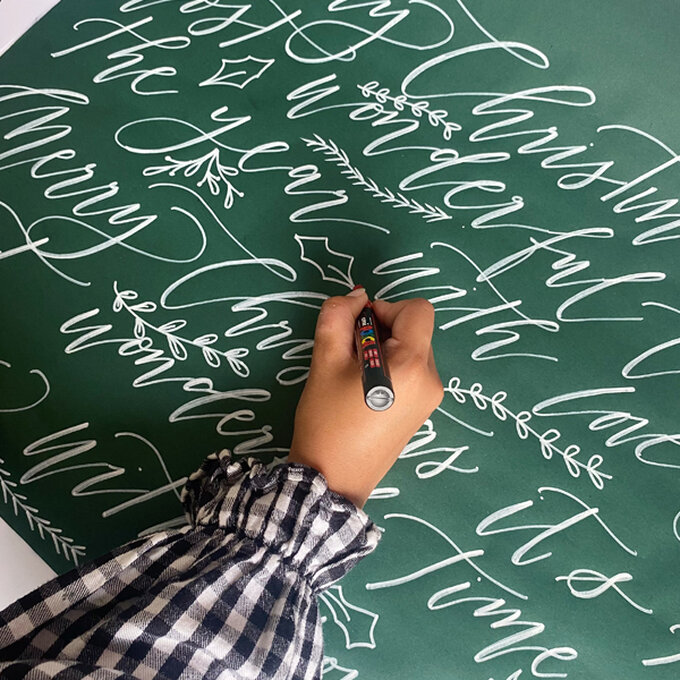
To use the Posca pen, shake it well and press down to release the ink.
To slowly build a flourished word, write each letter bit by bit and try to connect them.
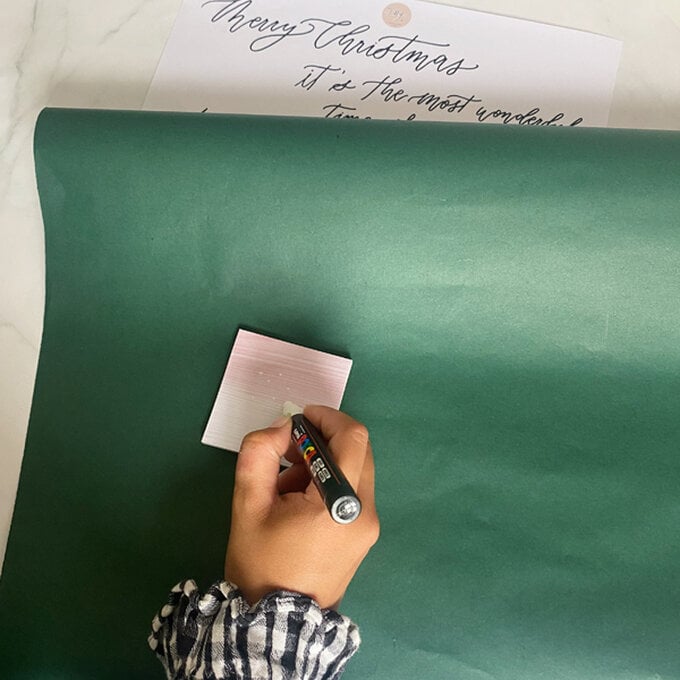

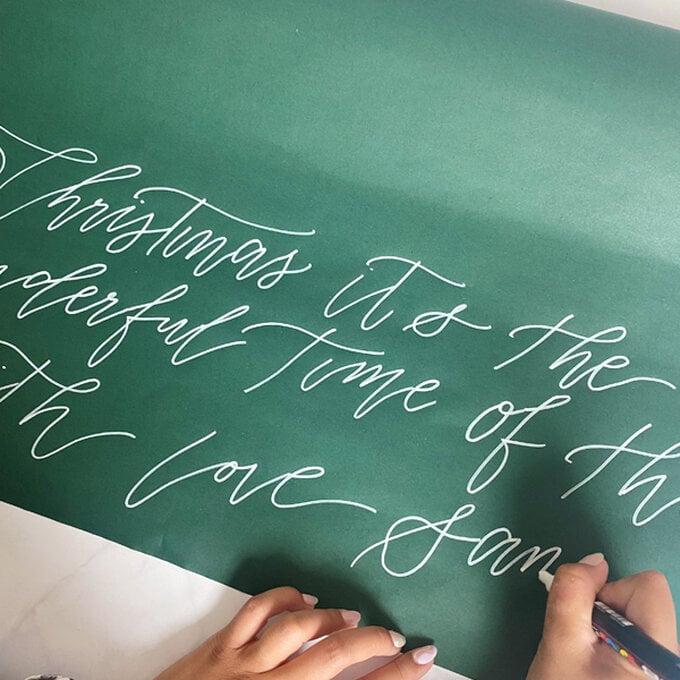

To create a modern calligraphy style of lettering, fill in the heavy strokes using a thicker marker pen (PC 5 Posca Pen).
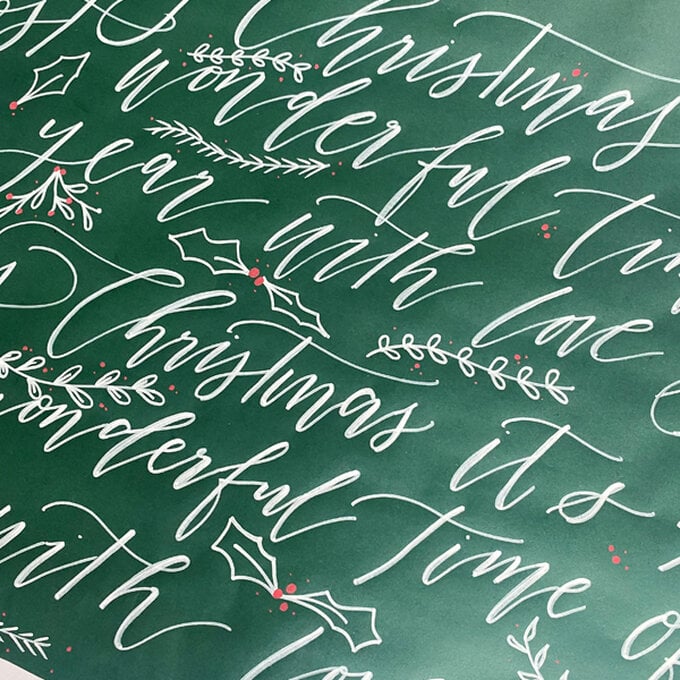
Go over your lettering again, and for every downstroke make this thicker using your marker pen or simply fill it in. You must be able to see the contrast between your light and heavy strokes.
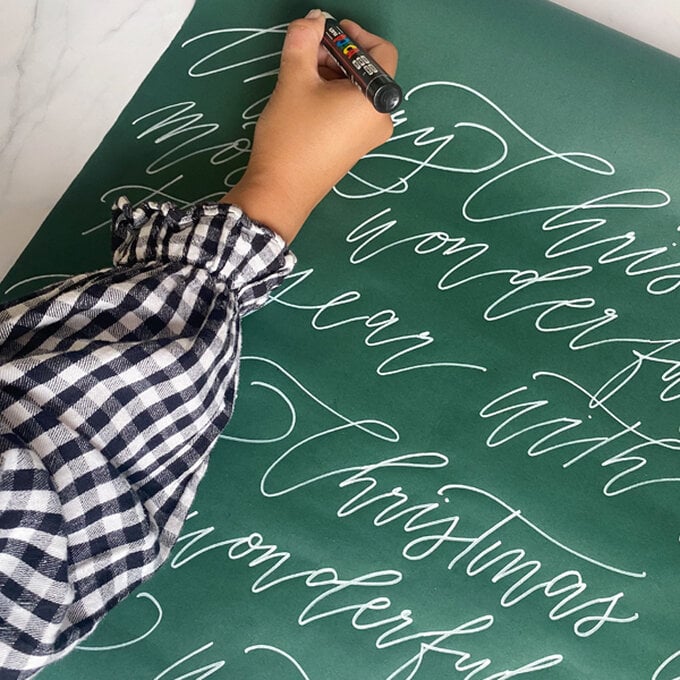
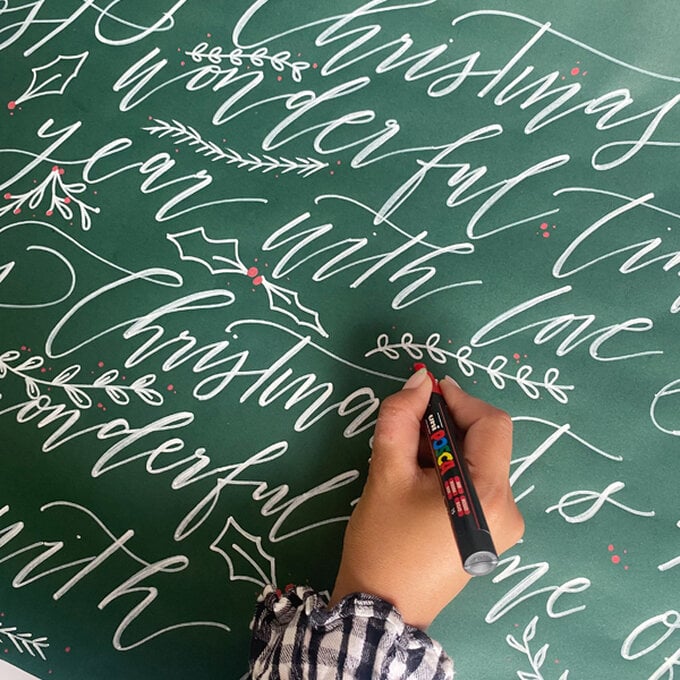
Once you have completed your lettering, it's time to add some festive motifs! Use the template provided for inspiration and proceed to add some motifs around your lettering.
Tip: Use another colour pen to make the motifs pop more.
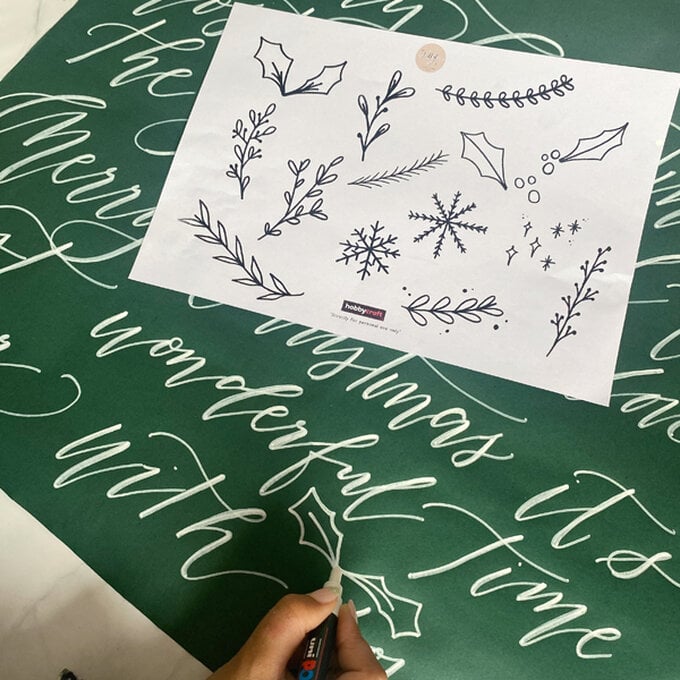
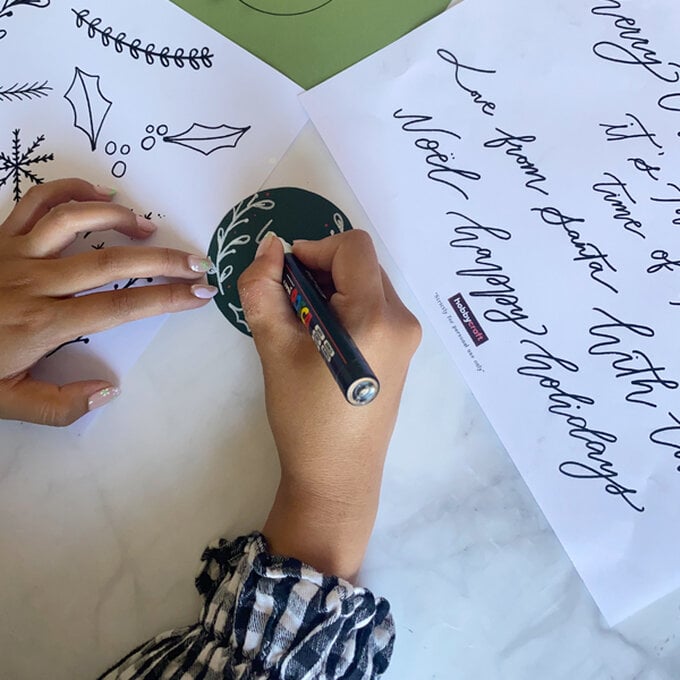
Now it's time to create your gift tag!
Choose a colour of card for your gift tags.
Print the template provided onto your chosen colour of card.
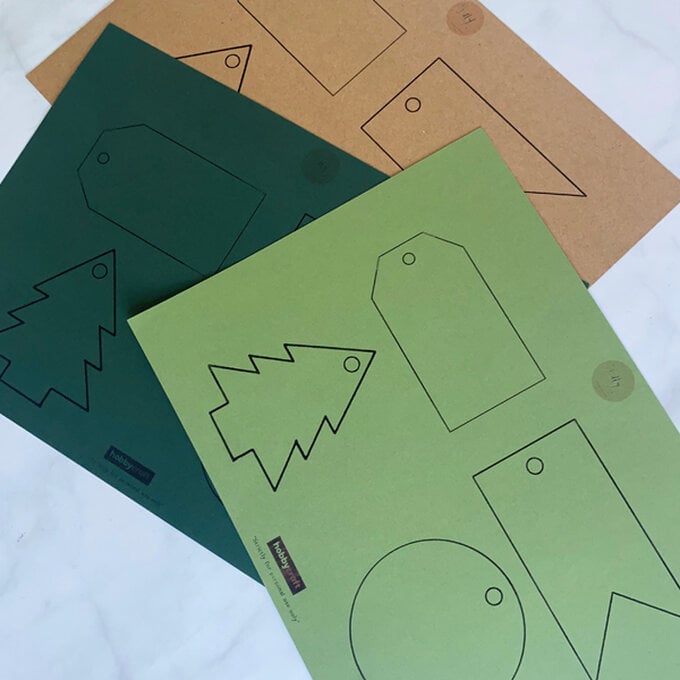
Cut out your desired shape using the outline as a guide.
Use the other side of the shape for your gift tag so you can’t see any of the printed outline.
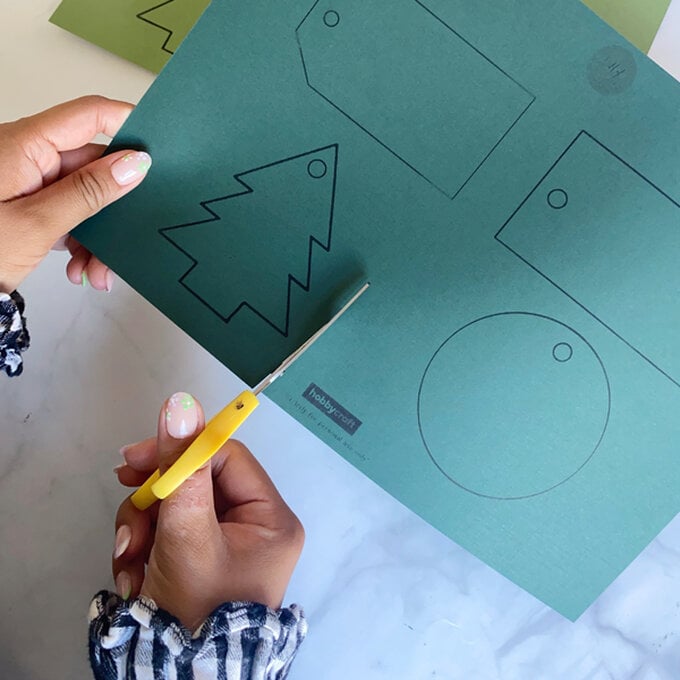
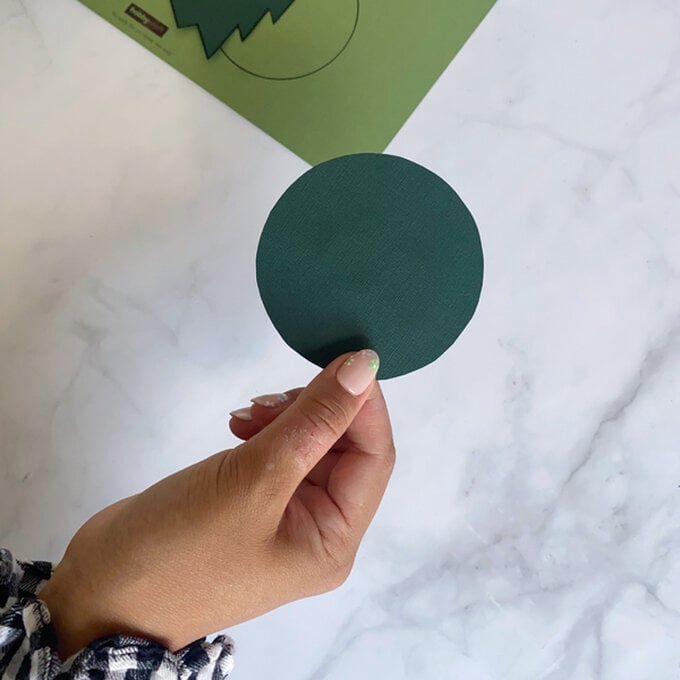
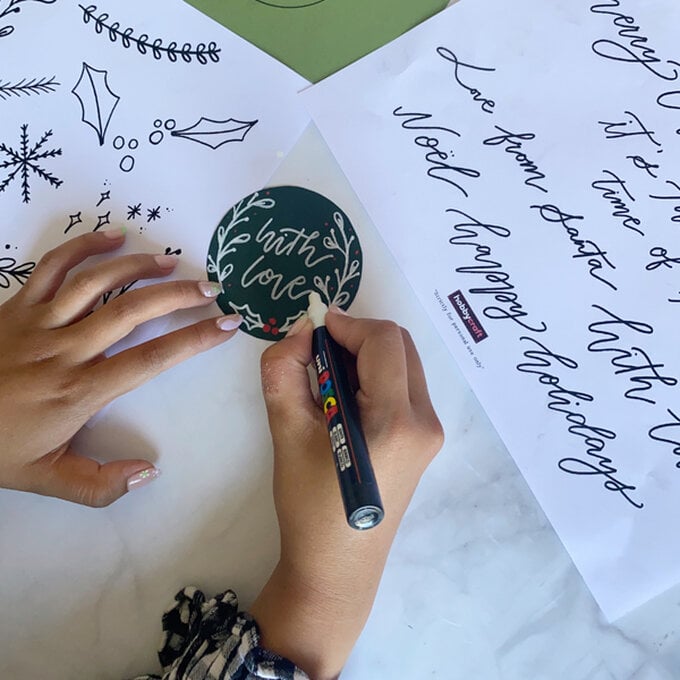
Drawing inspiration from the previous template you used, add some festive motifs around your gift tags. Make sure you leave enough space for your message.
Tip: If it’s easier, use a pencil to draw out your festive motifs and your message first and then go over it with a marker pen.
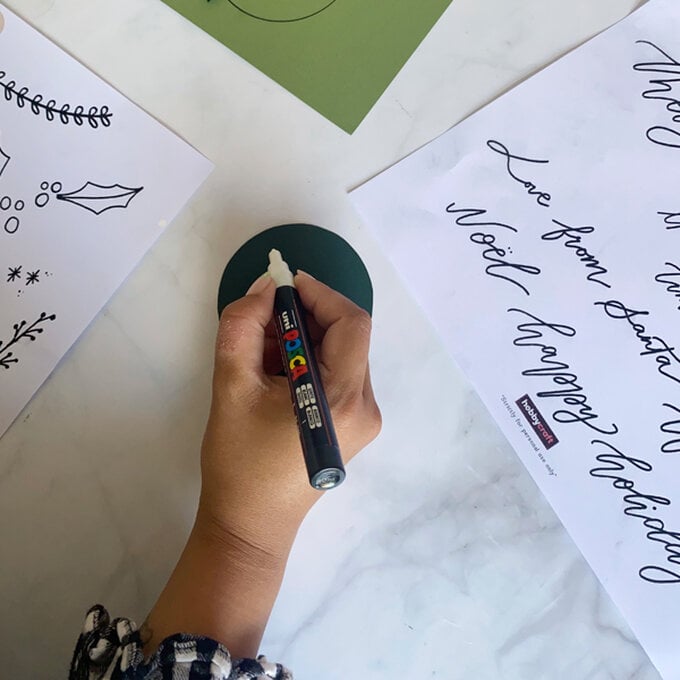
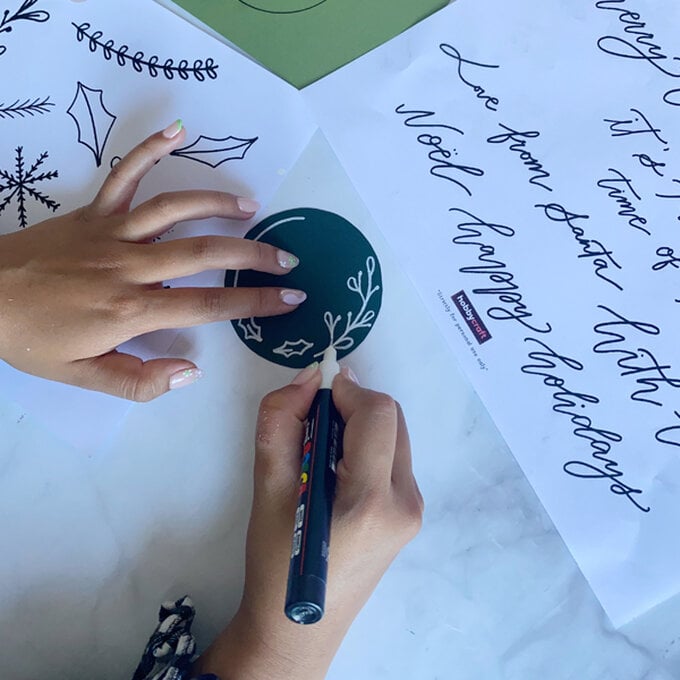
Write your message out carefully.
Once done, punch a hole to make it into a gift tag and add a ribbon!
