How to Make a Flip Book
Anyone can make a flip book - and you don't need any special equipment to do so! Normally a flip book shows something fun happening, through a stripped back version of how hand drawn animation works. Every page has a slightly different image on it that when flipped makes something happen.
The flip in this book will be really quick, so I need to make a simple movement so it is not over-complicated. Included is a simple template to use that you can add your own little drawings into to give you a helping hand.
Project and instructions by London-based illustrator and printmaker Elliot Kruszynski
You will need
Subtotal
Is $ 7.49
Subtotal
Is $ 6.49
Subtotal
Is $ 12.00
Subtotal
Is $ 26.00 , was $ 35.00
Out of stock
Subtotal
Is $ 39.00
Subtotal
Is $ 6.49
Subtotal
Is $ 10.00
Subtotal
Is $ 2.49
How to make
I've drawn some ideas onto my sheet of paper (or you could work in your sketchbook) for the flip book. Its always a surprise what happens in them so I was thinking about having a present that opens their lid up to reveal a little animal inside at the end. I will most likely draw a cat or a dog.
In my template I've only included the present so it up to you to choose what to draw inside it.
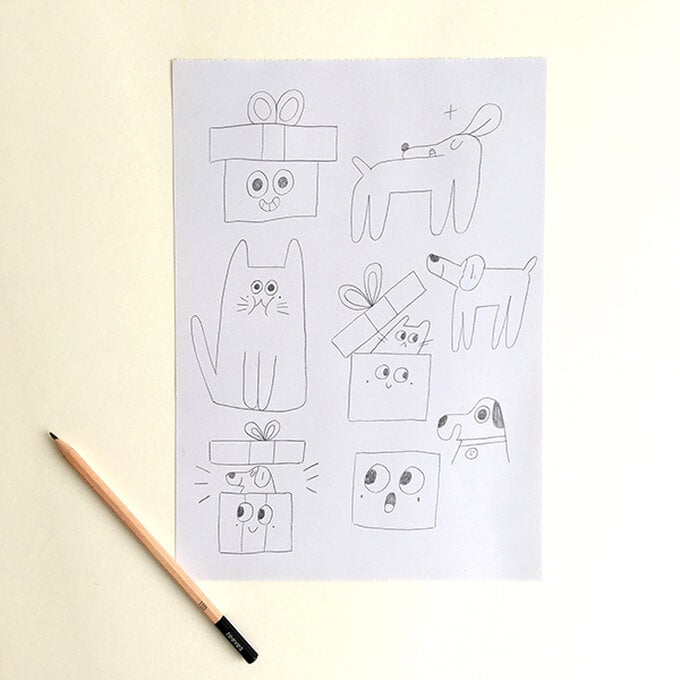
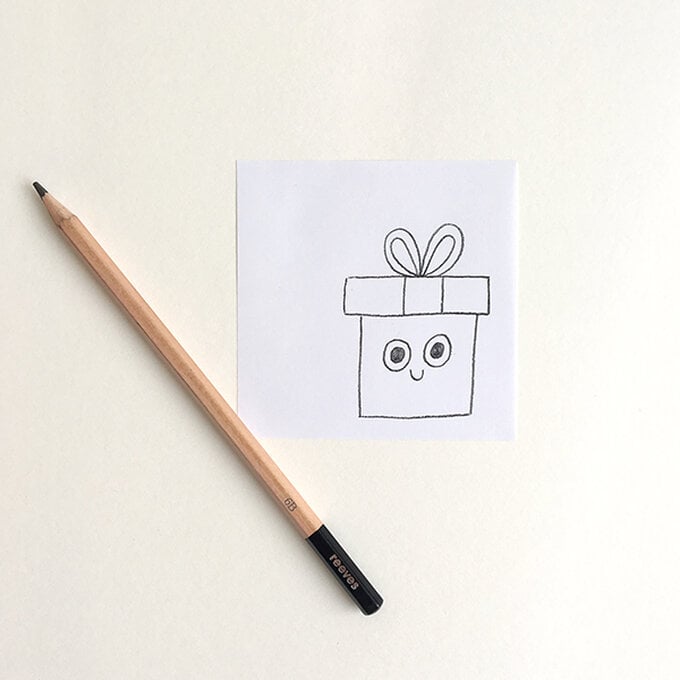
Using my smaller sheets of paper which will all make up the flip book I've drawn the 1st image, the start of the book.
You may note I've drawn it on the right hand side, this is because I'm going to secure the pages together with a bulldog clip on the left hand side. Securing the pages this way means you lose some space on the left so by shifting the drawings to the right you should see everything properly when you 'flip' it.
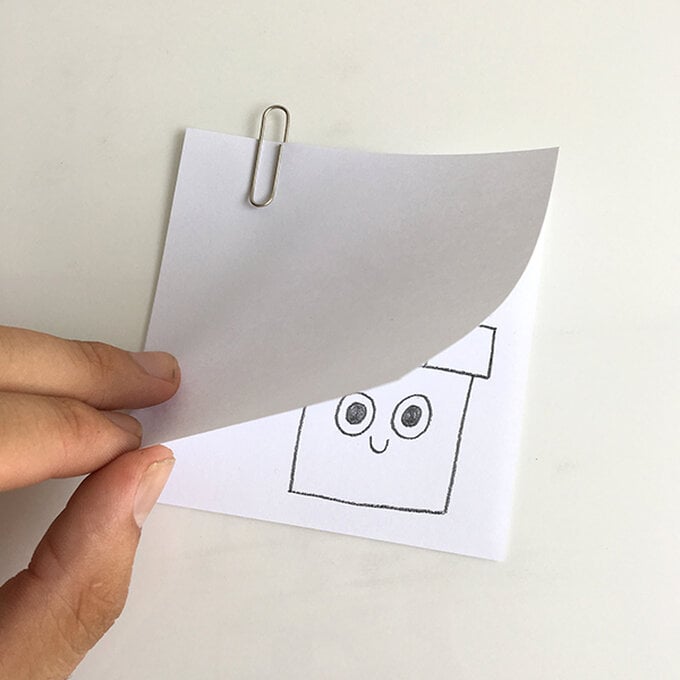
I've now attached another sheet of paper to my first sheet with a paper clip, this will keep the second sheet in place ready for the next step.
Top tip! I've used quite thin paper here to allow me to see through it. If using thicker paper you can use a lightbox to see through your sheets of paper. Don't use too thick a paper stock however or flipping it might be quite hard!
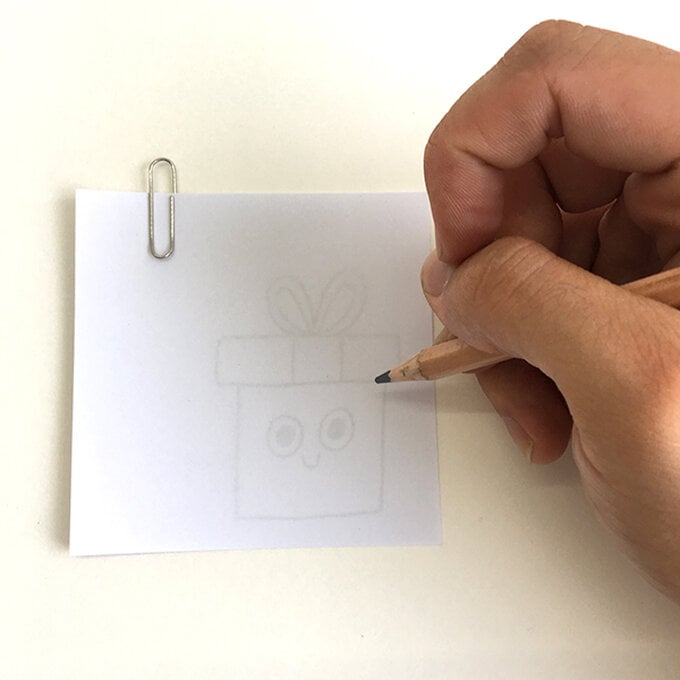
I'm now going to start drawing the last page of my book, using the image below as a guide. I know I would like the box to stay in the same place so I'm going to draw around that. However I want the lid to be at the top of the page and a little dog to appear!
Voila! This is the end of the book. The reason I draw the last page at this point is so I have a reference for my end point. This way I can always make sure my drawings are headed in the right direction.
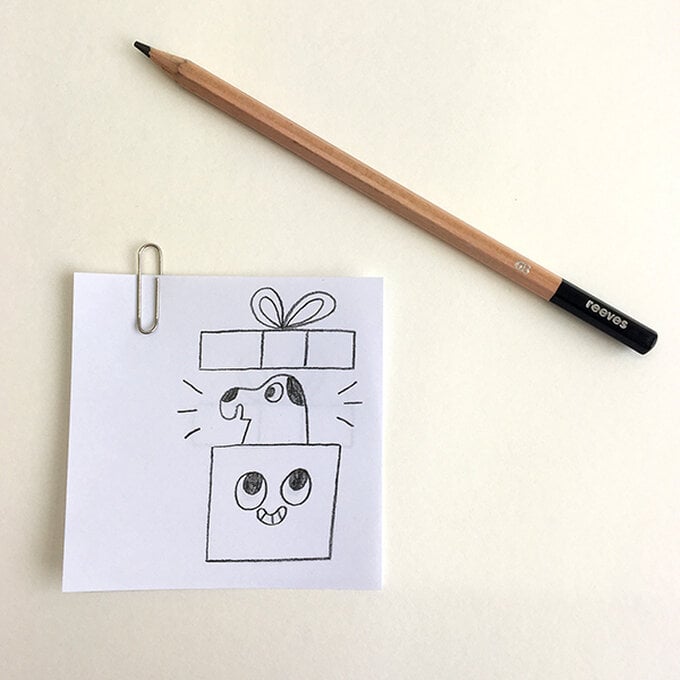
I've now attached another sheet of paper to my original and its time to draw the sequential images of the flip book. I'm using 24 sheets of paper so I just need to make sure that by each time I draw a new image the lid of the present lifts up slightly, and the dog appears.
I keep my final sheet to the left to make sure I think the images are heading towards my final goal. I use the image below each time as a base but I'm really not too precious about it, I don't like making things that are too perfect or clean.
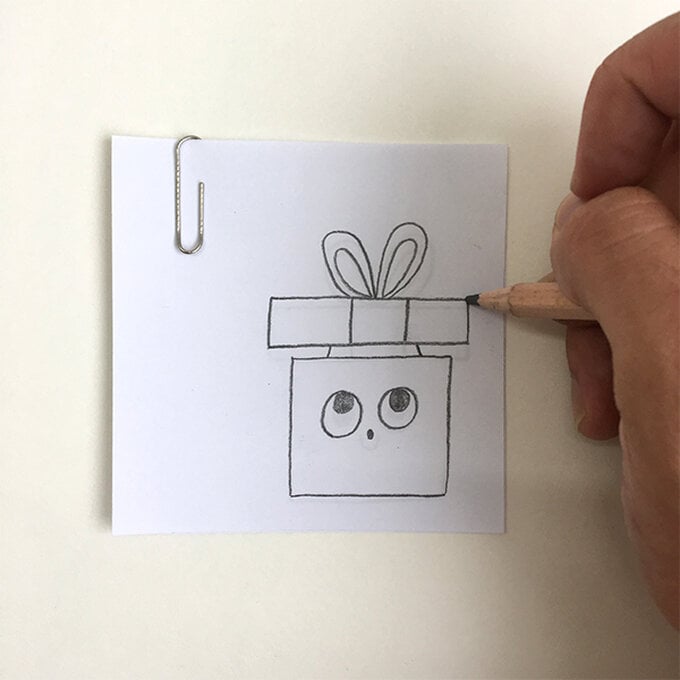
This is the next drawing after the 1st. You can see I've moved the lid of the present up and put some little lines inside to show the pooch.

Here is a big stack of all of the drawings! At this point its sometimes tricky to imagine how it will look but have faith in your skills!
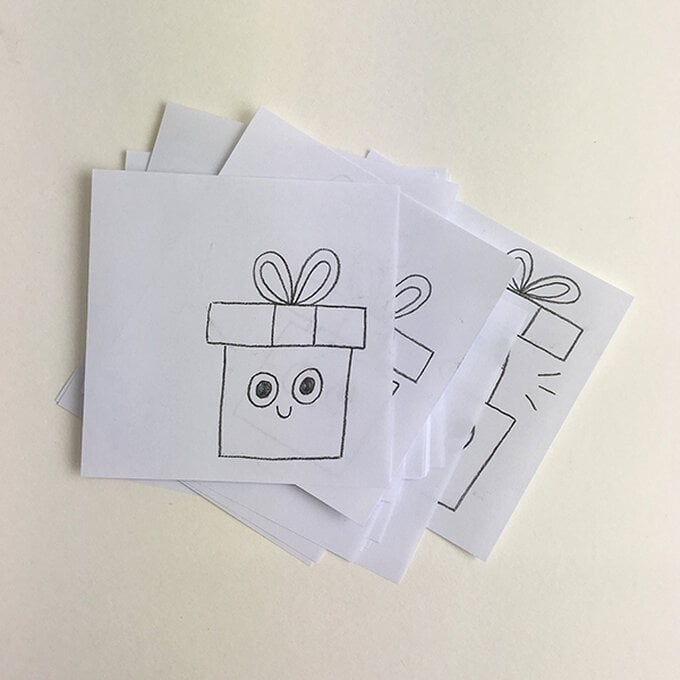
Before assembling the flip book I'm going to draw a little cover for it! This is also aligned to the right hand side.
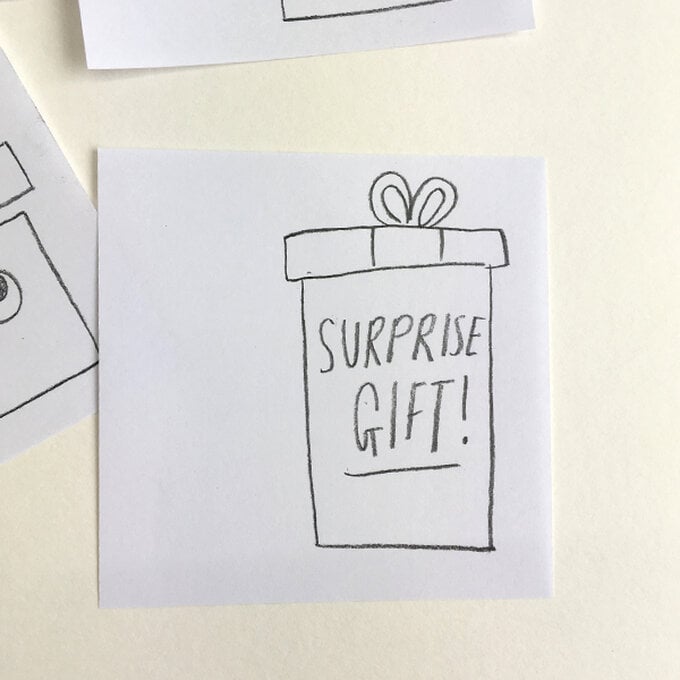
I stack all my sheets in sequential order. Starting with my cover, then the first image I drew, ending with the final page of the flip book.
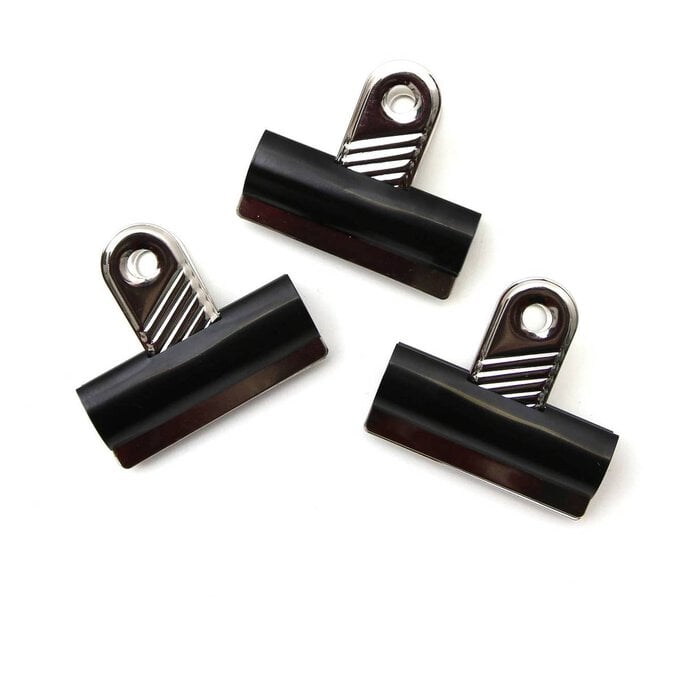
Using a good bulldog clip I then secure all of the pages together by clamping down on the left hand side.
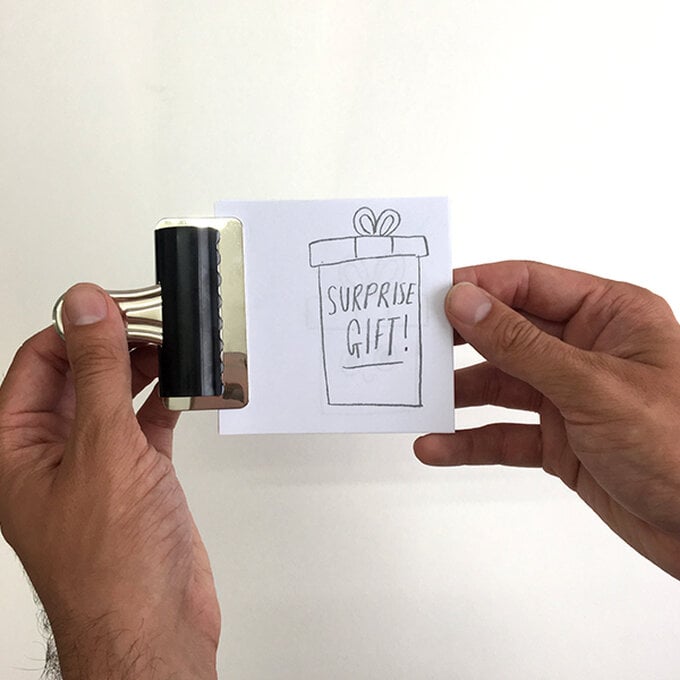
WAHOO! The flip book has been assembled, the best way to make sure it works is to...
FLIP IT! Start with the 1st page and gently start to flip the pages from left to right.
YOU'VE MADE IT! If done correctly you will have flipped through your drawings and like magic watched them move before your eyes. The good thing about the bulldog clip is that if you accidentally put a page in the wrong place, or you want to change something you can easily unclip everything to work on it a little bit more.
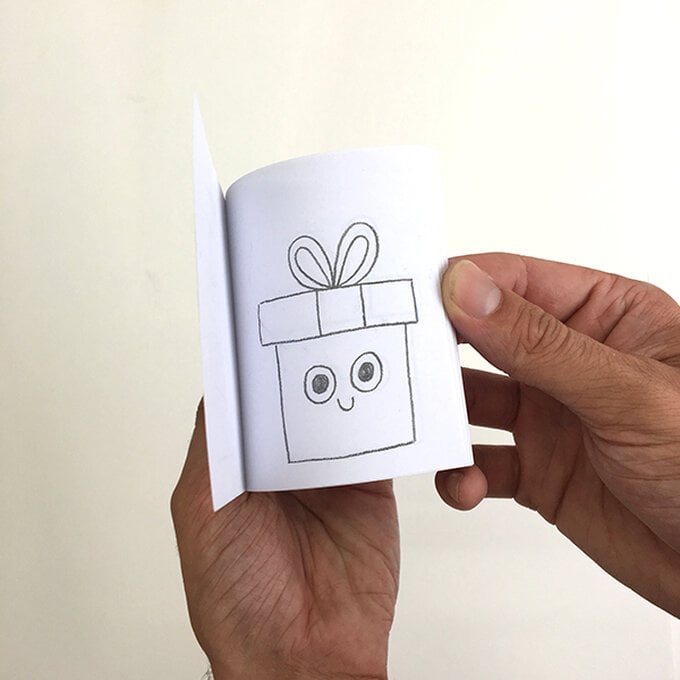
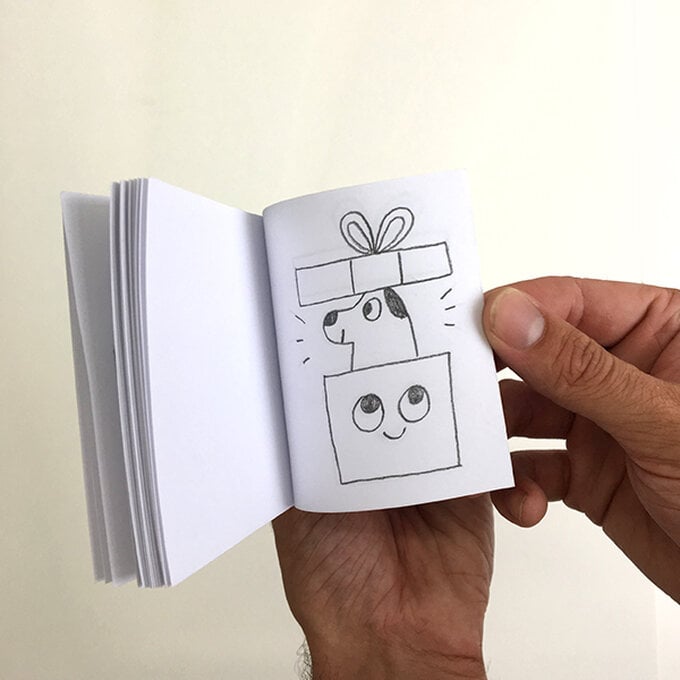
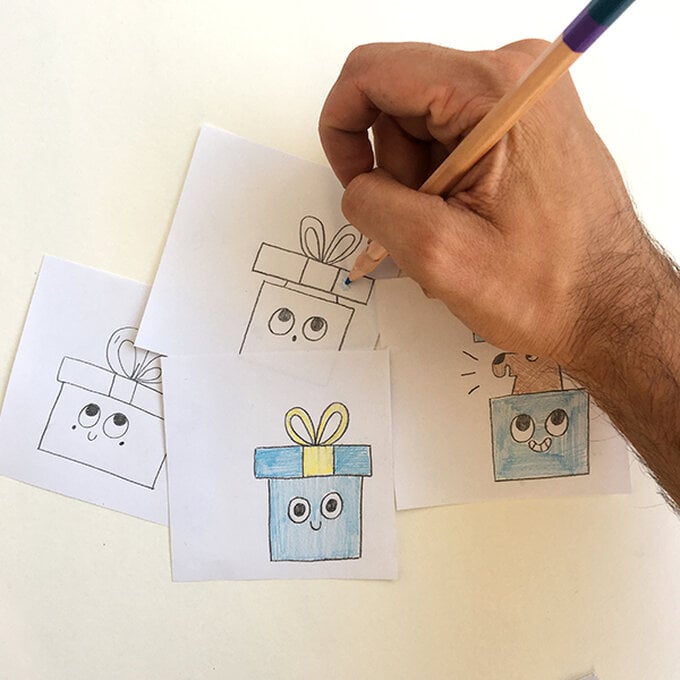
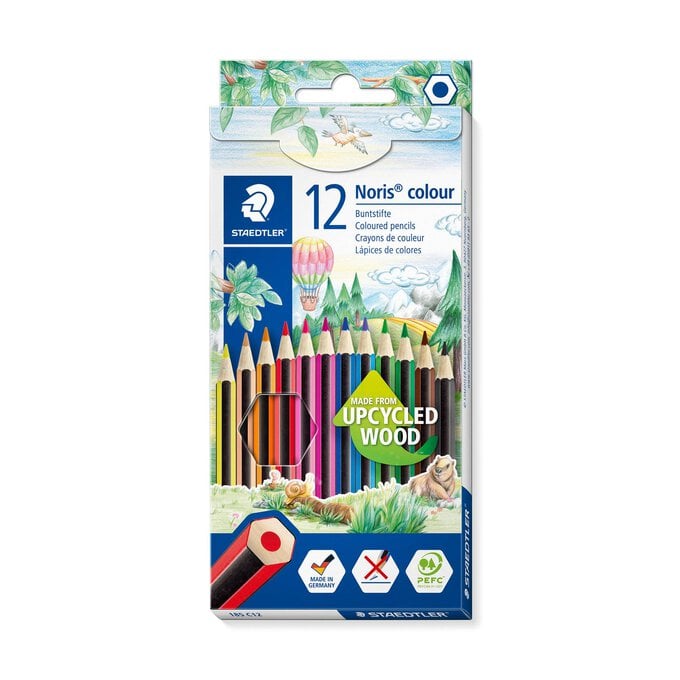
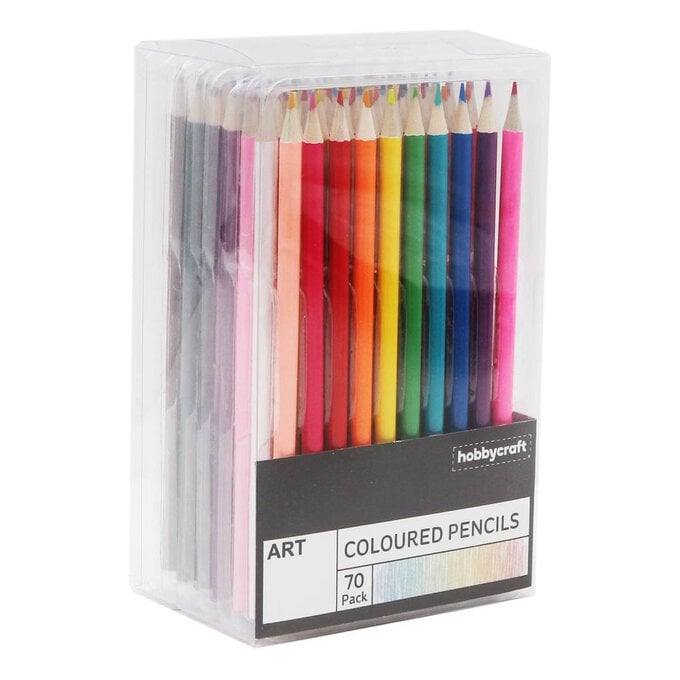
Once the line drawings are finished you can always add a splash of colour if you like! Im just using colouring in pencils here but you could use anything really.
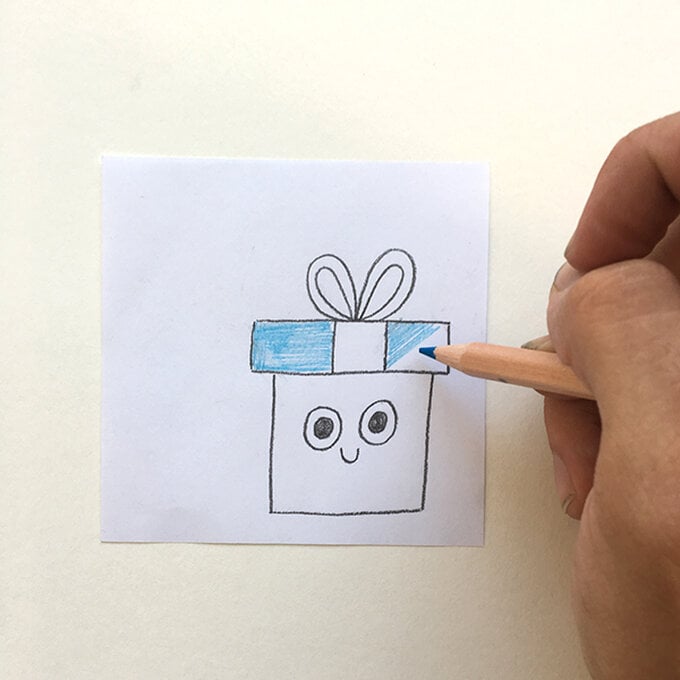
I've finished my first page now ready to crack on with the rest.
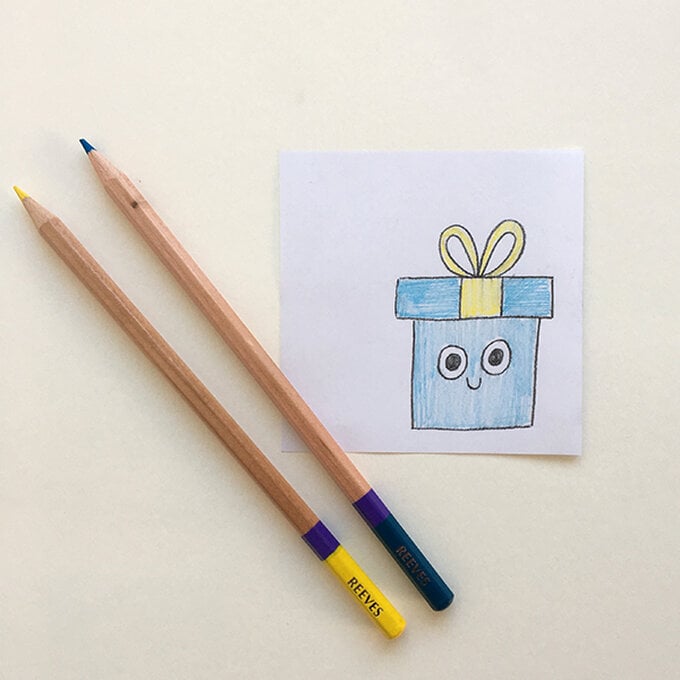
Because I don't have to re-draw any more lines I don't need to paperclip my sheets together, I only need to remember the colours i'm using. I just spread them out and get colouring in!
