Skip to Content (Press Enter) Skip to Footer (Press Enter)

How to Use Alcohol Inks

Level
Beginner
Time
1/2 day
Budget
<10

Discover the wonderful world of alcohol inks with Hobbycraft Artisan and illustrator Emma Hunt. Create stunning effects and experiment with different techniques to create your own alcohol ink artwork.

Master the basics of this vibrant art material and learn how you can introduce it in your own artwork, or simply have fun with the unique characteristics of the inks! Find out how to combine inks with different art mediums to get your creativity flowing.

Whether you’re an artist or you wish to incorporate this style into your card making or scrapbooking, alcohol inks will bring a unique and exciting style to any project.

Remember to always work in a well-ventilated room when using alcohol inks. If this isn't possible, then a breathing mask with a filter is important in preventing you from inhaling small amounts of colour pigments as the alcohol evaporates. It is also recommended that you wear rubber gloves and protect your working surface as the inks are very likely to stain. This will also prevent grease from getting on to your painting surface and affecting the inks.

You will need

Is $ 4.49

Quantity: 1

Subtotal

Is $ 4.49

Is $ 25.00

Quantity: 1

Subtotal

Is $ 25.00

Is $ 21.00

Quantity: 1

Subtotal

Is $ 21.00

Is $ 15.00

Quantity: 1

Subtotal

Is $ 15.00

You’ve viewed 2 of 4 products

Total:

You will also need:

* Hobbycraft Alcohol Inks - available in store only

* Gilding fluid- available in store only


How to make

Alcohol Inks Basics and Safety

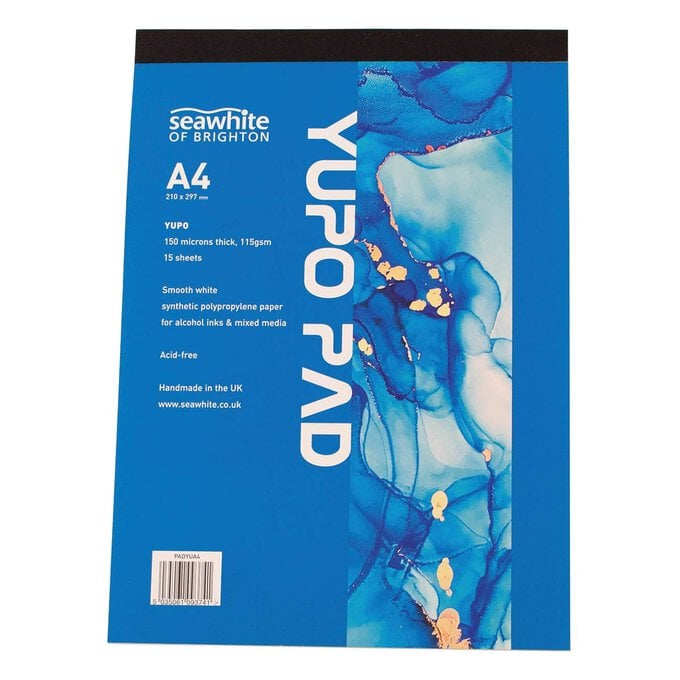
The most important thing to do when using alcohol inks for the first time is to experiment with them. It's great to get an idea of how the inks move across the page and how you can manipulate them. You can use them on all kinds of surfaces including Yupo paper, glass, ceramic, clay, resin and so much more.

Use a scrap piece of Yupo paper to have a play and try out different techniques. You'll notice as the first drop hits the page, how quickly it spreads out in a circle. Adding more drops and different colours will allow the circles to move into one another. When you drip blending solution over the top you will create a colourless circle that displaces the colours creating darker edges to you circles.

You can also use a drinking straw to wave your colours or create individual colour gradients. By using a hair dryer or blower on a cool setting, you could also achieve this effect.


Remember to always work in a well-ventilated room when using alcohol inks. If this isn't possible then a breathing mask with a filter is important in preventing you from inhaling small amounts of colour pigments as the alcohol evaporates.

It is also recommended to wear rubber gloves and to protect your working surface as the inks are very likely to stain. This will also prevent grease from getting on to your painting surface and effecting the inks.

To protect your artwork, you will need to use a UV light sealer as alcohol inks are very light sensitive and will likely fade over time if not protected.
Step 1
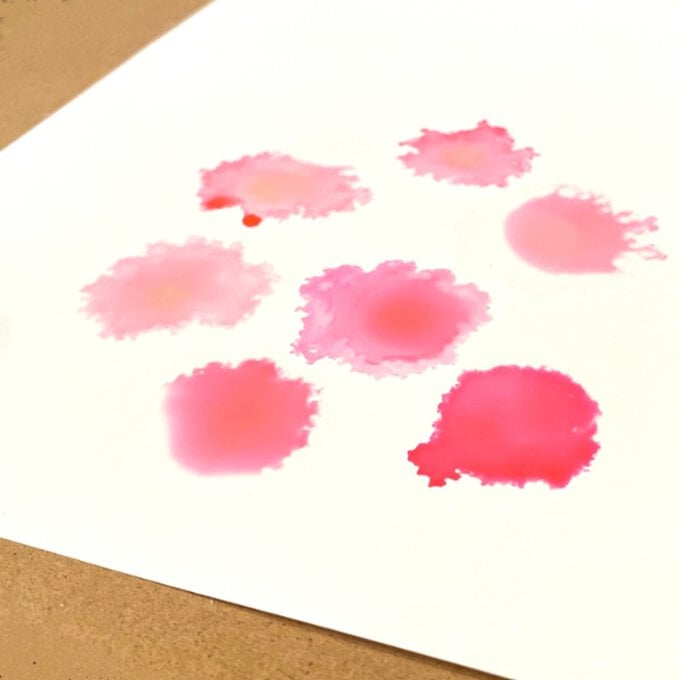
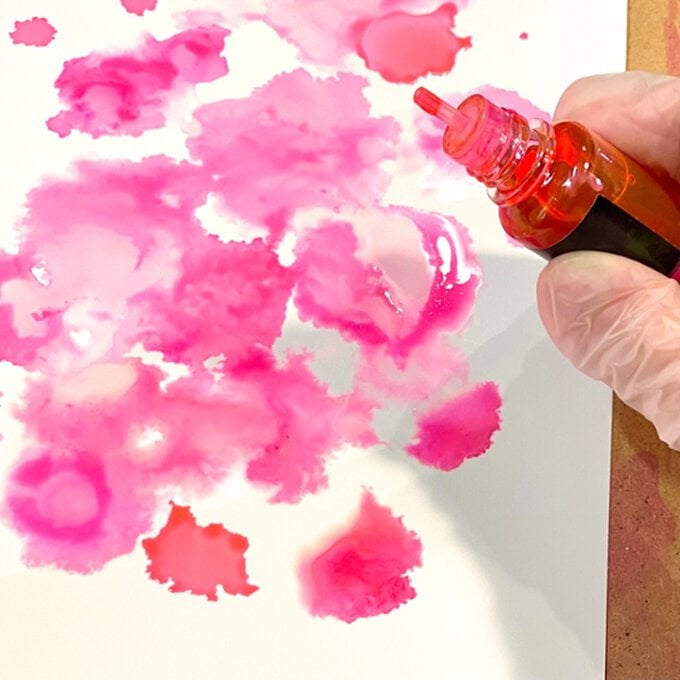
Take your alcohol blending solution and add several drops to your Yupo paper, on to the sections where you would like to introduce colour. While the blending solution is still settling, add drops of your chosen inks into the puddles of solution. You can then choose to watch the colours move into the solution or blow the liquid using your straw. This will force it to move across the paper.
Idea_how-to-use-alcohol-inks_step1.jpg?sw=680&q=85
Step 2
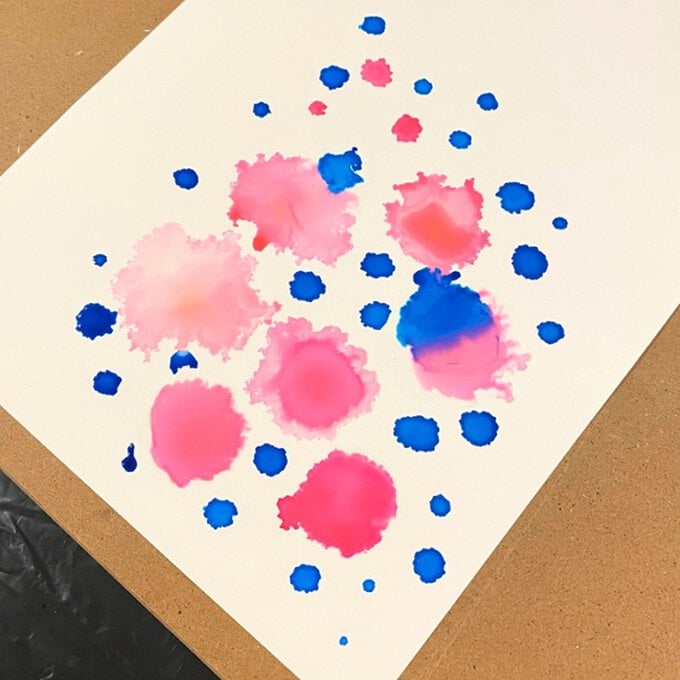
Add drops of alcohol ink onto the sections of the paper without any blending solution. You'll notice how much darker the colour is. It's a lot like working with watercolours, the blending solution acts like the water, making the inks appear lighter in colour.
Idea_how-to-use-alcohol-inks_step2.jpg?sw=680&q=85
Step 3
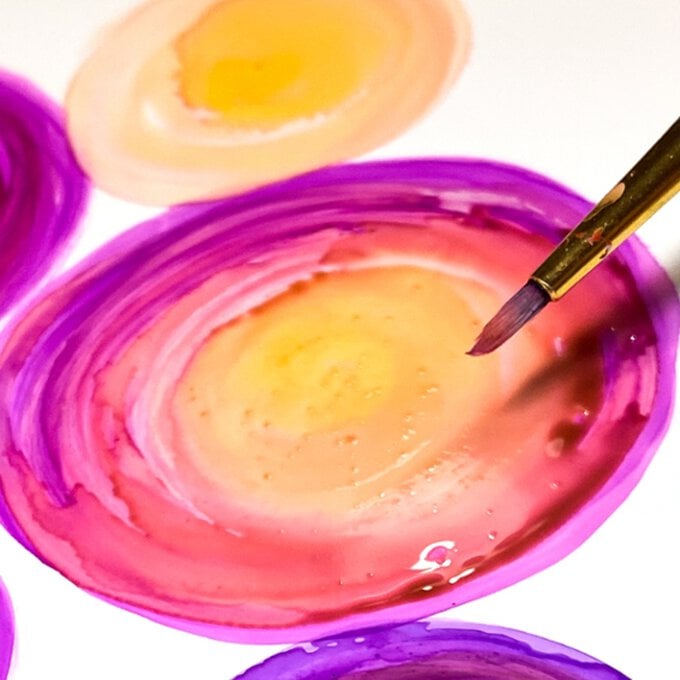
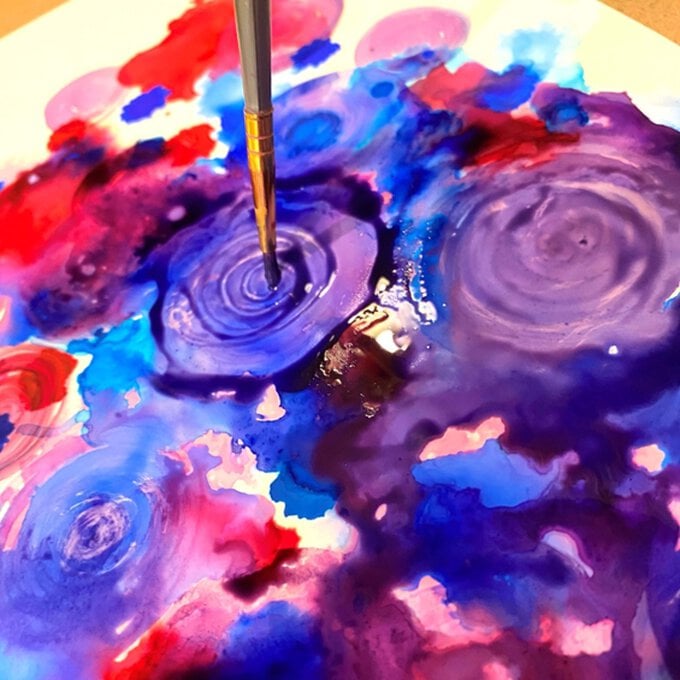
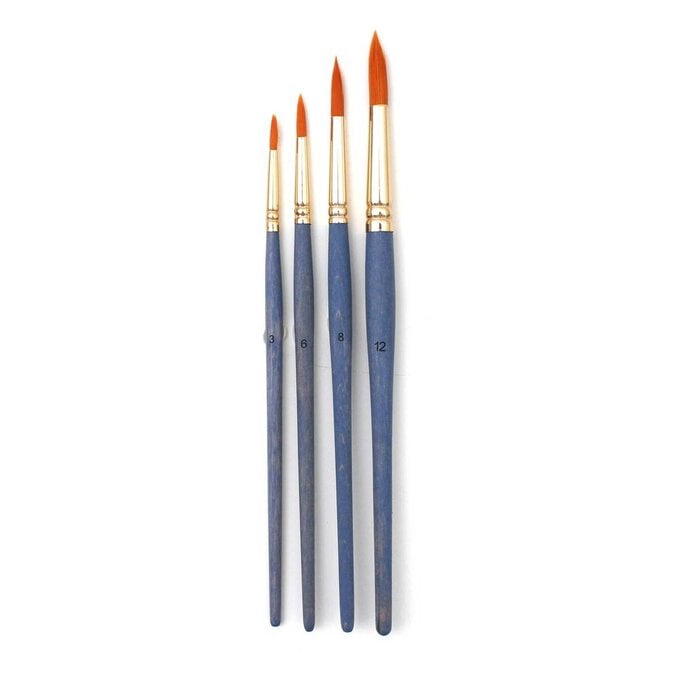
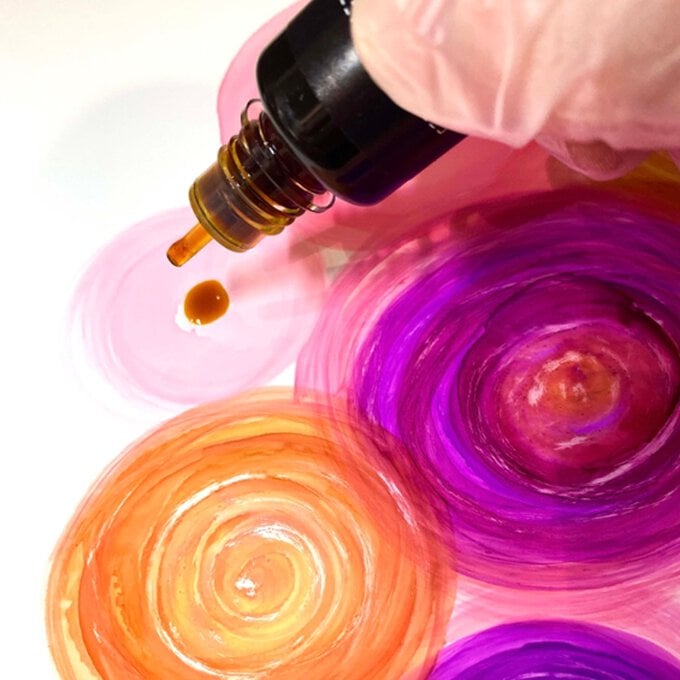
Continue to add drops of ink until you are happy with the surface area that’s covered. Blow the inks around the paper with a straw, then take a paintbrush and begin to create circular swirls over certain parts of the paper. You can go over the same circle a few times with the aim of keeping your brush strokes visible in the ink after it dries.
Idea_how-to-use-alcohol-inks_step3.jpg?sw=680&q=85
Step 4
Alcohol inks can be changed and moved around the page even after they have died, use the blending solution to reactivate the inks. You then have the freedom to change the colours or sections of the paper you are not happy with.
Idea_how-to-use-alcohol-inks_step4.jpg?sw=680&q=85
Step 5
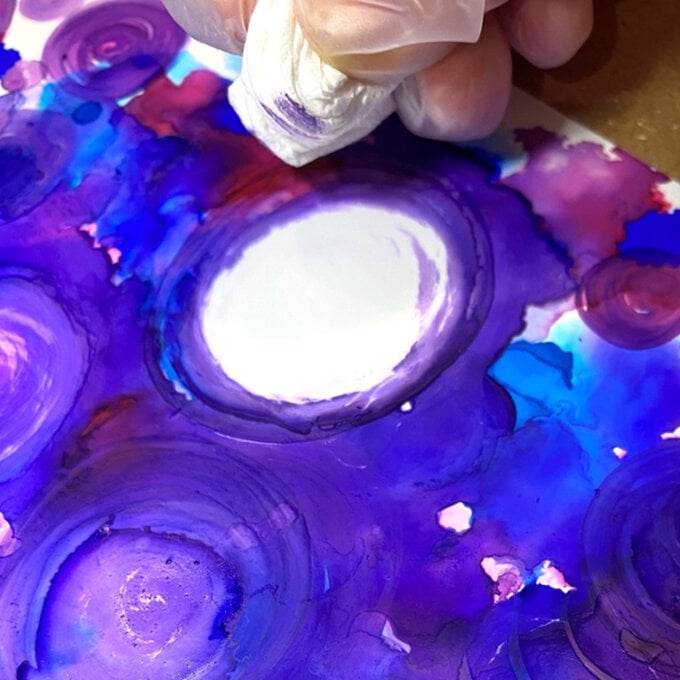
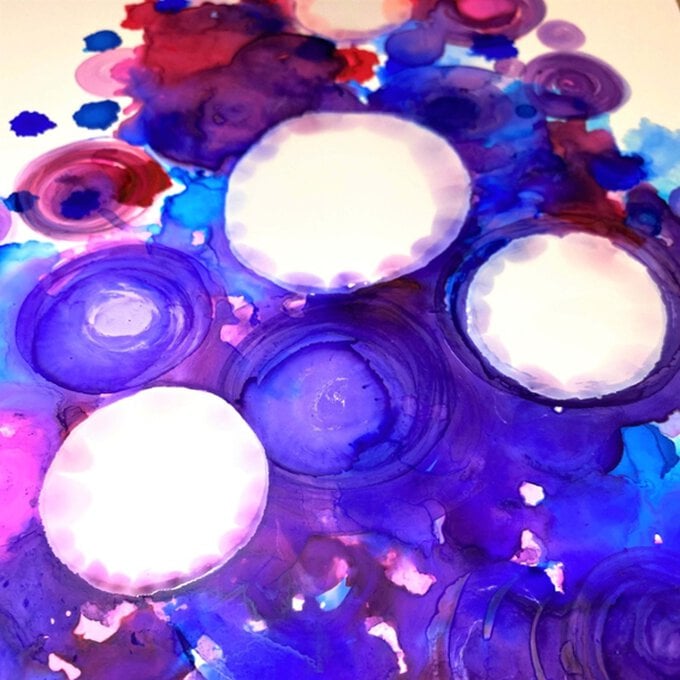
If preferred, you can also remove sections of the ink completely. By rubbing a small piece of tissue soaked in blending solution over the paper. Here I’ve done this in small circular motions to create clean white circles within the artwork.
Idea_how-to-use-alcohol-inks_step5.jpg?sw=680&q=85
Step 6
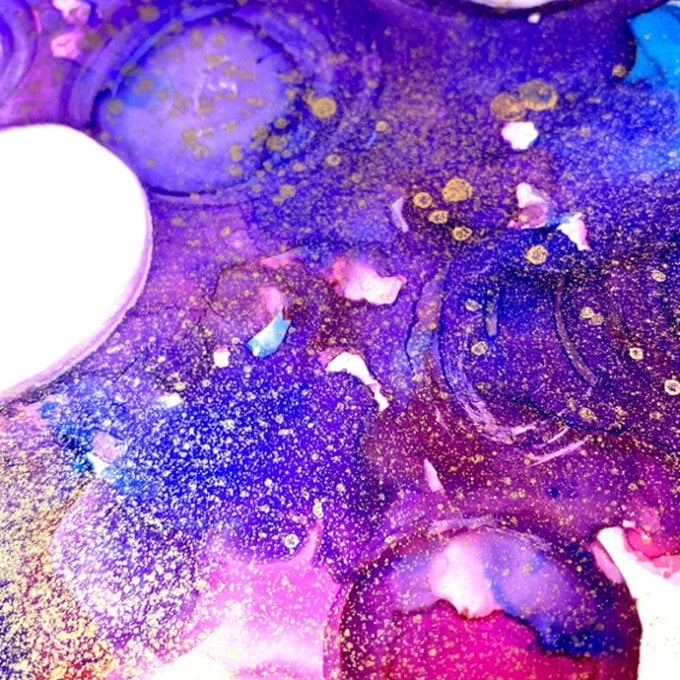
This is when you get the chance to add a fun effect over your inks. For best results, use a metallic ink inside a fine mist sprayer over your base inks to create a beautiful spattered effect. I've used gold ink here, which really stands out against the darker sections. You can achieve a similar effect by simply flicking ink on to your artwork with a paintbrush.
Idea_how-to-use-alcohol-inks_step6.jpg?sw=680&q=85
Step 7
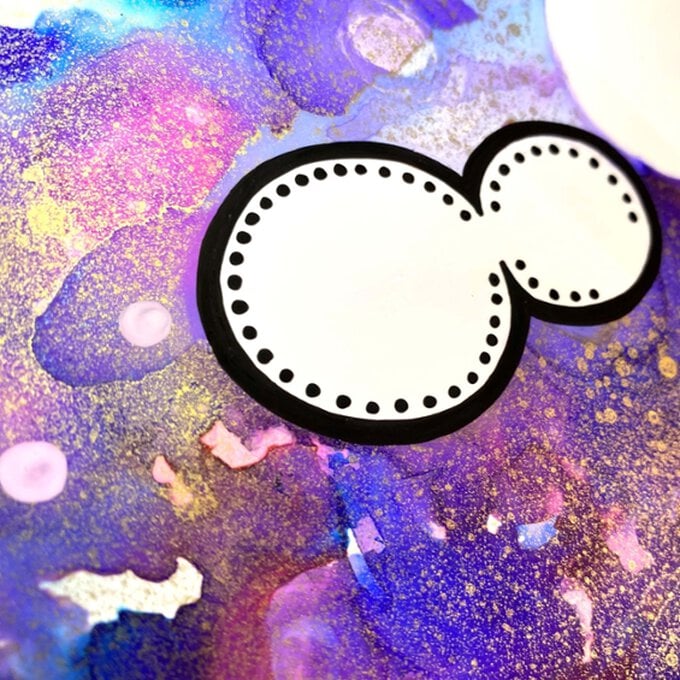
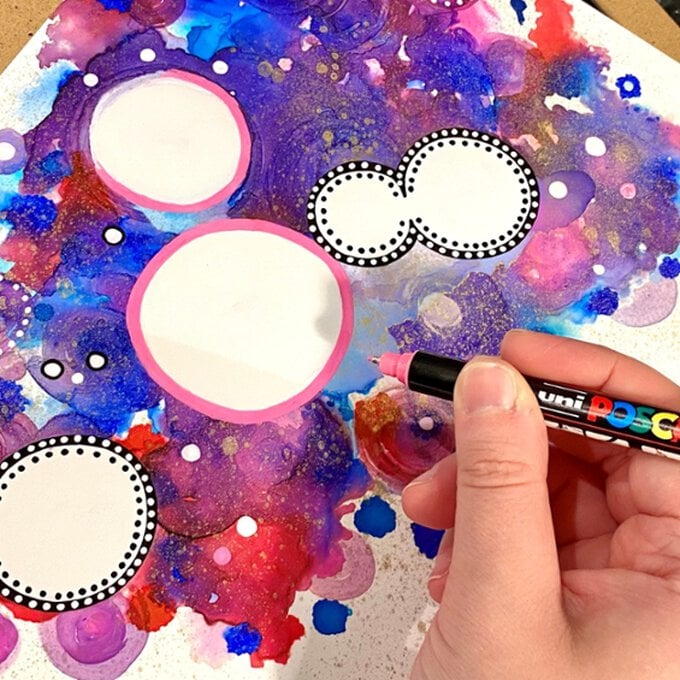
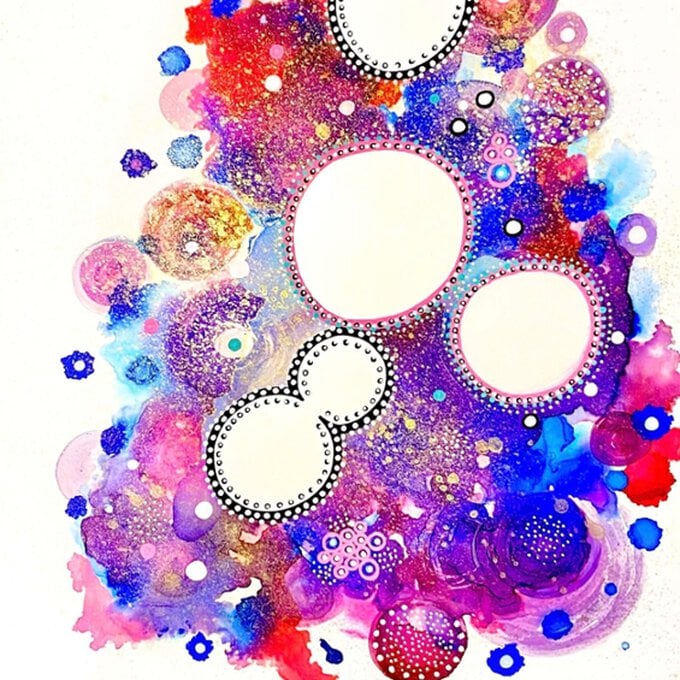
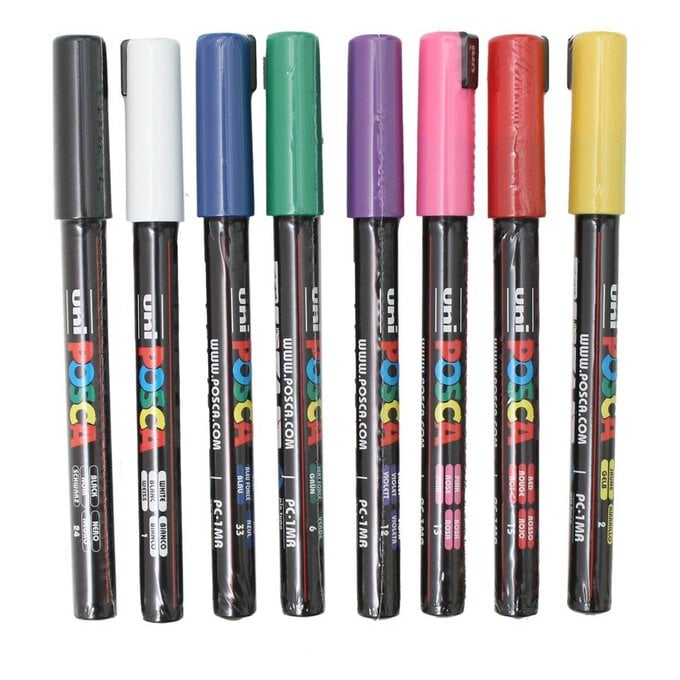
If you've chosen to create clean circles or sections. You can then outline them using paint pens to create more definition and add pattern to your artwork. Paint pens will work over dry alcohol inks, these are great for adding mark making and drawings over your inks.
Step 8
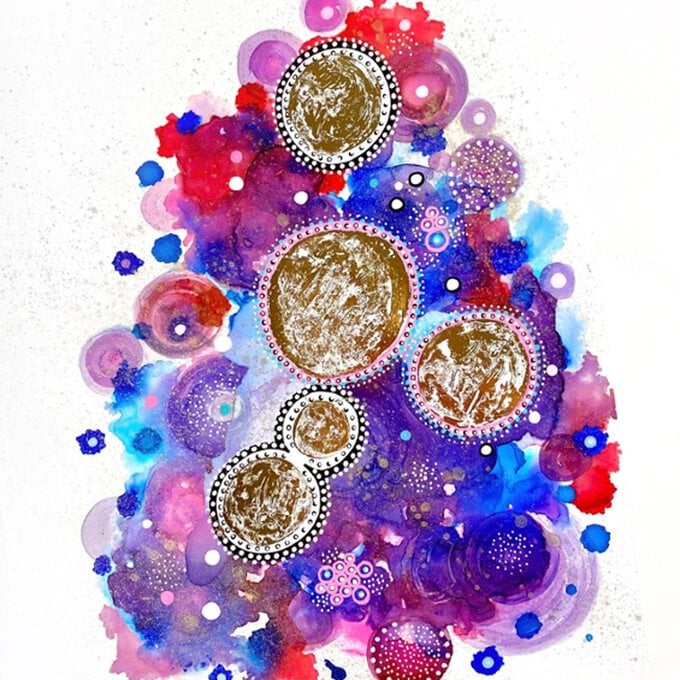
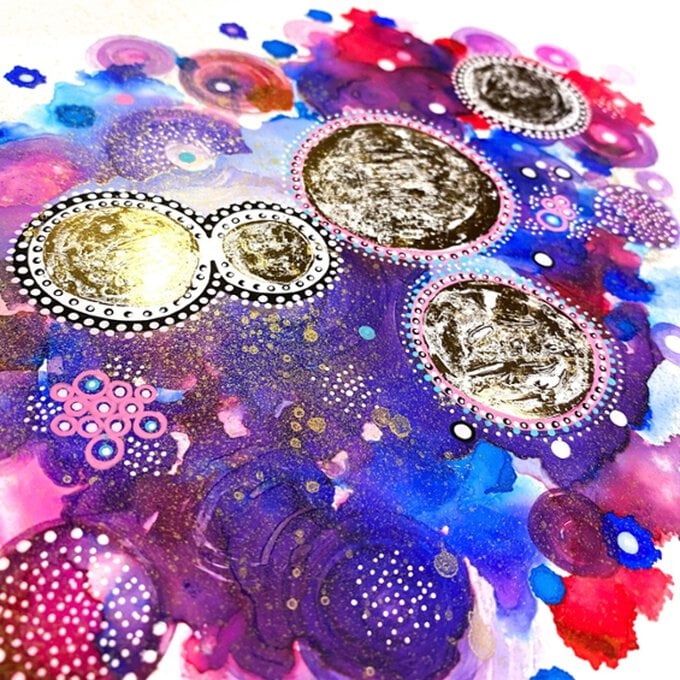
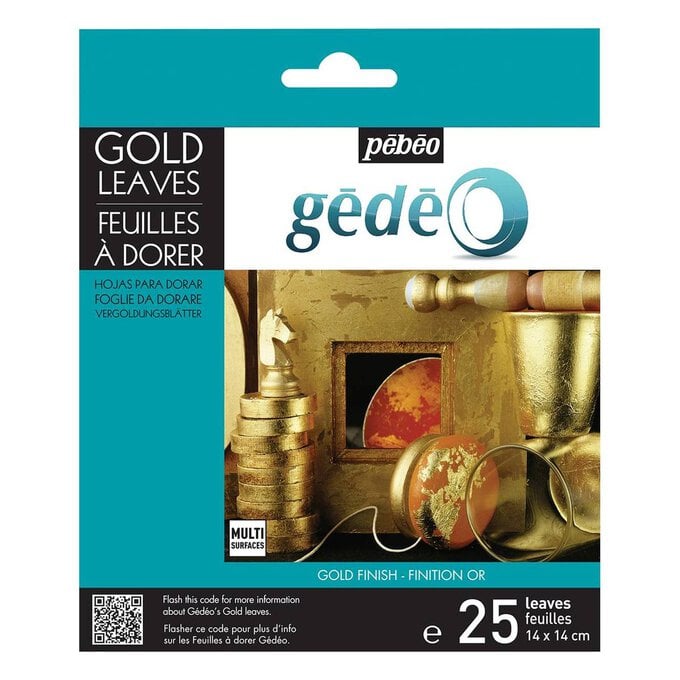
As an optional finish, you can add gold leaf or mirror leaf to sections of your artwork. Transforming your alcohol ink artwork into a mixed media masterpiece!
  • bvseo_sdk, dw_cartridge, 18.2.0, p_sdk_3.2.0
  • CLOUD, getReviews, 5ms
  • reviews, product
  • bvseo-msg: Unsuccessful GET. status = 'ERROR', msg = 'Not Found.'; Unsuccessful GET. status = 'ERROR', msg = 'Not Found.';

Related Products

Top